
Have you ever wondered how you can make your clothes stand out with a personal touch? Ironing on letters with plastic backing is a simple way to add unique detail to your fabric items.
But you must be curious about how to iron on letters with plastic backing. You’ll only need a few simple tools and a bit of patience to ensure your letters adhere properly and look great. By doing so, you can create lasting, custom designs.
So, roll up your sleeves and heat up your iron. It’s time to transform your textiles into personalized expressions of your creativity.
Key Takeways for Ironing on Letters with Plastic Backing
When you’re ironing on letters with plastic backing, follow these key takeways:
- Prepare your fabric. Pre-wash it if you can.
- Mirror the letters to ensure they appear correctly on your garment.
- Preheat your iron.
- Place your fabric on a flat surface to avoid any wrinkles that could distort the placement.
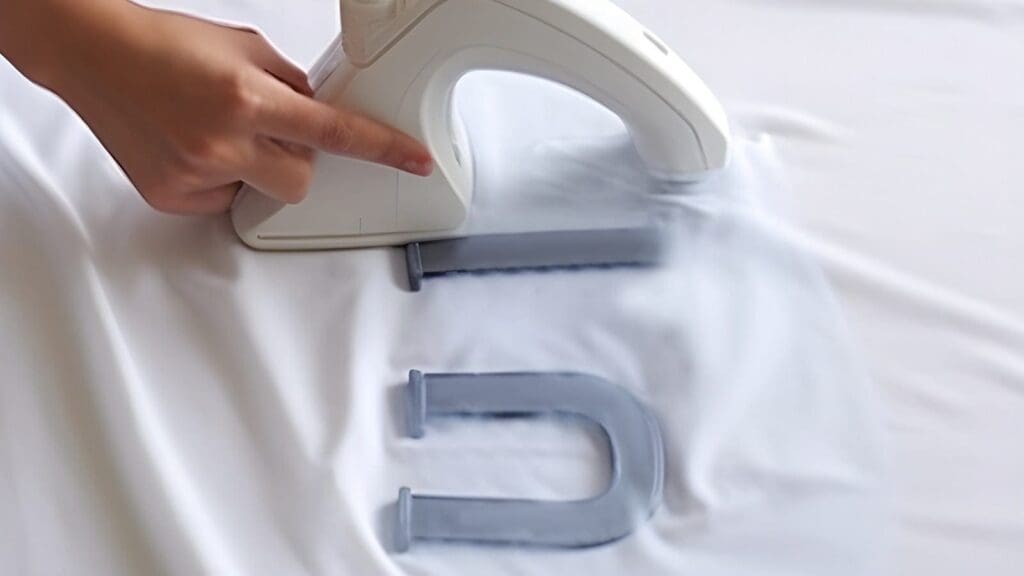
- Position the letters where you want them, then cover them with a protective layer to shield the plastic.
- Firmly press the heated iron onto the letters for 20-30 seconds without using steam.
- Once you’ve finished, let the area cool for a few moments.
- After cooling, gently peel off the plastic backing.
- If any letter edges lift, re-iron with increased pressure.
Gather the Necessary Materials and Tools
Before you begin ironing on those stylish letters, make sure you’ve got all the necessary tools on hand.
You’ll need a clean iron, an ironing board or flat surface, and a thin protective cloth or parchment paper.
Before you start, ensure your iron is free of any residue that could transfer to the fabric. Depending on the type of fabric you’re working with, adjust the iron’s temperature accordingly. Don’t apply iron-on letters to leather, nylon, velvet, vinyl, and other heat-sensitive fabrics. You can use them on cotton blends, denim, or wool.
How to Iron on Letters with Plastic Backing: 9 Simple Steps
Now you can start applying iron on letters with plastic backing in nine steps.
1. Prepare a Suitable Fabric
Selecting a suitable fabric is essential for optimal adhesion when you’re ready to iron on letters with plastic backing. You can use a cotton tee shirt as a good choice. Cotton can provide a smooth surface that ensures the letters adhere properly without damage.
2. Wash and Iron Your Fabric
Before you start, wash and iron your fabric, particularly if it’s a colored fabric. Doing this can remove any wrinkles or substances that might interfere with the adhesion of the iron on transfers.
Once dry, set your iron to the correct temperature for your shirt’s material. Start on a low setting and increase as needed.
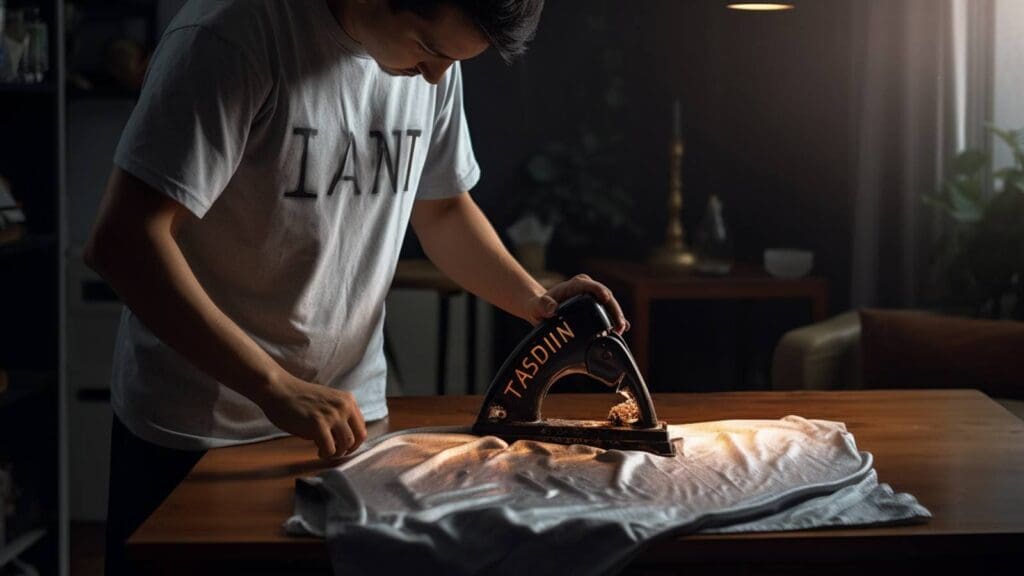
Lay your shirt on a hard, flat surface. Iron firmly over the area where you’ll apply the letters and numbers.
These tips are crucial to guaranteeing a successful and lasting application. They can ensure your decor looks professional and stays put, wash after wash.
3. Cut Your Iron on Letters
Cut apart your iron-on letters with a pair of sharp scissors to match the layout you’ve planned for your fabric. If you’re working with intricate designs like rhinestone transfers, precision is key to maintaining the integrity of each letter. Remember to keep the letters mirrored so they’ll read correctly once applied.
With careful cutting, you’ll ensure a clean and professional-looking application.
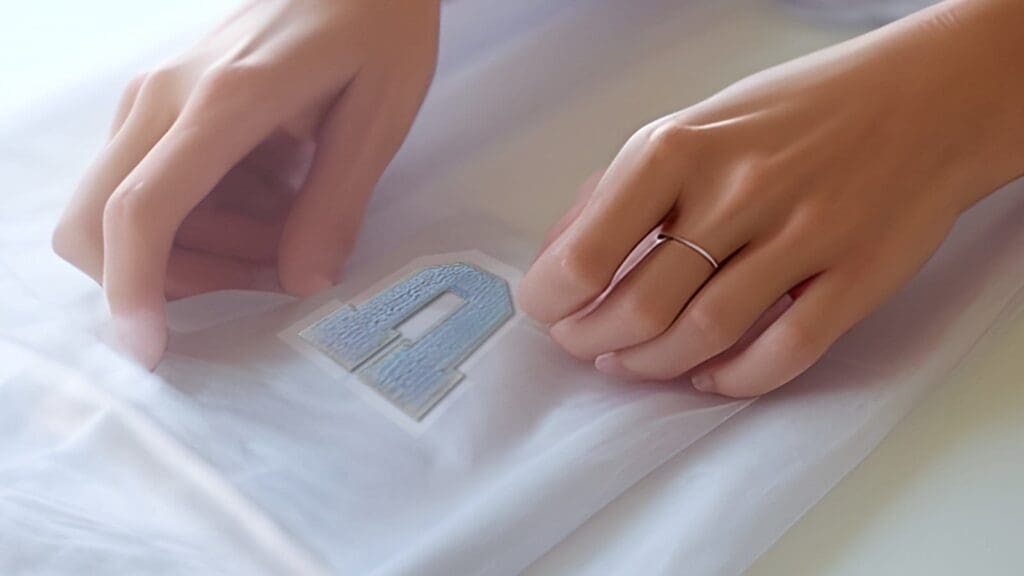
4. Check the Placement of Your Iron on Letters
Lay out your letters on the fabric and check their placement before you fire up the iron. It’s crucial to ensure everything looks just right. Your letters should be in the right order and facing the correct direction. Remember, once they’re ironed on, there’s no going back without hassle.
Here’s a quick checklist to help you verify the placement:
| Step | Check |
| 1 | Order of letters |
| 2 | Direction they’re facing |
| 3 | Spacing between letters |
| 4 | Alignment with fabric |
If a letter seems off, adjust it now. Proper spacing and alignment will make your final product look professional. Once you’re satisfied, you’re ready to move on to the ironing stage.
5. Position a Piece of Clean White Paper over the Letters
Position a clean, white piece of paper over your carefully arranged letters. It can prevent the letters from shifting as you press the hot iron onto the fabric. This step is crucial to maintaining the layout you’ve worked hard to perfect.
The white paper acts as a protective barrier. It ensures that the transfers don’t adhere to the iron or sustain damage from direct heat. Moreover, it allows for even heat distribution across each letter.
Make sure you’re using heat-resistant paper, like greaseproof paper, to withstand the iron’s temperature.
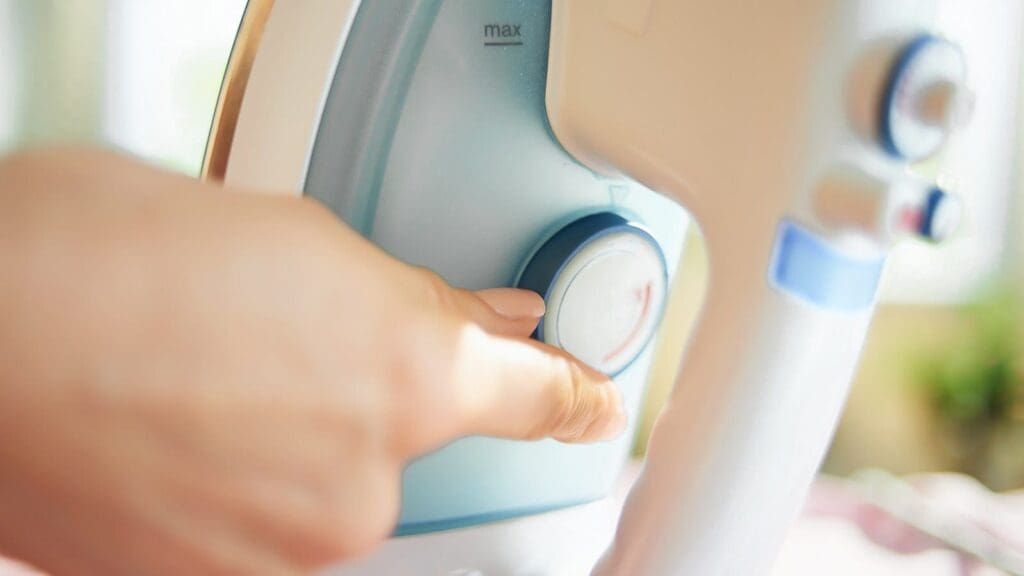
6. Use the Right Heat to Iron on Letters
Selecting the correct iron settings is crucial when you’re ready to iron on letters with plastic backing. This ensures the letters adhere properly without damaging the fabric. Here’s how to adjust your iron for the best results:
- Begin with a low-temperature setting.
- Gradually increase the heat if the letters don’t stick.
- Turn off the steam function. Steam can prevent the letters from sealing correctly.
Press the iron firmly over the letters for 20–30 seconds. If the letters start to peel, don’t hesitate to re-iron with more pressure and for a slightly longer duration. Remember, patience is key to achieving a professional-looking result.
7. Cool the Letters Completely
Allowing the letters to cool shouldn’t take too long. But it’s a crucial step for the longevity of your design. Don’t rush it. This patience pays off by ensuring a strong bond between the letters and your garment.
8. Remove the Plastic Backing
Carefully peel off the plastic backing after the letters have fully cooled to ensure they’ve adhered properly to your fabric. This step is crucial for a clean finish. If the letters still feel warm, give them a bit more time. You don’t want to rush and risk ruining your design.
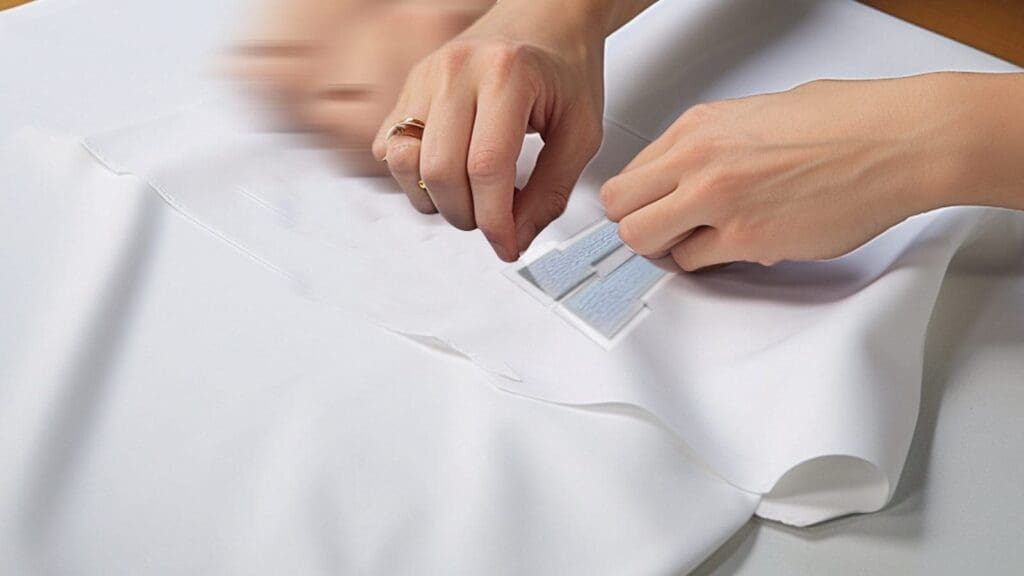
When removing the backing:
- Start at one corner and slowly pull to the opposite side.
- Keep the angle low and consistent to avoid lifting any edges of the letters.
9. Repeat Steps If Necessary
If you notice the letters peeling off after removing the backing, you’ll need to re-iron them following the same steps previously described.
- Ensure your iron is still at the right temperature for the fabric you’re working with.
- Place the letters back in position and cover them with a thin cloth or parchment paper for protection.
- Press down firmly with the iron for about 20–30 seconds, ensuring you move it slightly to apply even heat.
- Remember, applying more pressure this time might be necessary for better adhesion.
- Once done, let the fabric cool completely before attempting to remove the backing again.
- If you’ve used enough heat and pressure, the letters should now stay in place.
Avoid Common Mistakes When Ironing on Letters with Plastic Backing

To ensure your letters adhere correctly, there are several common mistakes you should avoid.
- Use steam or move the iron while pressing. These mistakes can lead to the letters peeling off or not sticking at all.
- Peel off the plastic backing too quickly. This might cause the letters to lift or not stick evenly.
- Iron with firm pressure without a protective layer. Always cover the letters with white paper or a thin cloth to protect them from direct heat.
How to Prevent Iron on Letters with Plastic Backing from Peeling Off
You’ll ensure your iron-on letters with plastic backing stay put by following specific preparation and application techniques.
Always set your iron to a low temperature before you start. This helps prevent the edges from peeling. Avoid using steam completely, which can interfere with the adhesive’s effectiveness.
Press the iron firmly onto the letters without moving it around. This steady pressure ensures the letters bond securely to your fabric.
After you’ve applied the letters, let them cool completely before you peel off the plastic backing. If you notice any corners starting to lift, cover them again and re-iron with extra pressure. This extra step may be the key to ensuring your letters stay attached through wear and washes.
Conclusion
Now you’ve got the hang of ironing on letters with plastic backing! Remember to preheat your fabric, place the letters carefully, and apply firm, even pressure with your iron.
Steer clear of steam, and don’t rush the cooling. For lasting results, follow the care instructions and avoid overwashing.
Get creative and enjoy personalizing your gear with confidence!
Related:How to Remove Iron on Letters: 3 Simple Methods Unveiled


