
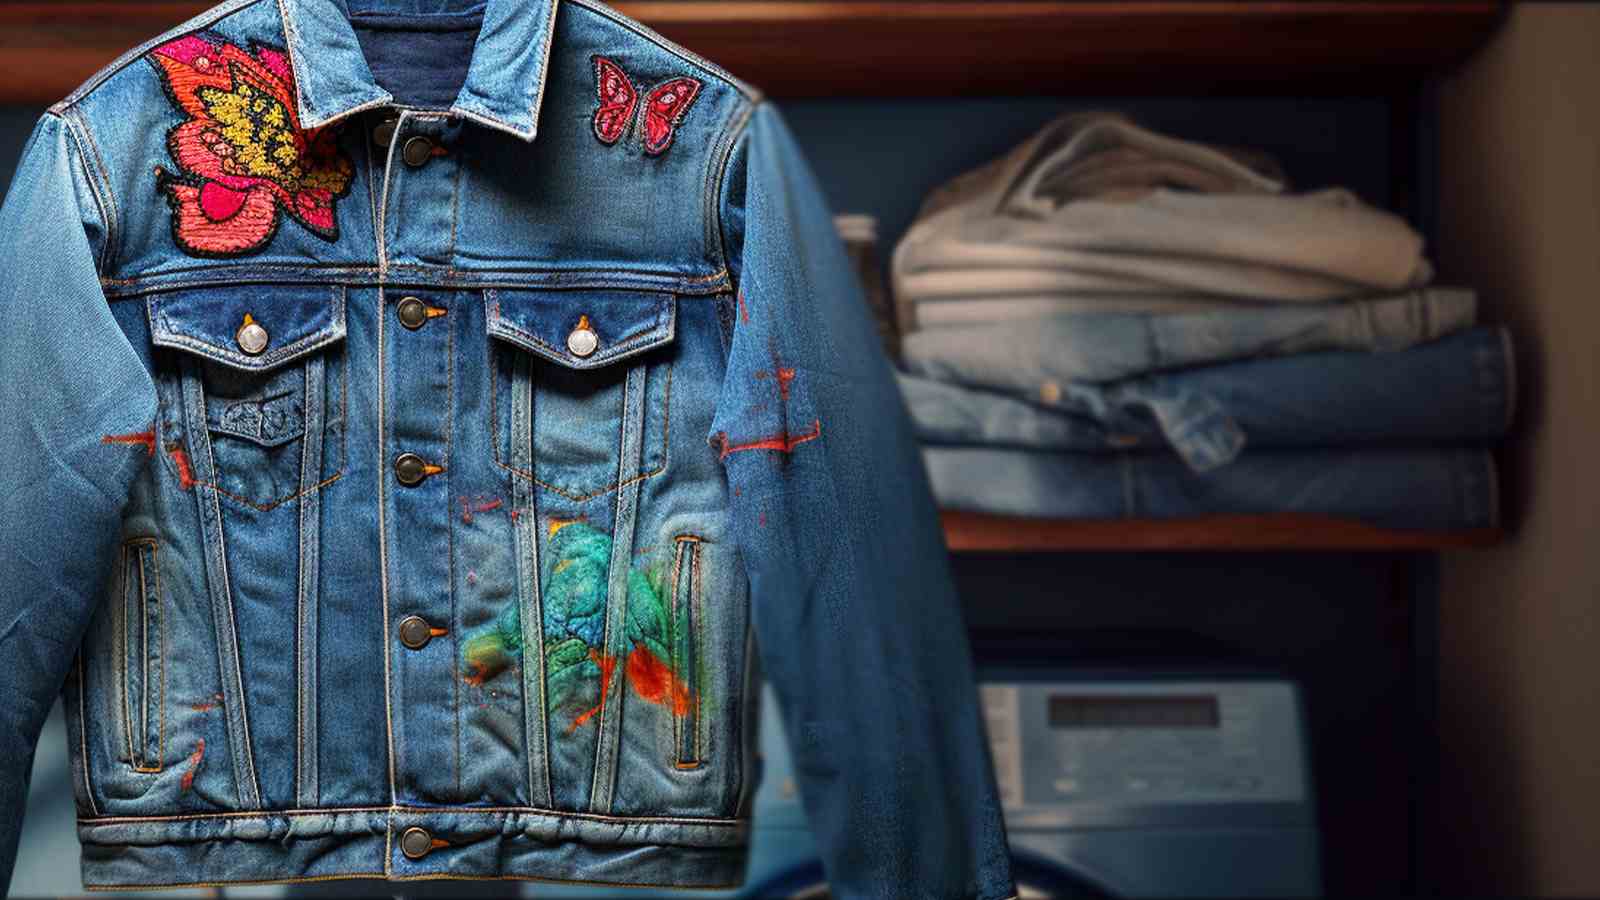
When your go-to jacket sprouts an unsightly hole, don’t toss it aside. Iron-on patches are here to save the day. You can easily mend and even add a flair of personality to your damaged clothing.
In this blog, we’ll guide you through how to use iron on patches for holes. By following the steps we offer, you’ll not only repair your garment but also give it a unique, personalized upgrade.
Keep reading to learn the ins and outs of using iron-on patches to revitalize your wardrobe.
Key Takeways for Using Iron on Patches for Holes

Ensure you’ve thoroughly cleaned both the garment and the patch to maximize adhesion and extend the life of your repair.
Before you begin, align the patch with the damaged area carefully, ensuring it covers the hole completely.
Lay a thin cloth over the patch to act as a buffer, and then iron it in place.
Apply firm pressure as you iron, focusing on the edges of the patched area to create a strong bond.
Once cooled, check the adhesion.
For extra durability, consider stitching around the edges. This will further secure the patch and add a custom touch.
Things to Know First

Before you get started, make sure you have all the necessary materials on hand.
You’ll need to wash and dry the garment first to ensure the fabric is clean and receptive to the patch.
It’s also important to iron out any wrinkles so the surface is completely flat and smooth for the patch to adhere properly.
Gather the necessary materials and tools
You’ll need a quality iron-on patch, a clean iron, scissors, and a thin cloth or parchment paper to get started with your repair.
Before diving in, make sure to pick a patch that blends well with your garment. If you’re mending a piece of denim, consider a denim patch for consistency in texture and look. Alternatively, you can repurpose scrap fabric that complements the clothing you’re fixing. Just ensure it’s prepped and ready to go.
Check if the fabric is suitable for iron on patches
You’ll need to check your fabric to ensure it’s compatible with iron-on patches before starting the repair process. When checking, verify that the fabric can withstand the heat required to adhere to the patch.
Assess the hole and choose a patch that’s suitable for the material and size needed. This is crucial for understanding how to use iron-on patches effectively and to guarantee a lasting repair.
Pre-wash and dry the fabric
To guarantee your patch’s secure bond, wash and dry the garment you’re mending before starting the patching process. This step removes any oils or dirt that could prevent the patch from sticking properly. It’s important to trim any frayed threads from the fabric around the hole, leaving a bit of fray for the patch to adhere to.
When washing, place the garment inside a pillowcase to protect the rest of your laundry from possible damage by the frayed edges.
After washing, always check the clothing fabric’s care label. Some fabrics may not tolerate high heat. When drying, avoid using the steam function, as moisture can hinder the adhesive’s effectiveness. Make sure the garment is completely dry before you apply the patch for optimal adhesion.
Make sure the fabric is flat and smooth
Ensure you iron out any wrinkles or creases in the fabric to create a smooth surface for patch application. When mending a hole in your denim jacket or any piece of fabric, it’s vital that the area receiving the patch is as flat as possible. This means taking the time to remove any folds that could interfere with the adhesive quality of the paper backing.
Embroidered patches often have a stiffer backing, making the need for a smooth base even more critical. If you’re working with a particularly frayed edge, trim the loose threads so your patch can adhere evenly.
Once the surface is prepped, you’ll be ready to apply your patch with confidence, ensuring a neat and durable mend.
How to Use Iron on Patches for Holes: Take Jeans as an Example
Let’s take jeans as an example of using iron on patches for holes. You’ll first want to assess the size and shape of the hole in your jeans to determine the best patch size.
Next, place a piece of denim or scrap fabric underneath the hole inside the pant leg for extra support.
1. Examine the damage
Before applying your patch, it’s crucial to assess your jeans’ damage. Check for any frayed edges or threads that might compromise the patch’s adherence. Begin by thoroughly cleaning the area around the hole to remove any dust or debris. This ensures a clean surface for the patch to stick to.
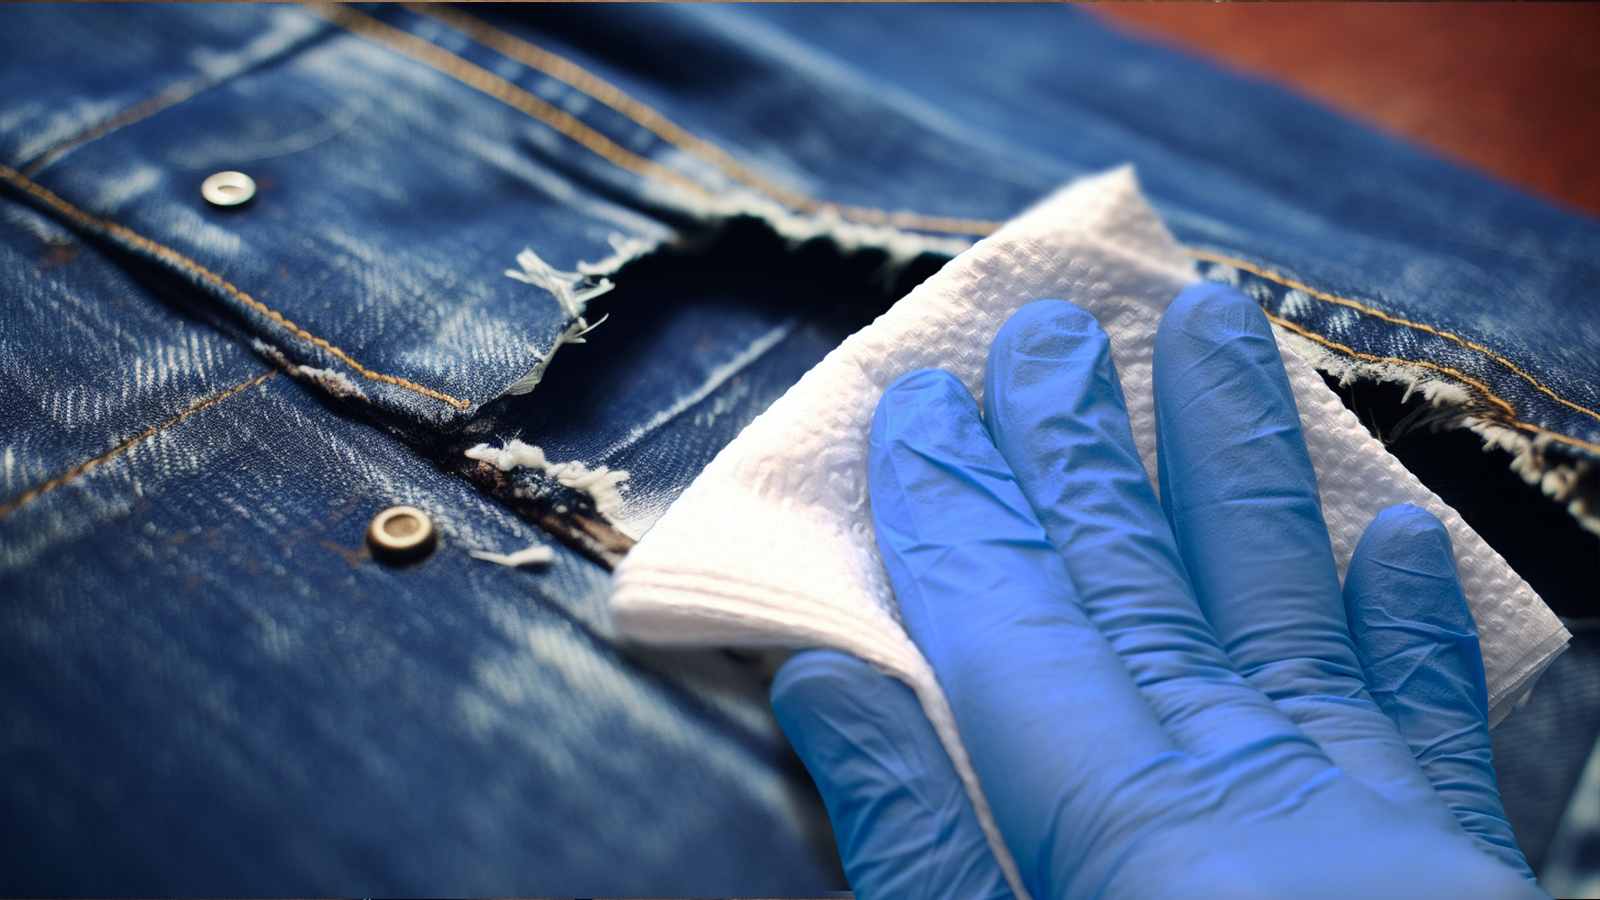
Next, trim any frayed areas to create a smooth base for the patch.
2. Assess the hole
Before you grab that iron, take a good look at the hole you’re dealing with.
You’ll need to ensure the jeans can handle the heat required for iron-on patches. Then, decide on the patch size and design that best suit the location and dimensions of the rip.
Start by measuring the hole in your jeans. Choose a patch that’s slightly larger, ensuring it covers the area completely and adheres securely. Place the patch centered and aligned for a neat finish.
Getting this right means your repair won’t only be durable but also blend seamlessly with your pair of jeans.
3. Place the denim scrap under the hole
Before applying your patch, always slip a piece of denim scrap underneath the hole inside the pant leg. It helps create a stable base for the iron-on process. This crucial step ensures that your iron-on patches securely adhere to the jeans, providing the support needed to patch a hole effectively.
Make sure to align the scrap precisely with the hole in your jeans so it covers the entire area. The scrap not only acts as a foundational layer but also protects the rest of the pant leg from potential heat damage during the application.
By following this method, you can maintain the integrity of your jeans and prevent the patch from shifting or peeling off prematurely. This will extend the life of your favorite denim.
4. Position the patch over the hole
Having aligned the denim scrap underneath, position your patch directly over the hole to ensure complete coverage.
Carefully placing the patch is crucial. It shouldn’t only cover the damaged area but also blend seamlessly with the rest of the material.
Smooth out any wrinkles in the jeans, and double-check the position before you start the ironing process.
Remember, a patch that’s off-center can draw unwanted attention to the repair. So take your time to align it perfectly, ensuring the edges of the patch extend beyond the hole.
This meticulous placement will give your jeans a fresh lease on life and a professional-looking finish.
5. Cover the patch with a protective layer
After placing the patch, cover it with a thin cloth or parchment paper to protect both the jeans and the patch from direct heat.
When positioning the protective layer, ensure it’s smooth and completely covers the iron-on patches. This step is crucial, as it prevents any damage to your clothing from the high temperature of the iron.
You want to place the iron directly over the area with the hole, but the intervening cloth will shield the colors and textures of both the patch and the garment from scorching or melting.
6. Press the heated iron
After applying a protective layer to the patch, press a heated iron firmly against it for the specified time to ensure it bonds well with the jeans. Iron patches need consistent heat and pressure to patch a hole effectively.
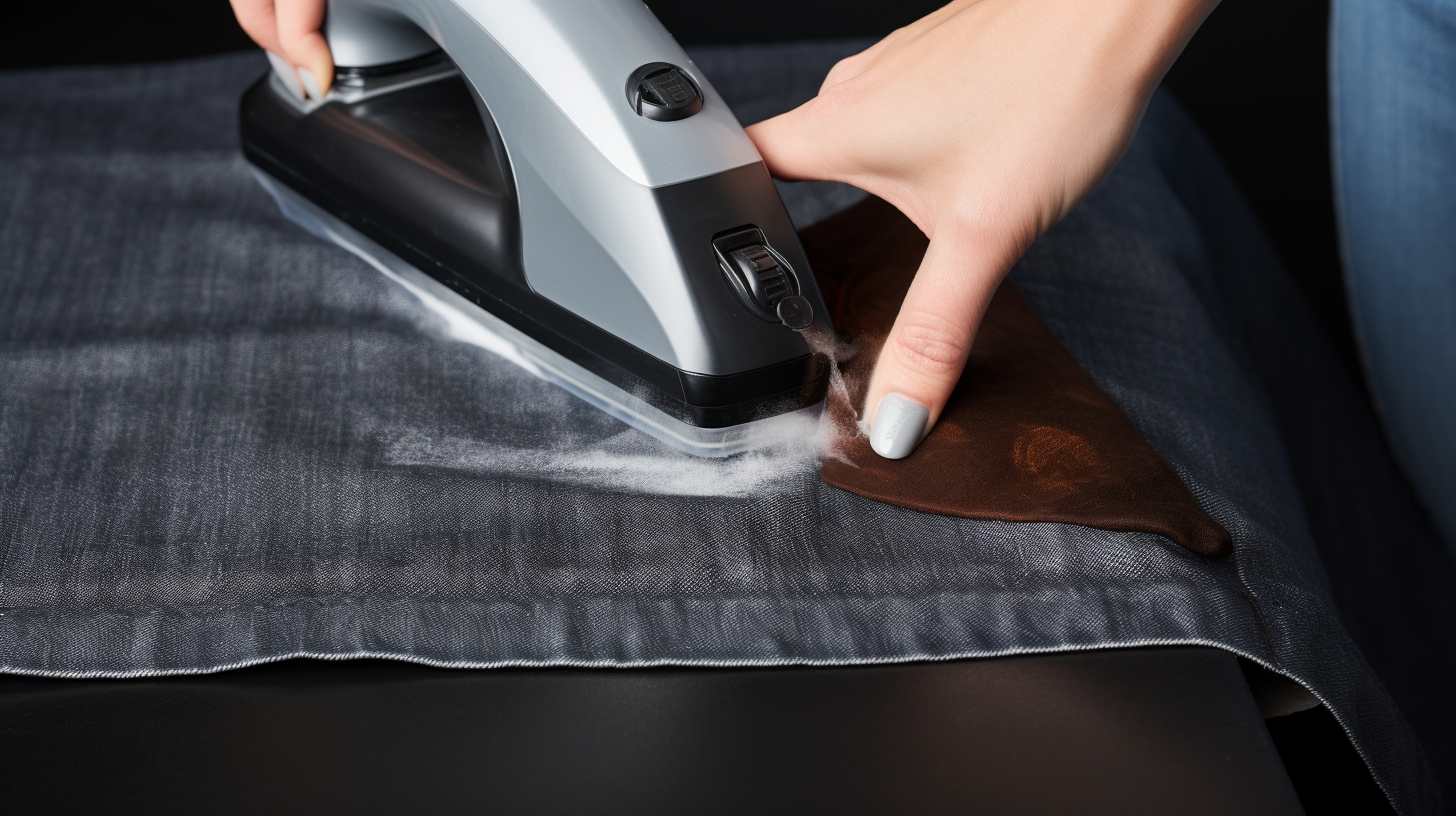
Don’t rush. Applying pressure for a set amount of time is crucial for the adhesive to activate and set. Move the iron slowly over the patch, concentrating on the edges to secure them in place.
Patience is key to a successful patch application.
7. Let the patch cool
Always allow your patched jeans to cool completely before testing the adhesion. This waiting period is critical to ensuring the patch bonds securely to the fabric. During the cooling phase, the glue on the iron-on patches solidifies, creating a firm hold between the patch and your jeans.
Resist the urge to move or wear the jeans immediately; patience is key here.
8. Check the patch
Once the patch has had enough time to cool—ideally at least an hour—you can carefully check the patch. Gently press along the edges to make sure there’s no lifting or bubbling. If the edges stay flat and the patch remains intact, you’ve successfully applied it.
If you notice any loose corners or edges, set your iron to the right temperature and apply firm pressure again.
This extra heat should secure any areas that didn’t adhere on the first try.
Once you’re confident the iron-on patches are fixed in place, you can wear your jeans with pride.
9. Stitch around the patch for added security (optional)
After ensuring your patch is firmly ironed on, you might consider sewing around its edges for additional security. This added security is especially valuable for patches on elbows, knees, or other high-tension areas. When you’re installing an iron-on patch, stitching can offer that extra bit of reinforcement that prevents the corners from peeling up over time.

How do you patch a hole with added durability? Thread a needle and create a tight border around the entire patch. This method not only ensures a stronger hold but also contributes a handcrafted look to your jeans. Keep in mind that the stitching doesn’t have to be elaborate. A basic running stitch will do the trick. You can either sew by hand or use a sewing machine.
What to Avoid If Using Iron on Patches for Holes Failed
If using iron-on patches for holes has failed, there are several potential reasons. Here are some common mistakes to avoid and troubleshooting tips:
-
Wrong Material or Fabric: Ensure that the iron-on patch and the garment have compatible fabrics. Some patches may not adhere well to certain materials. Check the care instructions for both the patch and the fabric to ensure compatibility.
-
Low-Quality Patches: Cheap or low-quality iron-on patches may not have a strong adhesive.
-
Incorrect Heat Setting: Different fabrics and patches may require different temperatures for proper adhesion. If the heat is too low, the patch won’t adhere properly. If it’s too high, it can damage the patch or garment.
-
Insufficient Pressure: Ensure that you press down firmly and evenly on the patch to promote better adhesion.
-
Patch Placement: Ensure the patch is placed correctly and securely on the garment. Any misalignment or loose edges may affect adhesion.
-
Cooling Time: Allow the garment to cool completely before handling or washing. Rushing this step can compromise the bond between the patch and the fabric.
How to Care for the Patched Garments
Caring for your patched garments ensures the longevity of the repairs.
To do this, you’ll want to wash them inside out on a gentle cycle with mild detergent. Make sure to inspect the patched areas before tossing them into the washer. If you notice any loose edges, you’ll want to re-iron the patches for a secure hold. Avoid harsh chemicals that could further damage the fabric or cause the patches to peel off.
After washing, trim any stray threads to maintain a neat appearance.
Proper care will keep your garments looking great and can save you from having to buy a new pair.
Conclusion
You’ve done it! Your jeans have dodged oblivion and are now stitched in time, saving you nine more in the future.
Remember, keep your patched denim clean, and when ironing, avoid direct heat on the patch.
Treat them with care, and they’ll stand as a testament to your resourcefulness and style.
Wear your revamped jeans with pride, for they bear the mark of your creativity—a patchwork of your own making.