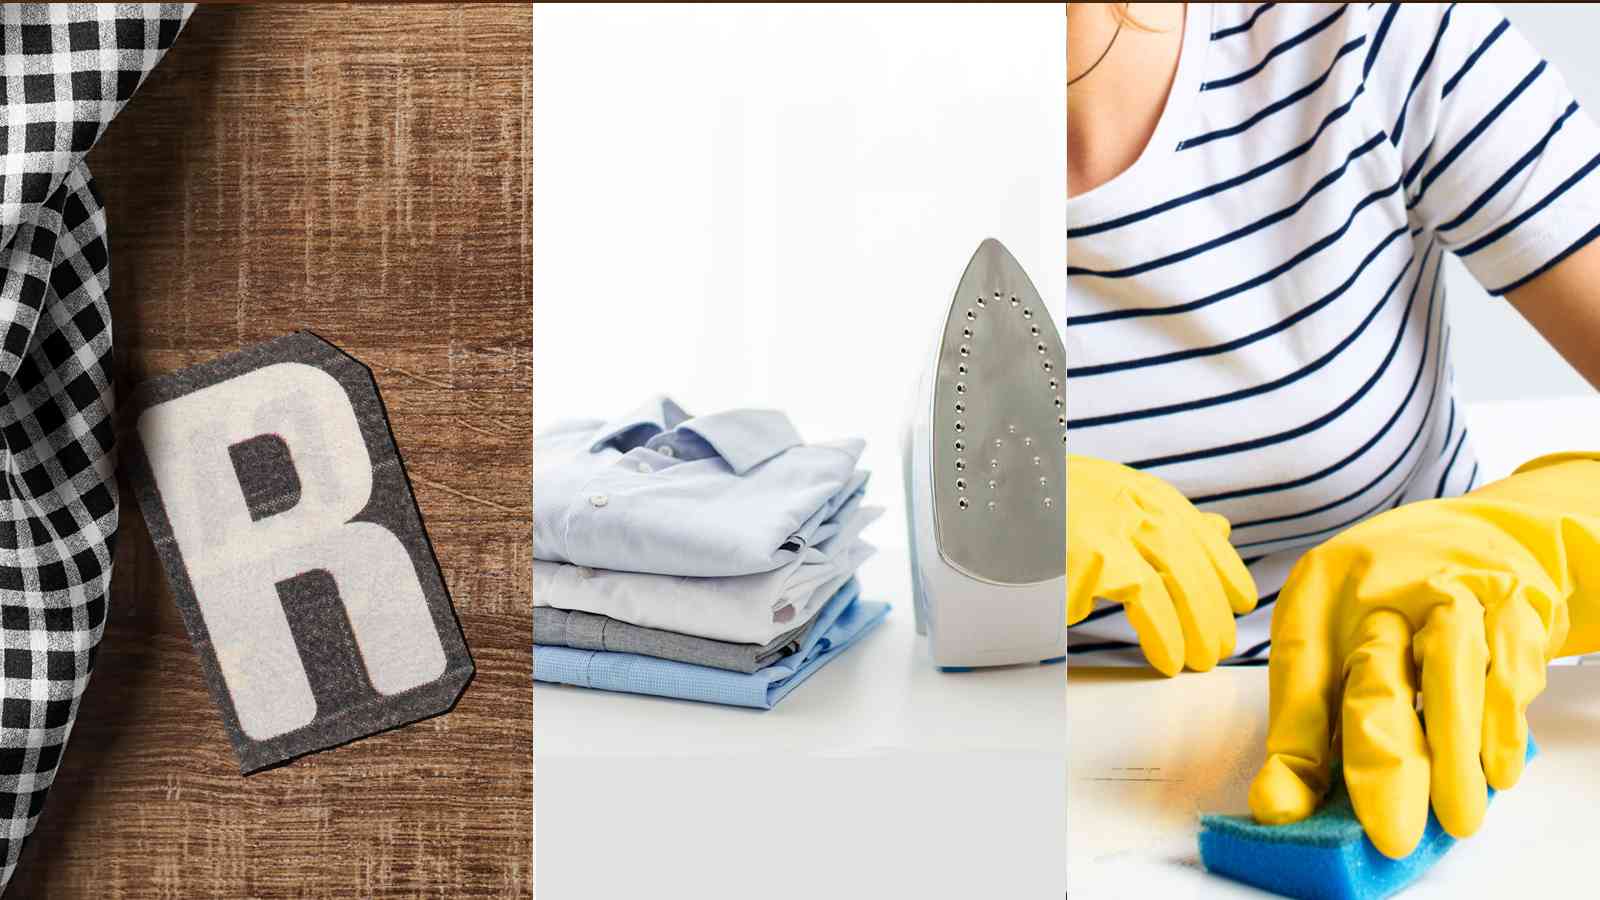
When wardrobe whimsy wanes, you may fret over a favorite fabric’s iron-on letters. Thus, you may be curious about how to remove iron on letters. You’re in luck, as you can remove the letters using a bit of know-how and some household items.
Get ready to gently guide those unwanted characters away and reclaim your textile canvas.
Precautions for the Removal
When you’re ready to tackle the task of removing iron-on letters, it’s crucial to take some precautionary steps to ensure you don’t damage your clothing. Before diving in, heed the following guidelines:
- Always consult the garment care labels to confirm the material’s resistance to high heat and chemical solvents.
- Test any chemical solvents to remove the letters on a discreet section of your clothing first.
- Be prepared to address any adhesive left behind by using extra detergent when washing the garment post-removal.
These steps are vital to maintaining the integrity of your clothing while efficiently removing unwanted iron-on letters. Remember, a methodical approach will yield the best results.
3 Simple Methods on How to Remove Iron on Letters
When you’re aiming to remove iron-on letters, you have several effective methods at your disposal.
Chemical solvents can break down the adhesive, allowing you to peel away the letters with care. They can ensure you’re working in a well-ventilated area and wearing gloves.
If you prefer not to use chemicals, applying heat with a steam iron or hairdryer can loosen the letters for removal. But this should be done cautiously to prevent damage to the fabric.
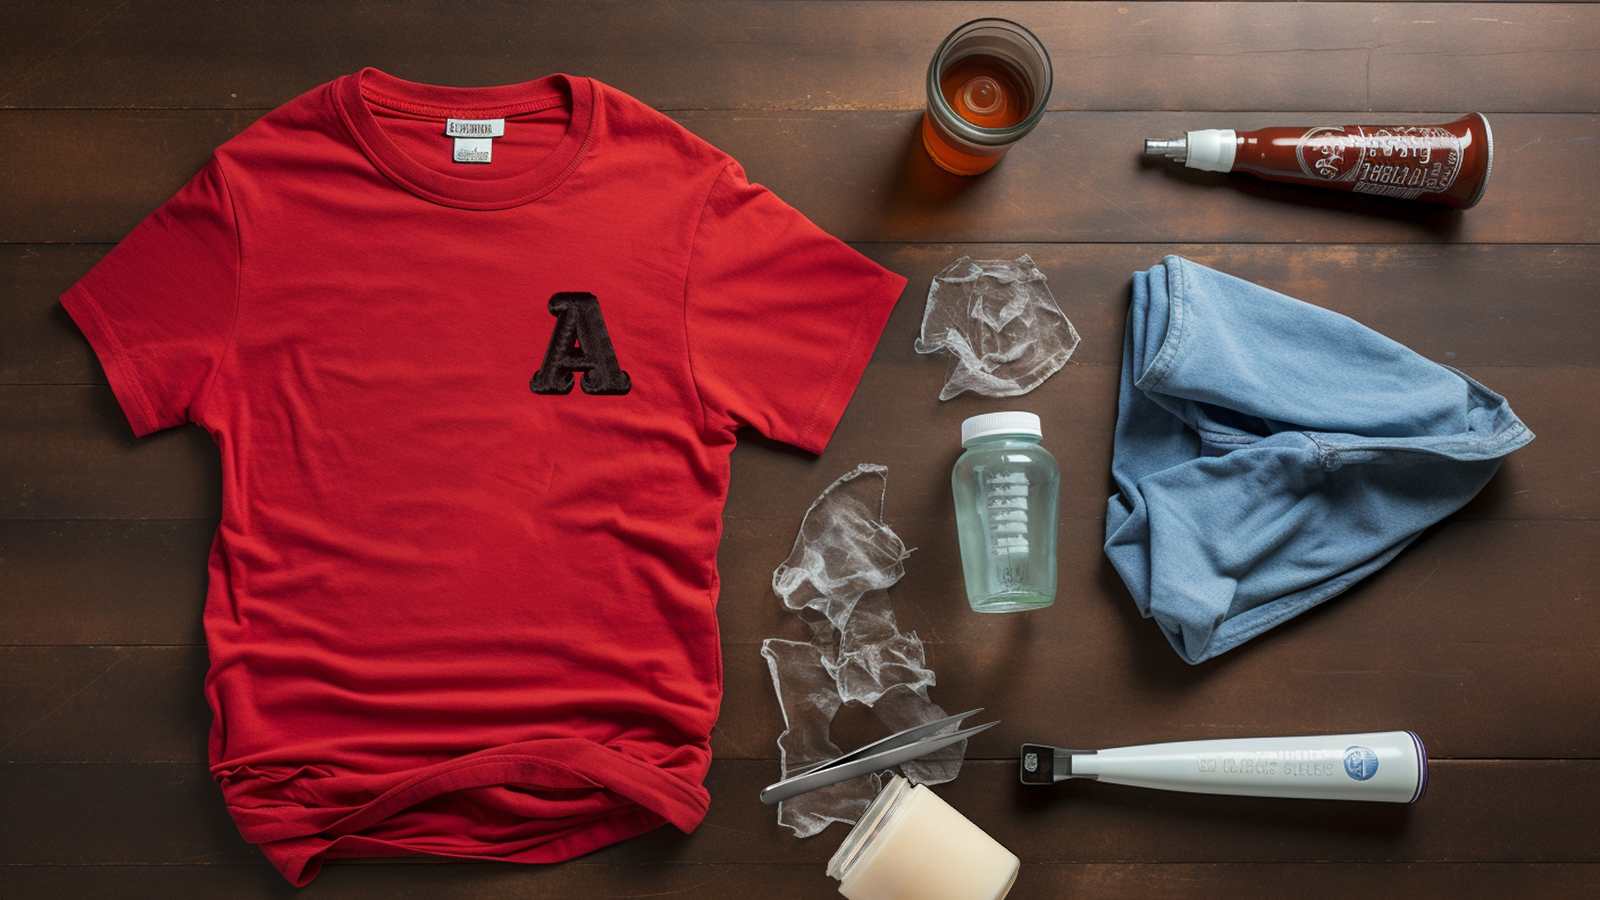
Method 1: Use Chemical Solvents
Necessary Materials and Tools
To tackle the task of removing iron-on letters with chemical solvents, you’ll need a few essential tools:
- Rubbing alcohol or adhesive remover: break down the adhesive.
- A cloth or parchment paper: protect the garment during the process.
- A hairdryer: apply targeted heat, softening the adhesive for easier removal.
- Protective gloves: protect your hands from direct contact with the chemical solvents.
Ensure precision in use to avoid damage to the fabric.
Step-by-Step Instructions for Using Chemical Solvents
- Select a chemical solvent, such as rubbing alcohol or nail polish remover, to break down the adhesive on your iron-on letters.
- Carefully follow the care instructions for your garment.
- Test the alcohol or adhesive remover on a small, inconspicuous area first.
- Apply the chemical solvents to the ironed-on letters, allowing them to penetrate.
- Then gently remove ironed-on letters.
Method 2: Use a Hairdryer
Necessary Materials and Tools
To effectively remove iron-on letters with the heat and steam method, you’ll need a few essential tools and materials at your disposal.
- A hairdryer: use the heat to loosen the adhesive on the letters.
- A sturdy ironing board: use it as a flat working surface.
- Tweezers or a sharp knife: remove the iron on the letters.
- A towel: put it inside the garment to protect it during the process.
- A piece of cloth and rubbing alcohol: for post-removal cleaning.
Step-by-Step Instructions for Using Heat and Steam
- Put the garment on a flat, heat-resistant surface.
- Insert a towel or a piece of plywood inside the garment to protect it.
- Apply steam to remove the letters.
- Place a wet towel over the letters and use a hair dryer to heat the adhesive.
- Carefully pry up the edges of the letters with a knife.
- Work slowly to avoid damage.
- If the letters can’t lift up, use extra heat and more time.
- Use rubbing alcohol to dissolve any remaining adhesive after heat application.
Method 3: Use an Iron
Necessary Materials and Tools
Before starting using this method, ensure you’ve got all the tools and materials at hand.

- An iron: provide the necessary heat to loosen the adhesive of the iron-on letters.
- A sturdy ironing board: use it as a flat working surface.
- A towel: put it inside the garment to protect it from direct heat.
- Rubbing alcohol: aid in dissolving any remaining adhesive after heat application.
- Washing Machine: Use post-removal to cleanse the fabric of any residual substances.
Step-by-Step Instructions for Using an Iron
- Ensure your iron is set to the highest heat without steam before removing iron-on letters.
- Press the iron on the letters to loosen the adhesive on the back.
- Carefully peel the letters while applying heat.
- If residue remains, use rubbing alcohol to clean the area. Ensure a professional finish to your garment’s restoration.
Tips for Success on How to Remove Iron on Letters
- Apply consistent, gentle pressure as you peel off the heated letters. This can significantly increase your chances of removing them cleanly.
- It’s crucial to focus on garment care to maintain the integrity of your clothing.
- Before using any chemical solvent, always perform a spot test on a concealed area to safeguard your personal style against unintended damage.
- Place a towel inside the garment beneath the letters. It can provide a stable base and protect the fabric while you apply heat and steam.
- If using an iron, ensure it’s inside the garment with the hot side against the letters’ backside.
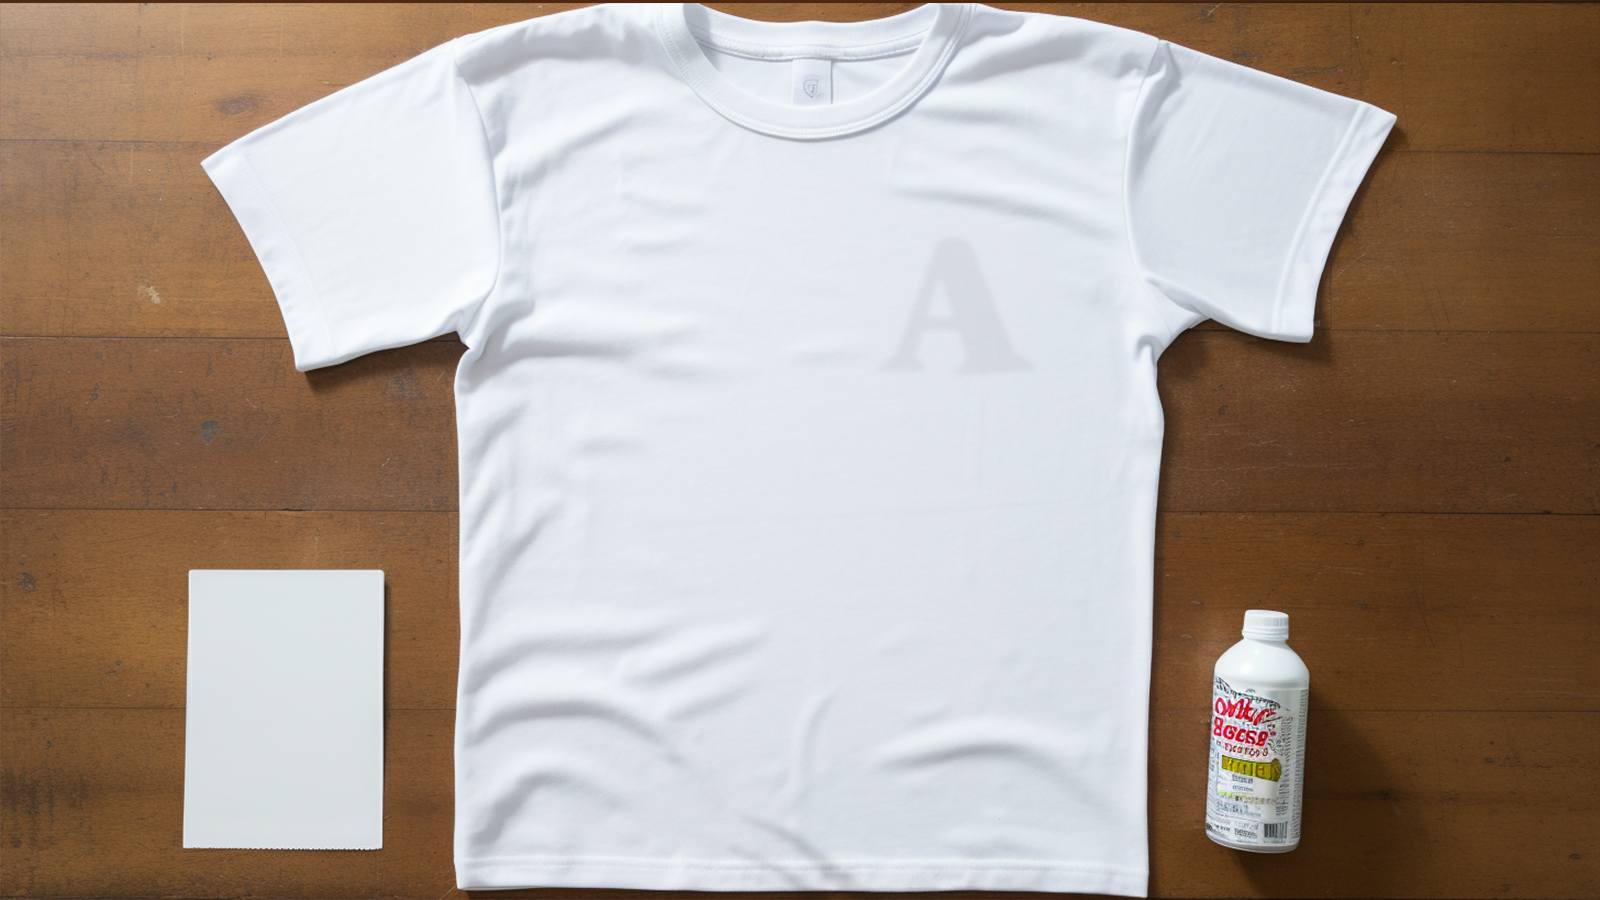
- After successfully detaching the letters, wash the garment separately with ample detergent to remove any residual chemicals, preserving the look and feel of your apparel.
Troubleshoot Common Issues
If you’ve encountered stubborn letters that won’t peel off, try reheating the area and gently scraping away at the edges. Sometimes, the letters come off but leave a sticky residue behind.

To tackle these common issues:
- Residue Left: Use rubbing alcohol to dab at any adhesive residue on the fabric. This should help dissolve the glue without harming the garment.
- Letters Melt and Stick: If the letters melt and stick back down, use another piece of parchment paper and iron over the area again. This helps to reheat the adhesive without direct contact.
- Wash the Garment: After you’ve removed the letters and residue, wash the garment separately with a bit of extra detergent to ensure no solvent or adhesive remains.
Conclusion
You’ve learned the ins and outs of removing iron-on letters. Remember to be patient and precise, whether you’ve used heat, solvents, or other methods.
Always test a small area first and proceed with care to avoid fabric damage. With your newly refreshed garment, you can tackle any future iron-on adjustments.
Wear your revitalized shirt with pride, knowing you’ve mastered a valuable skill in fabric care and customization.
Frequently Asked Questions
Q: Can I remove iron-on letters from the fabric?
A: Yes, you can remove iron-on letters from fabric. The process involves applying heat to the letters to loosen the adhesive, making it easier to peel them off.
Q: What tools do I need to remove iron-on letters?
A: You will need a few essential tools, including a clothes iron, a piece of fabric or parchment paper, and a flat surface.
Q: Can I remove iron-on letters without damaging the fabric?
A: While it’s possible to remove iron-on letters without damaging the fabric, there is always a risk of slight damage, such as color fading or texture changes. Test the removal process on a small, inconspicuous area first.
Q: How do I remove iron-on letters without leaving residue?
A: Heat the iron-on letters with a warm iron and gently peel them off to minimize residue. You can use a residue remover designed for fabrics if any residue remains.
Q: Can I reuse iron-on letters once removed?
A: Reusing iron-on letters is not recommended. The adhesive on the back of the letters may lose its effectiveness after the initial application.
Q: What temperature should I set the iron to when removing iron-on letters?
A: Start with a low to medium heat setting on your iron. Gradually increase the temperature if the letters don’t peel off easily. Always check the fabric care instructions to avoid damaging the material.
Q: How long should I apply heat to the iron-on letters?
A: Apply heat for 10–15 seconds, checking periodically to see if the adhesive has softened. Be careful not to overheat, as this can damage the fabric.
Q: Can I remove iron-on letters from all types of fabric?
A: The effectiveness of removing iron-on letters can vary depending on the fabric. Natural fibers like cotton are generally easier to work with, while delicate fabrics may need more caution.
Q: What if the iron-on letters are stubborn and won’t come off?
A: If the letters are stubborn, use a fabric-safe adhesive remover or repeat the heating and peeling process. Be patient and avoid using excessive force, which could damage the fabric.
Q: Should I wash the fabric after removing the iron-on letters?
A: It’s a good idea to wash the fabric after removing iron-on letters to ensure any remaining adhesive or residue is completely removed. Follow the fabric care instructions for washing.