Are you ready to embark on a creative journey and learn the art of applique? Applique is a fun and versatile sewing technique that allows you to add intricate designs and decorative embellishments to your projects. Whether you’re a complete newbie or have some sewing experience, learning how to applique is a great way to enhance your skills and create beautiful handmade pieces.
In this beginner’s tutorial, we will offer the basics of applique, from choosing the right materials to mastering different applique techniques. Get ready to unleash your creativity and transform your sewing projects with the art of applique!
Key Takeaways
- Start with simple designs like hearts or stars to ease into applique techniques.
- Use fusible web to easily adhere shapes to your background fabric.
- Practice using basic stitches, such as straight or zigzag, to secure applique.
- Prepare fabrics by washing and ironing them before tracing and cutting shapes.
- Choose lightweight fabrics like cotton or muslin for easier handling and sewing.
Getting Started with Applique
To kick off your applique journey, you’ll need to gather a few basic materials. Choose a simple design, like a heart or a star, which makes cutting and stitching easier as you learn the ropes.
Then, prepare your fabric by washing and ironing it to ensure it’s smooth and ready for applique.
Materials Needed
To start your applique project, you’ll need a few basic materials, including cotton fabric scraps, fusible web, and essential tools like scissors and an iron.
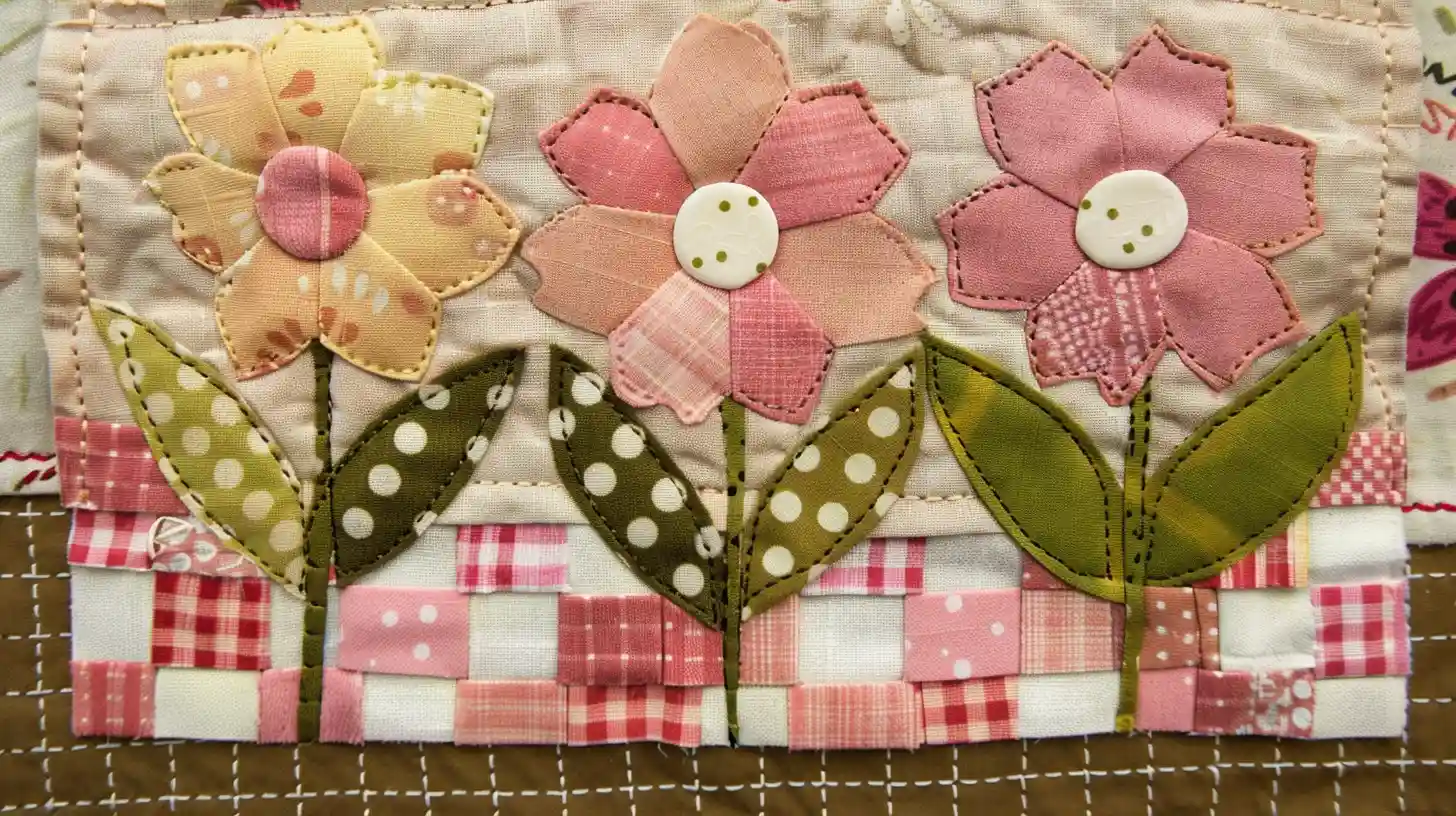
Choose a Simple Applique Design
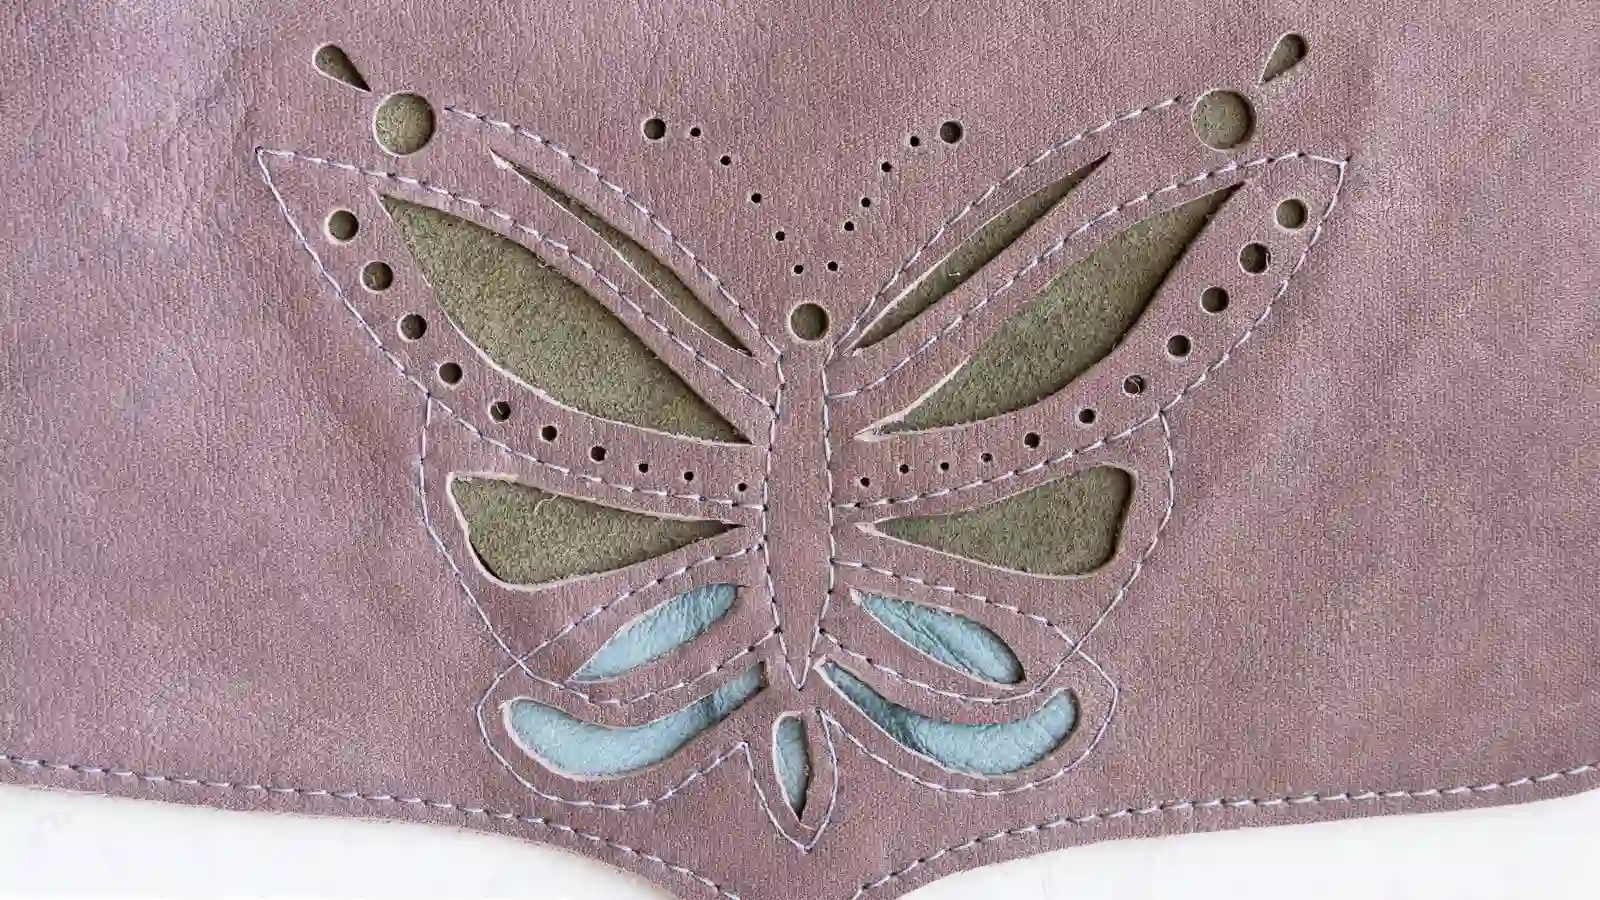
For your initial foray into appliqué, it’s best to choose simple designs that utilize basic shapes like hearts, stars, or flowers.
These forms are charming and straightforward to cut and stitch, making them ideal for honing your skills. Look for templates or patterns with minimal intricate details; this simplifies the process considerably.
Prepare the Fabric
Before you start your appliqué project, wash and press your fabric to eliminate any impurities or wrinkles. This ensures a smooth surface for your sewing and helps the appliqué adhere better.
Next, select a lightweight fabric like cotton or muslin, which is easier to handle and won’t add bulk to your project. You’ll also want to use a stabilizer; this supports the fabric, preventing distortion as you stitch.
When cutting out your appliqué pieces, use sharp fabric scissors for clean, precise edges. This is crucial for a polished look.
Lastly, utilize templates or stencils to accurately trace your designs onto the fabric, ensuring consistency in your appliqué shapes.
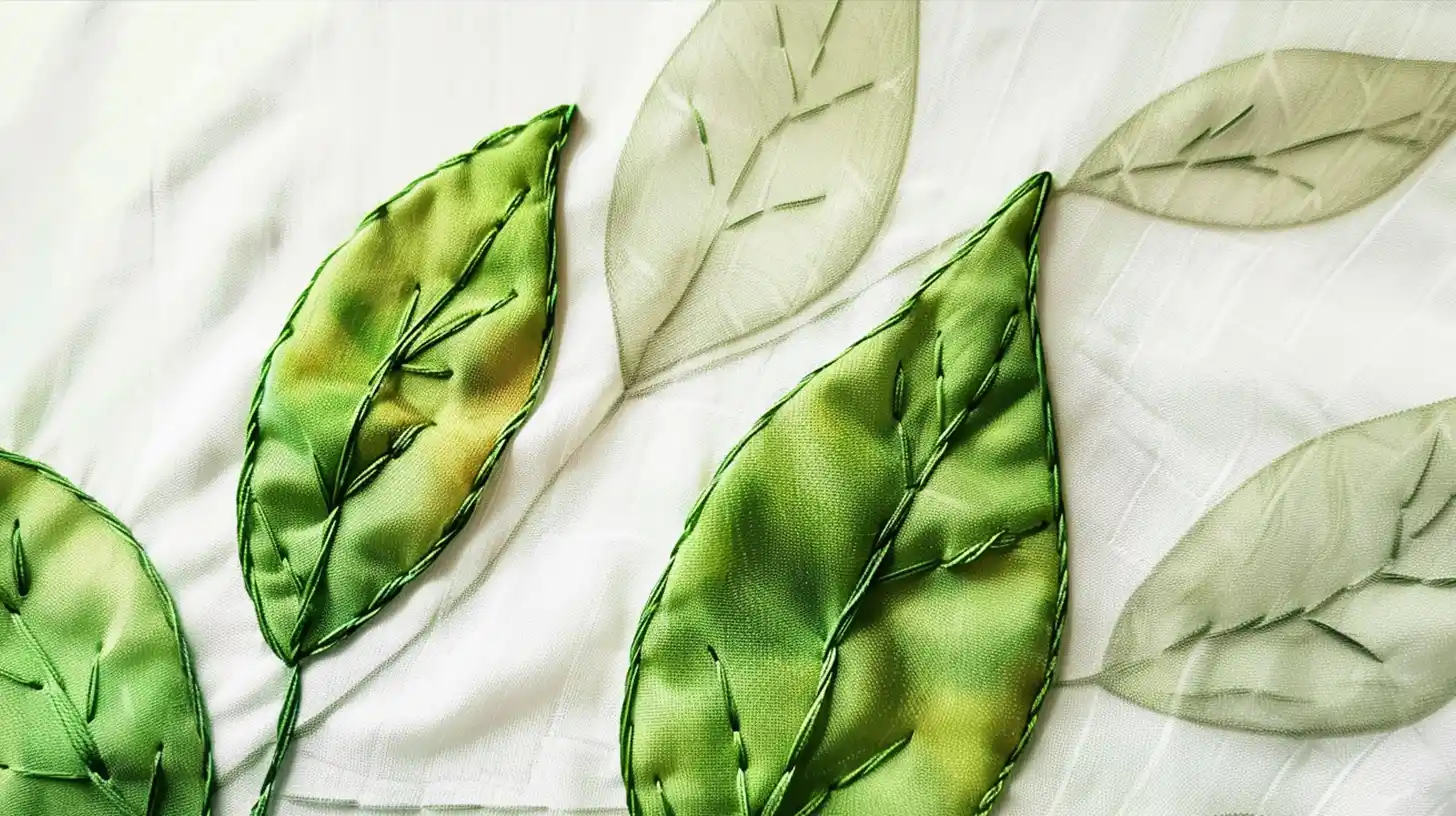
Hand Applique
In hand applique, you’ll encounter two main techniques: raw-edge and turned-edge applique.
Method 1: Raw-Edge Applique

Raw-edge appliqué allows you to quickly add personality to your projects by securing fabric shapes with their raw edges left unturned. This method is particularly beginner-friendly. You don’t need to fuss over turning under the edges of your fabric before stitching.
Start by choosing your design and cutting out the fabric shapes. Then, using a fusible web, attach these shapes to your base fabric.
You’ll enjoy the creative freedom raw-edge hand appliqué offers. It allows you to experiment with various stitches, such as straight, zigzag, or blanket, to secure the edges. It’s a fantastic way to personalize quilts, garments, and home décor items.
Method 2: Turned-Edge Applique
Turned-edge appliqué requires you to carefully turn under the edges of your fabric before stitching them into place. This method allows for a cleaner, more polished look in your sewing projects. It’s particularly favored in quilting, where precision and detail are prized.
Start with small projects to build your skills. The process involves stitching the folded edges by hand to improve the durability and aesthetic of your work.
This technique is ideal for intricate designs and is celebrated for adding a traditional, meticulous touch to quilt blocks and decorative elements in your projects.
Machine Applique
When you start with machine applique, you’ll encounter different stitching styles, each offering unique advantages.
Method 3: Blanket Stitch Applique
Use a sewing machine with a blanket stitch to secure the edges of your appliqué shapes effectively. This method is faster than hand stitching and gives a neat finish that adds a decorative border to your fabric.
Adjust the stitch length and width based on the size of your appliqué shapes and the look you want to achieve. It’s best to practice on some scrap fabric first to get your settings right. This also allows you to experiment with different thread colors, creating a striking contrast or blending seamlessly with your base fabric.
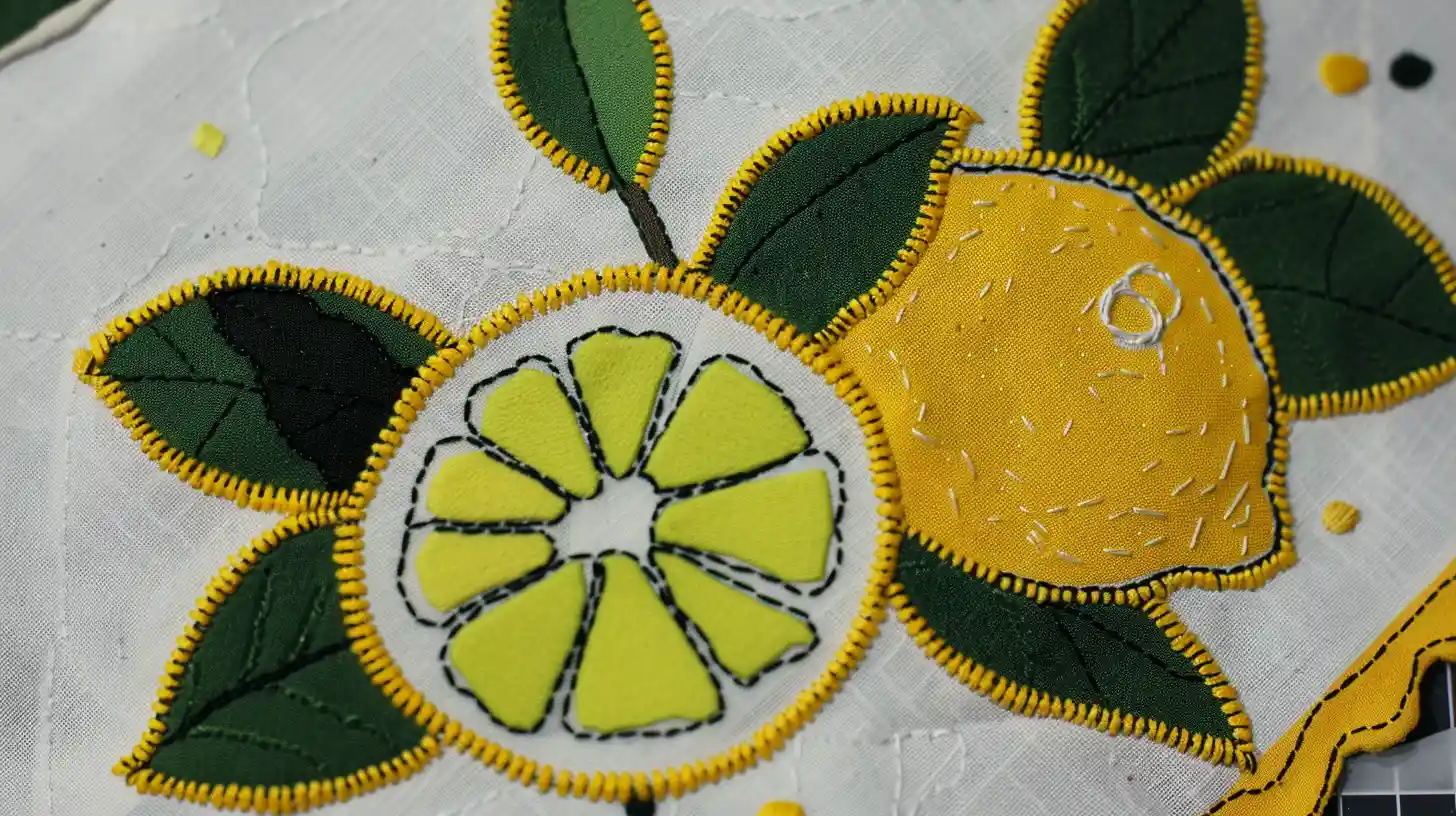
Method 4: Satin Stitch Applique
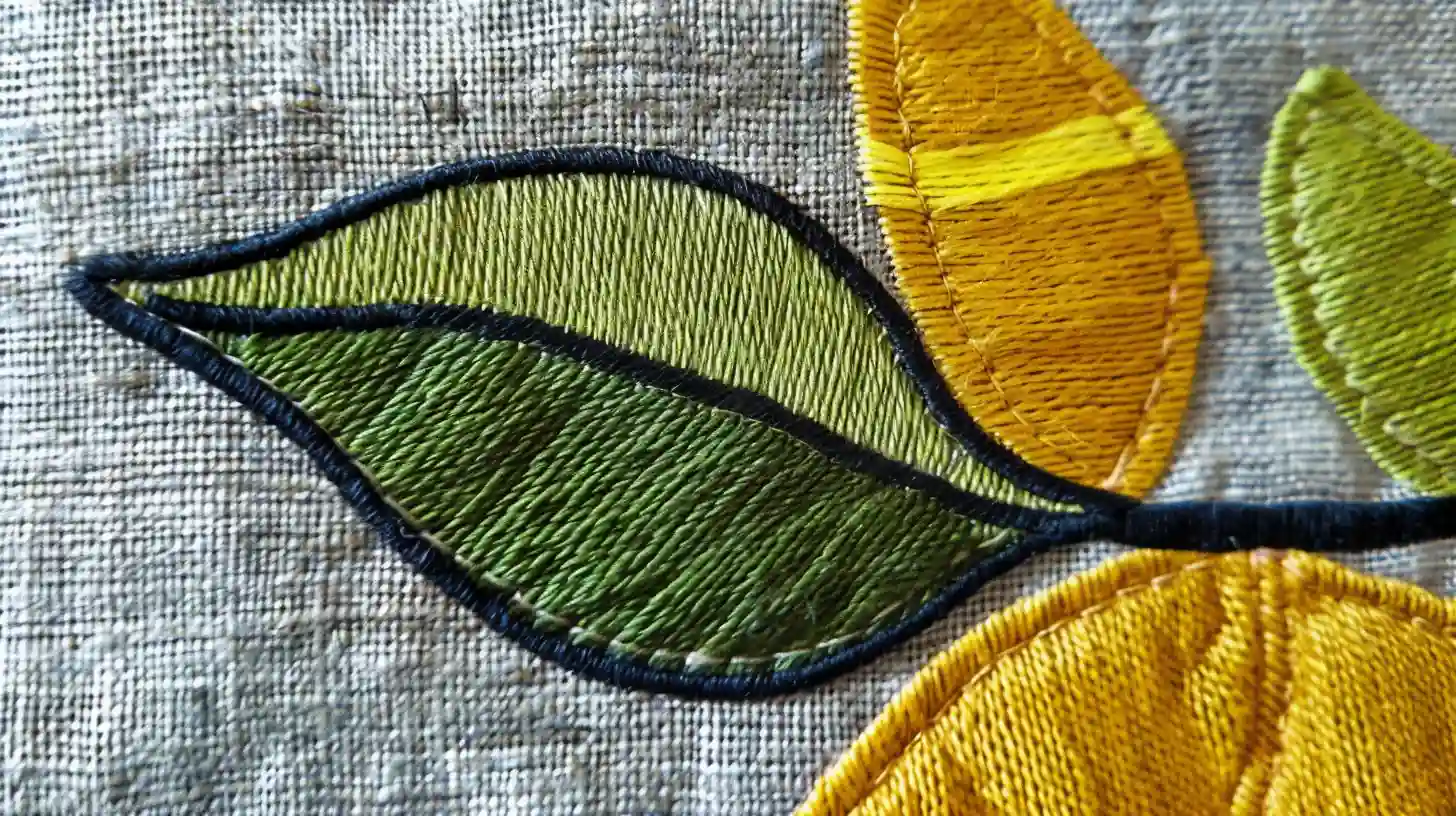
Another machine appliqué method is to use the satin stitch with your sewing machine. This method involves sewing a dense, smooth satin stitch along the edge of your applique design, securing the fabric edges and preventing fraying.
To start, prepare a regular sewing machine with a satin stitch setting or an appliqué foot for more precise stitching. Adjust the stitch width and length to match the size and intricacy of your design.
Satin stitch appliqué not only adds durability but also provides a polished look. It’s perfect for enhancing quilts, garments, and home decor items with intricate details and outlines.
Method 5: Free-Motion Applique
Free-motion appliqué lets you stitch intricate designs freely by maneuvering the fabric under the sewing machine’s needle. To start, set up your sewing machine with a darning foot, which allows better movement and visibility. Don’t forget to place a stabilizer beneath your fabric. It prevents the fabric from puckering and ensures your stitches remain smooth and even.
Before diving into your main project, take some time to practice using scrap fabric. Adjust your machine settings, figure out the right stitch length, and get comfortable with controlling the speed. Experiment with different thread colors and stitches to truly personalize your appliqué work.
Method 6: Reverse Applique
 Traditional applique adds elements on top of your fabric. But reverse applique involves layering your materials and cutting away the upper layers to expose the colors and patterns beneath. Start by stacking contrasting fabrics, ensuring each layer complements the other aesthetically.
After sewing them together, cut away parts of the top layer, meticulously revealing the fabric below. This technique adds a captivating visual depth and lets you play creatively with patterns and colors. Reverse applique is ideal for adding personalized touches to your projects.
Troubleshooting Common Issues
As you embark on your applique projects, you might encounter common issues like fabric puckering or uneven stitches. If your design starts shifting or the fabric edges fray, don’t worry; these problems are fixable with a few adjustments.
Fabric Puckering
If your appliqué fabric puckers, it may be due to incorrect tension settings on your sewing machine. To tackle this, adjust your thread tensions and experiment with different stitch lengths.
It’s not just about tweaking your machine, though. The choice of stabilizers plays a crucial role as well. They provide the necessary support to your fabric, preventing it from bunching up as you stitch.
Also, consider the needle type. Using the correct needle can make a significant difference. For instance, a sharp, fine needle is often best for delicate fabrics.
Uneven Stitches
Uneven stitches can often result from inconsistent tension on your sewing machine. To tackle this, check your needle position to ensure it’s straight. This alignment is crucial for even stitching.
Next, you’ll want to use quality thread that matches your fabric. This will enhance the look of your stitches and help maintain consistency.
Additionally, consider adjusting the stitch length and width on your sewing machine. This can make a significant difference in achieving uniform stitches.
Fraying Edges
To tackle fraying edges, first, ensure that the fabric edges are properly secured. Use a fusible web to bond your appliqué piece securely to the background fabric.
If you prefer a more hands-on approach, stitching by hand around the edges can also effectively prevent fraying. Opt for a tight zigzag or satin stitch to closely encase the fabric edge, adding both durability and a decorative touch.
Additionally, applying a bit of fray-check or fabric sealant along the edges can provide extra security. Experimenting with different stitches will help you find the perfect balance to keep your edges neat.
Design Shifting
To combat design shifting, first, secure your fabric shapes in place using pins or a dab of temporary fabric glue. This helps keep everything aligned as you sew.
Additionally, incorporating a stabilizer or interfacing not only helps prevent the fabric from puckering but also reduces the chances of the appliqué moving out of place. Paying attention to the fabric grain when positioning your appliqué shapes can also minimize shifting.
Conclusion: How Do You Applique for Beginners?
Now that you’ve got the basics down, keep practicing your applique skills. Start with simple shapes and small projects like coasters, gradually moving to more complex designs.
Whether you use hand stitching or a machine, each technique has its charm and challenges. Don’t forget that mistakes are just part of the learning curve.
So, press your fabric, set up your space, and dive into the creative world of applique. You’ll be amazed at what you can create!
Explore more crafting projects at the Accessories-Wholesaler blog! Find your favorite iron-on patches at Accessories-Wholesaler!
FAQs
What Is the Easiest Method of Appliqué?
The easiest method of appliqué is raw-edge appliqué. You place fabric shapes on your background, then stitch around the edges, leaving them raw. It’s quick, simple, and perfect for experimenting with designs.
How to Make Appliqué Work Step by Step?
To start appliqué work, choose a simple design and suitable fabrics. Trace your design onto a fusible web, iron onto fabric, cut out, and fuse to your base. Finish by stitching the edges.
How Do I Apply Appliques to Fabric?
To apply appliques to fabric, you’ll first trace your design on fusible web, iron it onto your fabric, cut it out, and then iron it onto your base fabric. Finally, stitch around the edges.
How Do I Appliqué by Hand for Beginners?
To start hand appliqué, choose a simple design. Use a needle to turn fabric edges under, then secure with small, even stitches. Practice different stitches to perfect your technique and enhance your designs.