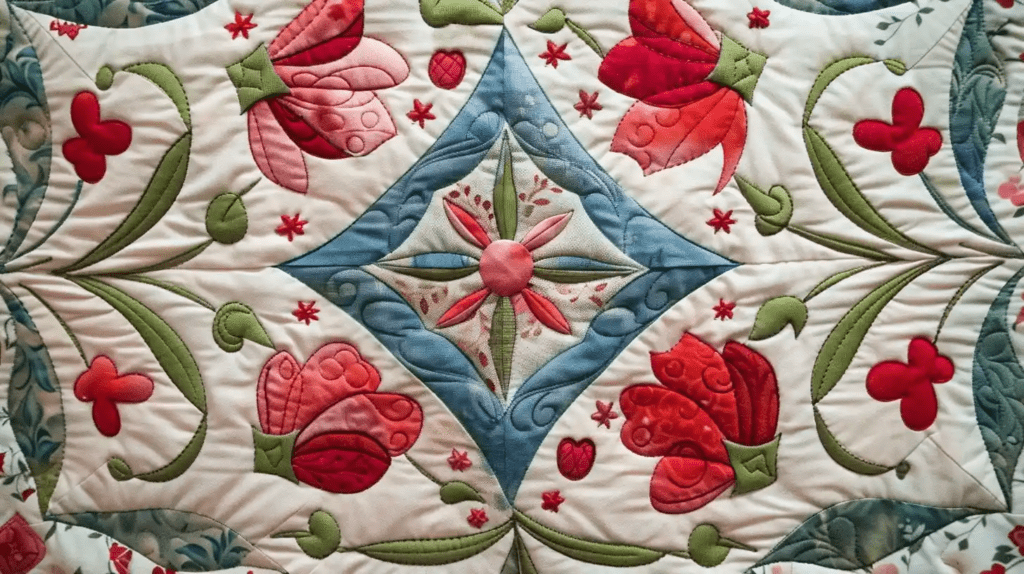
You’ve likely heard about applique using fusible web, but have you explored its potential in your fabric projects? This method isn’t just about sticking shapes onto a background. It’s an art form that offers precision and versatility without the time-consuming effort of sewing each piece. You’re equipped to tackle designs that may have seemed too intricate before.
From selecting the right fusible web to mastering the ironing technique, each step brings you closer to transforming your textile work. Now, imagine the possibilities when you apply these skills to your next project. What might you create?
Key Takeaways
- Prewash fabric scraps to ensure proper adhesion of the fusible web.
- Trace the design onto the paper side of the fusible web, mirroring any directional elements.
- Cut out appliqué shapes precisely using micro-serrated scissors for clean edges.
- Iron fusible web onto the wrong side of fabric shapes with specific heat settings.
- After fusing, stitch around appliqué edges to secure and add a finished look.
Applique Using Fusible Web: A Step-by-Step Tutorial
This step-by-step tutorial will guide you through creating beautiful appliqué designs. Whether you’re a beginner or a seasoned crafter, mastering appliqué using the fusible web can open up creative possibilities for your projects. Let’s delve into the details of this versatile and exciting method together.
Step 1: Design selection and preparation
When selecting a design for your applique, choose simple and clear shapes to ensure straightforward tracing and cutting.
Remember the size of your applique relative to the background fabric to achieve a balanced composition.
Additionally, select a design that complements the theme of your project, ensuring that it enhances rather than detracts from the overall aesthetic.
Step 2: Prepare the fabric background
To prepare your fabric background for applique, first ensure it’s slightly larger than your final design dimensions. This extra space allows you to adjust the placement of your applique shapes later.
After selecting your fabric, lay it flat and press it to remove any wrinkles, ensuring a smooth surface for your work.
Step 3: Apply fusible web to the fabric
Before applying fusible web to your fabric, ensure it’s prewashed to avoid any shrinkage or chemical interference during the applique process.
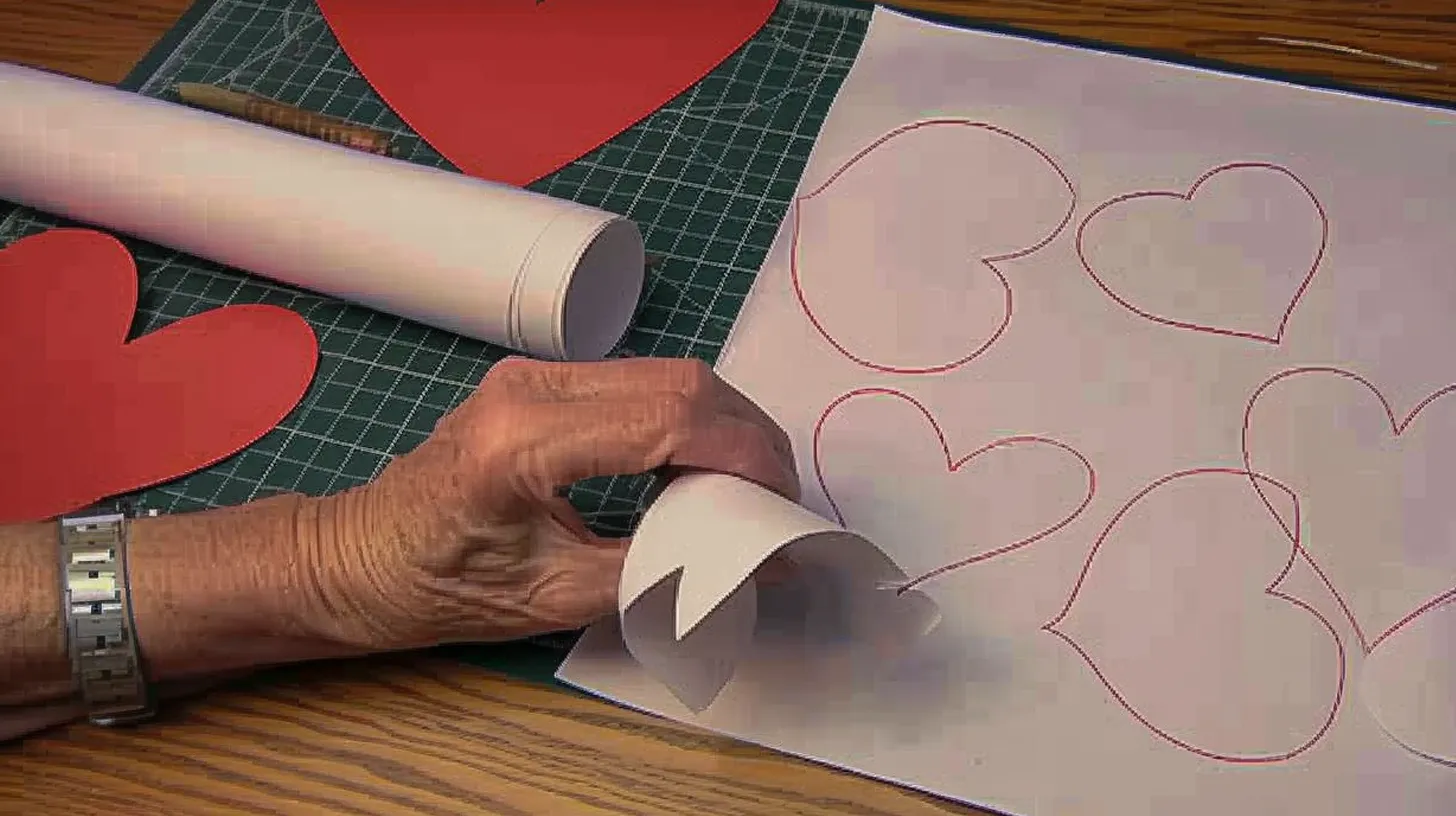
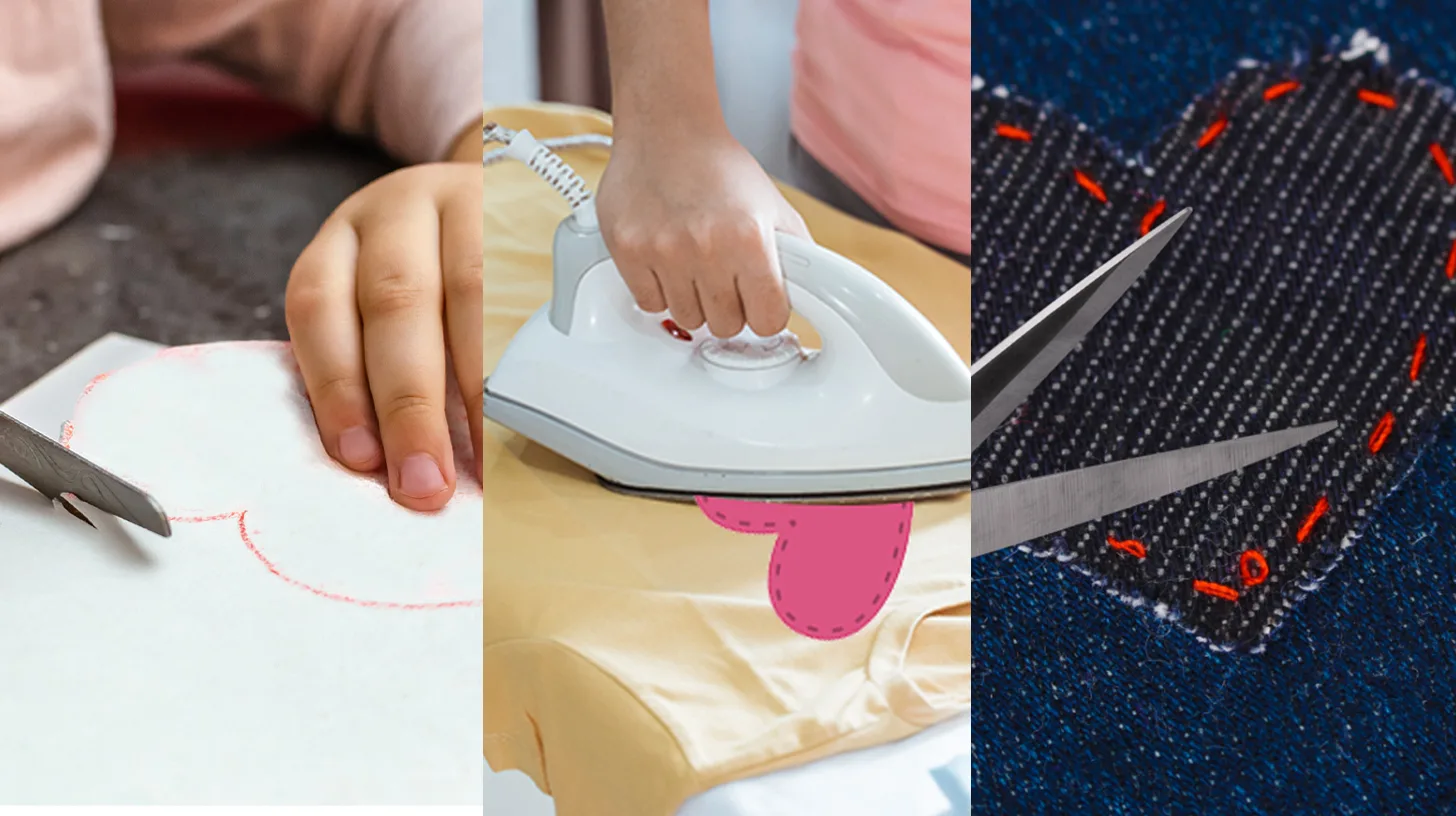
Choose a lightweight and paper-backed fusible web for easier handling. Start by tracing your design onto the paper side of the fusible web. This ensures precision in your applique shapes.
Next, press the fusible side against the wrong side of your applique fabric. To maintain the integrity of your design, it’s crucial to cut the shapes out along the tracing lines.
Step 4: Position and secure the appliqué shapes
Once you’ve peeled off the paper backing, position the appliqué shapes on your background fabric where you want them to adhere.
Double-check that the adhesive side is facing down; this will secure your shapes firmly to the fabric. Before the final ironing step, lightly press down on each shape to prevent it from shifting.
If you’re not satisfied with the layout, you can gently lift and reposition the shapes. Remember, the adhesive hasn’t been activated yet. So, you can adjust until you’re ready to set everything with the iron.
Step 5: Iron and fuse the appliqué to the fabric
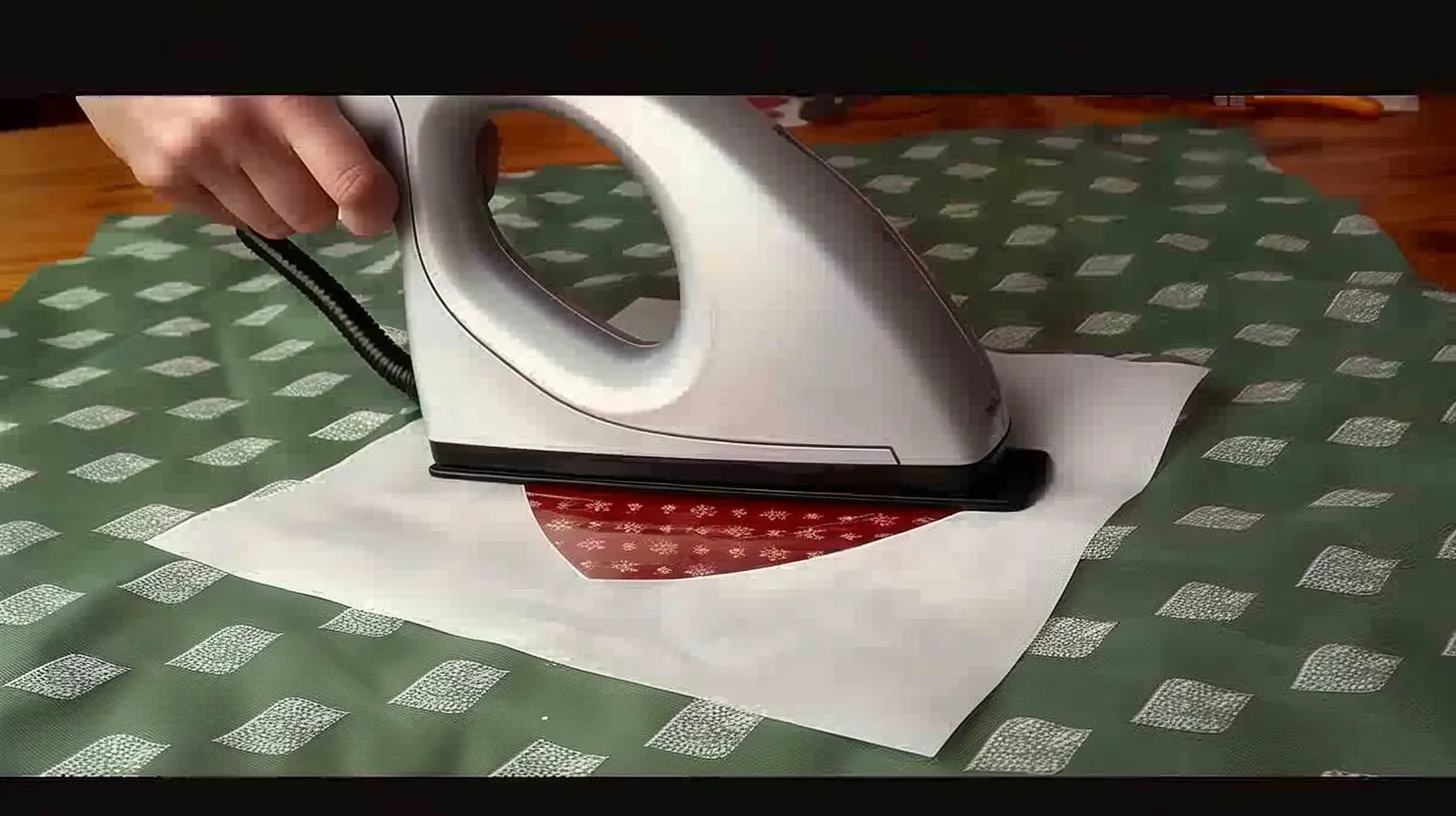
Begin by setting your iron to the temperature recommended by the fusible web manufacturer. Place your fusible web-backed appliqué on the fabric, ensuring it’s positioned as you want.
Next, lay the fabric flat on your ironing board. Take your hot iron and press down firmly on the appliqué. Follow the manufacturer’s instructions closely—usually, you’ll need to apply pressure for about 10-15 seconds.
After ironing, let the fabric cool completely. This step prevents the appliqué from shifting and ensures it’s securely attached.
You’re now ready to move on to stitching around the edges to finish your project.
Step 6: Stitching options: machine vs. hand stitching
 When finishing your applique, you’ll need to choose between machine stitching for efficiency or hand stitching for a personalized touch.
For speed and a polished look, machine stitching with a satin or blanket stitch is ideal. This method secures your applique design and gives it a professional edge.
But if you prefer a more traditional aesthetic, hand stitching allows for meticulous control and can add unique texture to your work. This approach lets you tailor every stitch to enhance your applique, making each piece distinctively yours.
Ultimately, the choice depends on what you value more: the efficiency of machine stitching or the character of hand stitching.
Step 7: Embellishments and additional details
Consider adding embellishments like buttons, beads, or intricate embroidery to elevate your applique project for a stunning finish. Layering different fabrics can provide depth while incorporating texture with materials like ribbons, which creates visual interest. Try using decorative stitches from your sewing machine to outline or fill in parts of the applique. This technique adds a professional touch and helps integrate the pieces seamlessly.
Don’t hesitate to experiment with metallic or specialty threads for a unique look. Hand embroidery can also play a significant role in personalizing your design. Adding details such as French knots or delicate satin stitches can make your applique stand out, turning a simple project into a masterpiece with your personal touch.
Step 8: Final pressing and care instructions
After you’ve stitched your applique in place, give the whole project a final press to ensure everything is securely attached. Place a pressing cloth over the applique to protect your fabric and prevent the adhesive from sticking to your iron. Don’t use steam during this step, as it could distort the shape of your applique or cause the pieces to shift. Once pressed, let your project cool completely.
For care, machine wash your project on a gentle cycle and air dry. This will help maintain the integrity and appearance of your applique, keeping it looking great over time.
Common Mistakes and How to Avoid Them
Several common mistakes can compromise the quality of your project when applying fusible web in applique; here’s how to avoid them.
First, always prewash fabrics to ensure the fusible web adheres properly and prevents shrinking later.
Use micro-serrated scissors to cut your designs. They’ll give you cleaner edges and reduce fraying.
After fusing, make sure to stitch around the edges of your applique. This not only secures the applique but also adds a finished look.
Always check the iron’s temperature; too hot and you’ll scorch your fabric.
Lastly, don’t forget to reverse letters and any directional designs before tracing them onto the fusible web to ensure they appear correctly on your project.
Conclusion
Now that you’ve mastered applique using fusible web, adding unique touches to your projects will be a breeze.
Always prewash your fabrics, cut accurately, and do a test run to prevent mishaps.
With these tips in your back pocket, you’re ready to tackle any design, no matter how intricate.
Dive in, get creative, and watch your fabric crafts transform beautifully.
Happy crafting!
Explore more crafting projects at the Accessories-Wholesaler blog! Find your favorite iron-on patches at Accessories-Wholesaler!


