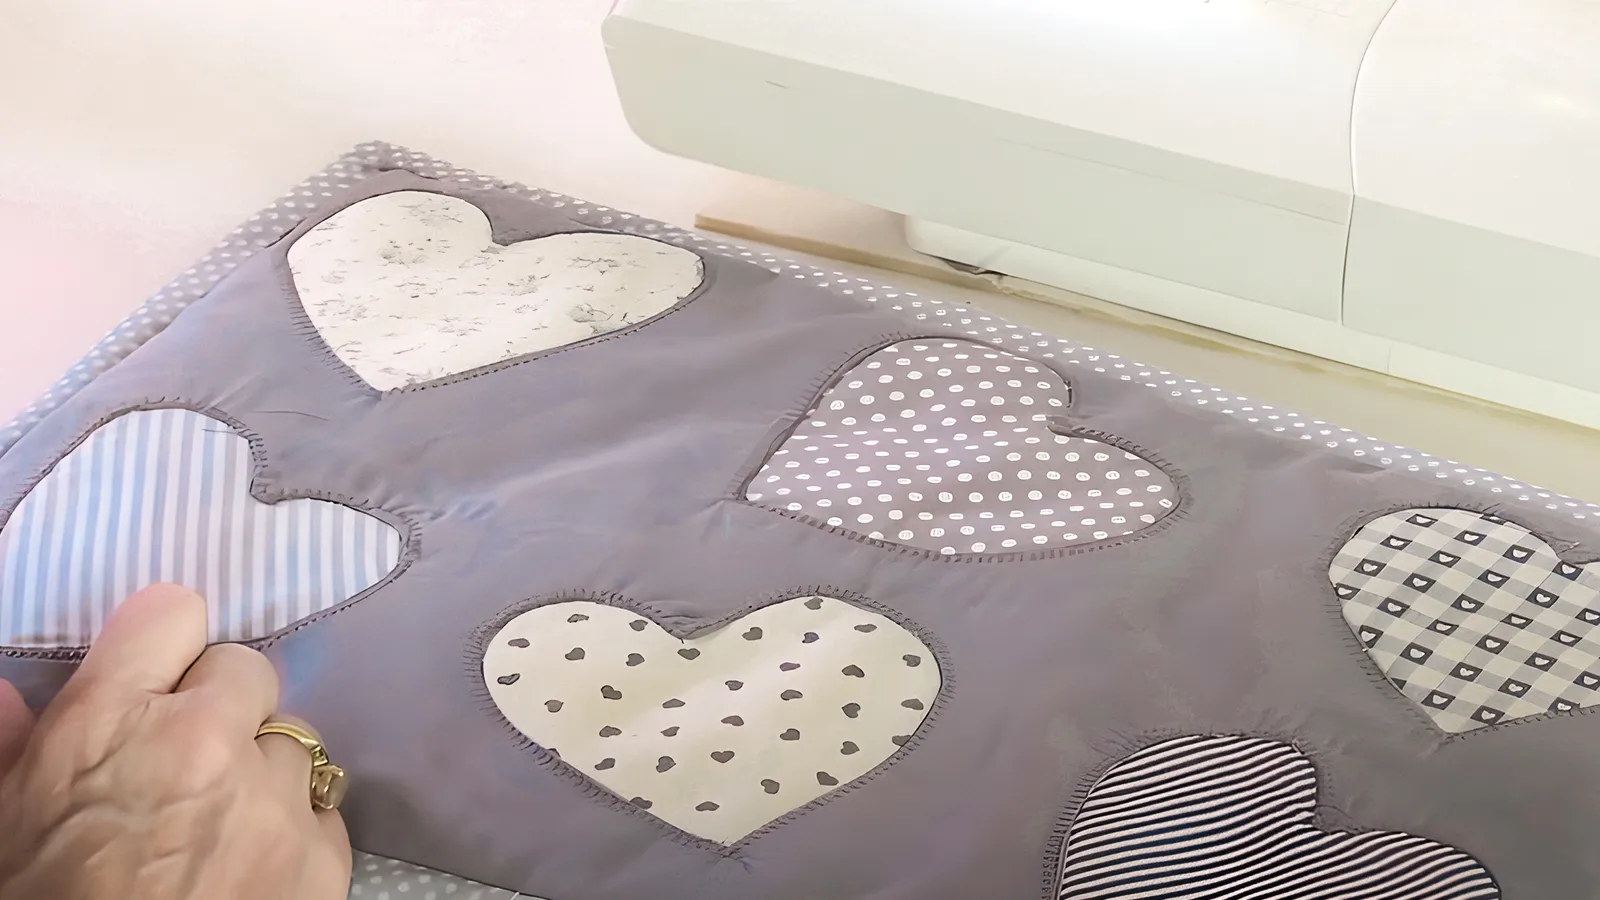
Reverse applique is a popular sewing technique that involves layering fabric pieces to create a unique design. Unlike traditional applique, where fabric is layered on top, reverse applique involves cutting away layers to reveal a contrasting fabric underneath. This technique adds depth and texture to your sewing projects, making them stand out from the crowd.
In this tutorial, we will show you how to reverse applique step by step. Whether you’re a seasoned sewist looking to try something new or a beginner eager to learn a new skill, reverse applique is a fun and creative way to add a personal touch to your handmade items.
Key Takeaways
- Choose contrasting fabrics for clear design visibility and layer them with the right sides facing.
- Trace your design onto the right side of the main fabric using a fabric marker.
- Securely stitch along the traced design using a needle and matching thread.
- Carefully cut away the excess top fabric close to the stitching line, leaving a small seam allowance.
- Finish by trimming edges neatly and pressing the appliquéd area for a crisp look.
What Is Reverse Applique?
Reverse appliqué is a technique where you cut away the top fabric to showcase the layer beneath. This offers a creative twist on traditional appliqué methods. It lets you reveal intricate designs by simply removing parts of the upper layer, exposing the contrasting applique fabrics below.
Choose applique fabrics with a tight weave, which minimizes fraying. This makes the process smoother and more forgiving. You’ll choose contrasting colors to ensure your design pops.
6 Simple Steps for How to Do Reverse Applique
To kick off your reverse appliqué project, select your fabrics and sketch out your design on the main piece.
Next, layer your appliqué fabric underneath the main fabric, aligning it properly to ensure your design pops after the cutting step.
Step 1: Choose fabrics and design
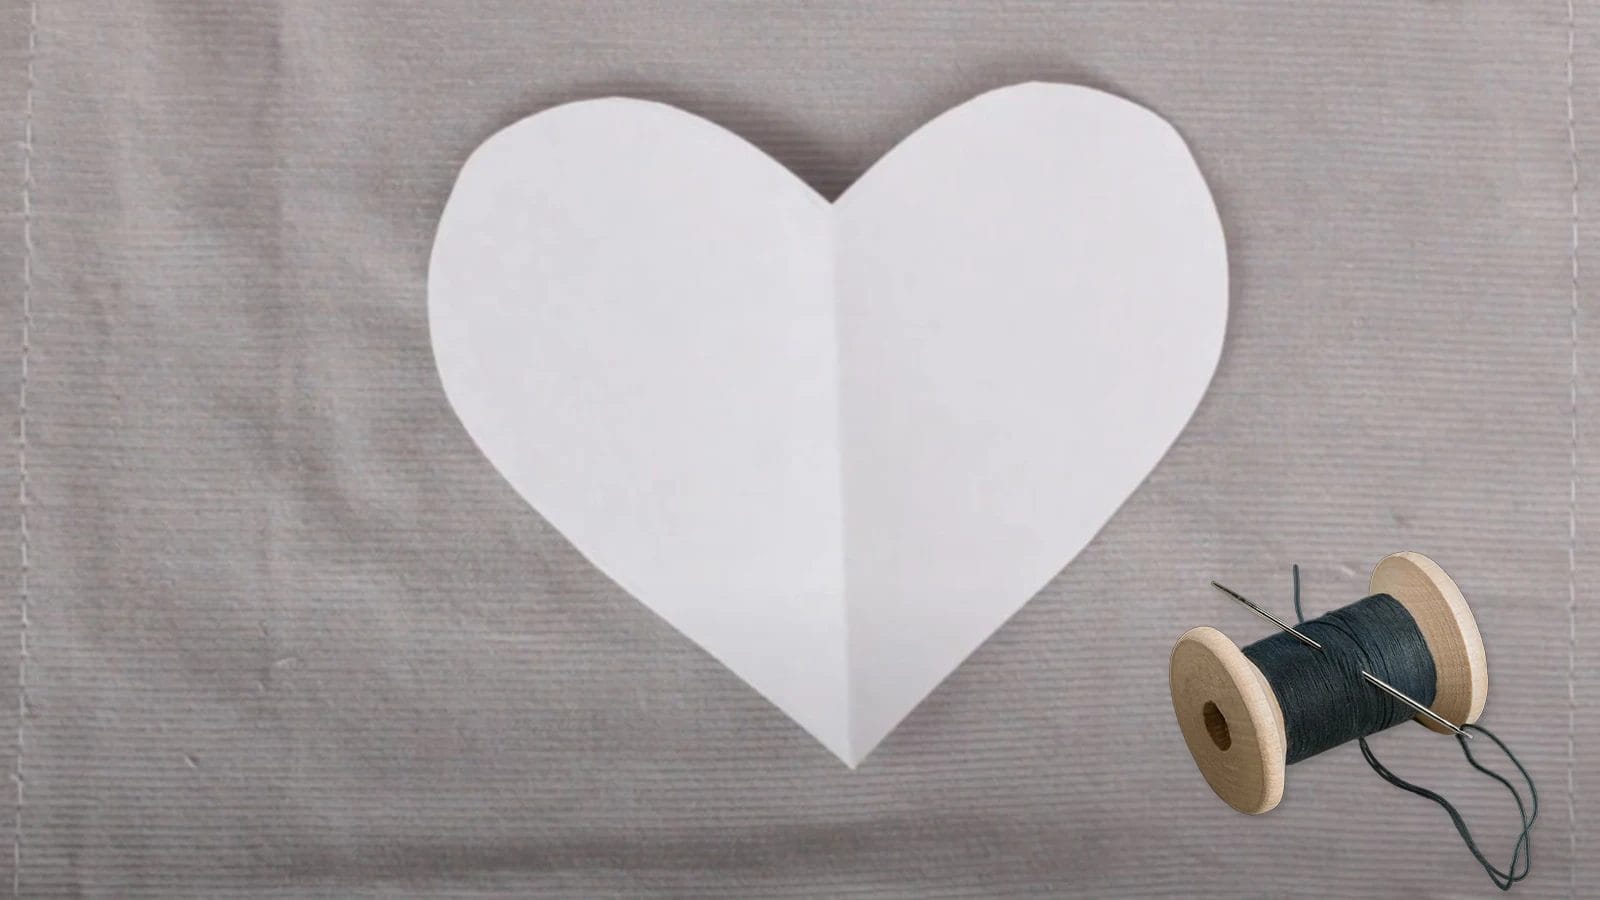
Select contrasting fabrics for your reverse appliqué project to ensure the design stands out clearly. When you’ve picked your fabrics, it’s time to decide on your design. Opt for patterns that highlight the unique properties of your chosen fabric and will show well through the layers.
Step 2: Trace the design onto the main fabric
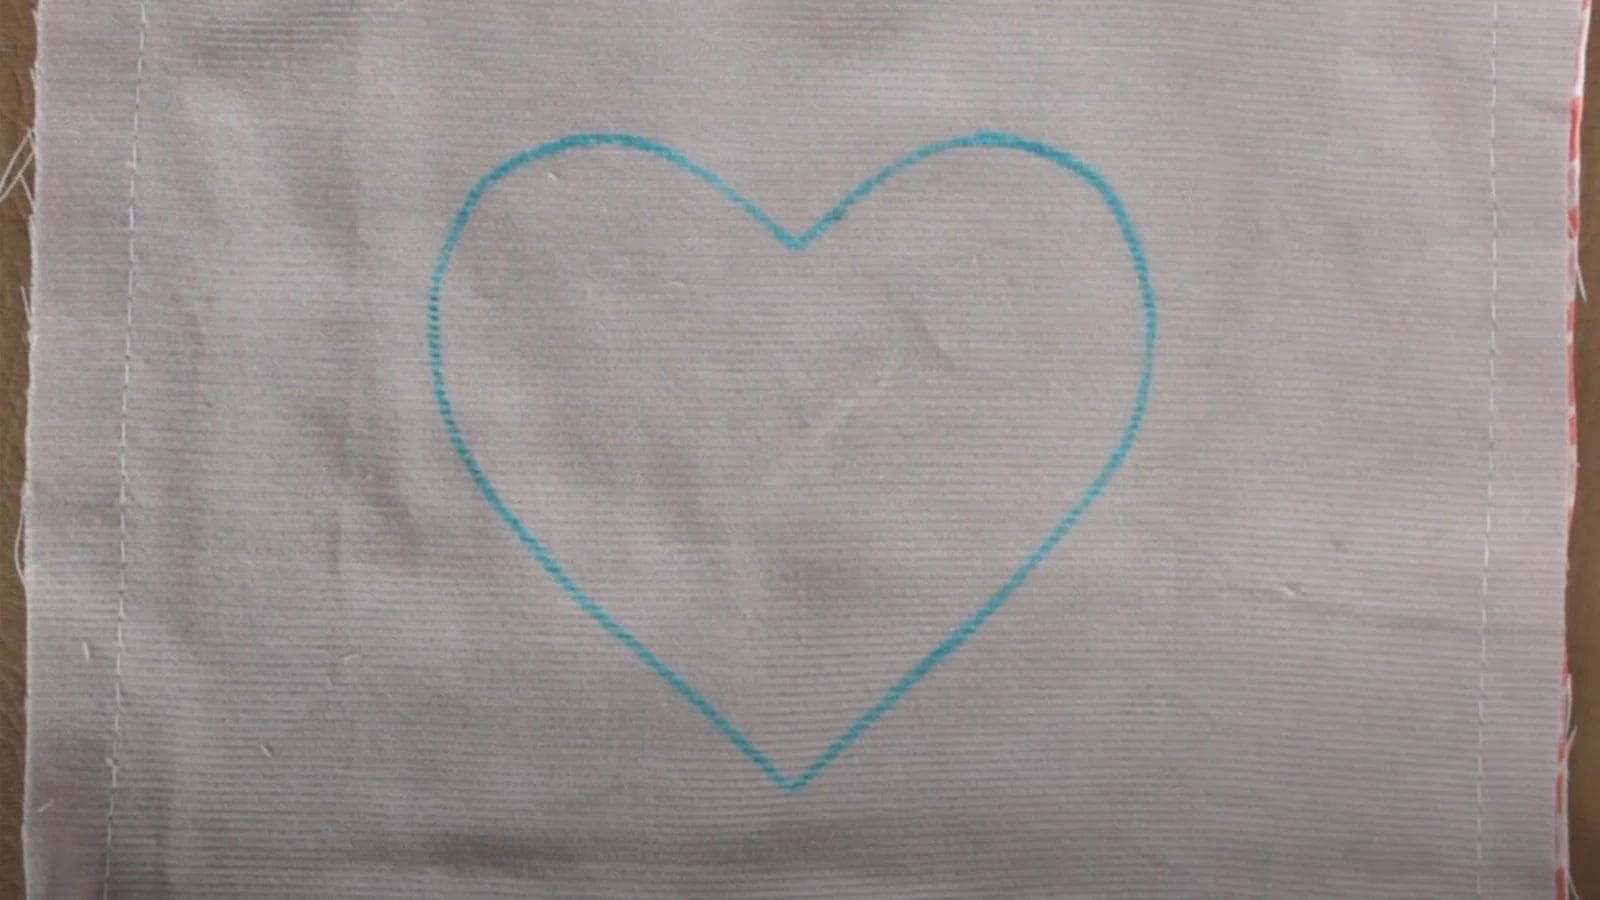
For precision, begin by tracing your chosen design onto the right side of the main fabric using a pencil or Frixion gel pen. This step is crucial as it sets the foundation for your reverse appliqué project.
Ensure the lines are clear and visible. If you struggle to see the design through the background fabric, utilize a light box. This tool illuminates your fabric from beneath, enhancing the visibility of your trace lines. It’s essential to keep the fabric stable while tracing, so consider pinning it lightly to avoid any shifts.
Step 3: Layer applique fabric underneath the main fabric
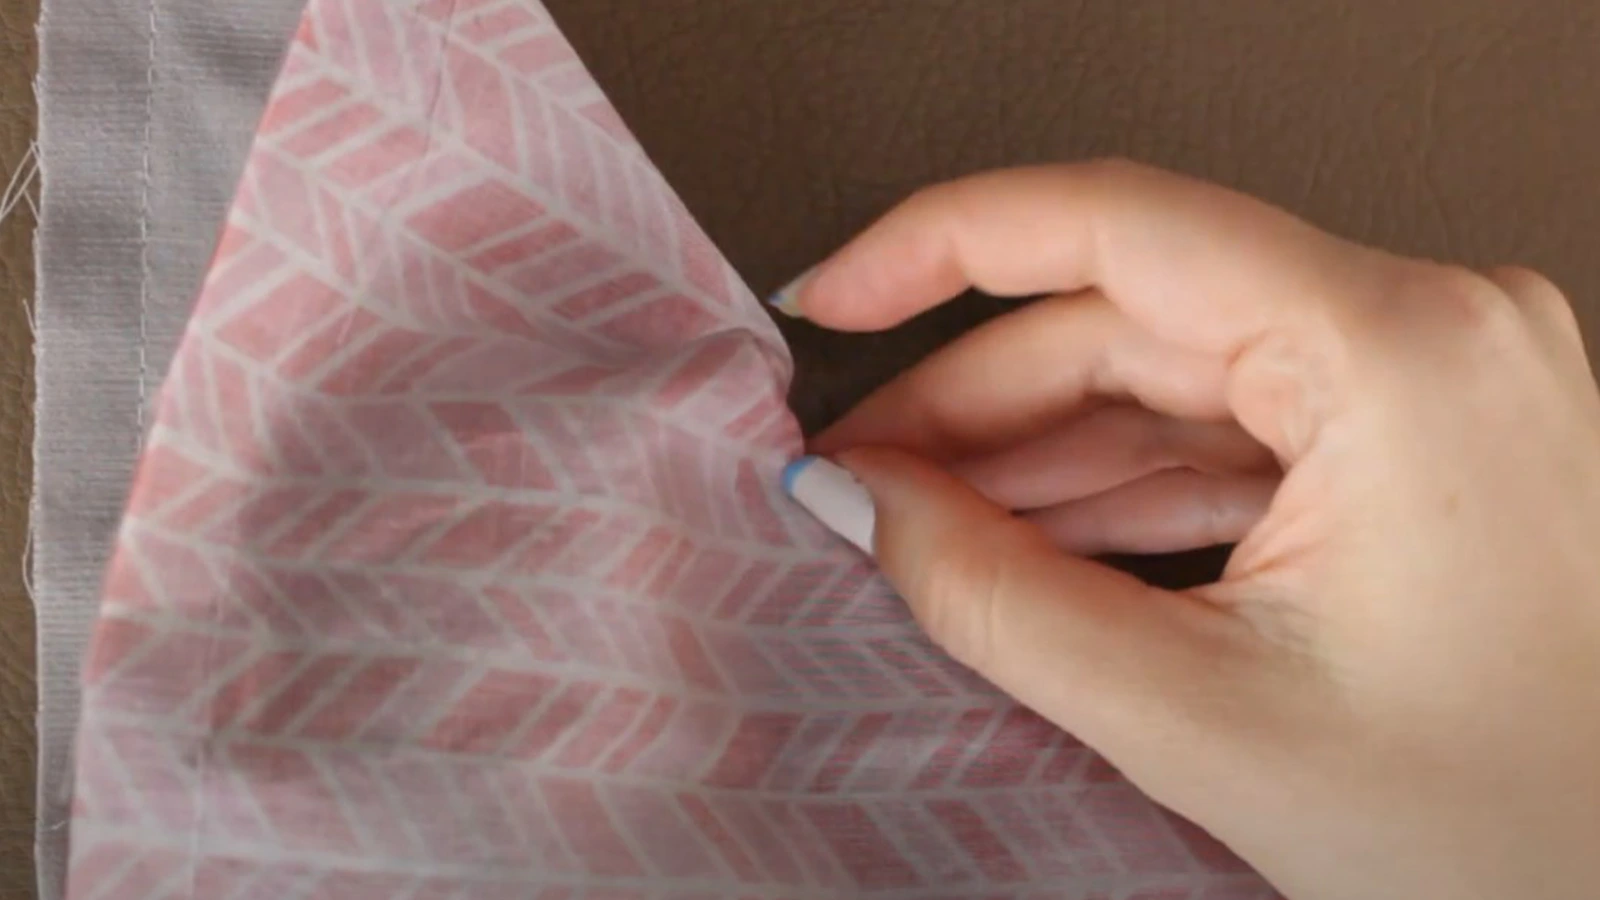
Place the applique fabric underneath the main fabric. Make sure the right side of the applique fabric faces the wrong side of the main fabric. This is crucial in reverse appliqué to make sure your final piece looks seamless and polished.
Once you’ve aligned the fabrics, it’s time to secure them together. Carefully pin the layers, ensuring there’s no shifting or puckering; smooth out the fabrics as you go.
Remember, the applique fabric should extend slightly beyond the design area. This extra material allows for a proper seam allowance, which is vital to prevent any gaps once you cut and reveal the design.
Step 4: Stitch along the traced design
Now, use a needle and matching applique thread to stitch along the traced shape on your fabric. Carefully sew, ensuring the stitching line is clear and neat.
Step 5: Cut away excess fabric
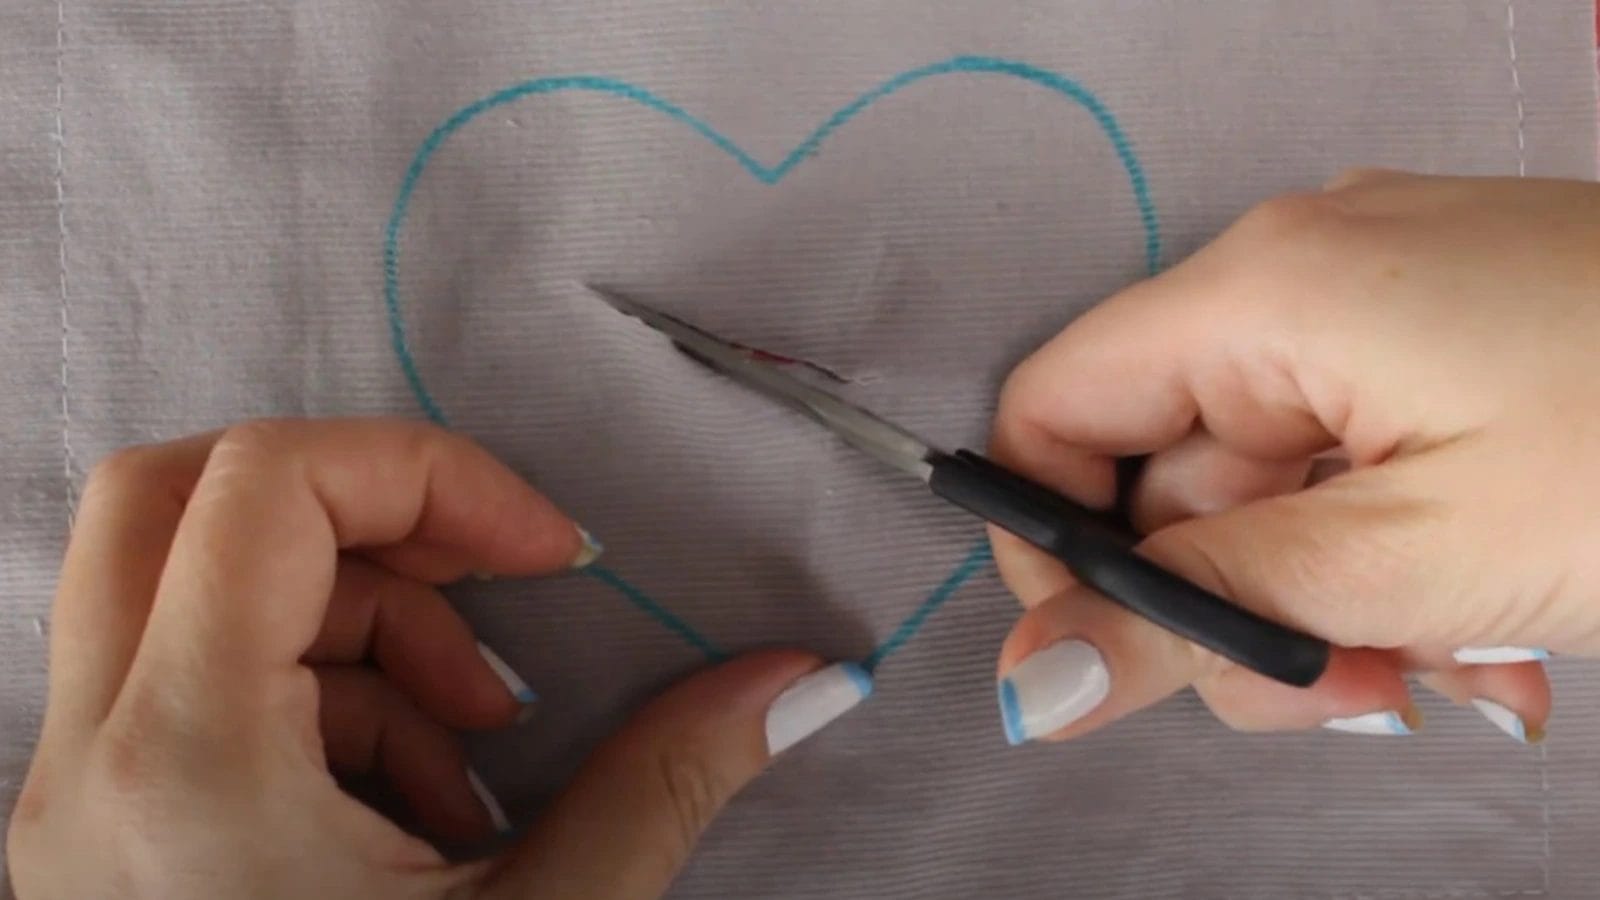
Once you’ve stitched around your design, use scissors to carefully trim the excess top fabric to reveal your reverse appliqué pattern.
You’ll need to cut away the fabric close to the stitching line, but make sure to leave a small seam allowance. This is crucial as it ensures the stability of your design.
Clip any sharp curves and corners as you work to ease the fabric’s tension and help it lay flat. Use small snips for greater control when you encounter points where the design turns or curves sharply.
Don’t rush; take your time to trim away the fabric smoothly and evenly. Although you can choose to cut in sections or all at once, find what feels most comfortable for you.
Step 6: Finish the edges
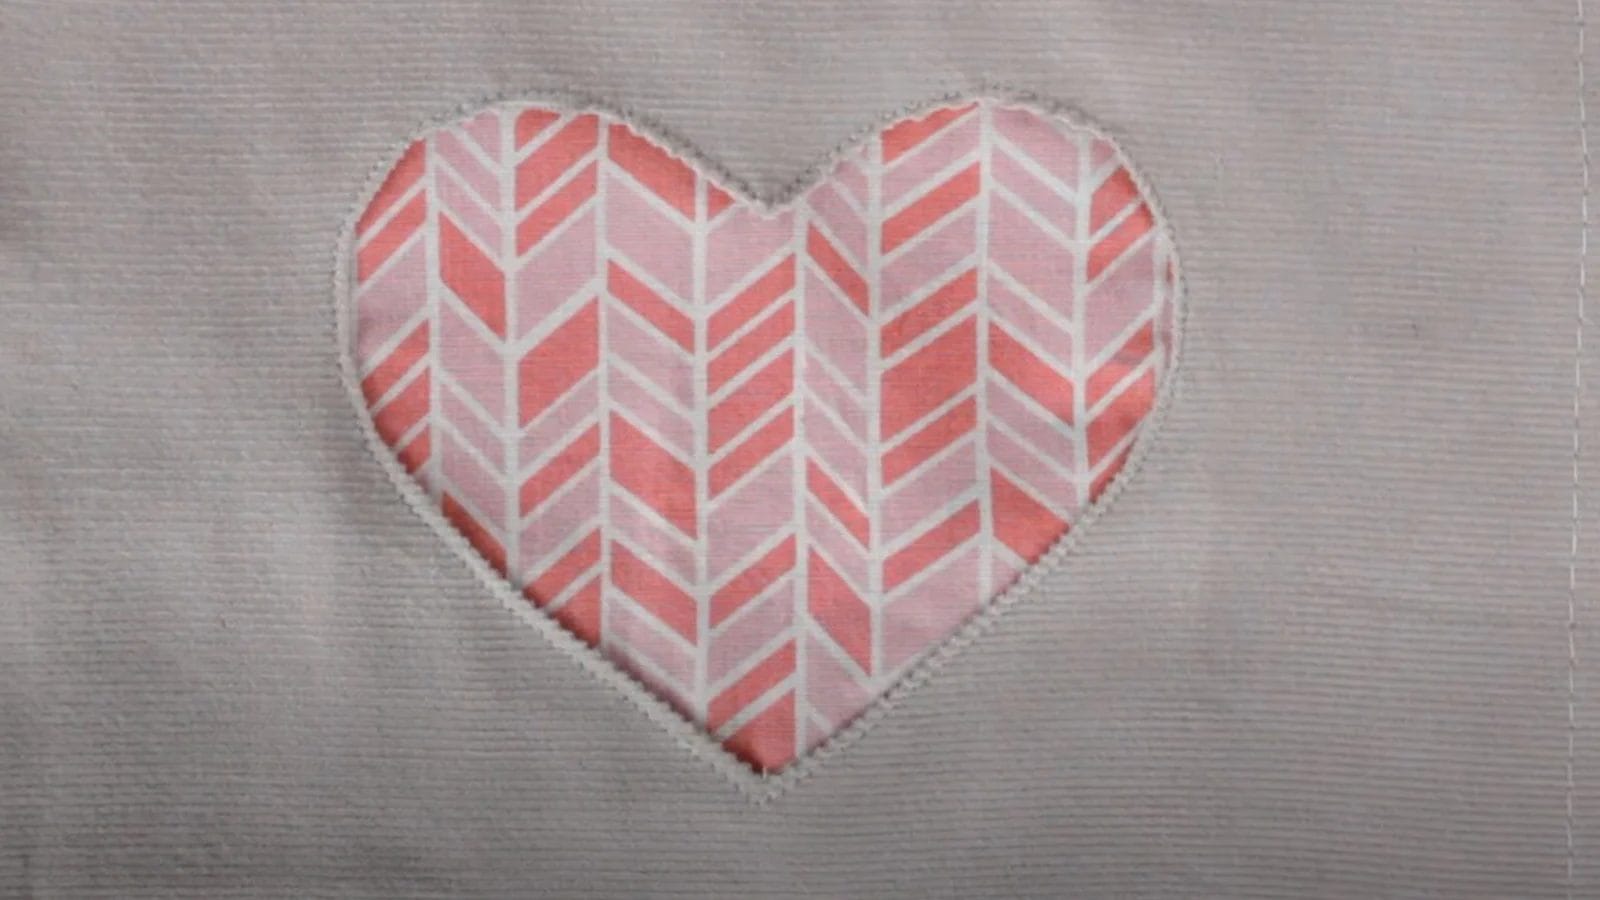
After you’ve cut away the top layer, use pinking shears to trim along the raw edge. This helps prevent the fabric from fraying and maintains the integrity of your design.
Next, press the appliquéd area with an iron. This step sets the stitches and flattens the fabric, ensuring a crisp, professional look.
Tips and Tricks for Successfully Doing Reverse Applique
Before diving into your reverse appliqué project, consider these essential tips and tricks to enhance your crafting experience.
To prevent your fabric from fraying, ensure you leave a small seam allowance when trimming around your design.
Use a blind hem stitch to secure the edges neatly underneath, minimizing visibility on the final piece.
Backstitch at the beginning and end of your sewing to reinforce the stitches, ensuring they hold well.
Accurate marking is crucial. Take your time to trace your design precisely to avoid misalignment.
Conclusion
Now that you know how to do reverse appliqué, you’re ready to dive in! Remember, choosing the suitable fabrics makes your design pop. Take your time tracing accurately and stitching carefully. Don’t rush the cutting; precision is key.
As you practice, you’ll find your own rhythm and style. So, grab your materials and start creating stunning pieces that showcase your unique artistic flair. Happy crafting!
Explore more crafting projects at the Accessories-Wholesaler blog! Find your favorite iron-on patches at Accessories-Wholesaler!
FAQs
What Are the Steps to Reverse Appliqué?
To start reverse appliqué, trace your design, baste the fabrics, and then cut the top layer following your lines. Stitch around the edges and trim inside the design, leaving a small seam allowance.
When to Use Reverse Appliqué?
You’d use reverse appliqué when aiming to add depth and intricate designs to your projects. It’s great for quilting, garment embellishments, and home décor to make your creations stand out beautifully.
How Do I Do Appliqué Step by Step?
To do appliqué, trace your design on fabric, layer another fabric beneath, and stitch around the design. Cut inside the stitched line, then finish by tucking under the edges and sewing neatly.