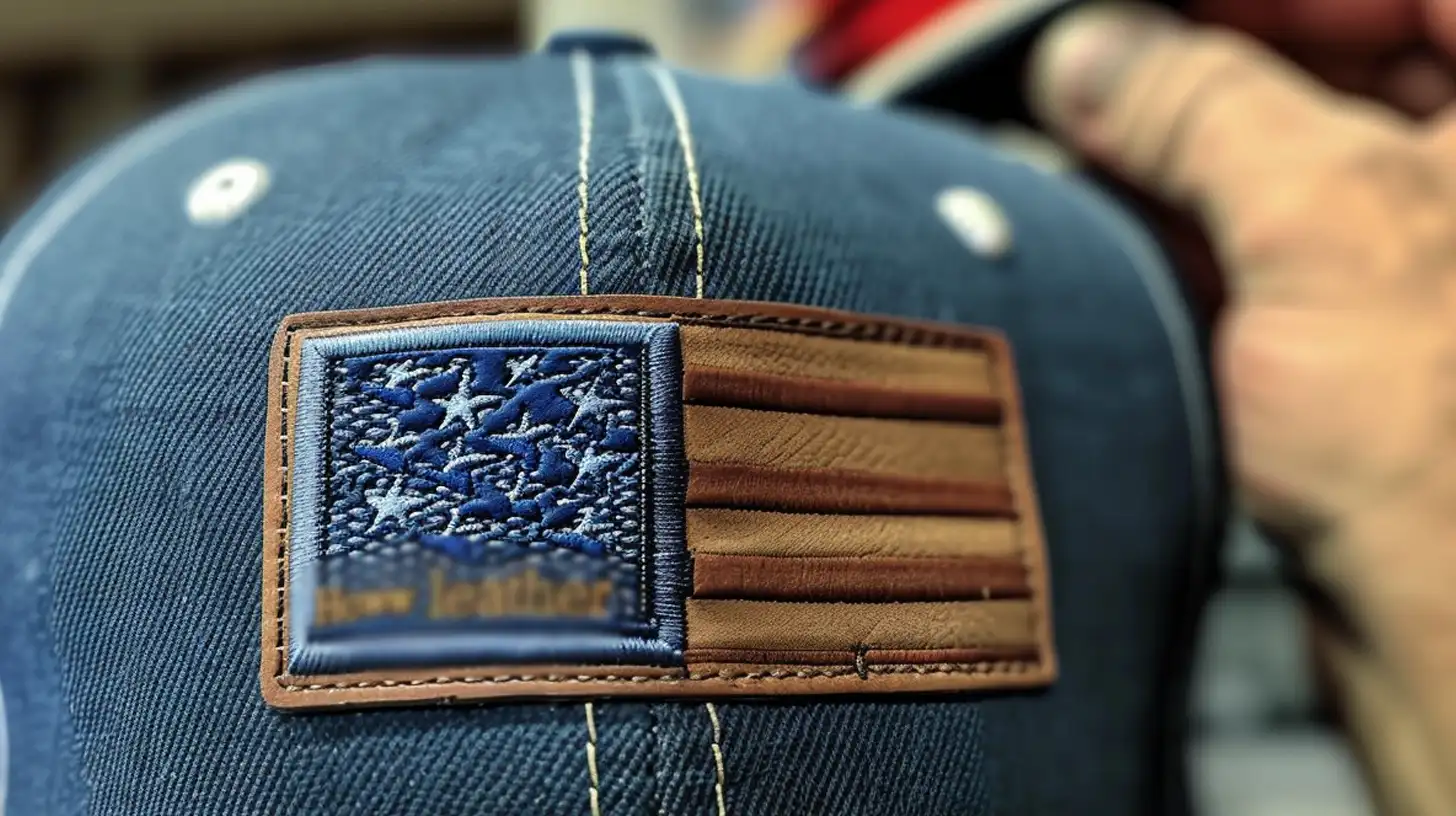
Do you have a favorite hat that needs a little extra flair? Adding a leather patch can instantly elevate the look and give it a personalized touch. Whether you want to showcase your favorite sports team, add a touch of sophistication, or simply cover up a small imperfection, putting leather patches on hats is a fun and easy DIY project.
In this article, we will offer three ways to add leather patches to your hats, so you can proudly show off your unique style and creativity. Get ready to take your hat game to the next level!
Key Takeaways
- Clean the hat surface with rubbing alcohol for better adhesive bonding.
- Measure and cut the leather patch to ensure it fits the hat properly.
- Use fabric glue (E6000) or leather adhesive to attach the patch securely.
- Press firmly and allow sufficient drying time as the adhesive’s instructions recommend.
- Consider sewing the edges of the patch for enhanced durability and a professional finish.
Selecting the Right Leather Patch
When choosing a leather patch for your hat, it’s essential to select one that not only matches the hat’s style and color but also promises durability. Try to find a patch that’s made from high-quality leather to ensure it withstands wear and tear.
Opt for a leather patch with smooth edges for a sleek appearance. The size and shape should align well with your hat, allowing for a natural fit that doesn’t overwhelm its design.
When it comes to customization, using a suitable adhesive, like fabric glue, is crucial. This ensures your patch stays securely attached, enhancing both the hat’s functionality and aesthetic. Choose wisely to make your hat uniquely yours.
Preparing the Hat and Leather Patch
Begin by cleaning the surface of both the hat and the leather patch with rubbing alcohol to remove dirt or oils and enhance the adhesive bond.
Next, use painter’s tape to carefully mask off areas on the hat where you don’t want the adhesive to spread. This step is crucial for maintaining a clean, professional look and ensuring precise placement of your leather patch.
During that preparation, size your leather patch appropriately to fit the desired area on your hat. This attention to detail will prevent any awkward overlaps or misalignment. Remember, the texture and color of your leather patch should complement the hat’s style, setting the stage for a perfect addition once you attach it.
How to Put Leather Patches on Hats with 3 Different Methods
Now that you’ve prepared your leather patch and hat, it’s time to apply leather patches.
You can choose from sewing, gluing, or using a hot iron to secure the patch. Each method has its pros and cons, so consider your tools and the durability you need before deciding.
Method 1: Sewing

Start by selecting a strong, durable thread that complements the color of your leather patch. Sew the patch onto your hat with precision, ensuring the thread color blends seamlessly. Use a needle specifically made for leather to prevent damage and facilitate smoother sewing.
Focus on making tight, even stitches across the patch to secure it firmly. It’s crucial to reinforce the edges with additional stitches to enhance the patch’s durability. This step not only prevents the leather patch from peeling off but also maintains the hat’s aesthetic integrity.
Method 2: Gluing
To attach your leather patch to a hat, first apply a suitable fabric glue or leather adhesive evenly across the back of the patch, paying extra attention to the corners. Make sure you’re working with clean surfaces on both the patch and the hat to ensure the glue adheres well.
After applying the adhesive, let it set slightly before pressing the patch onto the hat. This partial drying helps create a stronger bond. Once in place, press firmly, especially around the edges.
For enhanced durability, you might consider stitching around the edges of the patch after the glue has set. This step isn’t mandatory, but it does add a layer of security to keep your patch in place over time.
Method 3: Heat pressing
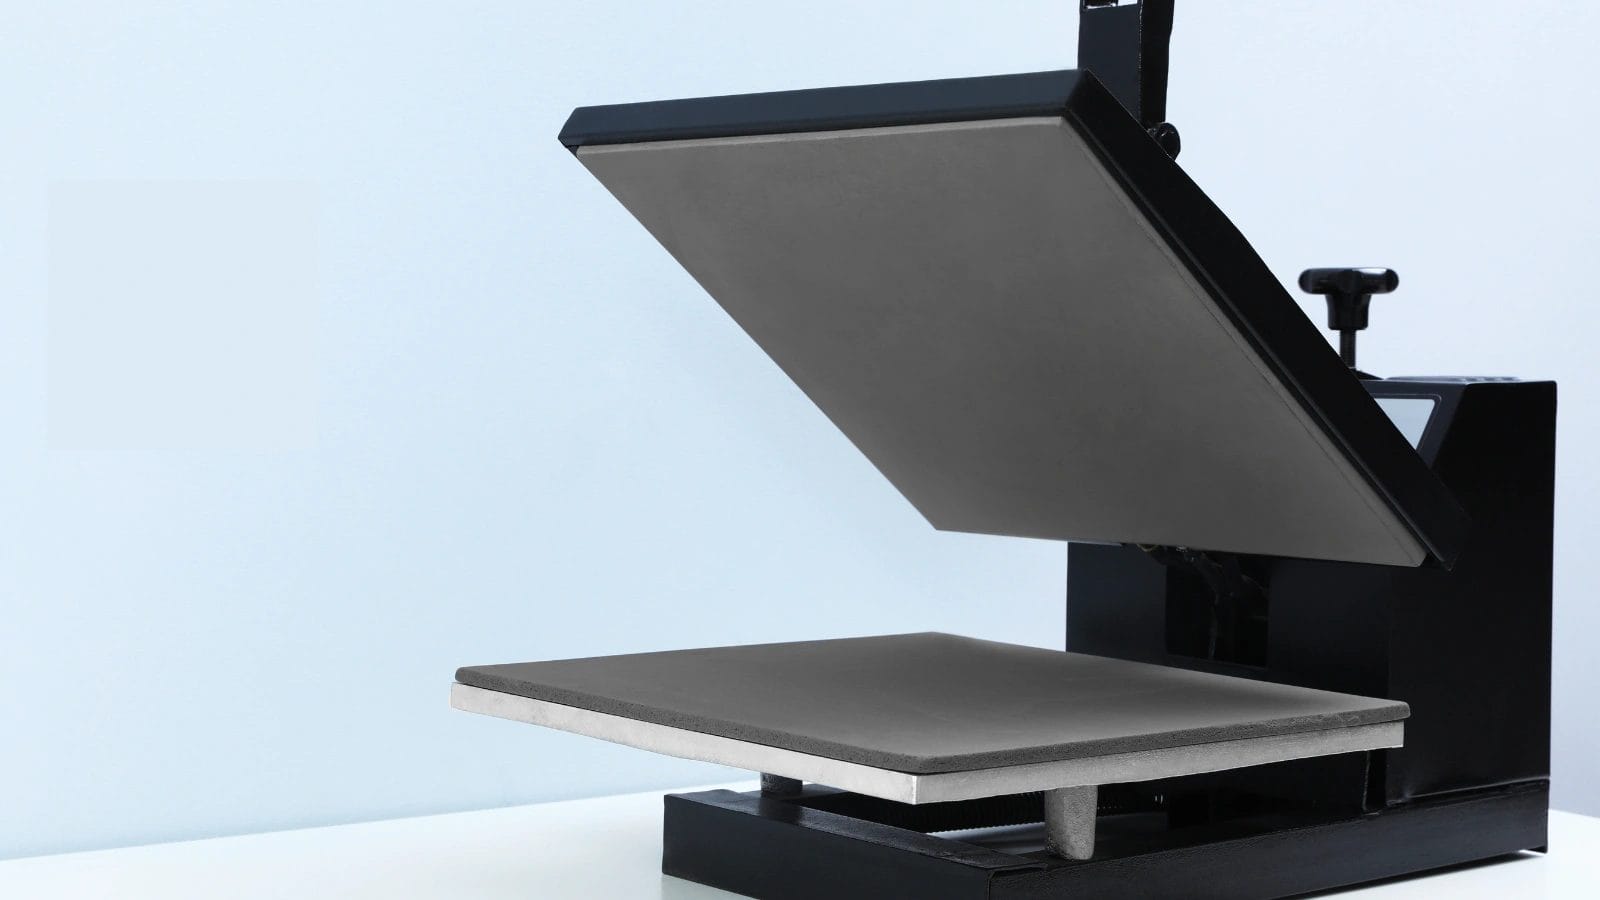 You might also consider heat pressing to attach leather patches on hats. First, preheat your tool to the right temperature for your adhesive.
Place a protective cloth or parchment paper over the leather patch to shield it from direct heat. Press firmly with the heat press, applying consistent heat for the duration specified by the adhesive’s instructions. This process activates the adhesive, strengthening the bond between the leather patch and the hat.
Once done, let the patch cool and set before handling to ensure it’s securely attached. Check the edges and corners to confirm proper adhesion. If they’re lifting, reapply heat as necessary to achieve a solid bond.
Caring for Leather-Patched Hats
Once you’ve attached a leather patch to your trucker hat, it’s important to keep it looking its best.
You’ll need to brush off dirt gently and store your hat properly to avoid damage.
Avoid water exposure to maintain the quality and appearance of the leather.
Cleaning techniques for leather patches
Gently wipe the leather patch on your hat with a soft cloth and mild soap for regular cleaning. This simple step removes dirt without harming the leather.
After cleaning, it’s essential to apply a leather conditioner. This keeps the patch supple and prevents it from drying out or cracking. Make sure to use a conditioner designed specifically for leather to ensure the best care for your hat.
Avoid harsh chemicals or abrasive cleaners, as these can damage the leather. If the patch gets a tough stain, consider seeking professional leather cleaning services.
Regular maintenance will keep your leather-patched hat looking sharp and ensure it lasts for years.
Storage tips to prevent damage
To keep your leather-patched hats in top condition, store them in a cool, dry place away from direct sunlight. Hat storage that avoids direct heat and light is crucial to prevent the leather patches from drying out and fading.
Use hat racks or hooks to hang your hats. This helps maintain their shape and prevent creasing. Avoid placing heavy objects on top of your hats to prevent misshaping or flattening the leather patches.
Consider using breathable fabric or hat boxes for extra protection against dust and moisture buildup. Additionally, rotate the hats in your storage periodically. These prevention tips help you avoid damage and keep your hats looking great.
Conclusion
Now that you’ve mastered adding leather patches to hats, you can elevate your style effortlessly. Remember to choose the correct patch, prepare both the hat and the patch carefully, and attach it securely, whether by sewing or gluing.
Take care of your updated hat by cleaning it gently and storing it properly. With these tips, you’ll keep your hat looking sharp and stylish for years to come.
Enjoy showing off your personalized accessory!