Looking to add a touch of whimsy and charm to your hairstyle? Look no further than flower hair clips! These adorable accessories are not only easy to make, but they can also elevate any outfit, making you feel like a blossoming beauty.
Whether you’re getting ready for a special occasion or want to add extra flair to your everyday look, making your own flower hair clips is a fun and creative way to express your unique style. So gather your materials and be ready to unleash your inner floral designer as we show you how to make stunning flower hair clips!
Key Takeaways
- Select flowers with flat bases and sturdy blooms like chrysanthemums for a durable hair clip.
- Use a hot glue gun to attach flowers securely to a felt or fabric backing.
- Add embellishments such as beads or leaves to enhance the visual appeal of the hair clip.
- Attach the decorated backing to a hair clip using a strong adhesive and reinforce with hand stitching if necessary.
- Allow the glue to dry completely in a well-ventilated area to ensure a strong and lasting bond.
Prepare the Materials
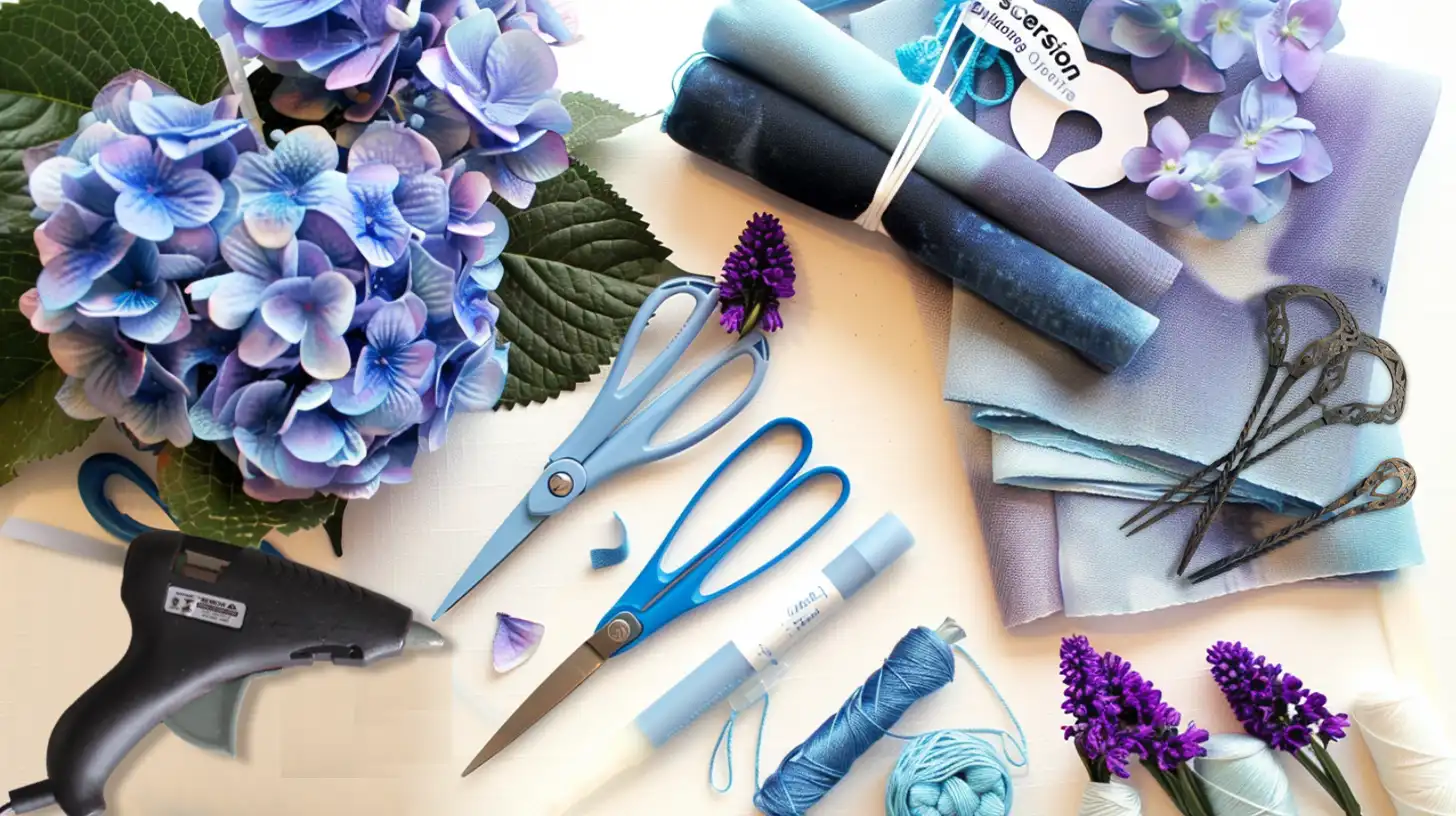
To begin making your flower hair clips, you’ll need materials such as flowers with flat bases like daisies, sturdy blooms like chrysanthemums, and crafting essentials like silk fabric, needle, thread, and fabric glue.
Additionally, gather a hot glue gun to securely attach each flower to the clip. This will ensure your fresh flower hair clips hold up throughout the day. Whether you opt for real or fabric flowers, the hot glue gun is indispensable for creating a durable bond between the flower and the clip.
Alternatively, you can also choose flower patches to make a hair clip.
A Step-by-Step Guide for How to Make Flower Hair Clips
Now that you’ve gathered all your materials, let’s get started on a tutorial for making your flower hair clips.
First, select your flowers and hair clips that complement each other in size and color.
Next, you’ll prepare the backing, which you’ll attach securely to your chosen flowers.
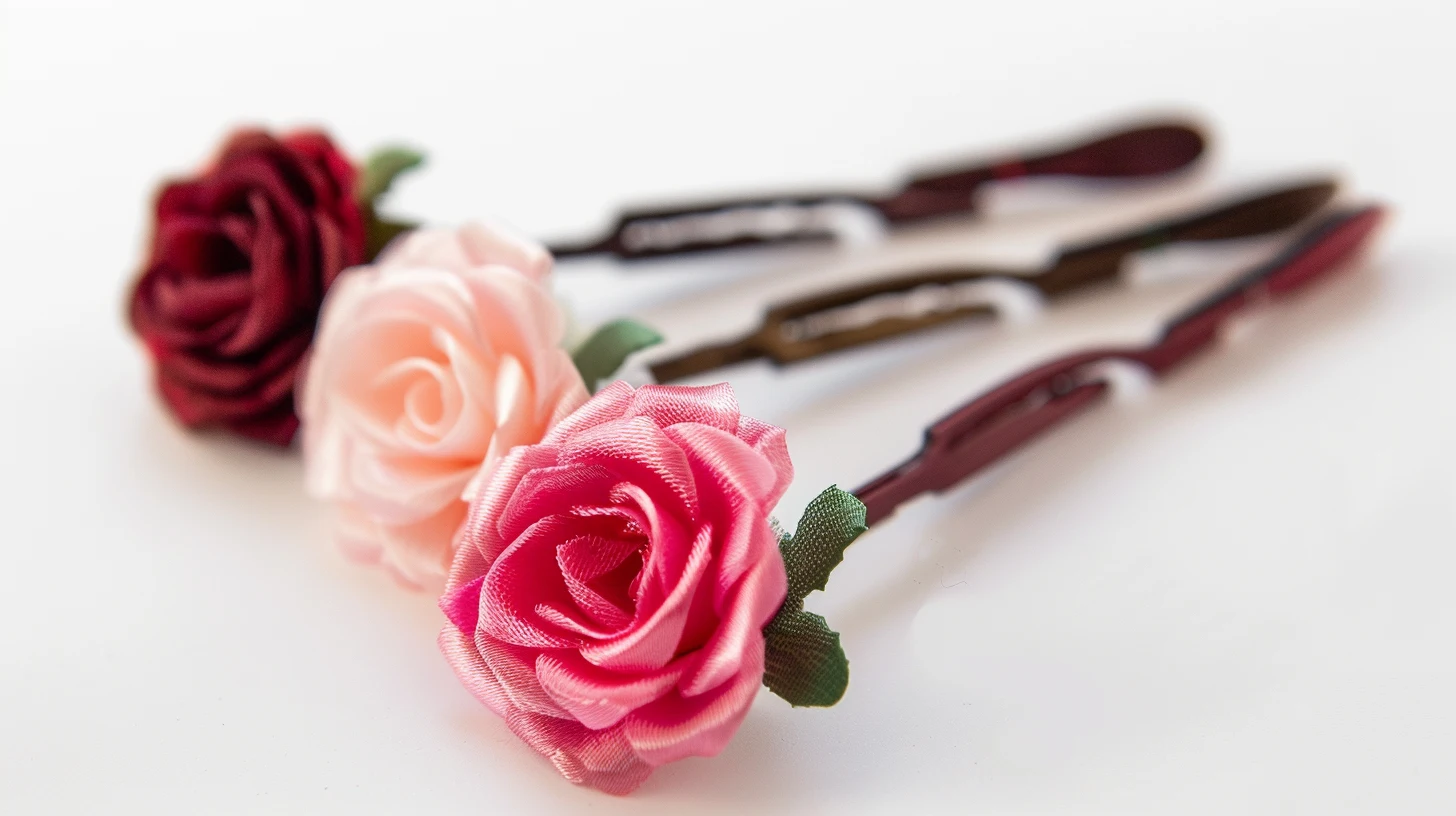
Step 1: Select flowers and hair clips
Begin by choosing flowers with flat bases, such as daisies, which are ideal for creating flower hair clips. If you’re using real flowers, you’ll want to select sturdy varieties like chrysanthemums, as they hold up well.
Alternatively, fake flowers with multiple layers can give your clips a fuller, more vibrant look. When picking hair clips, opt for ones that match the size of the flower’s base to ensure a balanced design. This will make it easier to attach the flowers securely.
Step 2: Prepare the backing
Select a sturdy material like felt or fabric as your backing to ensure your flower hair clip has a solid foundation. Cut this backing material into shapes like circles or hearts, slightly larger than your planned flower arrangement. This extra space provides stability and ensures that all parts of the arrangement are supported.
Step 3: Attach flowers to the backing
Having prepared your backing, it’s time to attach the flowers to the backing. Start by selecting a fresh flower and applying a dab of floral or hot glue to the base of its stem.
Carefully place the flower on the backing, ensuring it’s centered for a visually pleasing arrangement. Press down firmly on the center of the flower to secure it in place. This will help create a strong bond between the flower and the backing, which is essential for the durability of your hair clips.
Continue this process with each flower, spacing them evenly to maintain balance.
Step 4: Add embellishments (if desired)
If you’d like to enhance your flower hair clips, consider adding embellishments for a decorative touch.
Pearls, faceted crystal beads, or even colorful buttons can significantly elevate the look of your fresh flower hair accessories. To start, choose a bead or button that complements the color and style of your flower. Using hot glue, attach the chosen embellishment directly to the center or along the petals of your flower, creating an eye-catching focal point.
If you’re using smaller beads, you might want to glue a small circle of matching felt onto the clip first to stabilize them. This addition isn’t just functional but adds a layer of sophistication to your floral creation.
Step 5: Attach the hair clip securely

Begin by applying a small amount of hot glue or E6000 craft glue to the base of your flower, ensuring it’s centered on the hair clip for a polished look.
If you’re using fresh flowers, make sure each bloom is carefully aligned. For added stability, cut a piece of felt to fit the shape of the clip and attach it beneath the flower. This will help secure the flower and prevent any movement.
If you’re using a snap clip, you might want to hand-stitch the flower to the felt before gluing for an even firmer hold. Position your glue gun or needle and thread so everything you need is within reach, streamlining the attachment process.
Step 6: Allow to dry completely
Once you’ve attached the flower to the hair clip, let it dry completely to secure the bond. The glue’s drying time is crucial for forming a secure bond, so patience is key. Refrain from handling the flower hair clip during this period, as touching it could weaken the attachment.
For quicker drying, place the clip in a well-ventilated area. This step promotes faster evaporation of any solvents in the glue, which helps solidify the bond more efficiently. Always check the manufacturer’s recommendations for specific drying times, as these can vary depending on the type of glue used.
Tips for Successfully Making Flower Hair Clips
When creating your flower hair clips, always opt for high-quality materials to ensure the best results.
Be creative with your flower arrangements to make each piece uniquely yours.
Use high-quality materials
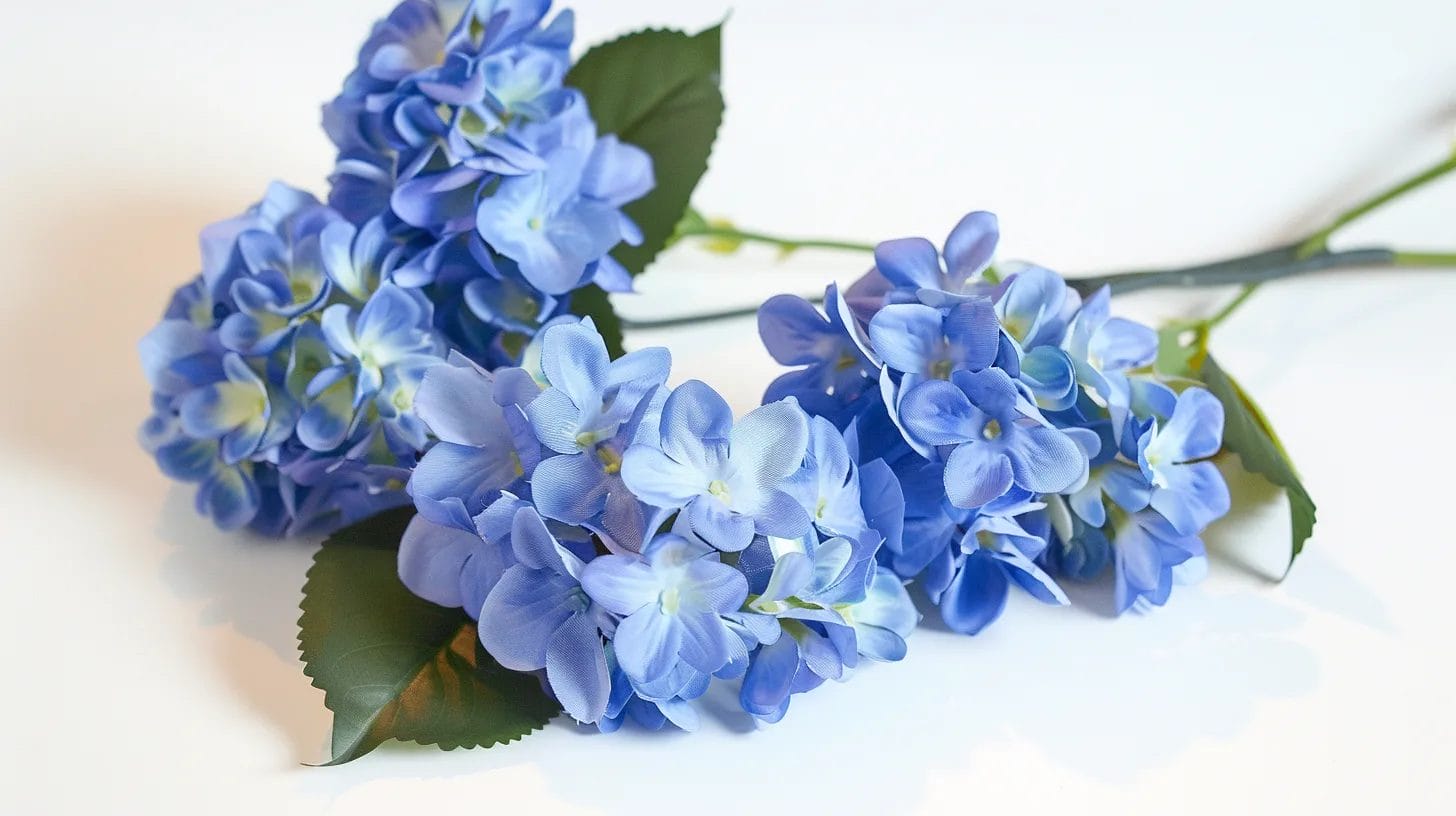
Choosing high-quality materials is crucial for creating durable and elegant flower hair clips. For their realistic appearance and longevity, you’ll want to select silk fabric or 100% polyester fabrics like organza or satin. When it comes to adhering parts together, opt for fabric or floral glue, specifically designed for long-lasting hold and minimal visibility, ensuring your creation stays put throughout the day.
Make sure to choose high-quality fake flowers with flat bases and multiple layers for a more natural and full appearance. These materials not only enhance the beauty of your hair clips but also ensure they remain a staple in your accessory collection for years to come.
Be creative with flower arrangements
Experiment with various flower combinations to discover visually striking and personalized designs. Mixing different types, colors, and sizes of flowers can result in truly creative and unique pieces.
Don’t hesitate to add embellishments like rhinestones or beads. These sparkle beautifully amidst the petals and elevate the overall elegance of your accessory. Incorporating leaves or ribbons not only adds texture but also complements the floral arrangement, making your hair clip stand out even more.
Ensure a secure attachment of the hair clip
After exploring creative combinations and embellishments for your flower hair clips, let’s ensure that each piece remains securely attached.
First, attach the flower securely to the clip with a strong adhesive. Make sure the flower’s centered placement on the clip is perfect. It shouldn’t just look good; it should also maintain balance and not tip the clip.
To reinforce attachment, consider adding a small piece of felt between the flower and the clip. This not only adds stability but also prevents the metal from wearing through the flower base.
Although tempting, don’t rush the drying time; allow the glue to set completely to ensure the flower won’t detach when you least expect it.
Conclusion
Now, you’ve got everything you need to create stunning flower hair clips! Remember to choose the right flowers, secure them firmly to your backing, and let the glue dry completely.
Adding little embellishments can make your clips pop. With these tips, you’ll quickly craft beautiful, durable hair accessories.
Enjoy showing off your handmade creations, and remember to experiment with different colors and styles for every occasion!
Explore more crafting projects at the Accessories-Wholesaler blog! Find your favorite iron-on patches at Accessories-Wholesaler!