When you’re looking to sew a patch, you might gravitate towards the straightforward straight stitch, renowned for its neat finish.
However, have you considered how other stitches, like the zigzag or satin stitch, might affect the durability and visual appeal of your patch? Each technique has its merits, depending on the fabric and the patch’s design. While a straight stitch might seem enough, exploring other options could reveal a more suitable choice that you hadn’t considered. Let’s compare these stitches and discuss which could best serve your next project’s needs.
Key Takeaways
- Choose a zigzag stitch for its durability and flexibility on various fabrics.
- Use a satin stitch to achieve a polished and professional finish.
- Opt for a straight stitch for simple patch attachments, ensuring even lines.
- Consider the patch size and design when selecting the stitch type for optimal results.
- Ensure to tie off the thread securely to prevent unraveling and maintain patch integrity.
Best Stitch for Patches: 3 Types of Stitches
When selecting a stitch for your patches, you have several options to consider. Each stitch, whether satin, running or zigzag, offers distinct benefits and suits different patch applications.
Let’s explore how these stitches can enhance the durability and appearance of your patched items.
1. Satin Stitch
A satin stitch is an excellent choice for securing patches. It covers the edges completely, ensuring a smooth and polished finish.
This type of embroidery, typically executed with a sewing machine set to a tight zig-zag stitch, offers a solid, continuous line of stitching that binds the patch firmly to the fabric.
It’s especially effective for patches with well-defined edges, contributing to a professional and neat appearance.
Whether you’re working on uniforms or decorative items, the satin stitch’s versatility makes it suitable for various shapes and sizes of patches. It provides a durable and clean attachment that stands up to wear and tear.
2. Running Stitch
The running stitch, a fundamental hand-sewing technique, is ideal for quickly and securely sewing various patches. It’s straightforward to execute, as it involves simply passing the needle in and out of the fabric in a straight line. Depending on your spacing, this creates a neat and uniform line, either dashed or solid. It’s perfect when you’re looking to attach patches without much hassle.
The flexibility this stitch provides allows the fabric to move, accommodating the edges of the patch smoothly. Whether you’re working with small, delicate patches or larger, more robust ones, the running stitch adjusts well to different shapes and sizes. It’s your go-to for a quick fix that holds strong.
3. Zigzag Stitch
For securing patches, a zigzag stitch offers unmatched durability and flexibility. It adapts well to fabrics that stretch or move. This stitch employs a back-and-forth motion that not only covers the patch edges more completely but also significantly reduces the risk of fraying.
It’s a go-to choice for items like uniforms and bags that you regularly wash and wear, ensuring the patches remain intact and look professional over time. The zigzag stitch’s ability to move with the fabric it’s sewn onto adds to its durability, preventing the stitches from snapping under strain.
It provides a strong, lasting bond that keeps patches securely in place, maintaining their appearance and functionality no matter the wear they face.
Factors to Consider When Choosing a Stitch for Patches
When choosing a stitch for your patch, consider the type of fabric you’re working with. Make sure the stitch complements the patch’s design and size, ensuring it looks great and holds up well.
Think about the patch’s durability and your aesthetic preferences to find the best fit for your project.
Type of Fabric
When choosing a stitch for patches, consider the type of fabric you’re working with to ensure optimal attachment and appearance. Different fabrics need specific stitches to maintain the integrity and aesthetics of both the patch design and the fabric texture.
A straight stitch might be your best bet for woven fabrics like cotton or polyester. It’s simple and effective for materials that don’t stretch.
On the other hand, if you’re sewing patches onto stretchy fabrics like knits or spandex, opt for a zig-zag stitch. This stitch allows the fabric to retain its elasticity without breaking the thread.
A triple stitch ensures durability for heavy-duty fabrics such as denim or canvas, making it ideal for frequent use and wear.
Patch Design and Size
It is important to consider the type of fabric, but you should also consider the size and design of the patch to choose the most effective stitch.
When you sew on patches, the patch size plays a crucial role in your stitch selection. Larger patches may need a straight stitch for more excellent stability. In contrast, intricate patch designs, especially embroidered patches, often look best with a satin stitch to enhance their detailed appearance.
Additionally, the shape of the patch, whether regular or irregular, influences your choice. Irregularly shaped patches benefit from a zig-zag stitch. This stitch ensures the edges are securely and evenly sewn, prevents potential fraying, and maintains the integrity of the patch design.
Durability and Longevity
To ensure your patch lasts through wear and tear, choose a stitch that both strengthens and complements the fabric. A back stitch is a tight and secure option, perfect for preventing the patch from loosening over time.
For added durability, consider a zigzag stitch, which offers flexibility and reinforces the edges to combat fraying. If you’re looking for an even more durable option, a double stitch combines the benefits of straight and zigzag stitches, enhancing the longevity of your patch attachment.
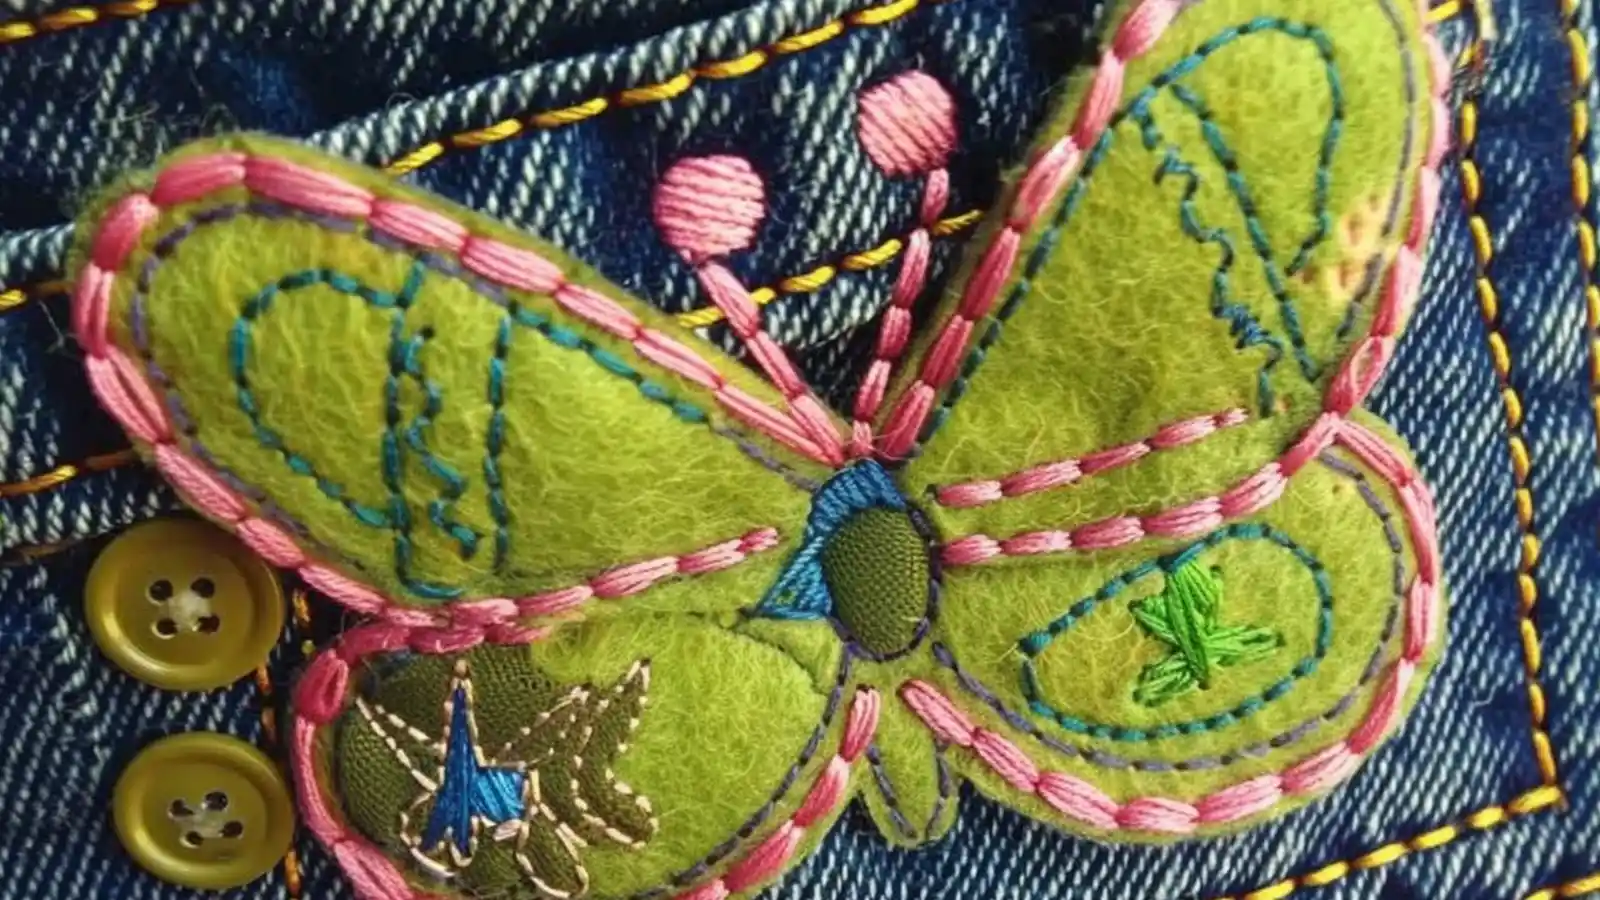
Aesthetic Preferences
While durability is critical for patch longevity, it’s also essential to choose a stitch that enhances the visual appeal of your fabric item.
If you’re looking to sew on a patch that stands out, consider how the stitch type complements the patch design. A straight stitch offers a clean, classic look, ideal for simple designs. Experiment with satin or blanket stitches for more decorative patches to add an embellished touch.
Each stitch not only secures the patch but also contributes to the overall aesthetic. So, when you pick the best stitch, think about how it will blend with and enhance your patch, making your fabric item uniquely yours.
Step-by-Step Guide to Hand Sewing the Patches
As you begin the process of stitching patches, first ensure you’ve prepared both the patch and fabric properly.
Choose the correct type of stitch and thread that’ll best secure your patch in place.
Once you’ve stitched it on, don’t forget the finishing touches and follow care instructions to maintain its quality.
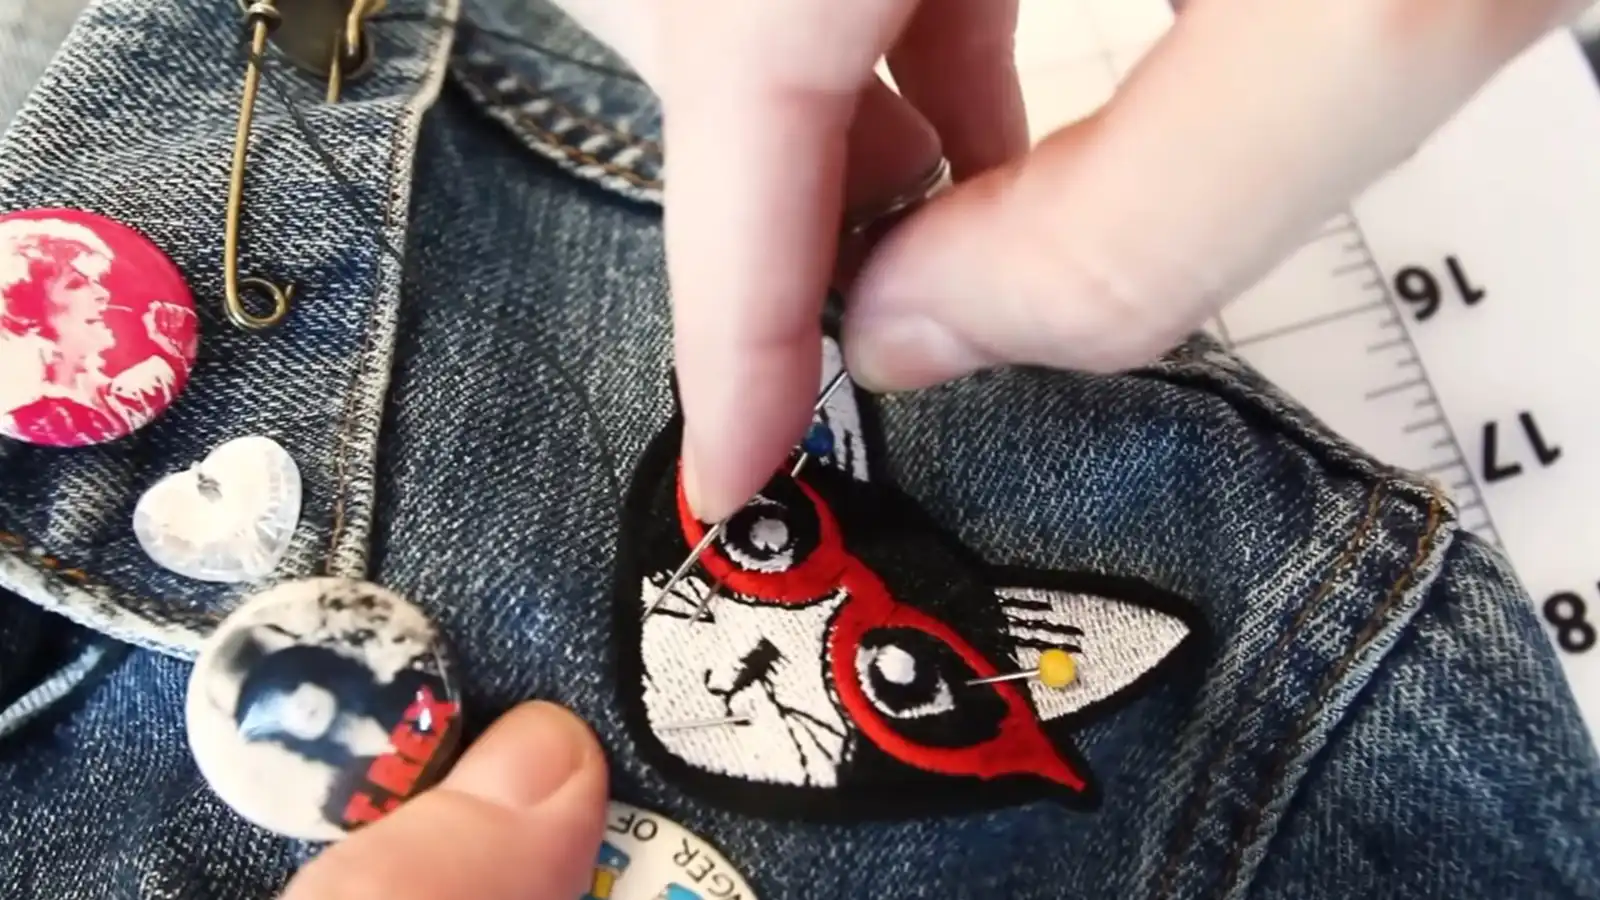
Step 1: Prepare the Patch and Fabric
Before you start stitching, make sure your patch and fabric are clean, dry, and free of wrinkles. To ensure your patch stays exactly where you want it, position it carefully and use sewing pins to secure it in place. This prevents any shifting when you’re sewing and maintains the patch’s alignment.
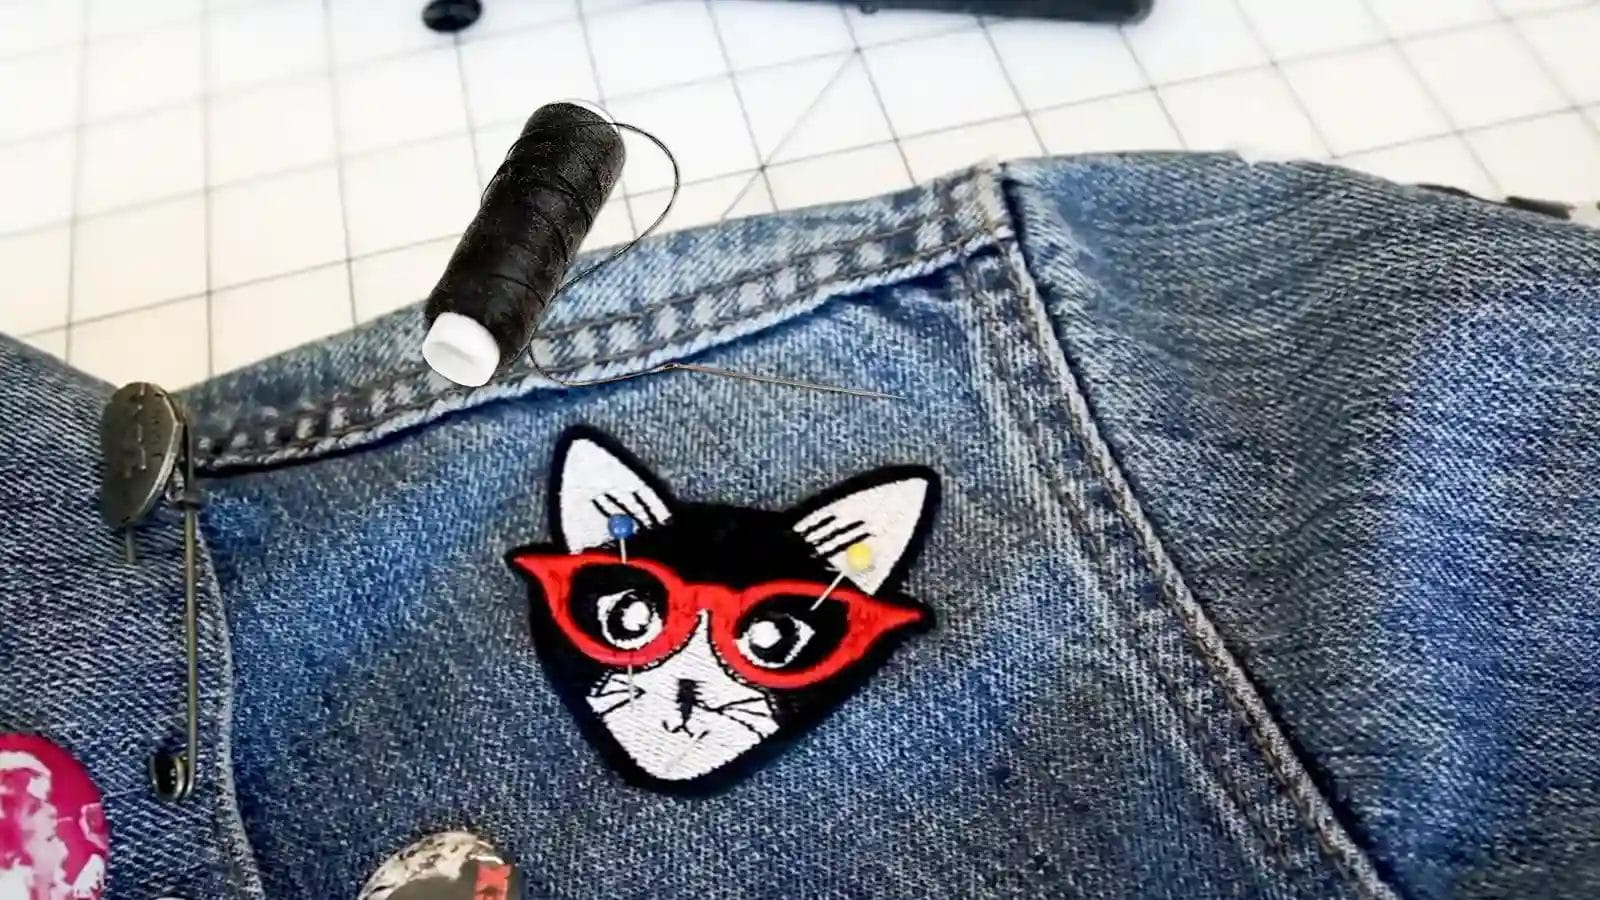
Step 2: Stitch the Patch onto the Fabric
To begin stitching your patch onto the fabric, first position it carefully where you want it secured. Once it’s in place, thread your needle and start with a simple backstitch technique. Keep your stitches about ¼ inch from the edge of the patch to ensure a clean finish.
Push the needle through both the patch and the fabric, pulling the thread taut after each stitch. This will help you create unbroken and even lines, maintaining consistency in stitch length. It’s crucial to sew with precision to prevent the fabric from puckering and to keep the patch flat and smooth.
Once you’ve stitched all around the patch, finish off by tying a secure knot on the backside of the fabric. This ensures your patch stays firmly attached.
Step 3: Finishing Touches and Care Instructions
After securing the patch with your stitches, iron the area to set them and ensure a smooth finish. This is particularly crucial if you’re working with an iron-on patch, as the heat activates the adhesive for a secure attachment.
Next, carefully trim any excess thread to keep the appearance tidy. Check the patch by gently tugging it to ensure it’s securely attached. If you find any loose areas, re-sew them immediately to prevent the patch from lifting.
Conclusion
Now you’ve got the scoop on the best stitches for your patches! Remember, choosing the right stitch depends on both the fabric and the patch type.
Stick to a straight stitch for a clean, professional look. Always maintain even stitch lengths and keep your patch smooth as you sew. Don’t forget to secure it with a sturdy knot on the back.
Follow these tips, and you’ll ensure your patches aren’t only attractive but also durable. Happy sewing!
FAQs
What stitch should I use to sew on a patch?
You can consider using a medium zig-zag stitch when attaching a patch. It provides excellent coverage and flexibility, ensuring the edges stay secure and the fabric remains intact with less fraying.
What is the best patching stitch?
You’d generally find that a medium zig-zag stitch works best for attaching patches. It secures them firmly and prevents fraying, ensuring they withstand wear and tear without losing their hold or appearance.
What is the most robust patch stitch?
The backstitch is your best bet. It’s durable, resists unraveling, and ensures your patches stay put, even on items that see a lot of wear and tear.
What is the best machine stitch for patches?
A medium zig-zag stitch is the top choice for attaching patches. It’s secure, prevents fraying, and allows the patch flexibility, making it durable against wear and tear.