Are you staring at that cool patch and wondering how to make your backpack stand out? Whether you’re a student, hiker, or traveler, personalizing your gear can be both fun and rewarding. But many people get stuck on this step, not sure how to put a patch without causing damage.
Today, no more fret! This blog post will show you how to sew a patch on a backpack. Don’t worry if you’ve never threaded a needle before. We will also list another two methods: ironing and bonding!
Continue reading as we unfold the secrets of transforming your backpack into a canvas of self-expression!
Preparations Before Sewing a Patch on Your Backpack
Choose Your Own Personalized Patches
Designing your personalized backpack is a fun and creative way to express your unique style. Select patches that resonate with you. They can be a symbol of adventure or something close to your heart.
When choosing, don’t forget to think about the sizes and colors. If you want to attach several patches at a time, you also need to consider how these patches complement each other when placed together.
You can come to accessories-wholesaler store to pick what you like.If you are very fond of iron on letters, then you will definitely love it! We provide a vast selection of sizes and colors, ensuring you’ll find exactly what you’re looking for. With endless possibilities, there are no restrictions—select your favorites to create a truly unique backpack.
Consider Patch Placement
Experiment with patch placement by adding patches to the top, bottom, sides, or strap of your backpack. Position larger patches on the back panel for a bold statement, while smaller ones can be scattered around for a more eclectic look.
Incorporate themed clusters by grouping related patches together. For example, travel-themed patches could go on one side and music-related ones on the other. Use contrasting colors or complementary designs to make each group stand out.
Don’t limit yourself to just the exterior of the backpack. You can even add unexpected touches inside pockets or under flaps for an element of surprise.
Method 1: How to Sew a Patch on a Backpack
The first method is to attach the patch to your backpack by hand sewing or by machine.
Prepare the Necessary Tools
Before you begin sewing a patch onto your backpack, make sure you have all the right tools and materials on hand. This will help ensure that your patch adheres properly and looks great.

- Gather a sturdy needle that can pierce through the fabric of your backpack. For thicker fabrics like denim or nylon, opt for a larger needle.
- Choose strong thread that matches the color of your patch or backpack to keep stitches less visible.
- Have a pair of sharp embroidery scissors ready for snipping thread and trimming any excess material.
- If using a sewing machine, check that it’s in working order and that you’re familiar with how to operate it for sewing patches.
- Use sewing pins or safety pins to secure the patch in place before you start stitching. This will keep the patch from moving and help maintain alignment.
- If threading a needle is challenging, a small tool called a needle threader can assist you.
Simple Steps to Sew on Patches
To sew on patches, follow these simple steps:

- Choose the thread color that best matches the patch and the backpack.
- Decide where you want to place the patch on the backpack.
- Pin the patch in place on the backpack to keep it secure while you sew.
- Thread your needle with the chosen thread and tie a double knot at the end.
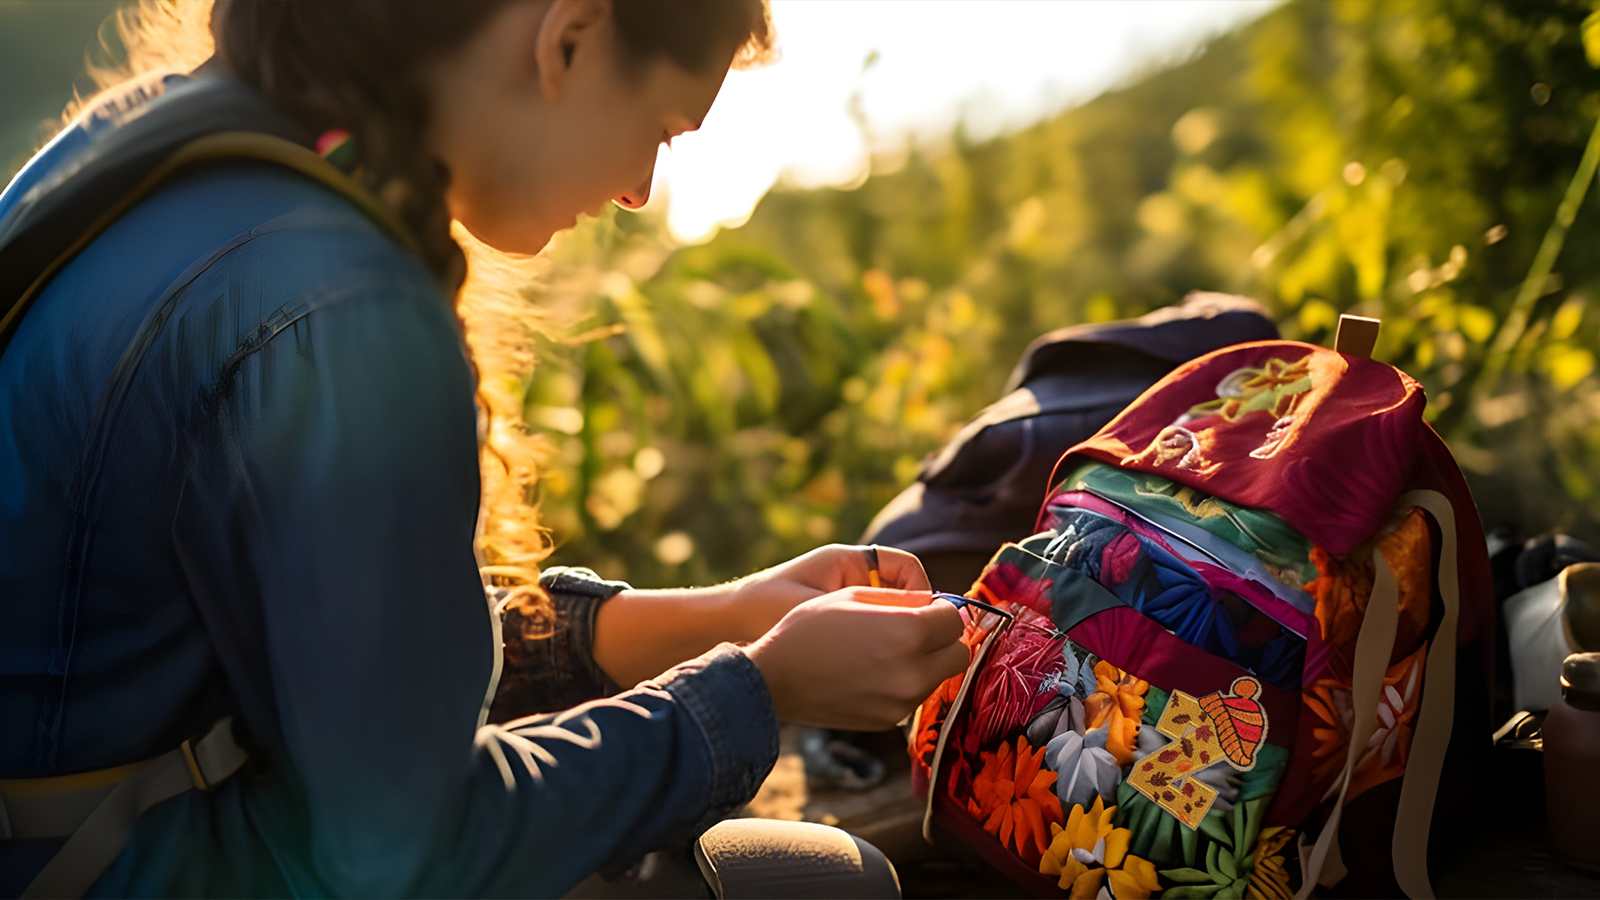
- Use a running stitch or overcast stitch to secure the patch to the backpack. Make sure to sew around all the edges of the patch.
- Once you have finished sewing around the entire patch, tie off your thread with another double knot and cut off any excess thread.
Method 2: How to Iron a Patch on a Backpack
The second method is ironing a patch to your backpack.
Prepare the Materials
Gathering the right materials is your first step to adding a cool patch to your backpack. Make sure you have everything on hand before you start, so you can work without interruptions.

- Choose an iron-on patch for the ironing method.
- Grab a hot iron and ensure it does not steam, as this could affect the patch’s ability to stick.
- Find a heat-resistant surface to lay your backpack on while applying an iron-on patch.
- Cut out a piece of pressing cloth that will cover the entire patch during the ironing process to prevent damage.
Easy Steps to Iron-on Patches
Ironing patches onto a backpack can quickly personalize your gear. Make sure your backpack is made from non-synthetic material to prevent damage from the heat.
- Lay your backpack on a flat surface and smooth out any wrinkles where you’ll place the patch.
- Position the patch on your backpack, ensuring it’s exactly where you want it to be.
- Heat up your iron to the settings recommended for your backpack material.
- Place a pressing cloth on top of the patch to protect both the iron and the patch from direct contact.
- Press the heated flat plate of the iron firmly on top of the patch through the pressing cloth for about 30 seconds.
- Lift the iron and check if the edges of the patch are securely attached. If not, apply more heat as needed.
- Allow the patch to cool down completely before moving your backpack to make sure it sticks properly.
Method 3: How to Bond a Patch to a Backpack
The third method is to bond a patch to your backpack with fabric glue.
Gather the Necessary Materials
Prepare these necessary tools before starting to put a patch on your backpack by bonding:

- Patches
- Backpack
- Fabric glue
Steps to Bonding Patches
To bond patches onto a backpack using fabric glue, follow these steps:

- Lay the backpack on a flat surface, with the area where you want to attach the patch facing up.
- Clean the surface to ensure it is free from dust and dirt that could interfere with the bonding process.
- Apply fabric glue directly to the back of the patch, ensuring it covers the entire area that will come into contact with the backpack.
- Press the patch firmly onto the desired spot on the backpack, making sure it sticks evenly without any air bubbles beneath it.
- Place a heavy object, such as a book or hardcover, on top of the patch to apply pressure and aid in bonding.
- Allow enough time for the fabric glue to dry and bond securely with both the patch and backpack fabric.
Advantages of the Three Methods
Sewing a patch on a backpack provides durability, ensuring that the patch stays in place even with regular use. This method allows for customization and personalization. Because it offers a secure attachment that will withstand washing and everyday wear.
Using the ironing method saves time and effort. It is perfect for quick application of certain types of patches onto various fabrics. It is an ideal choice when looking for a simple yet effective way to attach patches without the need for extensive sewing skills.
Finally, the bonding method offers waterproof and long-lasting adherence. It is suitable for outdoor or heavy-duty backpacks where durability is essential.
You can pick the method that works best for you based on the type of fabric, the features of the patch, and how long you want it to last. You can make your backpack special in your own way because each method has its own benefits.
Conclusion

Enhance your backpack with unique patches that reflect your personality and interests. Sewing, ironing, or bonding on a patch can all be done easily with only a few simple materials and steps. Get started today and showcase your individuality with a custom-designed backpack!
FAQs
1. How do I prepare to sew a patch on my backpack?
First, choose where you want to put the patch on your backpack and keep it in place with pins or tape. Make sure the area is flat so that, when you’re ready to sew, you can easily move the needle through the fabric.
2. What materials do I need to sew patches on backpacks?
You will need a sewing needle, strong thread that matches your patch or backpack, and scissors. If you have an iron-on patch, you might also use an iron to help push the needle through thick fabric.
3. Can I use a sewing machine instead of hand-stitching my patch?
Yes! You can use a sewing machine if it’s best for you. Ensure that the edges of the patch are securely in place, as machines can be fast but less precise at times.
4. What’s important about stitching along the edge of the patch?
When putting on a patch using either hand or machine stitches, pay attention to keeping tight seams around the edge of your patch. This helps make sure your patch sticks well and doesn’t come loose over time.
5. Will my patched backpack still look good after washing it?
If you’ve properly attached and secured each stitch, your patch will last even after post-wash cycles! Just remember: gentle care is key.