Are you looking to add a personal touch to your hats but not sure how to start? Whether it’s a baseball cap from your favorite team or a trucker hat that could use some sprucing up, applying a patch is an excellent solution.
But many people are afraid to attempt this DIY project for fear of ruining the hat or the patch. Here’s some good news: There are simple and effective steps on how to iron a patch on a hat with ease.
Our blog post will walk you through six hassle-free steps to secure those stylish patches onto your hats without needing expert skills. Get ready; your most fashionable headwear is only minutes away!
Necessary Materials for Ironing a Patch on a Hat
Before starting to iron a patch, you need to prepare the necessary materials and tools.
- Iron and Ironing Board: Make sure your iron is hot and ready to work its magic on the patch. It’s essential to set the right temperature for different types of fabrics. Cotton and denim can handle more heat, while delicate materials need a gentler touch. Use a dry heat setting without steam. Because moisture can prevent the adhesive from bonding correctly with the fabric.
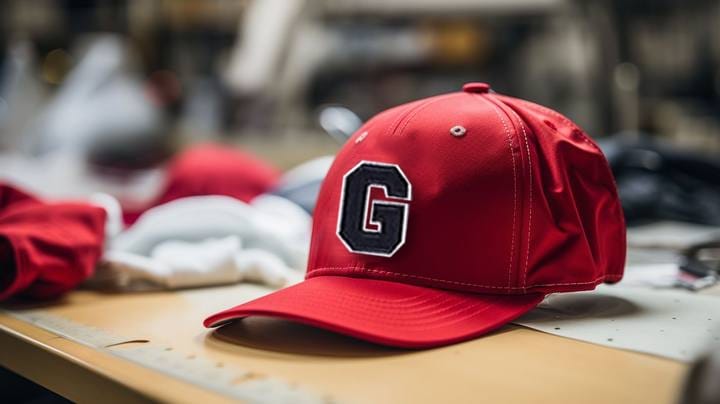
- Patch: Select your favorite patch and place it on the hat where you’d like it to be attached. Make sure the position is exactly how you want it. Because once ironed on, moving the patch won’t be an option.
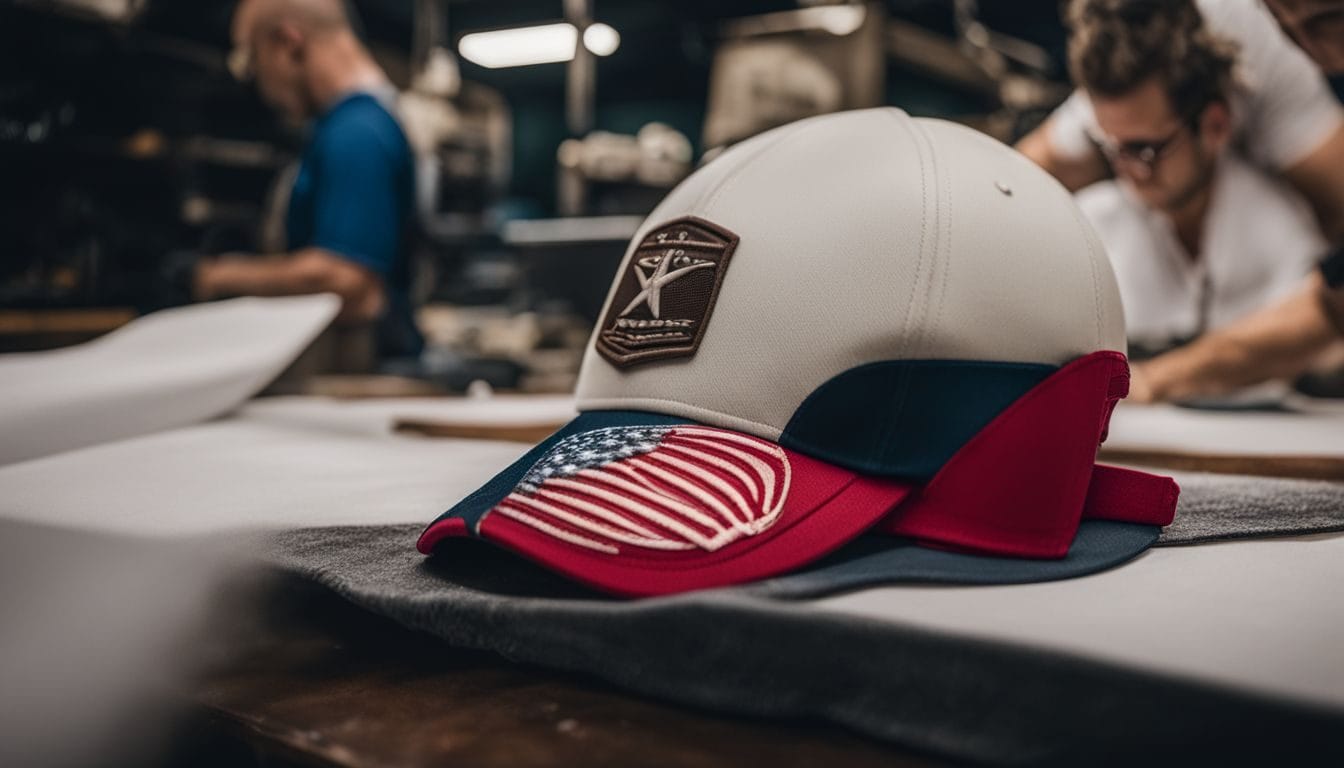
- Hat: Customizing your hat with an embroidered patch is a stylish way to showcase your personality or promote a brand. Most hats, like baseball caps and beanies, are typically made from materials such as cotton and polyester. And iron-on patches work best on cotton and polyester.
- Pillowcase or Pressing Cloth: Protecting your patch during the application process is as important as choosing the right design. A pillowcase or pressing cloth acts as a barrier between the iron and your patch. It will ensure both stay in prime condition.
6 Easy Steps on How to Iron a Patch on a Hat
After preparing everything, let’s learn how to iron a patch on a hat in six steps.
1. Pre-heat the Iron
Pre-heat the iron before applying the patch to ensure effective bonding of the adhesive to the fabric. Using a dry iron without steam is recommended to prevent potential damage from moisture.
It’s crucial to pre-heat the iron and select the right temperature for successful application of embroidered patches onto hats, ensuring that the adhesive bonds effectively.
2. Apply the Patch You Like

Choose the patch you want to apply to your hat. Then position it in your preferred location.
3. Place the Pillowcase or Pressing Cloth over the Patch
Place a thin cotton pillowcase or pressing cloth over your patch. Make sure the pillowcase or cloth is dry and free of wrinkles for the best results. Set it directly on top of the embroidered patch before you begin to apply heat.
This layer prevents scorching, melting, and other potential damage caused by direct contact with the iron. The heat from the iron transfers through this protective layer to melt adhesive backings without harming fabrics like rayon or nylon hats.
Protecting your materials in this way guarantees a seamlessly affixed patch with no compromise on quality.
4. Apply Heat and Pressure with the Hot Iron
Set the iron to its highest setting with no water inside. Press firmly with the hot iron. Start from the middle of the patch and move outwards.
Allow it to cool completely before checking for any areas where the patch hasn’t fully fused. If needed, repeat the process until the patch is fully bonded. Remember not to use the steam setting when adhering patches. Always use a dry iron.
Delicate fabrics like polyester need less heat, while durable fibers like wool and cotton can withstand higher temperatures.
5. Flip and Iron the Reverse Side
After applying heat and pressure to the front of the patch, flip the hat over and place a pillowcase or pressing cloth on the reverse side. Iron this side as well to ensure that the patch is securely attached from all angles.
This step helps protect the patch and ensures it stays in place for long-lasting wear.
Ensure that you cover both sides of the hat with a protective cloth when ironing to avoid damaging either fabric. This method will help keep your patches looking fresh and prevent them from peeling off earlier.
6. Cool the Patch Completely
After ironing on the patch, ensure that the material cools completely to allow the adhesive to set properly. This step is crucial for ensuring that the patch stays securely in place and doesn’t peel off over time.
Allowing adequate cooling time also prevents any potential damage to the fabric when handling it after ironing.
Once you have completed ironing on the patch, resist the temptation to check its adherence immediately. Instead, let it cool fully for about 5 to 10 minutes before inspecting. Ensuring proper cooling of the material guarantees a strong bond between the patch and fabric. It makes your application long-lasting and durable.
Conclusion
Achieving a personalized touch on your hats with iron on patches is as easy as pie. You need to gather some simple materials, then follow six straightforward steps for ironing the patch onto your garments.
These customized adornments are an inexpensive way to showcase your personal style and make a statement wherever you go. So go ahead and express yourself through an easy patch application today!
FAQs
1. What do I need to iron on an embroidered patch to a hat?
You’ll need an iron, the patch you want to apply, and a thin piece of fabric or tea towel to cover it while ironing.
2. How can I make sure my patch stays on?
Ensure the patch is in the right position, place a cloth over it, and press down firmly with a hot iron. Let the patch cool before moving it.
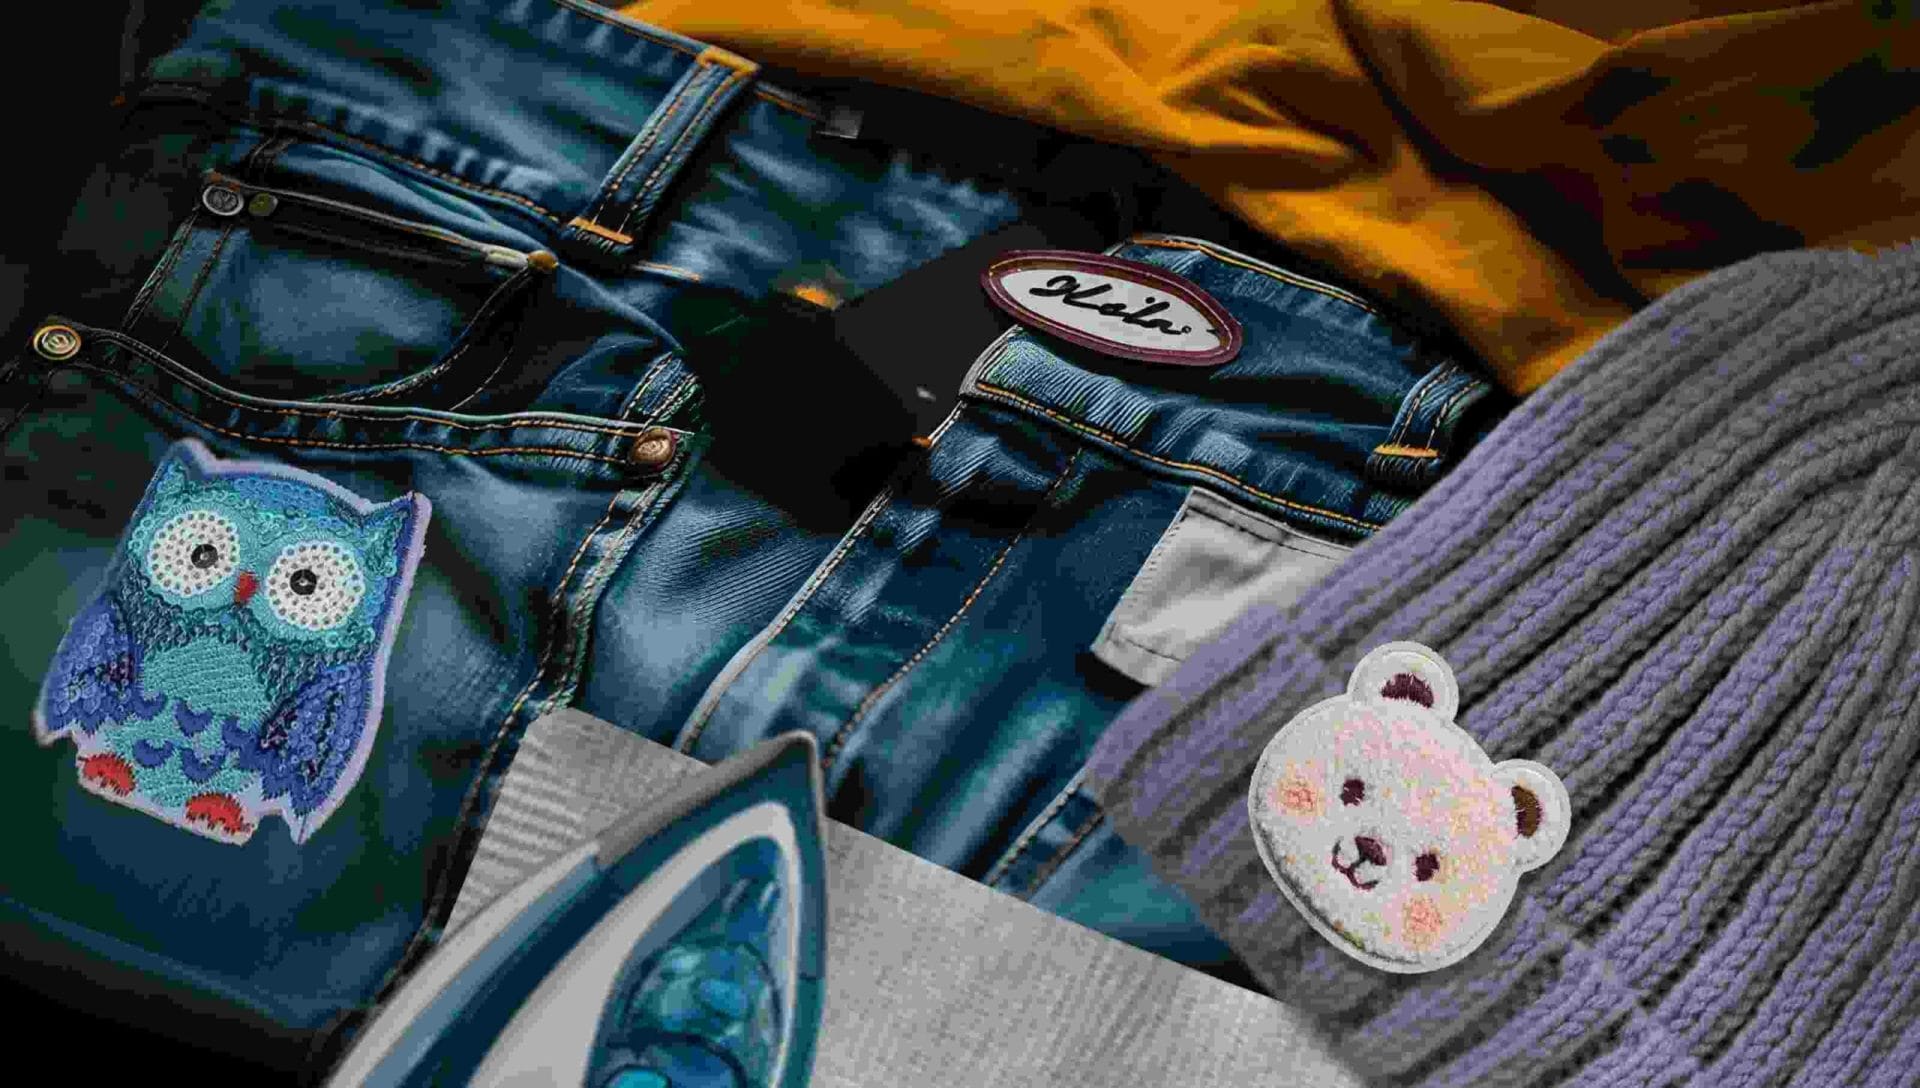
3. Can patches be applied to other items besides hats?
Yes! Patches are a great way to customize jeans, jackets, bags, shoes, and almost any piece of clothing or fabric.
4. What are some ways patches can express my style?
Patches offer a unique personal twist. They’re perfect for showing off your favorite sports teams or brand image in your outfits.
5. Is there another method besides ironing for attaching patches?
Absolutely! Besides using the iron-on method, you can also attach patches by sewing around them or using hook-and-loop systems for easy removal.