In a world where fast fashion dominates, making custom apparel offers a unique opportunity to express individuality and creativity. Whether you’re a seasoned seamstress or a complete beginner, crafting your own garments allows you to curate your wardrobe with pieces that truly resonate with your style.
This guide will help you design and make custom clothing that fits your body and personality. From selecting the perfect fabric to mastering essential sewing techniques, it’ll help you embrace the art of personalization and transform your fashion experience!
Key Takeaways
- Select fabric type based on the design, ensuring it complements the desired style and functionality.
- Use online design tools to create and upload unique graphics and text to customize clothing.
- Measure accurately using a measuring tape to ensure a perfect fit.
- Pre-wash, iron, and carefully cut fabric following pattern guidelines to maintain the structure.
- Set up the sewing machine correctly and follow pattern instructions for precise assembly and finishing.
Materials and Tools Needed
To create your custom clothes, you’ll need a few essential materials and tools.
- Begin with selecting the right fabric. Consider cotton, polyester, or blends, depending on your design.
- A sewing machine is essential for assembling your clothes efficiently.
- Don’t forget a measuring tape to guarantee accuracy in sizing.
- A pattern is also critical. It provides a template for your cutting and sewing. You can buy a pattern or draft your own based on your measurements.
- Gather embellishments like buttons or zippers to enhance your design.
- You’ll also need scissors, pins, and a seam ripper for any necessary adjustments.
How to Make Custom Clothes: A Step-by-Step Guide

To design your own custom clothing, follow this step-by-step tutorial for clear and easy instructions.
Step 1: Design Your Clothing
Making custom clothes begins with choosing the right base for your design. Whether you’re designing custom T-shirts, hoodies, or polo shirts, the foundation is vital.
Use online design tools to truly design your own clothes. You can upload your graphics, explore thousands of artwork options, and select from hundreds of font styles.
Refine your creations with an AI Image Generator and background removal tool, guaranteeing your designs meet high-quality standards.
Before committing to full production, order samples to check fit and print quality. This step is critical to confirm satisfaction with your custom clothing design.
Save templates of your designs to streamline future orders, making it easier to create custom clothes again.
Step 2: Take Measurements
With your design ready, the next step is to verify a perfect fit by taking accurate measurements. Start with a measuring tape and assess 16 key points on your body, such as the chest, waist, hips, inseam, and sleeve length.
Consider using technology like the MTailor app. Thanks to machine learning algorithms, it offers measurements that are 20% more accurate than traditional methods. Remember to wear fitted clothing or undergarments for precision.
Record your measurements in inches or centimeters, matching the sizing system of your chosen brand. Double-check everything, or better yet, have someone assist you to avoid mistakes.
Step 3: Create a Pattern
Crafting a custom clothing pattern begins with selecting a base pattern that aligns with your style and fit preferences.
Advanced pattern-making software can simplify this process. It allows you to input personal measurements and experiment with customization options easily.
Once you’ve drafted your pattern, consider making a muslin prototype. This provides a tangible way to test and refine your design, confirming that your clothes will fit perfectly.
Step 4: Cut and Prepare the Fabric
When you cut and prepare the fabric, confirm that everything aligns properly to achieve professional results.
Begin by verifying your fabric is pre-washed and ironed. This step prevents shrinkage and guarantees the fabric lies flat, making cutting more accurate.
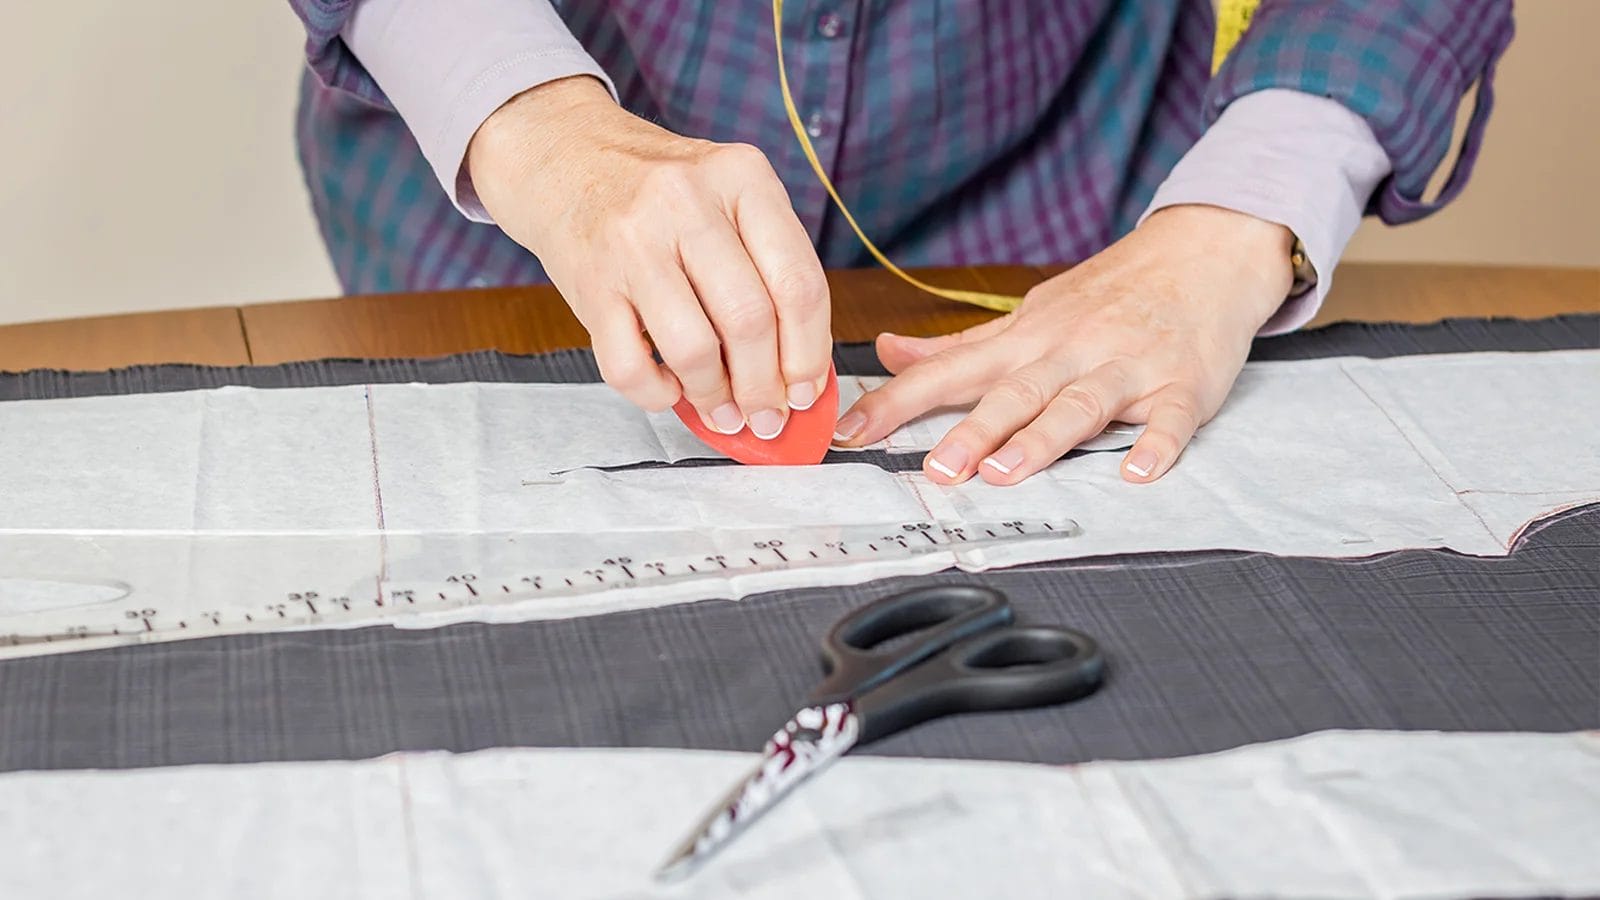
Carefully align your pattern pieces on the fabric, pinning them securely to prevent any shifting. Use sharp fabric scissors or a rotary cutter for precise cutting.
Always cut along the fabric’s grain to maintain the structure and drape.
Once cut, label each piece clearly with markings for sewing instructions, like darts or notches. This preparation will simplify the sewing process and help you achieve well-fitting, custom apparel.
Step 5: Sew the Garment
First, set up your sewing machine with the right needle type and matching thread color for smooth stitching. Carefully follow the pattern instructions, aligning fabric pieces accurately. Secure them with pins or fabric clips to prevent any shifting while sewing.
As you sew, reinforce each seam with backstitching at the start and end. This will ensure that your clothing is durable and will not unravel.
Pay close attention to finishing raw edges using zigzag stitching or serging techniques. This step prevents fraying and gives your custom products a polished look.
Step 6: Add Details and Finishing Touches
The last step after sewing is to enhance it with thoughtful details and finishing touches. Consider elements like buttons, zippers, or embellishments that complement your design aesthetic. Carefully select materials that improve the overall look and functionality.
Next, focus on refining the fit through adjustments. Try on the clothes and fine-tune areas like hems, cuffs, and seams to ensure a perfect fit. Use techniques such as topstitching to enhance durability and add decorative flair.
Pay attention to internal finishes, like sewing in labels or adding linings. This not only boosts comfort but also elevates the quality.
Finally, use an iron to give your custom piece a thorough press, smoothing any wrinkles and setting seams. This will ensure that it looks crisp and ready to wear.
Step 7: Fitting and Adjustments
Achieving the perfect fit is essential. A fitting session can help you assess how the clothes conform to your body.
Pay attention to the fabric’s stretch and drape, as these can influence the fit. If the initial fit isn’t perfect, don’t worry. Adjustments are a standard part of the process. If you sell custom clothing online, use customer feedback to pinpoint common fit issues, guaranteeing a better experience in future orders.
Creative Embellishment Ideas for Your Custom Designs

Ever wonder how to make your custom clothes truly stand out? Here are some creative embellishment ideas for your custom t-shirt, jacket, or dress:
- Embroidery: Using thread, you can add intricate designs, monograms, or logos. For precision, you can choose traditional hand embroidery or machine embroidery.
- Appliqué: Sew fabric shapes onto your clothing. This technique is great for adding colorful patterns or designs.
- Beadwork and Sequins: Add sparkle and texture with beads or sequins. Sew them in patterns or scatter them at random for a shimmering effect.
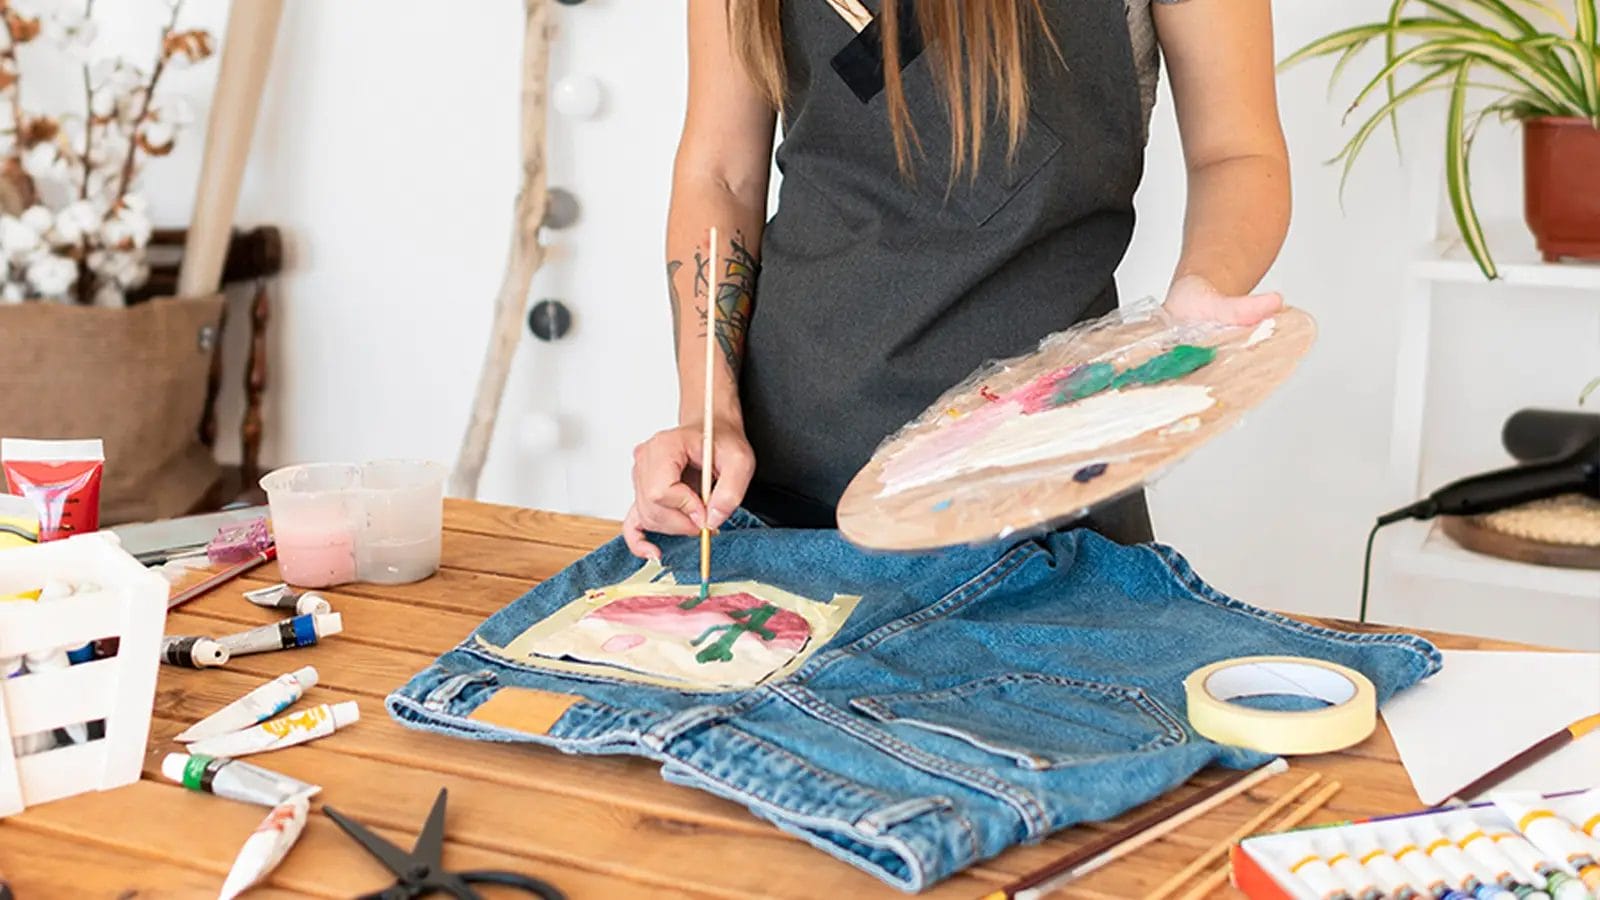
- Fabric Paints and Dyes: Use fabric paints or dyes to create unique patterns or illustrations. Techniques like tie-dye, batik, or stenciling can add vibrant colors.
- Patches: Add patches of different themes to your clothing. This can give a vintage or eclectic look.
- Screen Printing: Ideal for bold graphics and logos, you can use a kit to do screen printing at home. Or ask a professional to handle more intricate designs.
- Studs and Rivets: Add an edgy look with metal studs or rivets. These can be used to highlight seams or pockets.
- Lace and Trim: For a delicate touch, sew lace or decorative trim along hems, sleeves, or necklines.
- Fringe and Tassels: Attach fringe or tassels to the edges for a bohemian vibe.
- Heat Press Vinyl: Use heat press vinyl to create custom designs that are pressed onto the fabric with heat.
- Cut-Outs and Inserts: Create unique looks by cutting out fabric sections and replacing them with contrasting materials like mesh or lace.
- Quilting: Use quilting techniques to add texture and depth to your clothing pieces.
- Hand Painting: Get artistic with hand-painted designs or illustrations, allowing for complete customization.
Conclusion
You now have the tools and knowledge to craft your custom clothes. With your unique design, precise measurements, and personalized touches, you’re ready to create clothes that reflect your style and fit perfectly.
Embrace the excitement of seeing your ideas come to life. Enjoy the satisfaction of wearing something truly one-of-a-kind. Remember, the joy of designing custom clothing lies in its uniqueness and the confidence it brings. So go ahead, release your creativity, and start sewing!
Explore more patch ideas at the Accessories-Wholesaler blog! Find your favorite iron-on patches at Accessories-Wholesaler!
Frequently Asked Questions
What Do You Need to Make Custom Clothes?
You need accurate measurements, a design tool, and quality fabric. Choose your printing technique wisely. Use reliable fulfillment services for timely delivery. With these elements, you’ll create custom clothes that fit perfectly and express your style.
How Do I Make My Own Brand of Clothing?
Define your brand identity and target audience to guide your designs. Use print-on-demand services for cost efficiency. Create unique designs with online tools. Market your brand via social media and eCommerce platforms to attract customers.
Can You Make Your Own Clothes and Sell Them?
Yes, you can make your own clothes and sell them. Use platforms like Printify for print-on-demand services. Create unique designs and upload them to your store, avoiding inventory hassles while reaching customers with personalized apparel.


