Is it really possible to flawlessly attach a patch without a needle and thread? Yes, it is, and you’re about to find out how.
This guide will walk you through the steps on how to iron on patches with parchment paper. By following these instructions, you’ll achieve a professional-looking result from the comfort of your home.
So grab that garment or accessory you’ve been wanting to spruce up. Let’s get started on transforming it into your own unique piece.
Key Takeways for Ironing on Patches with Parchment Paper
When ironing on patches, it’s crucial to remember five key takeaways to ensure a successful application with parchment paper.
First, always cover your patch with parchment paper to shield it from direct heat and prevent damage. This also protects the fabric underneath.
Ensure your iron is preheated to the right heat setting for your fabric. This will activate the adhesive effectively without scorching.
Press down firmly and glide the iron over the parchment paper for about 15–20 seconds to create a strong bond.
Afterward, let the patch cool off before you handle it. This allows the adhesive to set properly.
Lastly, inspect the patch to ensure it’s securely attached. If it’s not, you might have to reinforce it by sewing.
What to Do Before Beginning
Before you heat up your iron, make sure you’ve gathered all the necessary materials:
- An iron set to the right temperature
- An ironing board
- The garment or fabric item you’re updating
- The patch: We, Accessories-Wholesaler, offer high quality and various styles of iron on patches.
- A sheet of parchment paper to protect the design
Ensure that your iron’s heat setting corresponds with the material of your garment to prevent damage. The parchment paper is used as a pressing cloth to protect the patch and fabric from direct heat, preventing scorching or melting.
Lay out your fabric on the ironing board, ensuring it’s flat and wrinkle-free. This smooth surface will help you apply even pressure when you press the patch onto the fabric.
With these materials at hand, you’re all set to give your item a fresh, personalized look.
How to Iron on Patches with Parchment Paper: A Step-by-Step Guide
While you’re preparing to add a unique touch to your garments, you’ll need to ensure that you’ve got your iron set to the correct temperature for the fabric type before you begin ironing on patches with parchment paper.
With everything ready, you can start to iron on patches with parchment paper.
1. Prewash Your Garment
Ensure your clothing is clean by washing it according to the care label instructions before you start ironing. A pristine garment will help the patch adhere better and last longer.
Here’s how to prepare your item for patching:
- Read the Care Label: Check your garment’s care instructions carefully to avoid any damage during washing.
- Choose the Right Water Temperature: Use cold water for delicate fabrics, like polyester, to prevent shrinking or color bleeding.
- Select the Correct Washing Cycle: A gentle cycle is usually best for items that will receive patches.
- Dry the Garment Flat: To maintain the shape and integrity of the fabric, lay your garment flat to dry before you begin the patching process.
2. Position Your Patch onto the Garment
After selecting the spot where you’d like your patch to go, lay its adhesive side down on the fabric. Ensure it’s straight and positioned correctly.
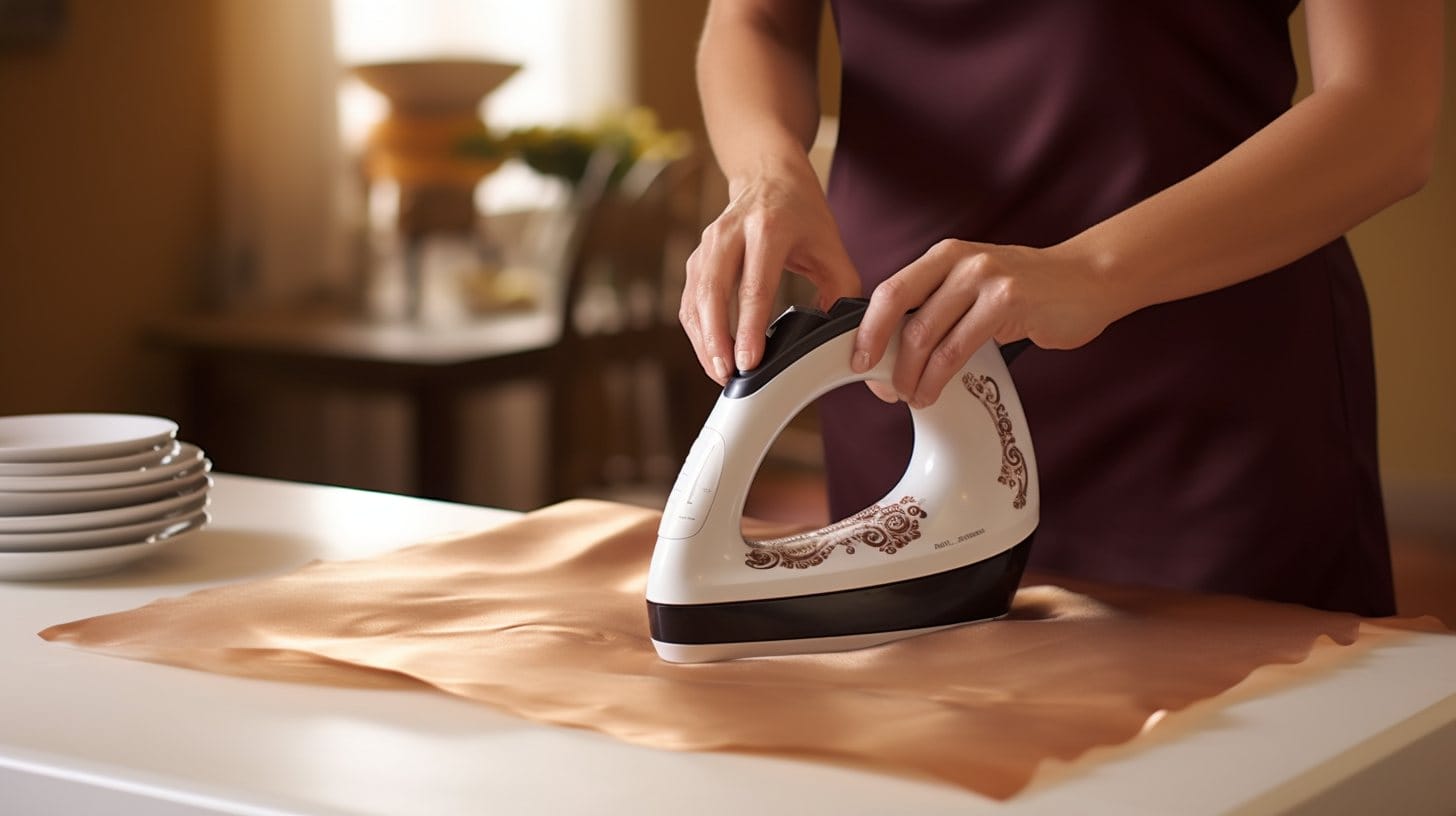
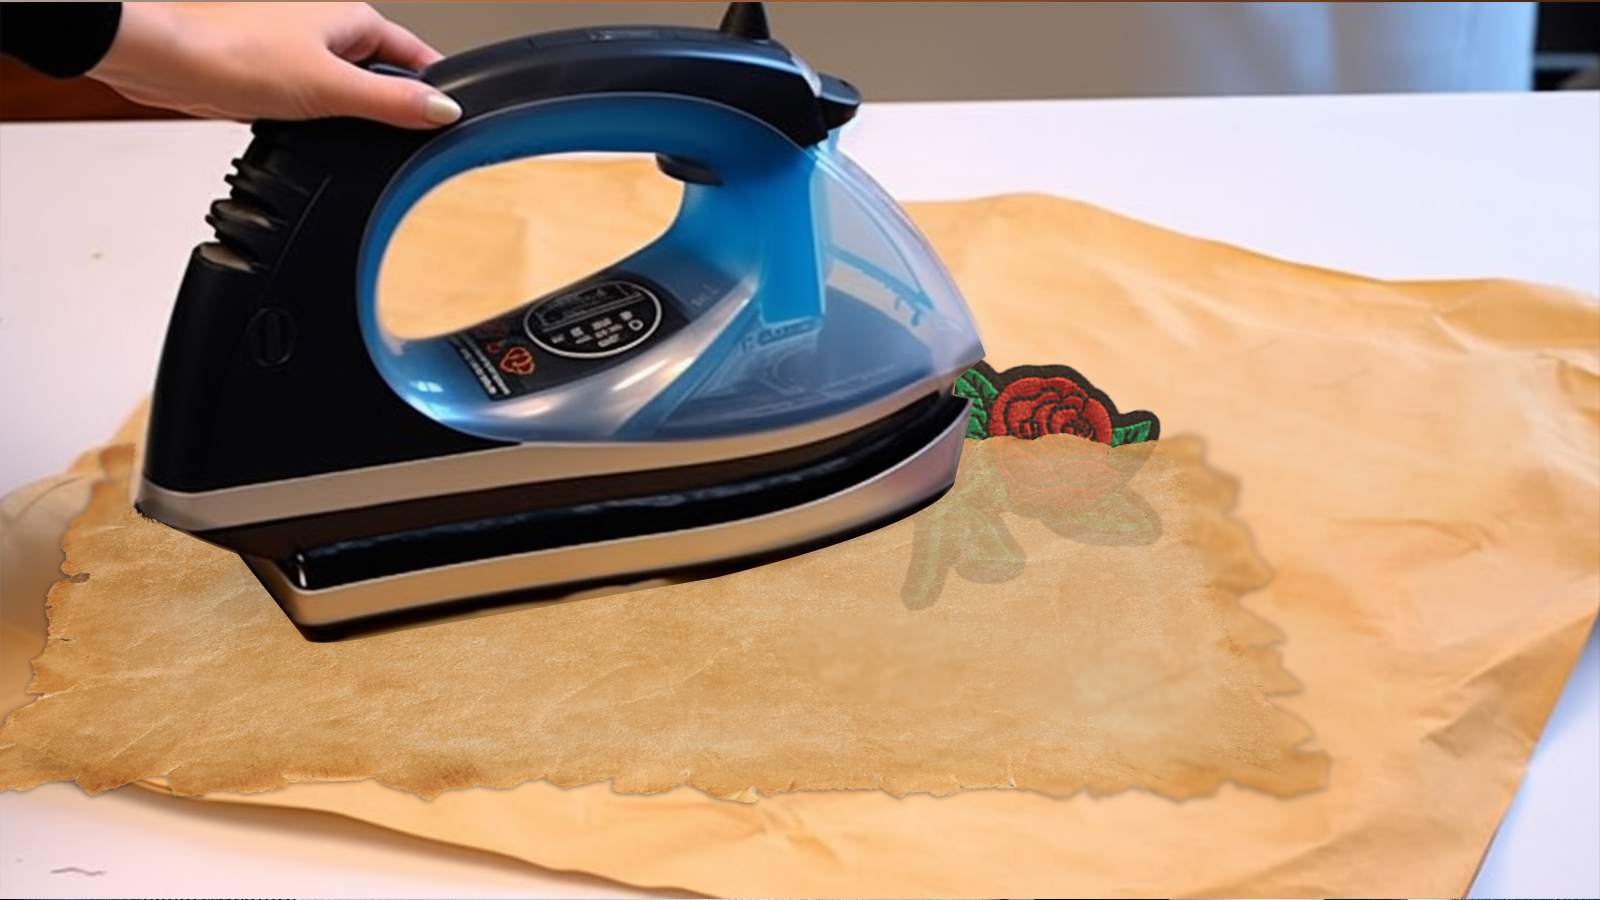
3. Cover the Patch with Parchment Paper

Once you’ve positioned your patch, cover it directly with a sheet of parchment paper. The paper can safeguard both the material and the design during the ironing process.
4. Preheat Your Iron and Iron on a Patch
Before you begin, check your patch’s instructions. Preheat your iron to the specific temperature recommended for your fabric type. For most patches, it’s best to set your iron to the highest heat setting that your fabric can safely withstand.
Ensure your iron’s steam setting is off, as a dry iron is crucial for a strong bond. When your iron is hot, press the iron onto the parchment paper with firm, even pressure. Avoid back-and-forth motions. Hold it in place.
Usually, this takes about 30 seconds to 60 seconds. But follow your patch’s particular guidelines.
5. Let the Patch Cool
You’ll need to give the patch enough time to cool—at least a few minutes—before you handle or test its adhesion. Rushing this step could mean the back of the patch hasn’t fully bonded, leading to peeling later on.
Here’s what to do to make sure the patch stays in place:
- Let the Patch Cool: Don’t touch or move the fabric until the patch cools down completely.
- Check the Edges: Gently test the edges to ensure they’re securely attached.
- Be Patient: If the patch hasn’t fully adhered, reapply heat with parchment paper, then let it cool again.
- Final Inspection: Once cool, give your patch a thorough inspection to confirm it’s fixed in place.
Common Issues on Iron on Patches with Parchment Paper
When ironing on patches with parchment paper, you might encounter a few common issues.
To prevent melting or damaging your garment, always ensure the adhesive side of the patch faces down.
Adjust the heat of the iron according to the fabric type. Too hot can cause damage. Too cool may not activate the adhesive, making the patches work improperly.
Be mindful to disable the steam function on your iron, as moisture can hinder the adhesion process.
If the patch still isn’t sticking, consider reattaching it with fabric glue or sewing for extra security.
Conclusion
You’ve got this! Just prep the area, place your patch, cover it with parchment paper, and press with a hot iron.
Keep that pressure steady, and don’t rush. If a patch starts lifting, re-iron it with the parchment paper as your trusty shield.
Remember, practice makes perfect, and soon you’ll be jazzing up your gear with ease. Say hello to a world of personalized items, all thanks to a bit of heat, pressure, and parchment paper.
Keep at it!
FAQs
Can You Use Parchment Paper to Iron Patches?
Absolutely, you can use parchment paper to iron patches. It’ll protect your fabric and ensure the patch adheres smoothly without damaging your iron or the material you’re working on.
How Do You Iron on With Parchment Paper?
You’ll need to heat your iron, place the parchment paper over the material, and press down firmly. Ensure it’s evenly heated to adhere properly. Cool it off before handling it to finish the process.
How Do You Stick Iron on Patches Without an Iron?
You can stick iron-on patches without an iron by using a heat press or even a hair straightener. Just apply heat and pressure as you would with an iron.
What Temperature Do You Iron on Patches?
You’ll set your iron between medium and high heat, typically around 260–300°F, depending on your fabric’s resilience. Always check your garment’s care label to avoid damage when applying patches.