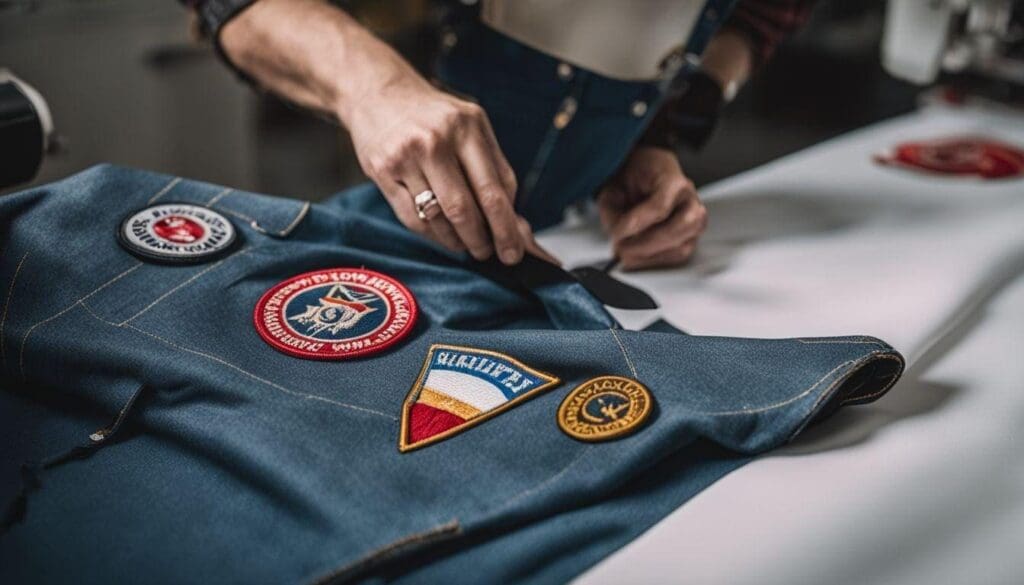
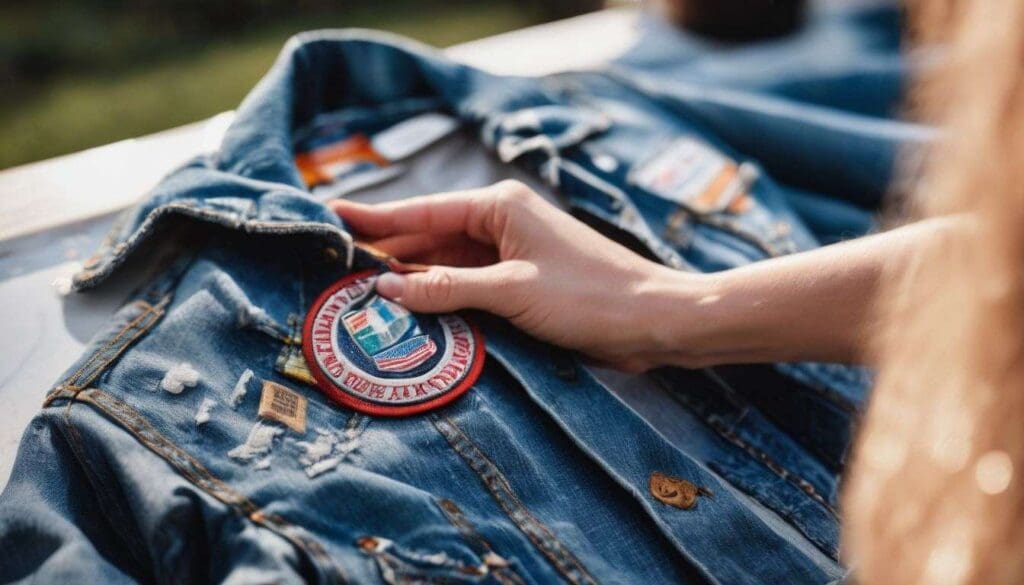
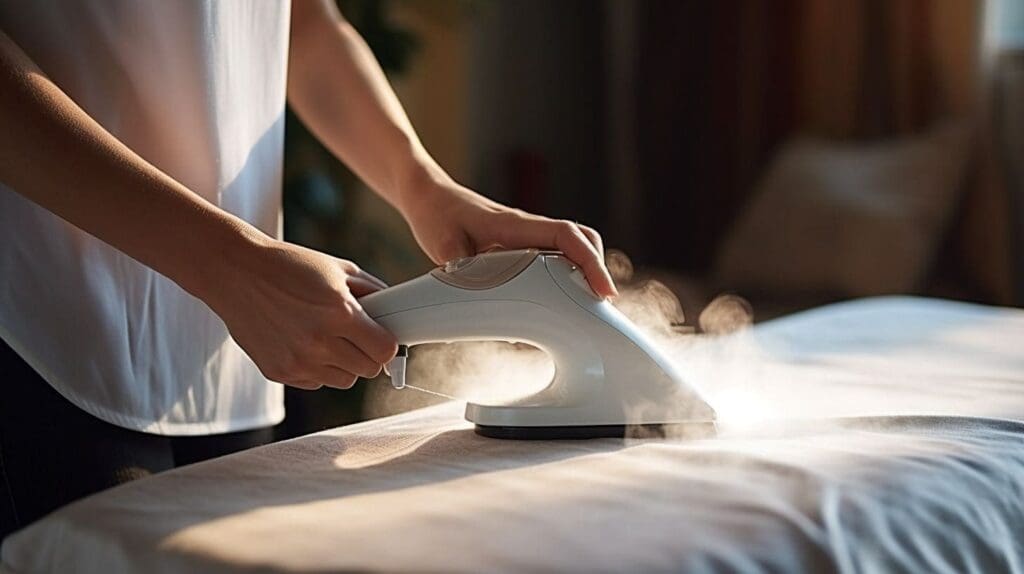
Anyone ever find the perfect patch that gives a fabric piece just the right amount of personality, but then wonder if it’s safe to iron on? You’re not alone! Finding the right way to apply the patches can be like trying to solve a difficult puzzle. Because there are so many different types of patches and fabrics out there.
But don’t worry. We’ve undertaken exhaustive research and put several methods through rigorous tests for applying iron on patches to polyester. All paths have led us here. This blog post is designed as your master guide on how to iron on patches to polyester correctly while keeping product safety at heart.
Ready for a deep dive into some insider know-how? Let’s jump right in!
How to Iron on Patches to Polyester Properly
Many of you may be curious about whether you can iron on patches to polyester. The answer is absolutely “yes.” But there are a few important things to keep in mind when you need to iron a patch on polyester. Ironing a patch onto polyester requires careful attention to avoid damaging the fabric.
The Complete Process of Ironing on Patches to Polyester
Polyester, being a delicate material and sensitive to heat as well, requires specific iron settings for optimal results. Set the iron to ‘polyester’ or ‘warm’, as this is highly recommended for polyester fabrics.
It’s crucial not to rush this process, as high heat can damage both the patch and the fabric.
Before you start attaching your patches, remember to pre-heat your polyester garment with low heat on the ironing board. You don’t want it too hot; just warm enough to prepare it for the patch application.
To ensure a secure bond between the fabric and patch, apply pressure for 45–50 seconds first. During the process, don’t move the iron. And then check if any edges lift before further pressing down.
Then turn your garment inside out. Yes, we mean it! Apply pressure again from the opposite side onto that now upside-down patch for about half a minute or more. Double-checking pays off here. Let both cool down properly before wearing or washing them.
Your patience will pay off with perfectly placed patches on your favorite polyester items!
A Summary of How to Iron on Patches to Polyester with 8 Steps
Ironing on patches to polyester is not as difficult as it seems. After learning the complete process, let’s discover a summary of it with eight steps.

- Begin by preparing your polyester garment. Ensure the surface is clean and free from any dust or lint.
- Set your iron to a low heat setting suitable for polyester fabric, which is sensitive to heat.
- Determine where you want the patch placed on the garment. Remember, if it’s a hat, place it front and center, about half an inch from the bottom.
- Place the patch on the desired area of your polyester clothing.
- Cover the iron on patch with parchment paper or a thin piece of cotton fabric to protect it during ironing.
- Apply pressure with the heated iron to the paper or cloth covering the patch for about 15–20 seconds.
- Once done, don’t touch or move the patch right away. Instead, let it cool down a bit before checking if it has fully adhered to your clothing item.
- If necessary, repeat steps 6–7 until you are sure that all edges of your custom patches have firmly attached themselves to your clothing item.
Alternatives to Ironing on Patches on Polyester
Applying iron on patches to polyester clothing can be a bit tricky due to the sensitivity of this fabric to heat. So, we look for alternatives that offer similar results with fewer risks.
One such substitute is using fabric glue. It’s an excellent choice because it sticks well and gives you enough flexibility during the application process. First, put a thin layer on your patch. Be careful not to cover it too much. Remember that too much can cause it to ooze, which could ruin your clothing. After positioning the patch exactly where you want it on your clothing, placing a heavy object or clamps helps ensure secure bonding while the glue cures.
This technique not only prevents your favorite fabric items from suffering heat damage, but it also produces results that last just as long as iron-on ones!
How to Care for Your Patched Items
To ensure the longevity and appearance of your patched item, proper care is essential.

When washing your garment, turn it inside out to protect the patches from friction and potential damage. Use cold water and a gentle cycle setting to prevent shrinking or fading. Avoid using bleach or harsh detergents that can weaken the adhesive on the patches.
It’s best to air-dry your patched item instead of putting it in the dryer. Because high heat can cause the patches to lift or melt. Lay it flat on a clean surface or hang it up to dry naturally.
If ironing is necessary, place a press cloth over the patch area before applying any heat. This step can help avoid direct contact between the iron and patches.
By following these simple care instructions, you’ll be able to enjoy your patched item for many more years. And you don’t have to worry about losing their vibrant look or damaging the patches themselves.
Conclusion
Iron on patches can indeed be applied to polyester fabric, but it’s important to take a few extra precautions. Polyester is sensitive to heat, so make sure to set your iron to a low temperature and avoid using too much pressure.

By following these steps and guidelines, you’ll be able to iron on your patches on polyester garments and accessories in no time. Choose the patch you like on Accessories-wholesaler and go for it. Give it a try and add some flair to your favorite polyester pieces!
FAQs
We’ve put together a list of FAQs and their answers to help you use iron on a patch on fabric clothes. Here goes.
1. Can I iron patches onto polyester fabric?
Yes, you can attach iron-on patches to polyester fabric. You need to set your iron to low heat, as the polyester is sensitive to high heat and might melt.
2. How do I apply an iron-on patch correctly?
First, place the patch in the desired spot on your garment or backpack, and cover it with parchment paper or a thin piece of cotton. Then, move the heated iron over it, applying enough pressure for the adhesive on the back of the patch to stick to the fabric.
3. What if the patch doesn’t adhere well?
Turn the fabric inside out and press from the opposite side for an extra 30 to 40 seconds.
4. Will I damage my polyester garment while attaching an embroidered patch?
It’s safe to use heat to connect patches as long as you keep the iron’s temperature low and only use steam if you need to. This is true for both knitted and printed patches that are made just for you.
5. Why does my patch start lifting from shirts after washing?
If a patch isn’t completely adhered after applying pressure with an appropriately heated iron, it might begin lifting when washed. To avoid this issue, ensure that every edge of the entire patch has properly melted into its intended position before letting it cool off.
6. How can I care for items with attached custom patches?
Hand washing is recommended for clothes bearing these attachments. Remember not to touch or move them until they have cooled down after being applied, so that you don’t damage them by touching them too soon.
7. Can leather and PVC patches be applied to polyester items too using this method?
Ironing could harm both leather and PVC materials, like polyester, due to its sensitivity to high temperatures. Hence, opt for sewing such types of custom-made patches across uniforms, etc., which usually prove more durable over time anyway!
8. What’s a good way to practice applying patches?
Try practicing on old clothing to get a feel for the timing and pressure needed.


