
Imagine such a situation: you find an inspiring patch you simply have to add to your favorite garment. But only to hit the pause button due to a lack of sewing skills. We totally get it!
This blog post offers easy-to-follow yet comprehensive instructions on how to sew a patch. So grab your needle and thread. Let’s dive into this delightful craft skill together!
Understanding the Purpose of a Sewing Patch
Sewing patches serve more than just a functional purpose. They transform any piece of fabric into personalized expressions of individuality and style.
This customization allows for unique designs that showcase our flair and interests.
These small yet impactful additions not only beautify but also provide utility by covering tears or holes in the fabric. Thus, sewing on a patch can both enhance an item aesthetically and increase its longevity.
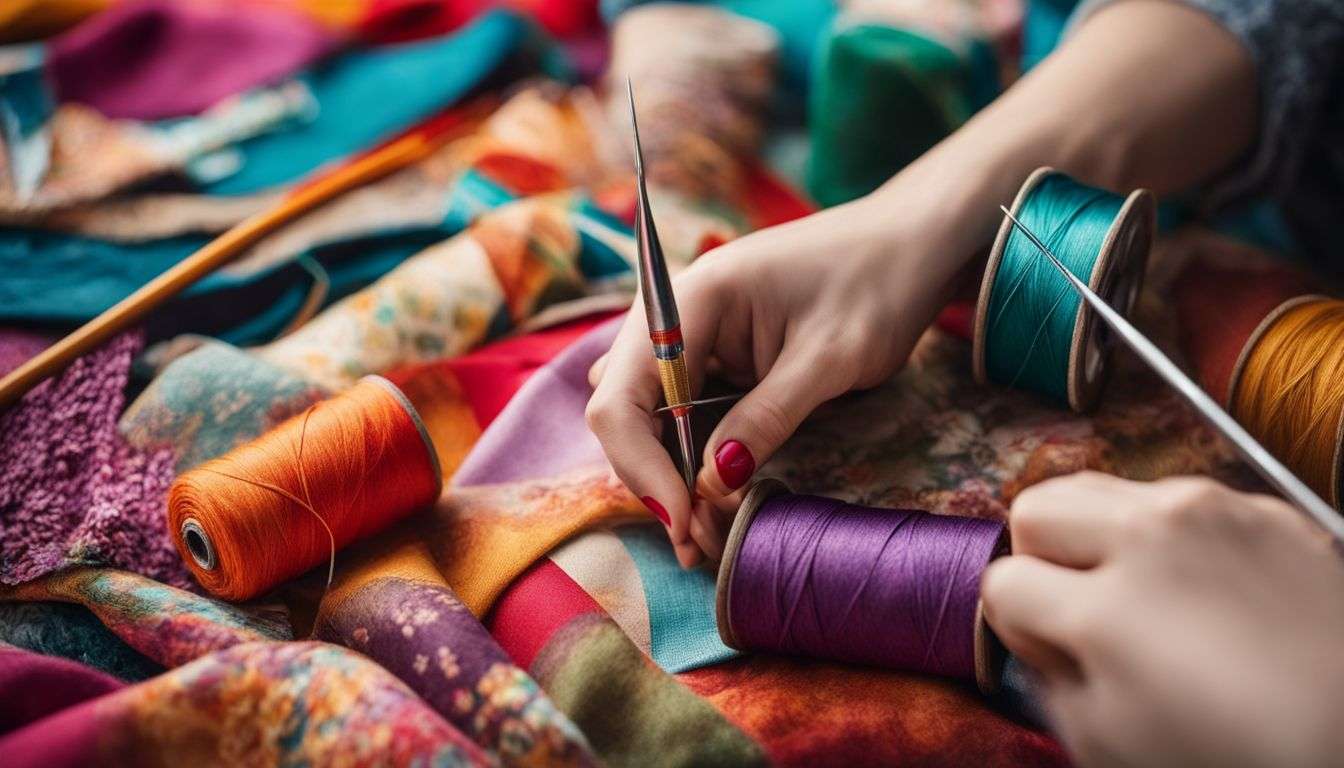
The Necessary Tools and Materials for Sewing on a Patch by Hand
Starting a patch sewing project requires the right tools and materials. Here’s a list of what you will need:
- A patch: This can be any size or design, as long as it suits the garment you’re planning to embellish or repair.
- A piece of clothing or fabric: Whether you’re covering a hole or adding some flair, the fabric is your canvas.
- Hand quilting thread or jeans thread: For exceptional durability, these are the top choices.
- Sewing needle: A tool that will be used to create stitches and secure the patch.
- Scissors: You’ll need scissors for cutting threads and potentially trimming the patch to fit perfectly.
- Sewing pins or an iron: These come in handy when positioning the patch before sewing begins.
6 Easy Instructions on How to Sew on a Patch by Hand
In this section, we will provide you with step-by-step instructions on how to sew on a patch by hand. Whether you’re a beginner or an experienced sewer, these techniques are easy to follow and will help you achieve professional-looking results.
Don’t miss out on learning the secrets to sewing patches flawlessly. Read more now!
Preparing the Fabric and Patch
Let’s dive into the first step of how to sew on a patch: preparing the fabric and the patch.
- Choose a patch that suits your personal flair and the garment you want to enhance.
- Evaluate the quality and thickness of your chosen fabric, be it denim or khaki.
- Clean the intended area for patch placement by removing any dirt or dust particles.
- Make sure to iron both the piece of clothing and the new patch before sewing them together.
- If there is a hole or tear in your fabric, neaten up the edges before proceeding further.
- Measure the width and height of the hole (if any) to ensure that your patch will cover it completely.
- Finally, cut out your selected badge slightly larger than required for extra security during washing or potentially needing removal later on.
Determining the Placement of Your Patch
Careful thought goes into the placement of your patch. This key step in the process can dictate how well your design stands out and impacts the overall look of your garment. Patches can spruce up a jacket, jeans, or bag with personalized flair.
There are no hard rules for where to place your patch. It all comes down to personal preference and the desired style effect. Feel free to experiment with different placements until you find one that suits both you and your garment best.
Pinning the Patch
To securely attach the patch to your garment, you can pin it. Using sew pins to hold the patch in place on the fabric. Make sure that the pins go through both the edge of the patch and the fabric underneath.
This will prevent any shifting or movement while you sew.This step is crucial for ensuring that your design stays in place during sewing.
Threading and Knotting Your Needles
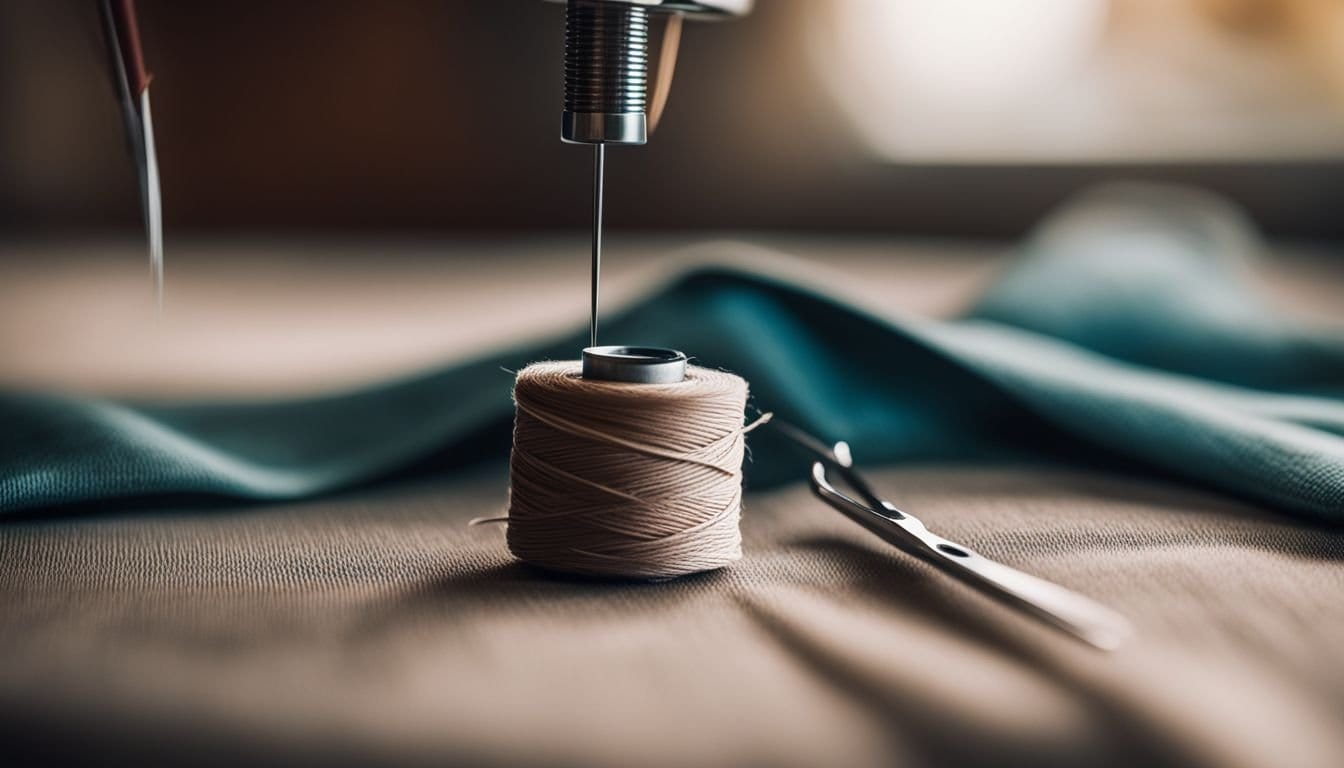
To start sewing on a patch, the first step is to thread your needle. Choose a thread color that matches or contrasts with your patch and fabric. Cut a length of thread about 18 inches long and insert one end through the eye of the needle.
Hold both ends of the thread together and tie them in a knot at the opposite end from where the needle is threaded. Make sure to pull the knot tight so it doesn’t come undone while you sew.
Now that your needle is threaded and knotted, you’re ready to move on to securing your patch to the fabric.
Starting Your Backstitch
To start your backstitch, thread your needle with a color of thread that matches or contrasts with your patch. Make sure to knot the thread at the end to secure it. Begin by inserting the needle from the back of the fabric, bringing it up through both layers at one end of the patch.
Then, push the needle back down slightly behind where you came up. Bring it up again, about an eighth of an inch ahead. Repeat this process. Make evenly spaced stitches until you reach the other end of the patch.
The backstitch creates a strong and durable bond between your fabric and patch. It will ensure that the patch stays securely in place even with regular use and washing.
Continuing the Stitch
To continue the stitch, keep moving your needle back and forth through the fabric and patch. Make sure to follow along the edge of the patch as closely as possible. As you sew, maintain a steady pace to ensure even stitches.
Remember to secure each stitch by pulling tightly on the thread after every few stitches. Keep going until you have stitched around the entire patch and have reached your starting point again.
Once finished, cut off any excess thread and admire your neatly sewn-on patch!
Alternative Methods of How to Sew on a Patch
In addition to sewing a patch by hand, there are alternative methods you can try. One option is using a sewing machine, which provides a quicker and more precise way of attaching the patch.
Another option is iron-on patches, which eliminate the need for any sewing at all.
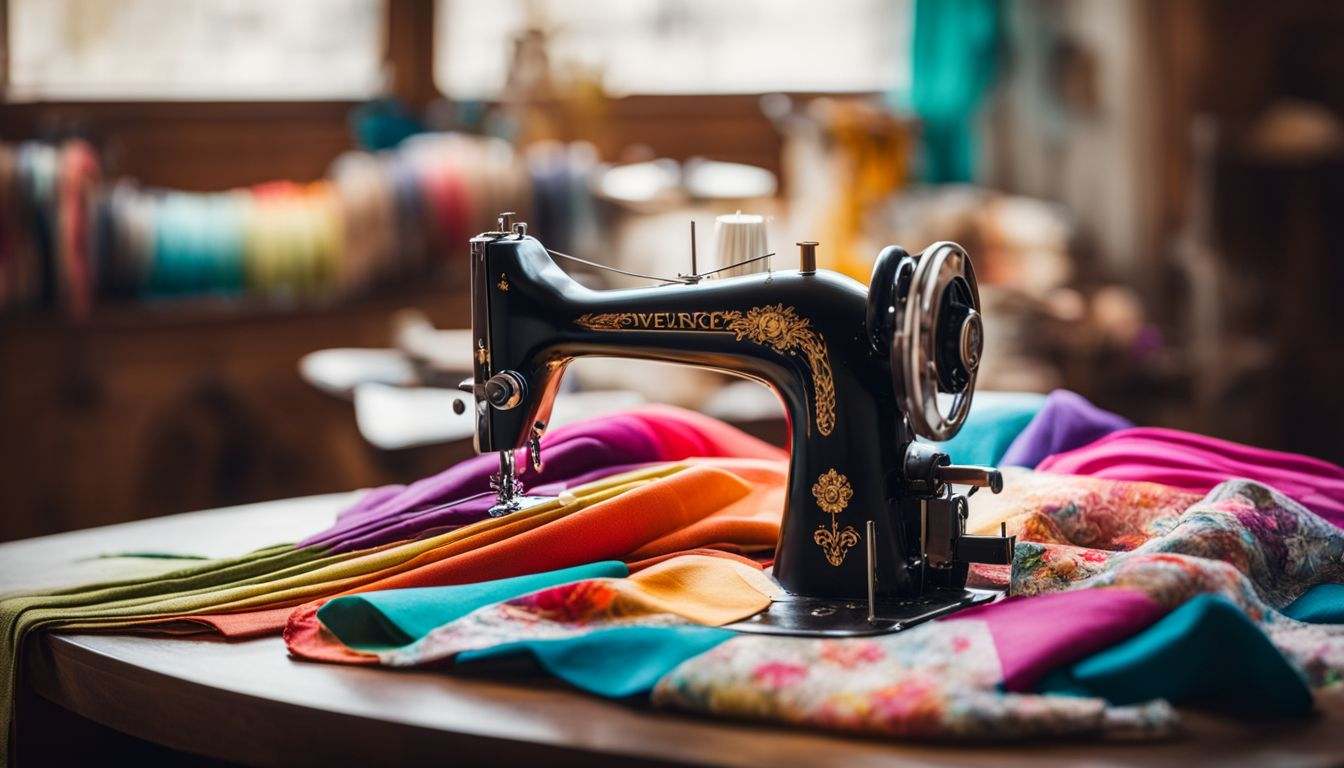
Using a Sewing Machine
Using a sewing machine is a suggested method for sewing on a patch, as it allows for quicker and more efficient stitching. To sew on a patch using a sewing machine, you will need the following materials:
- Sewing pins
- A sewing needle
- Scissors
- The patch
- The piece of clothing, bag, or fabric where you want to attach the patch
Set up your sewing machine with the appropriate thread color and choose either a straight stitch or zigzag stitch setting. Begin by securely pinning the patch in place while you sew. Then, guide your fabric under the presser foot of your machine and start stitching around the edge of the patch using slow and steady movements. Backstitch at both ends to secure the thread in place.
Iron-on Patches
Iron-on patches are a convenient and easy way to add flair to your garments without the need for sewing. These patches come with an adhesive backing that allows you to simply iron them onto your fabric.
But it should be noted that over time and after several washes, the adhesive may weaken and cause the patch to come off.
So if you’re looking for a quick way to personalize your clothes or accessories, iron-on patches are a great option!We have prepared some practical skills on Accessories-wholesaler for you, follow us and learn together!
Tips for Sewing Your Patch in Hard-to-Reach Places
When sewing the patch in hard-to-reach places, there are a few tips that can make the process easier.
- First, use a long needle with a sharp point to reach tight corners and angles. This will allow you to maneuver the needle through the fabric and patch without any difficulty.
- Second, take your time and be patient while sewing in these areas, as it may require some extra effort.
- Third, make sure to secure the patch firmly in place using pins or adhesive before starting to stitch. This will prevent any movement or shifting of the patch while you sew.
- Fourth, consider using a contrasting thread color for better visibility when stitching in these difficult areas.
- Finally, always double-check your stitches and ensure they are secure by pulling gently on each one before moving on to the next.
These tips will help you achieve professional-looking results even when sewing patches in hard-to-reach places. By following these tips, you can ensure that your patches are securely attached without compromising their appearance or durability.
Conclusion
Mastering the art of sewing on a patch is easier than you may think. By following these 6 easy instructions, you can add flair and personality to your garments in no time. Whether you choose hand sewing or machine sewing, these techniques will ensure that your patches stay securely in place for years to come.
So grab your needle and thread and get ready to unleash your inner DIY creator!
FAQs
1. What is the process for sewing on a patch?
To sew on a patch, thread your needle and create a knot at the end of it. Put the patch in place, and start by pushing the needle through the fabric and into the edge of your new patch. Keep repeating this until you’ve stitched all around.
2. Can I use machine sewing for attaching patches?
Yes, set your stitch length as per the requirements. Use straight stitches or zig-zag machine stitches, ensuring that you have threaded well to avoid any mishaps.
3. How do I choose which thread color to use when sewing a patch?
Pick a polyester thread color that either matches your patch to blend in or contrasts with it if you want it to stand out.
4. Are there different ways to stitch patches onto fabrics like denim?
Sure! Running stitch, whip stitch, and blanket stitch are some common methods used while stitching patches on denim.
5. Can we attach badges using similar techniques?
Absolutely! A badge can be attached just like any other regular type of patch. Secure its position firmly on the garment. Keep making repeated stitches until you cover the entire edge.
6. Is learning how to sew beneficial for repairing worn-out garments?
You bet! Not only does learning to sew help repair worn-out clothes, but it also equips you with skills like upcycling old items into DIY creations with flair!