
Iron-on letters provide an effective means for customizing textiles, whether it’s for personal expression or for branding purposes.
This blog post will provide detailed steps on how to iron on letters. It’ll also offer a concise tutorial that aims to equip individuals with the knowledge to execute this task with professional finesse. Proper application results in a visually appealing and long-lasting customization.
Key Takeaways for Ironing on Letters
When ironing on letters, it is crucial to use firm, even pressure and maintain the iron’s heat at a consistent temperature. Doing so ensures a strong bond between the fabric and the adhesive.
- Before beginning, ensure that the ironing board is stable and the surface is smooth.
- You should follow the instructions meticulously. Place the mirrored letters correctly on the fabric to read accurately post-transfer.
- Allow the iron to press against the letters for the recommended duration—usually a full minute—before removing the heat.
- Once completed, give the garment a brief cooling period, ideally 5–10 seconds.
- Each step is critical for the faultless adherence to iron-on letters.
Preparations Before You Get Started
Before initiating the iron-on process, it is imperative to identify the appropriate type of iron-on letters suitable for your fabric and project.
Equally important is the preparation of the necessary tools.
Identify and choose the right iron-on letters
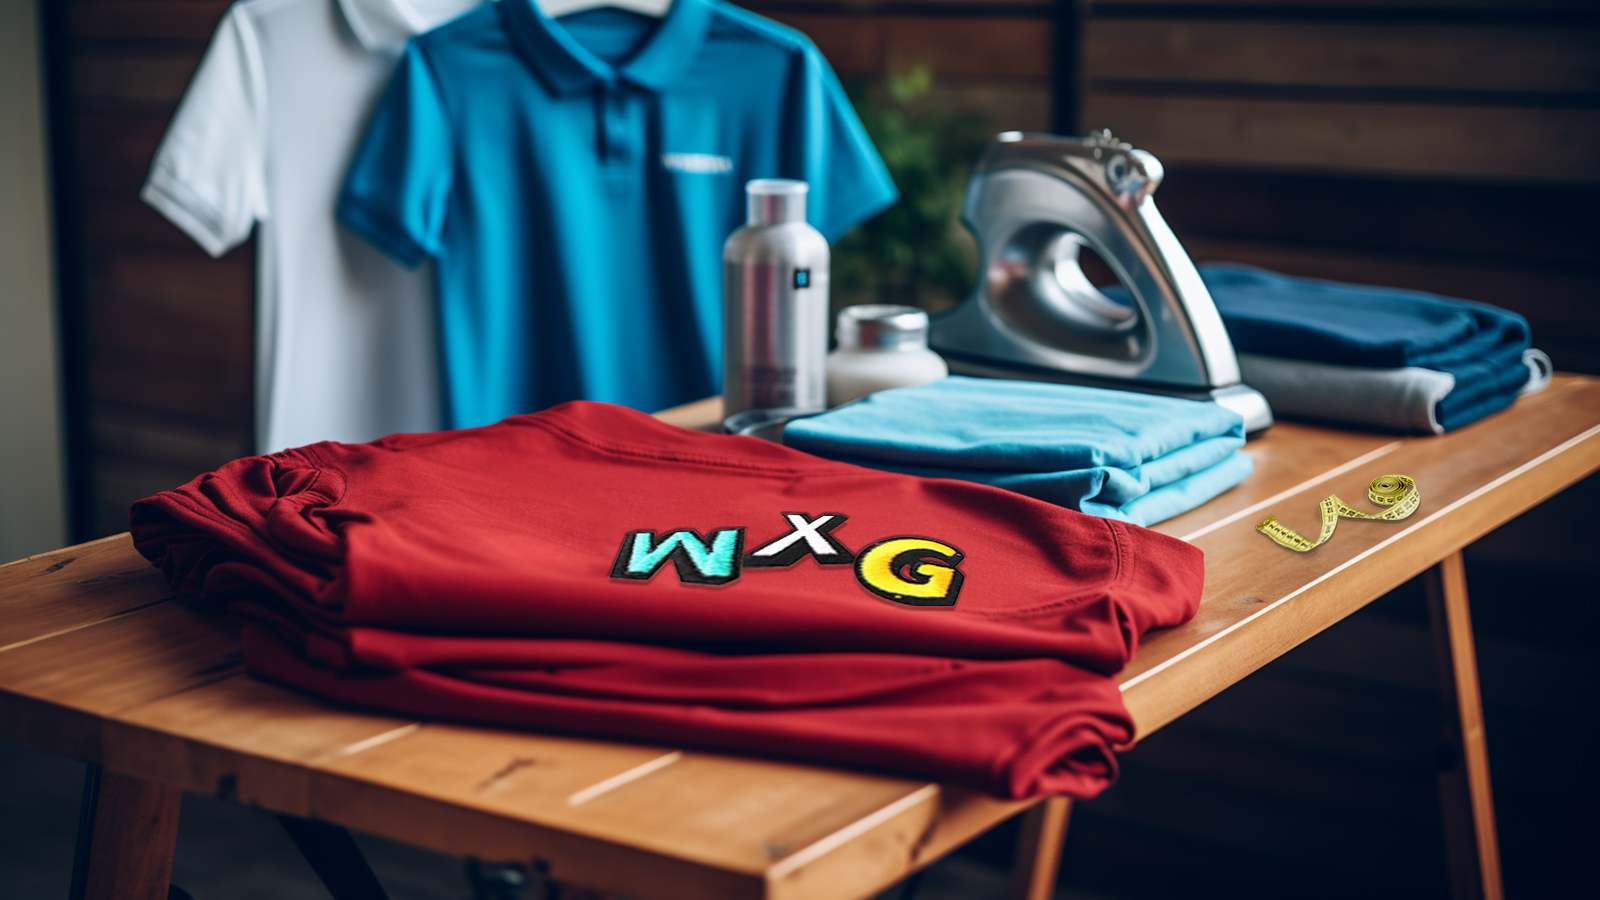
Choosing the right iron-on letters is key to a successful customization project. When you choose iron-on letters, consider the fabric of the garment. They should be compatible with the percentage of cotton to adhere properly.
Explore the various fonts available to find the desired letters that match your style vision. It’s essential to use fabric that will face the rigors of wear and washing without compromising the bond.
Gather the tools
The next step is gathering all the necessary tools to ensure a smooth application process.
You will need:
- A single shirt or fabric onto which the letters will be applied.
- An iron with adjustable heat settings is essential for controlling the temperature required to adhere to the iron-on material without damaging the fabric.
- Prepare an ironing surface that is flat and heat-resistant to form a stable base for your work.
- An ironing cloth, preferably made of thin cotton, is crucial to place between the iron and the letters to prevent melting and ensure the letters properly adhere without lifting.
How to Iron on Letters: A Step-by-Step Guide
After all the preparations, it’s time to learn how to iron on letters with the following steps:
1. Assess fabric heat tolerance
It is important to assess the thermal resilience of the fabric before applying iron-on letters to maintain its integrity. To guarantee successful adherence to the letters without harming the textile:
- Conduct a heat tolerance test.
- Choose an inconspicuous area of the fabric.
- Apply the iron at the temperature you plan to use for the letters.
- Check for any discoloration or damage.
If the fabric is machine washable:
- Wash and dry it slightly to pre-shrink before applying the letters.
- This step helps prevent puckering after future washes.
2. Position patch placement
One must carefully position the iron-on letters on the fabric to ensure proper alignment before applying heat. The key to a successful application lies in meticulous patch placement.
Begin by identifying the exact location on the garment where the letters will be affixed. It is imperative that the surface underneath is smooth. Using a wooden cutting board can provide a solid foundation.
Once the letters are positioned, they can be adjusted to achieve the desired aesthetic. Use tools like a ruler to maintain even spacing and straight lines, especially when arranging multiple letters to form words.
3. Put the garment on a sturdy surface
Before ironing on the letters, ensure the garment is placed on a sturdy, flat surface to help a smooth application process. The surface should be heat-resistant and large enough to accommodate the entire garment without any overhang. This preparation is crucial for achieving a professional-looking result.
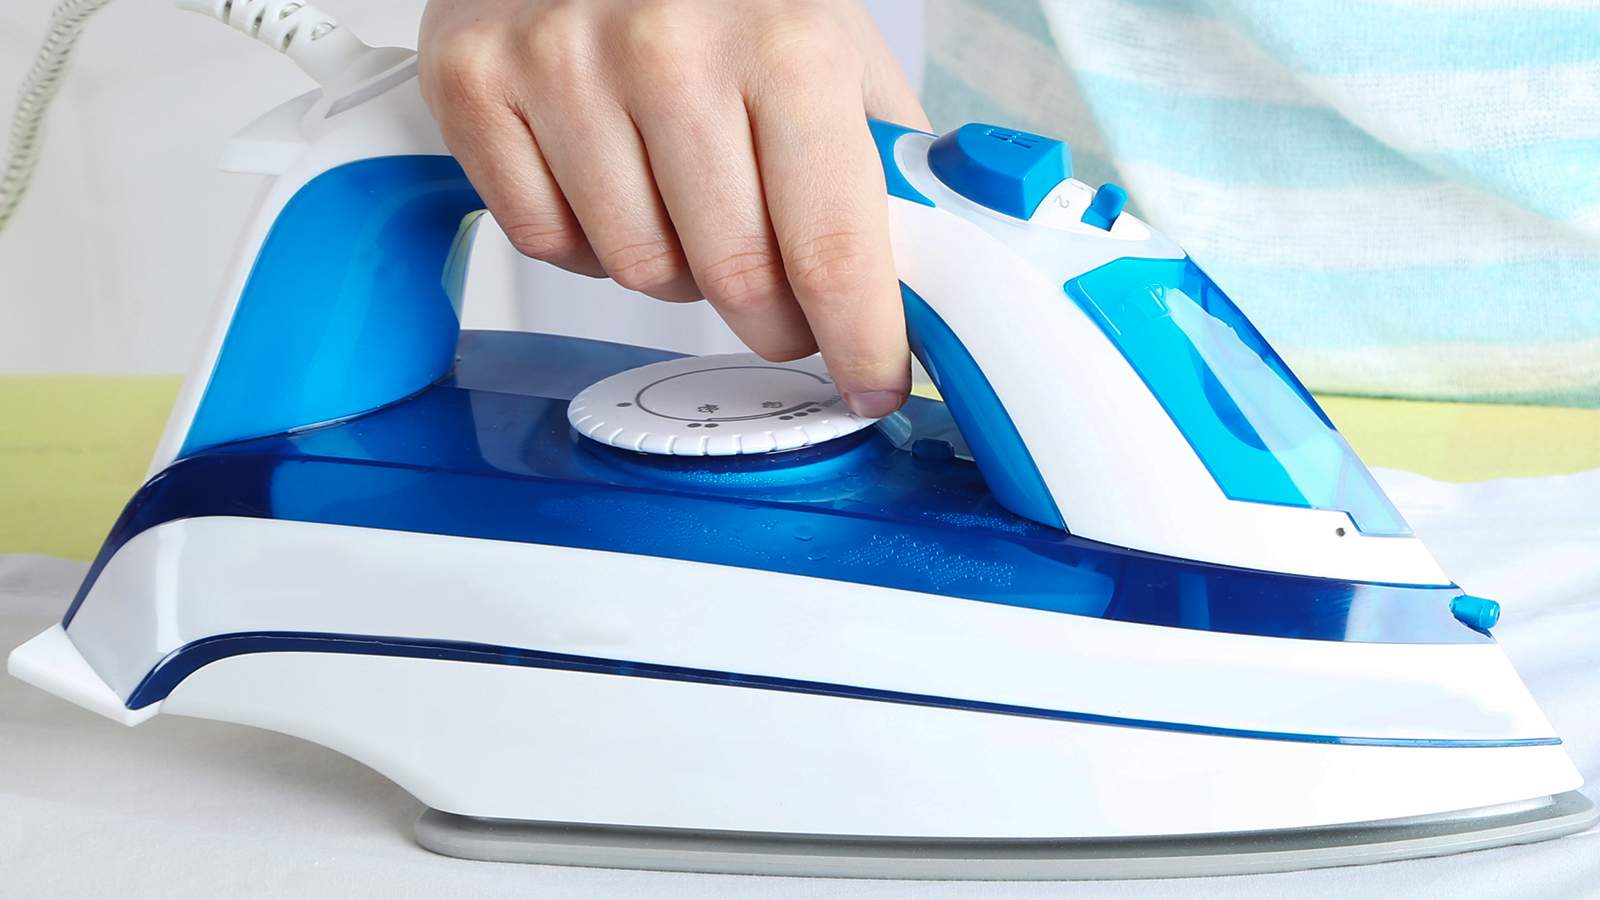
4. Preheat the iron
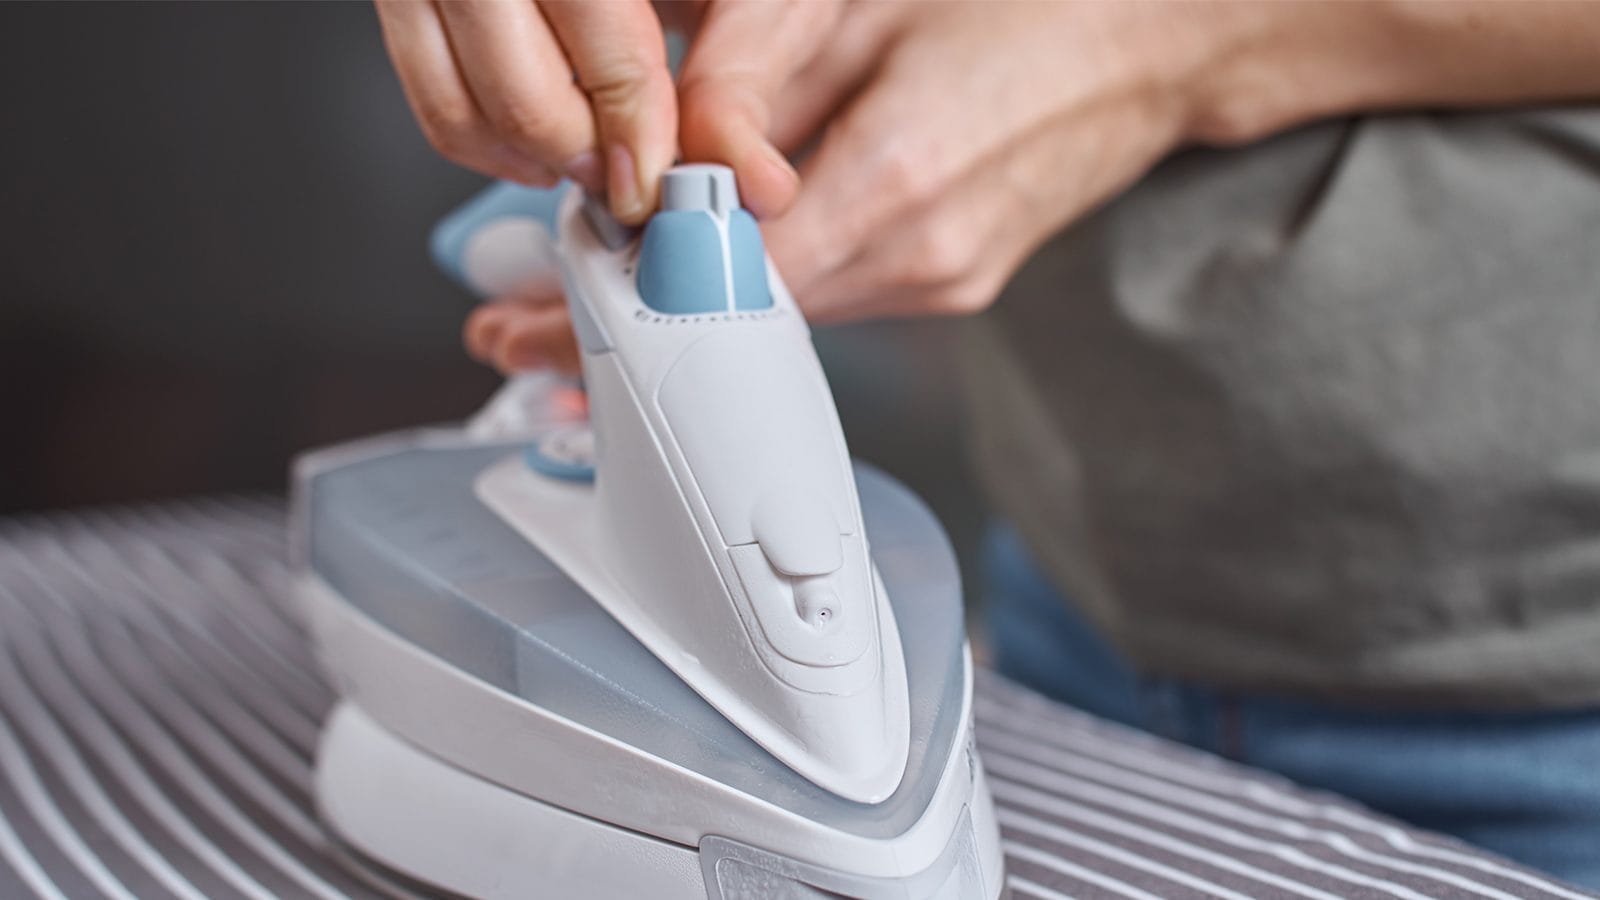
Ensure the iron is preheated to the appropriate temperature, typically the cotton setting, before commencing the application of the iron-on letters. Proper heat setting is crucial to achieving a secure bond between the letters and the fabric.
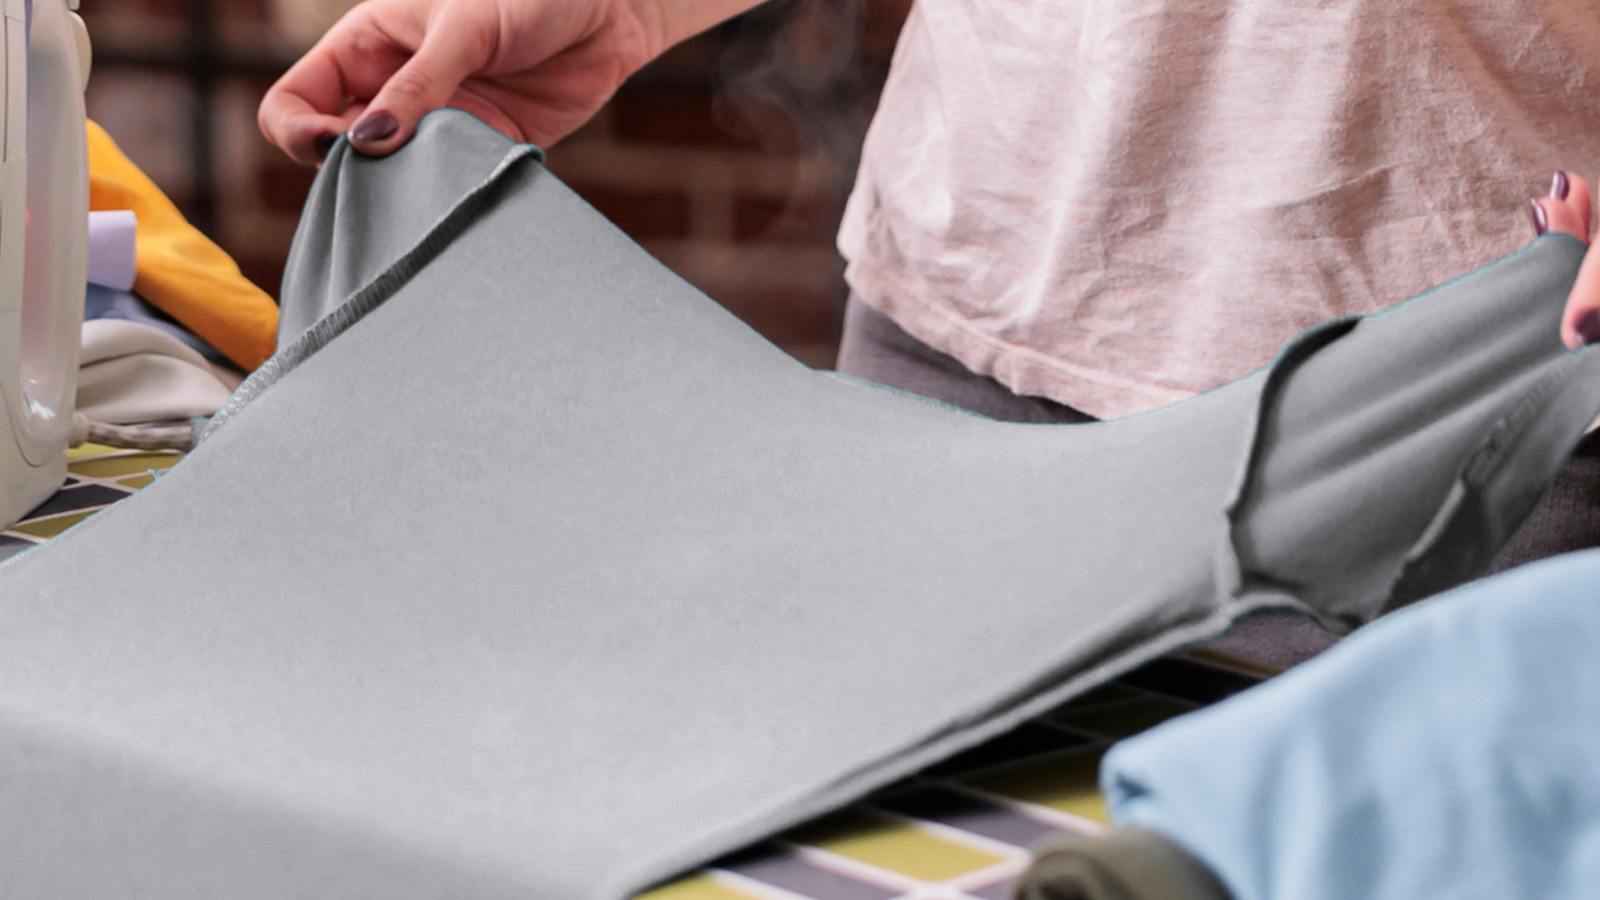
5. Cover letters with thin fabric

Place a thin piece of cotton fabric over the letters to serve as a protective barrier between the iron and the material. This crucial step ensures that the direct heat doesn’t damage the delicate letters or the base fabric. A light, breathable cotton fabric, such as a pressing cloth or a simple handkerchief, is ideal for this purpose.
Carefully position the cloth to cover all the letters uniformly without disturbing their placement.
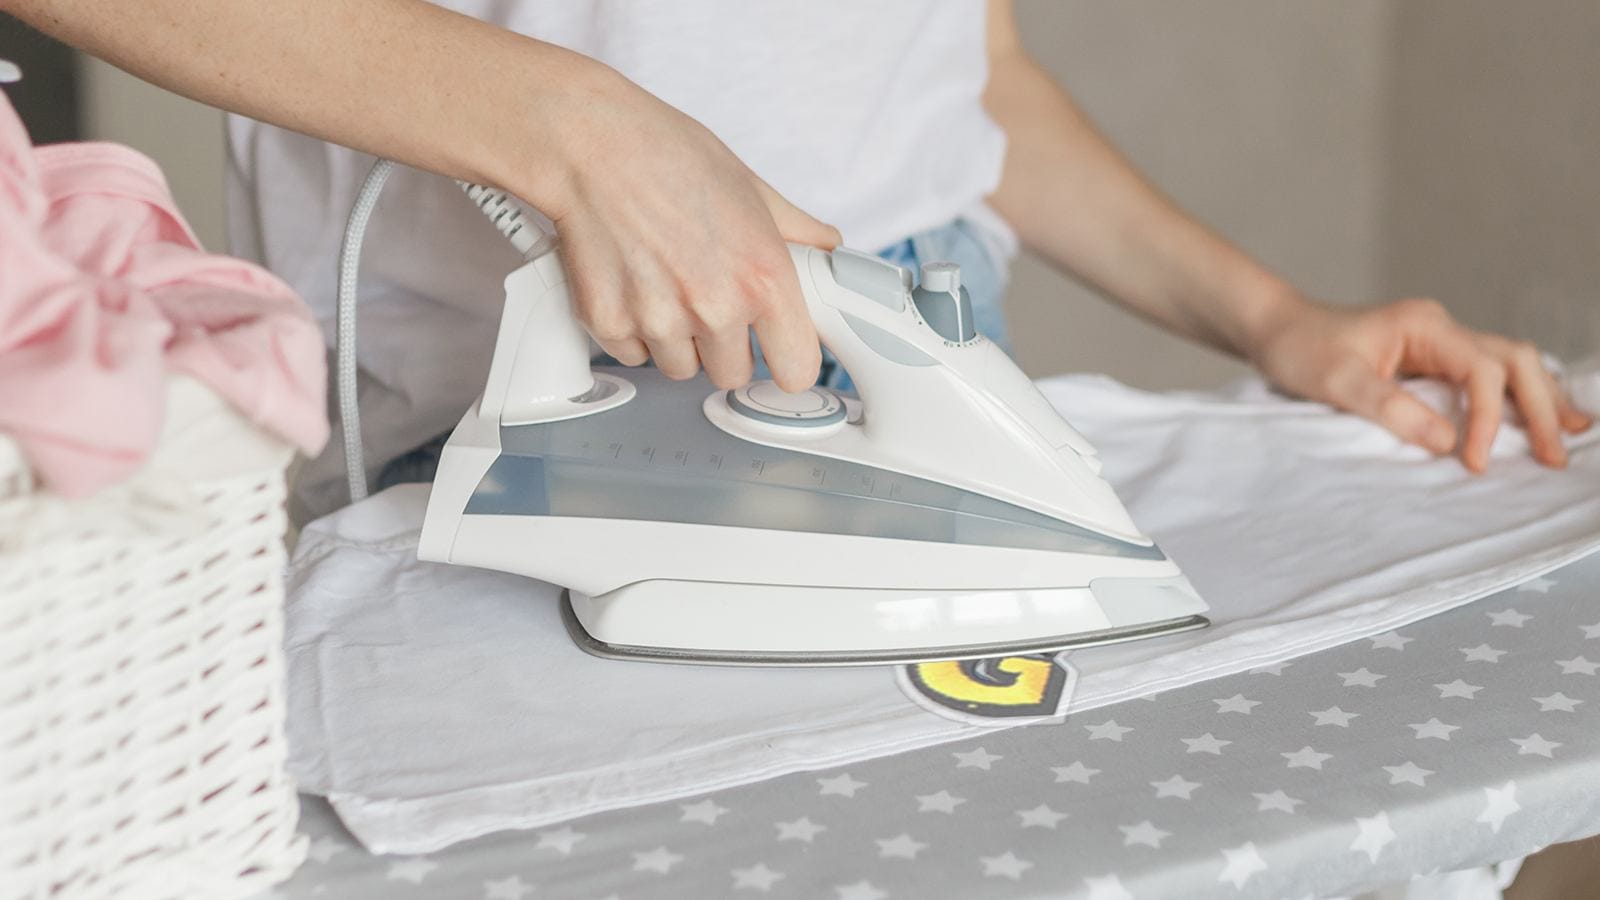
6. Apply iron pressure
After positioning the protective fabric, apply consistent pressure with the iron. Hold it in place for a precise duration of 15–30 seconds to effectively bond the letters to the material. This step is critical for ensuring that the adhesive from the fusible web activates and attaches the letters without shifting.
- Applying Pressure:
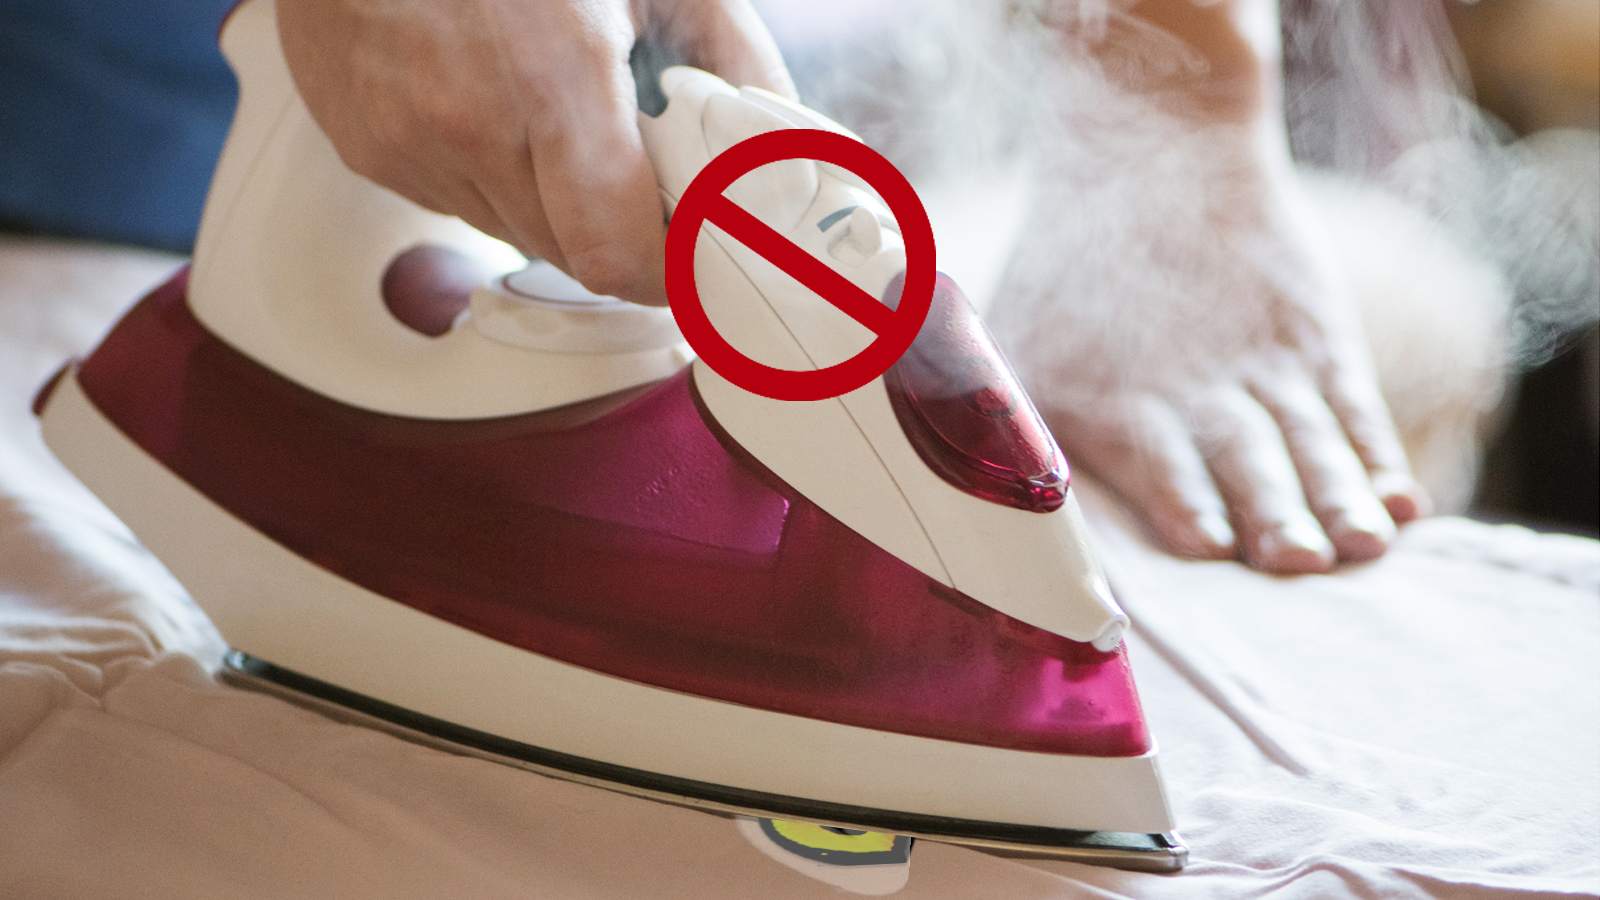
- Ensure the iron is hot enough (usually a cotton setting, but without steam).
- Press down firmly without moving the iron to avoid displacement of the letters.
- Duration:
- For thin fabrics, start with 15 seconds and check the adhesion.
- For thicker materials, extend the time to 30 seconds. Apply extra pressure if necessary.
7. Let the letters cool
After ironing, you must allow a cooling period of at least two minutes before handling to ensure the adhesive sets properly. This step is crucial for the longevity of the application. It allows the adhesive to bond securely with the fabric fibers. Do not be tempted to hasten this process, as premature movement may lead to peeling or misalignment.
8. Check adhesion
Ensuring proper adhesion of the iron-on letters is critical for the durability of the application. After the cooling phase, it’s important to check if the letters have fully adhered to the fabric. Here are some steps to confirm the proper attachment:
- Lightly tug the edges of the letters to see if they lift from the fabric.
- If the edges peel up, re-iron the letter. Apply firm pressure and no steam for an additional 20 seconds.
- Ensure the iron covers the entire letter, especially the corners and edges.
- Examine the letters for any air bubbles or wrinkles.
- Gently smooth out any imperfections with the edge of the iron.
- If air bubbles persist, carefully lift the edge and re-iron.
How to Iron on Letters with Plastic Backing
Iron-on lettering with plastic backing needs precise heat application and careful placement to ensure a high-quality finish on garments.
Pre-ironing preparation:
- Wash and dry the garment as recommended to remove sizing.
- Arrange the letters on a flat surface, mirrored to their final appearance.
Ironing process:
- Set the iron to the correct low temperature, as indicated in the care instructions.
- Position the letters on the garment, using a ruler for alignment.
- Cover with a thin cotton cloth to protect both the letters and fabric.
- Press firmly with the iron for 15–30 seconds without steam.
- Allow the design to cool for 5–10 seconds before gently peeling off the backing.
- If edges lift, re-iron for an additional time until fully adhered.
Troubleshoot Common Issues with Iron on Letters
Addressing common issues requires careful attention to detail when iron-on letters do not adhere as expected or begin to peel after application. If the letters fail to adhere, gradually increase the temperature of the iron, ensuring that it is set without steam. Press firmly for a longer period of time to ensure a stronger bond.
Encountering peeling letters typically suggests an incomplete seal. Re-apply the iron with sustained pressure to rectify this problem. If, after application, the letters appear uneven or bumpy, place a protective layer of white paper over them and iron again with steady, firm pressure.
Tips for Successfully Ironing on Letters
To ensure a flawless finish, there are several key strategies one must follow.
- Preheat your iron to the designated temperature for the type of fabric you are using.
- Avoid using steam, as dry heat provides a stronger bond.
- Test the iron’s heat on a scrap piece of fabric to prevent scorching.
- Use a smooth, heat-resistant surface, such as a wooden cutting board, for ironing.
- Ensure the board is flat and stable to avoid shifting during the application process.
These steps, executed with a practiced hand, will contribute to the perfect adhesion of your iron-on letters.
(Related articles: How to Iron on Patches: 10 Effortless Guidelines)
Conclusion
In conclusion, the application of iron-on letters requires meticulous technique and adherence to specific guidelines to ensure successful adhesion and durability.
Employing correct heat settings, precise positioning, and suitable materials for the chosen fabric are critical for a professional outcome.
By following these systematic instructions, one can achieve a customized and enduring embellishment on fabric items, enhancing their aesthetic appeal with a personal touch.