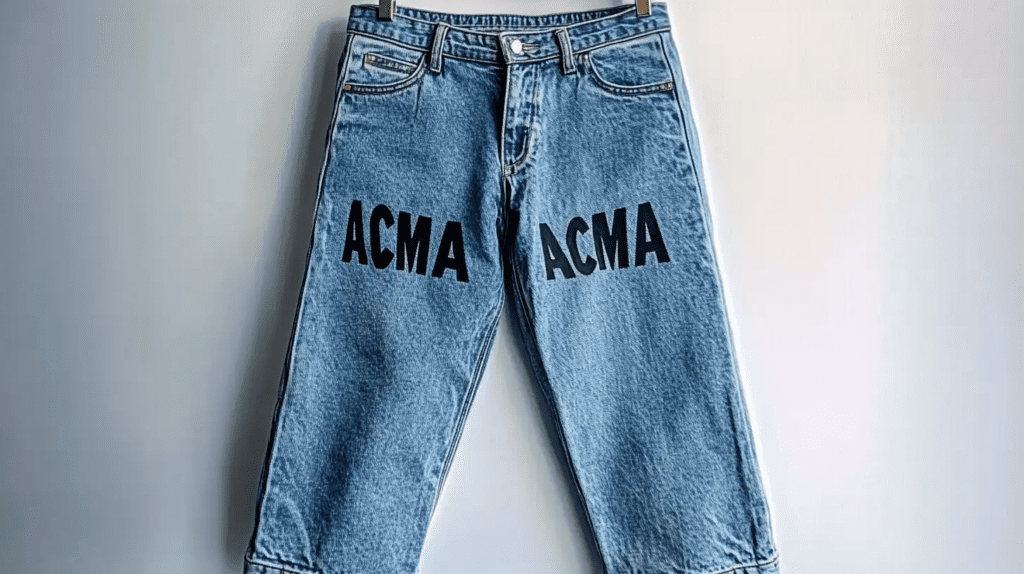
Ironing on letter patches is a fun and easy way to customize your apparel or accessories. Whether you want to add your initials to a sweatshirt or spell a word on a denim jacket, letter patches can instantly elevate your look.
In this article, we’ll guide you through ironing on letter patches to achieve a professional and long-lasting finish. With just a few materials and a bit of patience, this DIY technique can give your wardrobe a personalized touch.
Key Takeaways
- Pre-wash and iron the garment to remove wrinkles and create a clean surface.
- Preheat the iron to around 350°F with the steam function off.
- Arrange the letter patches in the desired position using a ruler for alignment.
- Cover the patches with a pressing cloth and press the iron firmly for 40-50 seconds.
- Let the patches cool completely and check for any lifting, reapplying heat if necessary.
Preparation Before Attaching the Patches
Before you start, make sure you’ve picked a patch that matches your fabric type.
Pre-wash and iron the garment to remove any wrinkles or sizing.
Plan the placement of your patches carefully to ensure they’re aligned properly.
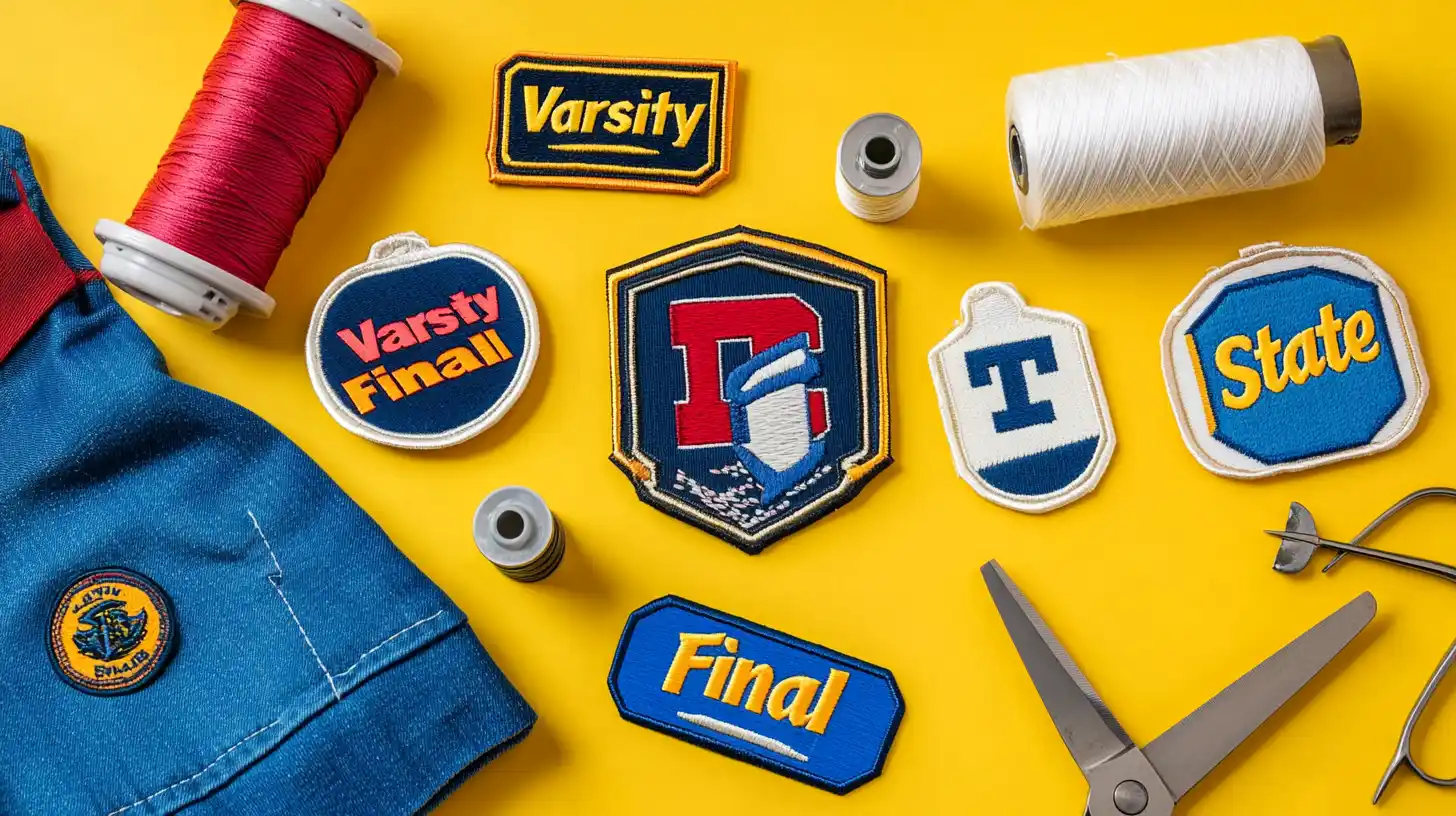
Choose the Right Patch
Selecting the correct patch ensures it adheres appropriately and complements your garment’s overall look.
Choose an iron-on patch made from durable materials like cotton or polyester blends.
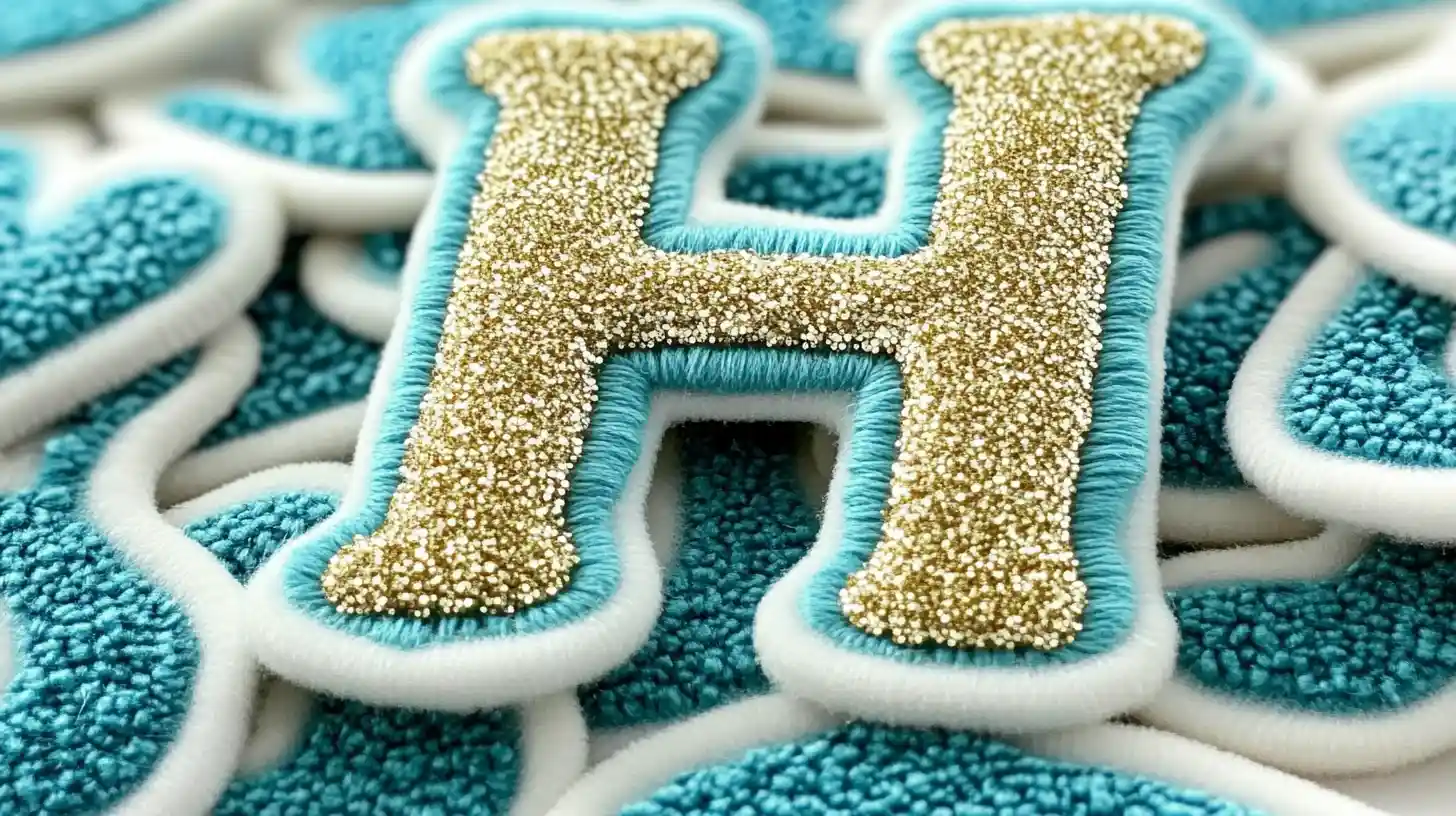
Ensure the patch’s size and design fit well with your garment. You can choose either embroidered or chenille patches.
Opt for patches specifically labeled as iron-on backings for easier application.
Check the manufacturer’s instructions for specific preparation and temperature recommendations.
Prepare the Fabric Item
Once you’ve chosen the right patch, it’s important to prepare your fabric item properly.
Start by washing and ironing the fabric to create a clean, smooth surface.
Test a hidden seam to check the fabric’s heat tolerance. For the best results, use 100% cotton fabric.
Lay the item flat on a stable surface to prevent movement during the process.
Plan Patch Placement
Carefully plan where each letter patch will go to ensure a balanced and visually appealing design.
Measure the placement of your garment to maintain symmetry.
Use a ruler to align patches accurately, marking guidelines if needed.
Think about the size of the patches and the garment’s style, ensuring everything looks proportional.
Proper planning ensures a polished and professional result.
How to Iron on Letter Patches: A Step-by-Step Tutorial
Now that you’re ready to iron on your letter patches, start by preheating the iron to the appropriate temperature for your fabric.
Place the patch on your garment and cover it with a thin cloth to protect both the patch and fabric.
Press the iron down firmly for the recommended time and check the adhesion after cooling.
Step 1: Preheat the Iron
Before you start, preheat your iron to the cotton setting, typically around 350°F.
Ensure the steam function is off to prevent moisture from interfering with the iron-on patches.
Test the heat on a hidden seam to ensure the fabric can handle it.
Using a flat surface will help you apply even pressure for effective patch adhesion.
Step 2: Protect the Patch and Fabric
Cover the patch and fabric with a pressing cloth or parchment paper to protect them from direct heat during the ironing process.
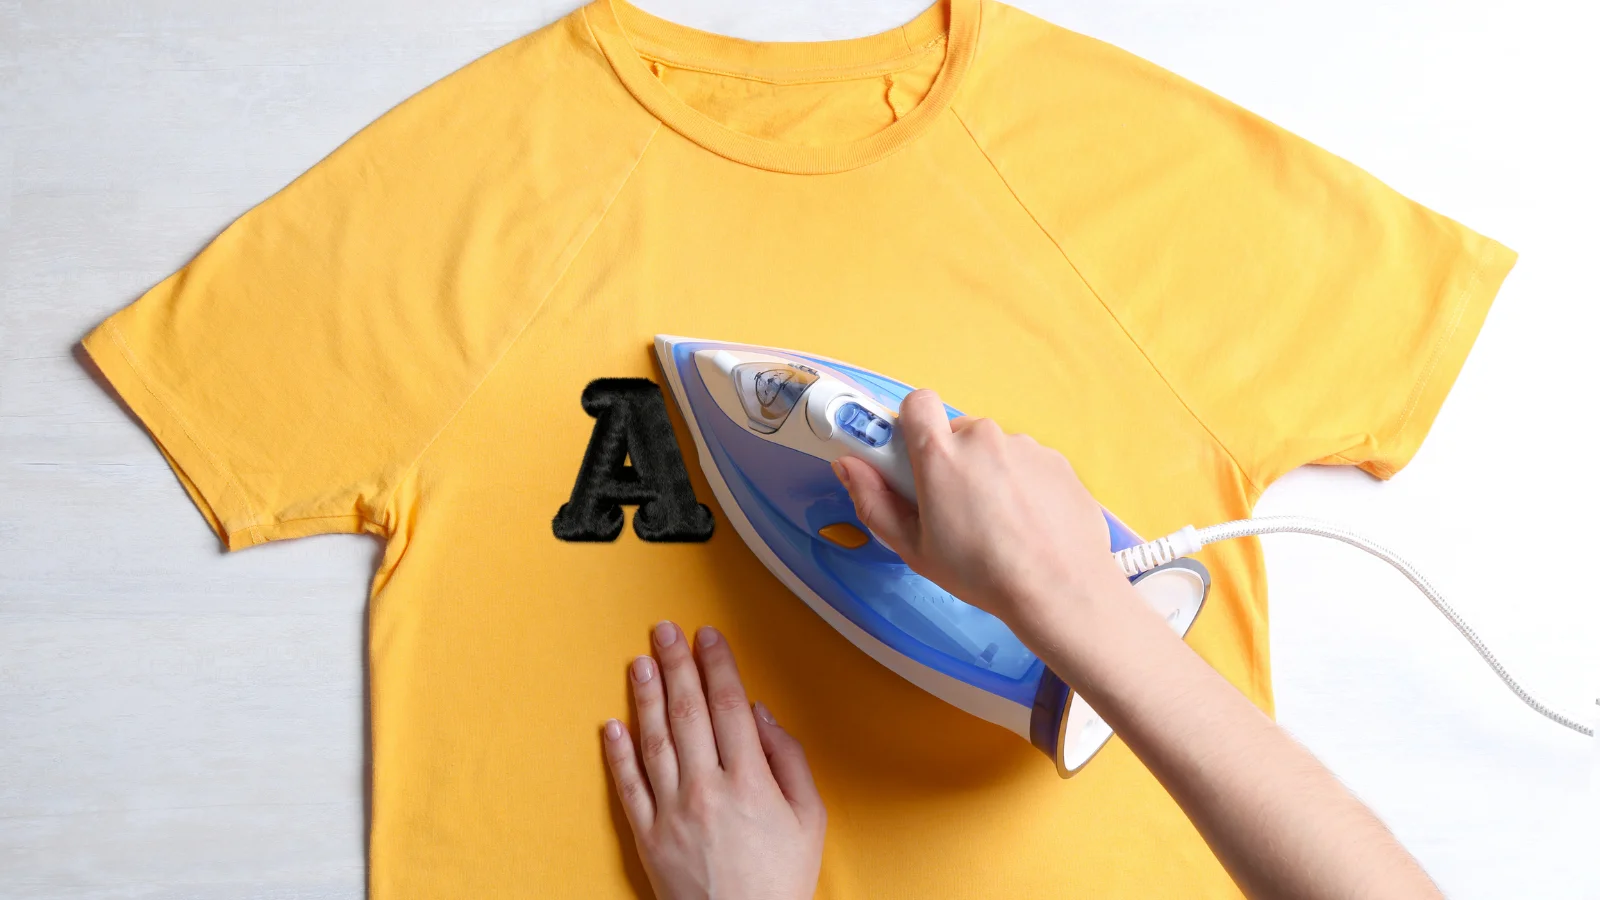
Step 3: Press the Iron Down Firmly
Press the iron down firmly on the patch for 40-50 seconds to ensure it adheres properly to the fabric.
Apply consistent pressure across the entire patch without sliding the iron. This helps prevent lifting or peeling from the edges.
Use the tip of the iron for precise areas to ensure all parts of the iron-on patches receive adequate heat for optimal adhesion.
Step 4: Check Adhesion
Once the iron is firmly pressed onto the patch, let it cool completely. Then, gently lift a corner with a straight pin to check if the patch is firmly attached to the fabric.
If the iron-on patches show any signs of lifting, reapply the hot iron for an additional 30 seconds to reinforce adhesion.
Allow the garment to cool completely before handling to ensure proper adhesive sets.
Additional Methods for Applying Iron on Letter Patches
In addition to using an iron, you can use some additional methods to apply patches.
Sewing
To sew the letter patches onto your garment, follow these steps carefully:
- Position the patch where you want it.
- Pin or hold it in place.
- Stitch along the edges of the patch either by hand sewing or machine sewing.
- Tie off the thread securely.
Fabric Glue

Using fabric glue is a quick and easy way to apply letter patches. However, this method is not as durable as sewing.
- Apply fabric glue to the back of the patch.
- Position the patch on the fabric and press down firmly.
- Allow the glue to dry completely according to the product instructions.
Safety Pins or Clips
Safety pins or clips offer a quick and practical way to attach letter patches. They allow you to change these patches easily and frequently.
- Position the patch on your item.
- Use safety pins or clips to secure it in place.
- This method allows for easy removal and repositioning.
Care Instructions for Iron on Letter Patches
Before applying letter patches, make sure to wash and iron your garments to create a smooth surface for better adhesion.
Follow care instructions diligently: turn shirts inside out when washing to protect patches, use cold water, and avoid heat drying.
Regularly inspect the patches for wear. Reapply heat if needed to ensure they stay firmly attached to your fabric.
Troubleshooting Common Issues
If your patches start peeling off after washing, don’t worry. You can reapply heat using a damp cloth to reinforce the adhesion.
If you’ve got bubbles or wrinkles, pressing them down gently with a pressing cloth can help smooth them out.
Patch Peeling Off
Experiencing patches peeling off can be frustrating. But you can troubleshoot this issue by using the suitable materials and techniques.
Iron on patches may lose their adhesive if applied to heat-sensitive fabrics. To fix this, reapply heat using the cotton setting for 30 seconds and use a pressing cloth to protect the fabric.
Regularly inspect and reapply heat as necessary.
Tips for Reapplying Patches
To successfully reapply patches, make sure your garment is clean and free of any oils or fabric softeners that could interfere with adhesion.
Apply heat using an iron on the cotton setting for 30 seconds, covering the patch with a pressing cloth.
If the patch continues to detach, inspect the garment for heat sensitivity and consider sewing around the edges for added durability.
Conclusion
You’ve got all the steps down—pre-wash your garment, preheat your iron, and carefully position your patches.
Remember to use a pressing cloth and apply firm pressure for a solid 40-50 seconds.
Let everything cool before checking the adhesion. If you need to, don’t hesitate to reapply heat.
With these tips, your letter patches will look great and stay put.
Now, get creative and personalize your craft projects with confidence!
Explore more patch ideas at the Accessories-Wholesaler blog! Find your favorite iron-on patches at Accessories-Wholesaler!
FAQs
How to Get Iron on Letters to Stick?
To get iron-on letters to stick, preheat your iron, position the letters, and cover them with a cloth. Press firmly for 40-50 seconds, then let them cool. Repeat if needed for a secure bond.
How Do I Apply Iron-On Patches to Fabric?
First, preheat your iron. Position the patch where you want it, cover it with a thin cloth, and press firmly for 15-30 seconds. Let it cool, then check the adhesion. Repeat if needed for a secure bond.
Do I Need Steam to Iron on Letters?
You don’t need steam to iron on letters. In fact, it’s better to avoid it. Use a dry iron for the best results. Steam can make the adhesive less effective, leading to poor adhesion.
What Temperature Do I Heat Press Patches?
You should heat press patches at around 350°F (175°C). Preheat your iron for about five minutes to ensure consistent temperature. Remember to use a pressing cloth to protect both the patch and fabric during the process.


