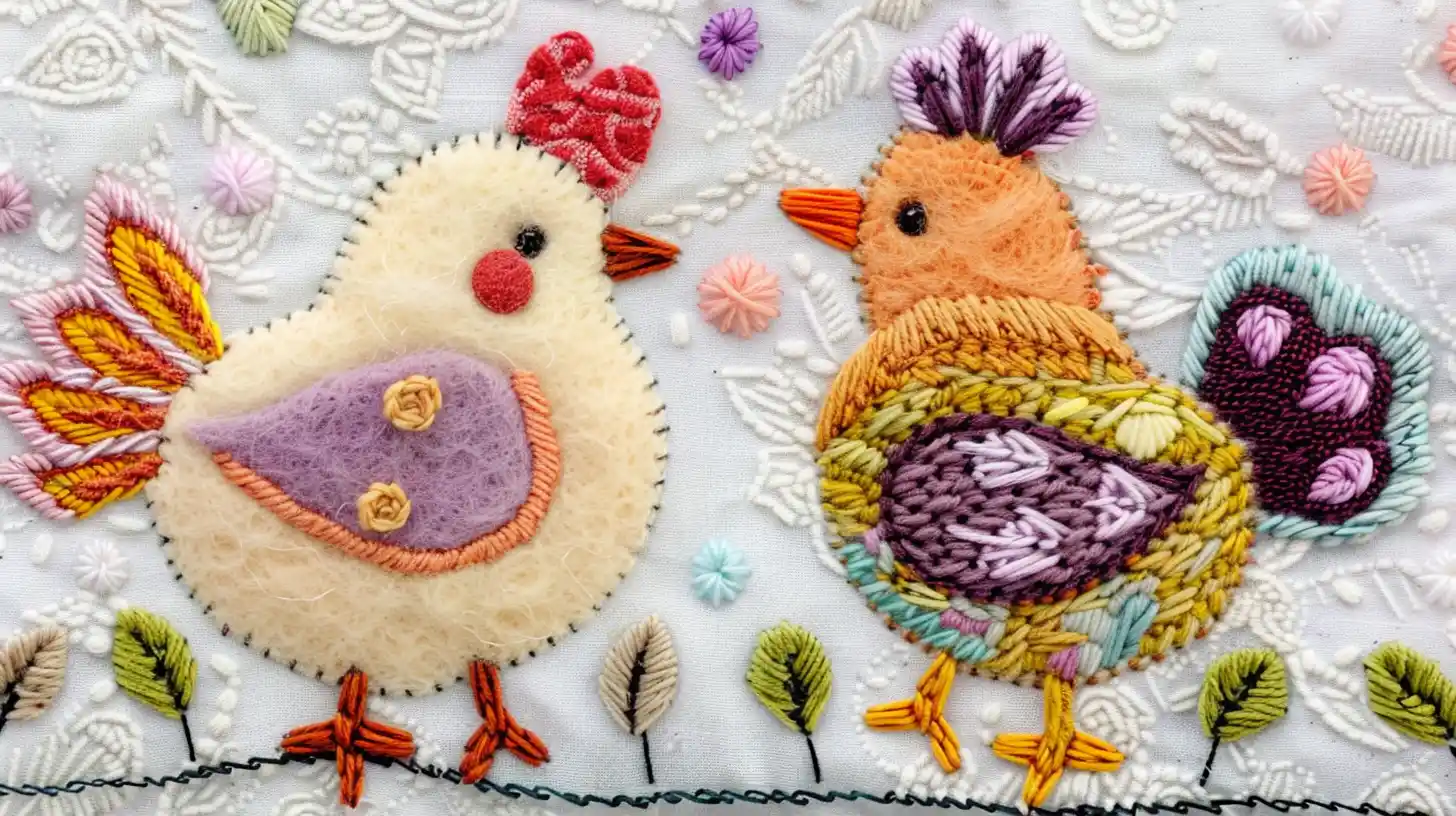
If you’re looking for a fun and creative way to add a pop of color and texture to your projects, felt applique is perfect! This easy-to-learn method allows you to customize fabric with intricate designs and patterns using felt pieces.
Whether you’re a seasoned crafter or a beginner looking to expand your skill set, felt applique is a versatile and rewarding art form that is sure to bring joy and satisfaction to your creations. So, grab your felt, thread, and needle, and let’s dive into the world of felt applique together!
Key Takeaways
- Select and cut various colors of high-quality wool felt based on your design template.
- Transfer the design onto felt using a suitable method, then cut out the shapes precisely.
- Arrange the cut felt pieces on your base fabric, securing them with fabric glue or stitching.
- Use stitches like a blanket or running stitch to attach appliqué pieces, adding decorative stitches for detail.
- After the glue dries, add finishing touches such as trimming excess felt or adding beads for embellishment.
Gather the Materials
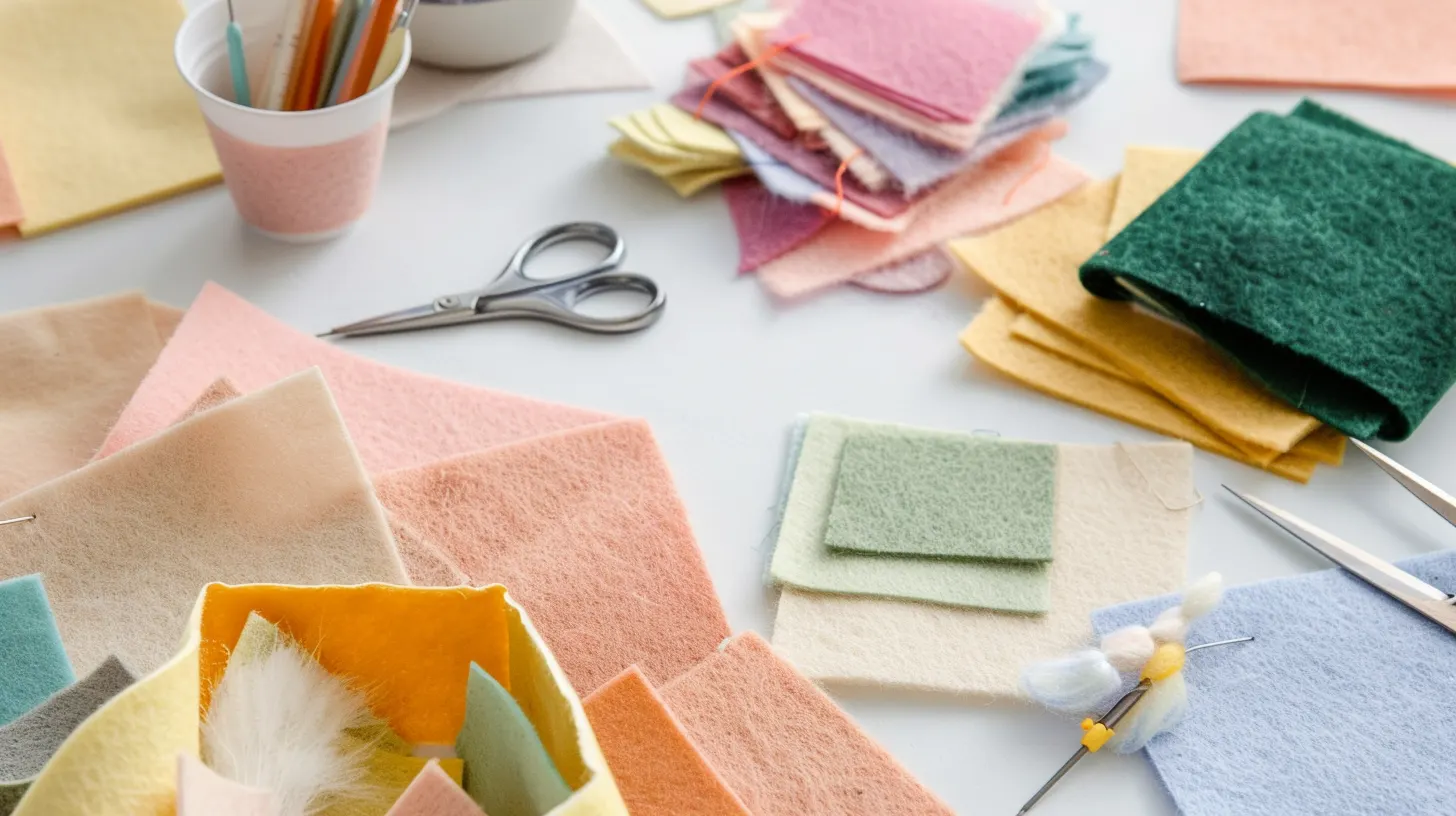
To begin your felt appliqué project, you’ll need materials such as various colors and thicknesses of felt fabric, embroidery threads, sewing needles, and fabric scissors.
Opt for a high-quality wool felt, which offers a rich texture and durability, making it ideal for precise cutting. The right fabric scissors are crucial for achieving clean, sharp edges on your felt shapes.
Choose a contrasting background fabric to ensure your designs pop visually. Matching your embroidery threads to your felt colors will enhance the beauty and cohesion of your work. Combined with your creativity, these materials set the stage for a successful crafting experience where your artistic visions come to life through the intricate details of felt appliqué.
Preparation
Before starting your felt appliqué project, you must select a design or create your own template.
Once you’ve got your design, choose felt colors that perfectly match or complement your vision.
This preparation ensures that your crafting process is smooth and the final result reflects your desired aesthetic.
Select a Design or Create a Template
Why not start by selecting a design or creating your own template to do felt applique? Choosing the right design is crucial; it sets the tone for your entire project.
Whether you prefer simple shapes or intricate patterns, there’s a design suited for every skill level. You can hand-draw your template or use online resources to find one that fits your vision. Creating a template helps maintain consistency in your shapes, ensuring each piece of your appliqué fits perfectly.
Choose Felt Colors That Match Your Design
After selecting your design and creating a template, the next step is to choose felt colors that beautifully complement your vision. Consider how different colors enhance your design, ensuring they work well together and match your aesthetic.
Experiment with various combinations to find the best balance. Contrast is crucial, as it can significantly increase visual interest and highlight different elements of your appliqué.
A Step-by-Step Tutorial for How to Do Felt Applique
Now that you’ve prepared your materials, let’s start creating your felt appliqué.
Step 1: Transfer the Design
First, you’ll need to transfer the design onto your fabric using one of several effective methods. Whether working on a simple or intricate design, selecting the proper transfer technique is crucial for your felt appliqué project.
For detailed patterns, you can use dissolvable stabilizer paper, ensuring every element is precisely mapped out. Alternatively, Saral transfer paper provides a clear, temporary outline that guides your stitching. For those preferring a more hands-on approach, freezer paper can be ironed directly onto the felt, creating a stable tracing surface.
Step 2: Cut Out Felt Pieces
Begin using sharp scissors to precisely cut out your felt shapes, ensuring clean edges for a more professional finish.
Remember, clean edges are crucial as they prevent your work from looking unfinished or frayed. It’s a good idea to practice cutting out a few sample pieces first. This practice run allows you to adjust your technique before cutting into more valuable felt.
Strive for consistent shapes. Uniformity in your cut-outs will greatly enhance the final appearance of your felt appliqué project.
Step 3: Arrange the Felt Pieces
After cutting your felt shapes, arrange them on the background fabric to form your desired design. Start by laying out the main elements and then add smaller details to fill in gaps or balance the composition.
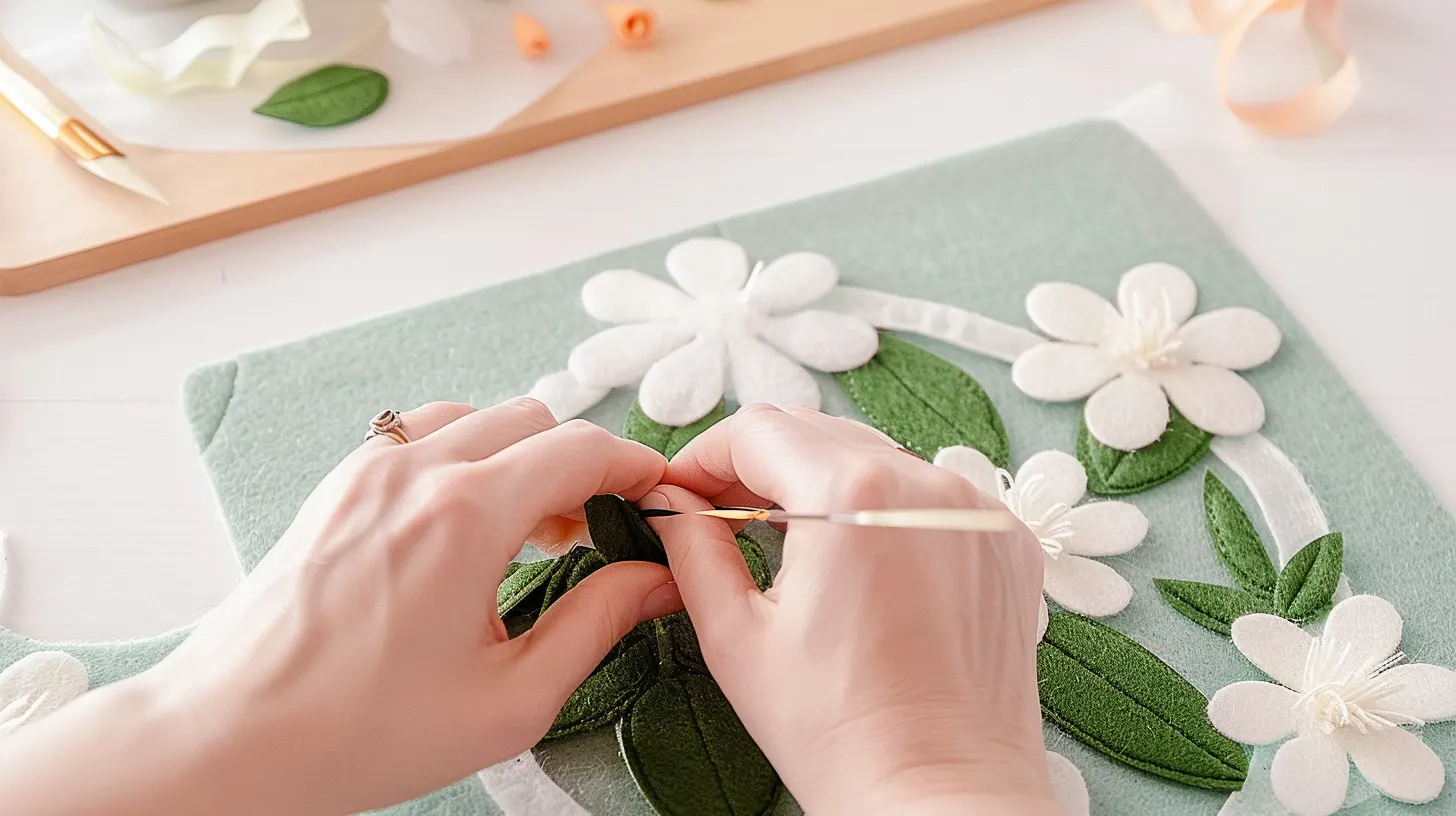
Step 4: Secure the Felt Pieces
Once you’ve arranged your felt pieces, you can either secure them with fabric glue for a quick fix or stitch them in place for a more traditional and sturdy finish.
Fabric glue is ideal if you’re new to appliqué projects or need something temporary to hold your pieces in place. It’s easy to use, and you’ll get your pieces in place without much hassle.
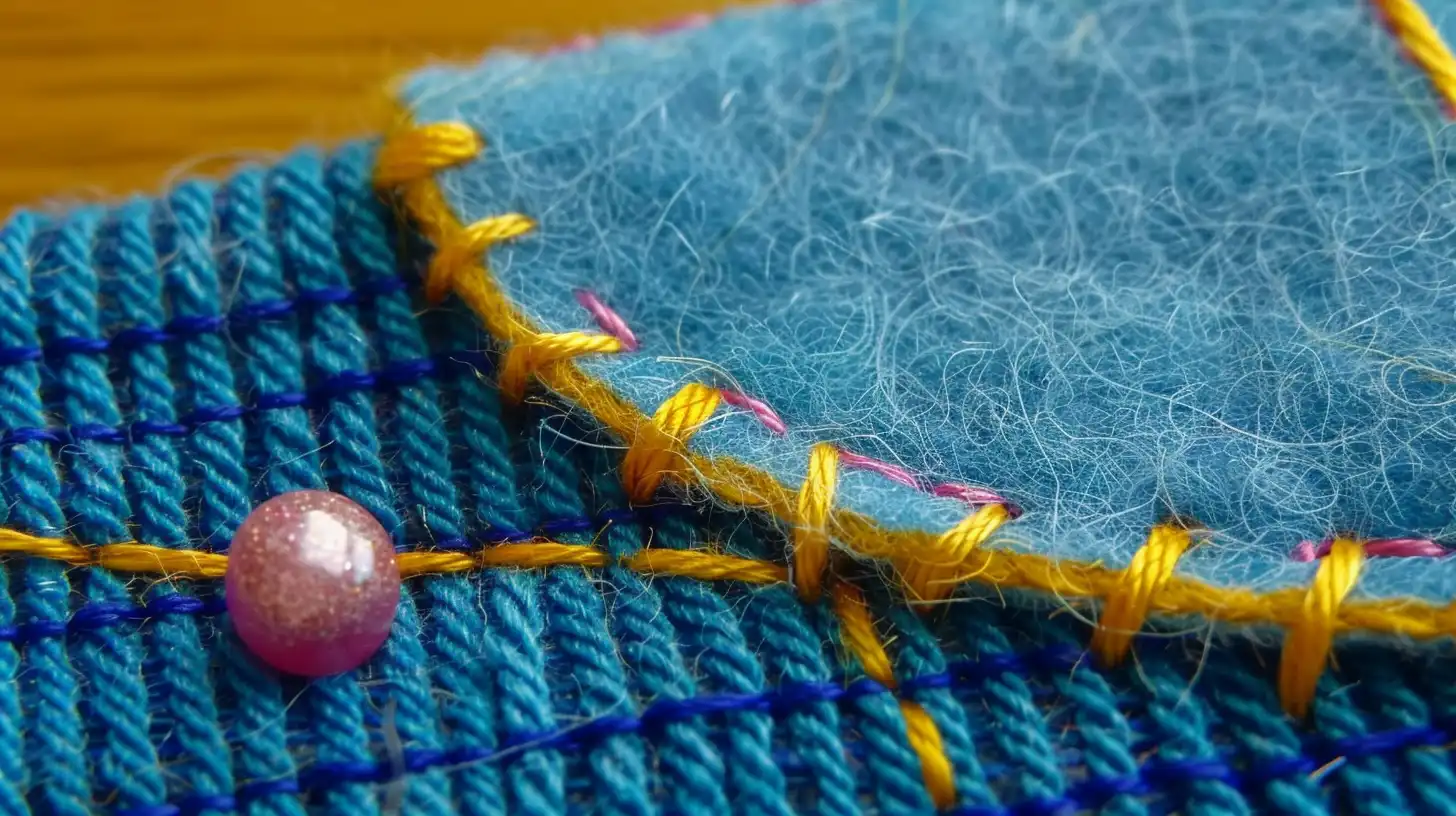
However, opt for stitching if you’re aiming for durability and a charming, handmade touch. Using stitches like the whipstitch or blanket stitch not only ensures a secure attachment but also adds to your project’s aesthetic.
Whether you choose glue or stitching, make sure your felt pieces are firmly attached to achieve the best results.
Step 5: Add Embellishments If Desired
Adding sequins or beads to your felt appliqué can bring a touch of sparkle and texture, enhancing the visual appeal of your project.
When ready for this embellishment, pick small, sharp needles that make attachment easier and more precise. Secure each sequin or bead with careful stitches, ensuring they won’t come loose with handling.
This step not only adds durability but also allows you to experiment with various placement patterns. Varying the colors and sizes of your sequins and beads can lead to unique designs that truly personalize your work.
Finishing Touches
Once you’ve attached all your felt pieces, let any fabric glue dry completely before moving on.
Next, trim away any stray felt or loose threads to keep your work looking neat and tidy.
Allow the Glue to Dry If Using Fabric Glue
If you use fabric glue, make sure it dries completely to ensure a firm hold on your appliqué pieces. The drying time is crucial as it strengthens the bond between the felt and the base fabric, preventing any shifting or loosening later on.
Give it ample time to dry thoroughly, ensuring your artistic efforts yield a durable and polished result.
Trim Any Excess Felt or Threads
Carefully trim any excess felt or threads to give your felt appliqué project a neat and polished finish. Use sharp fabric scissors for precise trimming, ensuring you don’t accidentally snip your stitches or the wool background.
It’s critical to remove any stray threads that might detract from the clean lines of your design. As you trim, handle the fabric gently with your hand to avoid distorting the layout or pulling on the stitches.
Inspect all angles of your appliqué, ensuring that every piece is perfectly flush with the background for a professional-grade appearance.
Display or Use Your Felt Applique Creation
Now that you’ve completed your felt appliqué, consider how you’d like to showcase or use your artwork in everyday life.
You can frame your appliqué for display in a shadow box or frame, turning it into a striking piece of decorative art for your home or office.
Alternatively, sew your appliqué onto a tote bag, pillow cover, or piece of clothing, making it both functional and stylish.
Attach your appliqué to a hair clip, headband, or keychain for a personalized touch to create a unique wearable accessory.
Or, create a felt appliqué banner or garland to add a decorative flair to any event or room. Each option lets your creativity shine in everyday settings.
Conclusion
Now you’ve mastered felt applique, you can let your creativity soar!
Remember, the key is in the details—choose vibrant colors, play with layers, and refine your stitching.
Don’t hesitate to add those unique embellishments that make your design pop.
Whether you’re crafting a gift or personalizing your space, each piece you create is a reflection of your artistic vision.
So, keep experimenting and watch as your felt applique skills bring endless ideas to life.
Happy crafting!
Explore more crafting projects at the Accessories-Wholesaler blog! Find your favorite iron-on patches at Accessories-Wholesaler!
FAQs
Can I Do Appliqué With Felt?
Yes, you can definitely use felt for appliqué. It’s great because it doesn’t fray, making it easier for you to cut and stitch your designs onto any fabric without any hassle.
How Do I Cut Felt Appliques?
To cut felt appliqués, you’ll need sharp fabric scissors. Use templates for consistent shapes, and practice on scrap felt to perfect your technique, ensuring clean edges for a professional look in your projects.
What Is the Best Stitch for Appliqué?
For appliqué, the best stitch you’ll find is the blanket stitch. It’s not only strong but also adds a decorative edge, making your projects visually appealing and durably pieced together.
What Happens to Craft Felt When It Gets Wet?
When craft felt gets wet, it can shrink or become misshapen. It may not hold up well, potentially affecting the durability and appearance of projects involving moisture exposure.