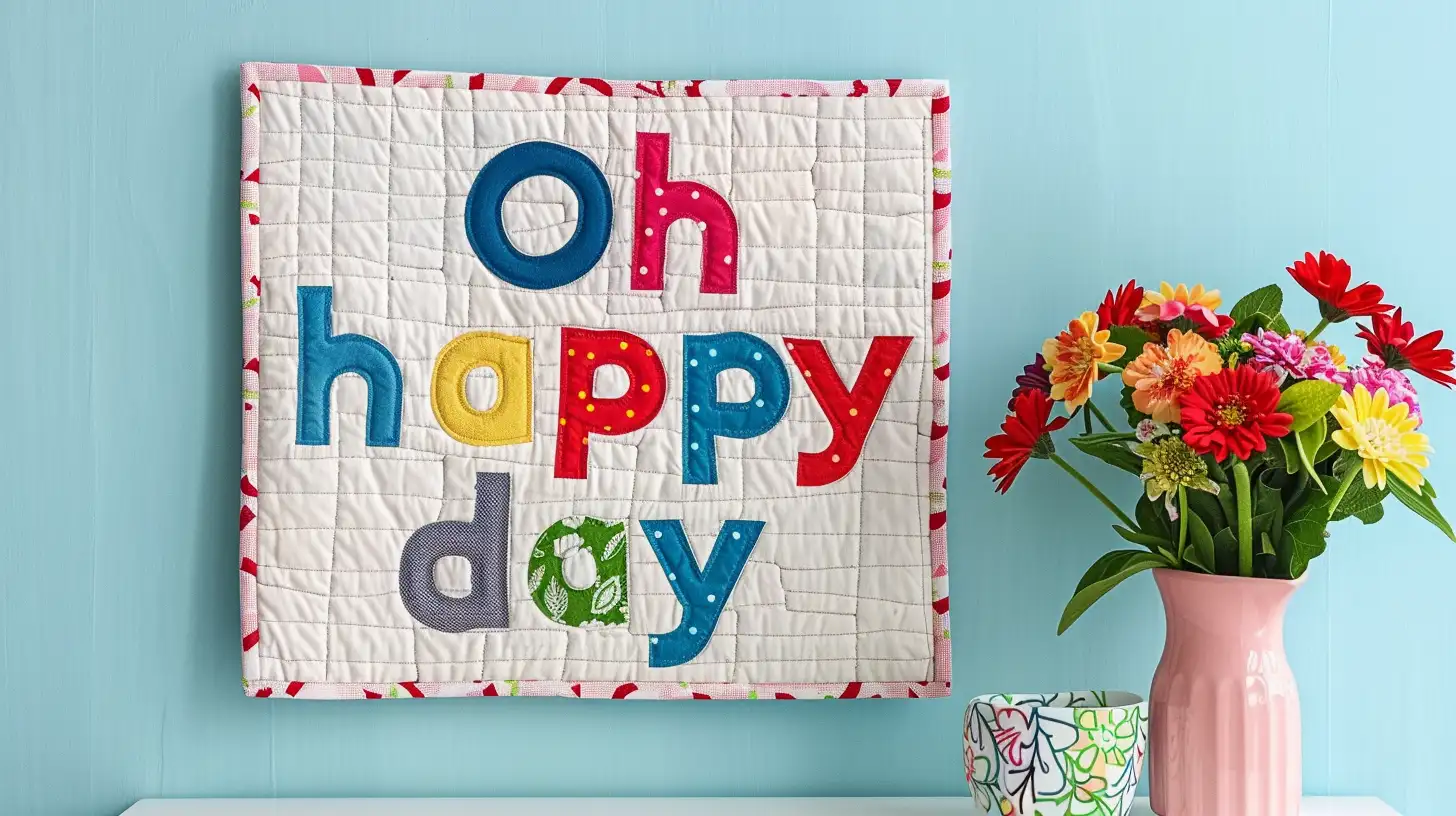
Applique letters on a quilt can add a personal touch and a pop of color to your sewing project. Whether you’re a beginner or an experienced quilter, mastering the art of applique can take your quilting to the next level.
This article will offer a tutorial for creating beautiful applique letters on your quilt. From choosing the suitable fabric and fusible web, tracing and cutting out the letters, and finally attaching them to your quilt precisely, we will cover everything you need to know to achieve professional-looking results. So, let’s get started and enhance your quilting skills with stunning applique letters!
Key Takeaways
- Choose complementary fabrics and pre-wash them to avoid shrinkage and color bleeding.
- Transfer letter designs onto the fusible web, then precisely cut out each letter.
- Arrange and iron letters onto the quilt’s surface, then secure with stitching.
- Adjust sewing machine settings for appliqué to ensure tight, clean stitches around the letters.
- Finish by embellishing with buttons or beads, and use gentle care when washing and storing the quilt.
Gather All the Necessary Materials
Before you begin creating applique letters on your quilt, gather all the necessary materials, including:
- Fabric for the letters: Choose a fabric that complements the quilt background.
- Fusible web: This thin adhesive bonds the fabric letters to the quilt.
- Scissors: Sharp fabric scissors for cutting out the letters.
- Iron and ironing board: To adhere the fusible web to the fabric and quilt.
- Quilt top: The base quilt where you will add the applique letters.
- Sewing machine: Optional for stitching around the edges of the letters for extra security.
- Thread: Matching or contrasting thread for sewing around the edges of the letters.
- Letter template: You can print out or draw the letters you want to applique onto the quilt.
Step 1: Choose and Prepare Fabrics
When choosing fabrics for your quilt’s applique letters, pick ones that complement each other visually.
You’ll need to pre-wash your fabrics to ensure they don’t shrink after sewn your project.
Don’t forget to iron the fabrics before cutting to remove any wrinkles that could interfere with your precision.
Select fabrics that complement each other
Select fabrics that complement each other in color and pattern to create a visually appealing quilt. Ensure your applique letters have a contrasting background to make them pop.
Stick to fabrics of similar textures and weights. This uniformity prevents the quilt from having uneven surfaces and helps it wear evenly over time. Always test how your fabrics look together before finalizing your choices to guarantee a harmonious design.
Pre-wash fabrics to prevent shrinkage
Pre-washing your fabrics prevents shrinkage and ensures your quilt maintains its shape and size after applique. This step is crucial, especially when working with natural fibers like cotton or linen, which are prone to shrinking.
Doing this removes any excess dyes and chemicals that could otherwise bleed into other areas of your quilt during the sewing process. This keeps the colors of your applique letters vibrant and true to your original design vision.
Iron fabrics to remove wrinkles
It’s equally important to iron them to remove any wrinkles before beginning the applique process.
Using a steam iron on the appropriate setting effectively eliminates wrinkles. Preparing a smooth surface is crucial for precise cutting and stitching.
Don’t press too hard or use a high heat setting on delicate materials to avoid damaging the fabric.
Step 2: Create and Cut Out Letters
 You’ll start by selecting a font style and size that complements your quilt’s design.
Next, transfer these letters onto the fusible web to ensure they adhere well to your fabric.
Choose a font style and size for the letters
When selecting a font style and size for applique letters on your quilt, opt for sans serif fonts like Arial or Arial Black for their clarity and ease of use. These fonts ensure your applique letters are uniform and easy to read from a distance, making them ideal for your project.
Avoid thinner letters, as they can be trickier to handle. Instead, go for fonts with consistent width to ease your sewing process.
Transfer the letters onto the fusible web
Begin by tracing your selected font letters onto the fusible web to create precise templates for your applique. Remember, some letters need to be traced in reverse to ensure they face the right direction on your final project.
Once you’ve traced all your letters, you’ll use this fusible web as a guideline to apply your fabric letters correctly.
Cut out the letters accurately
After tracing your letters onto the fusible web, carefully cut them out with a sharp pair of fabric scissors to ensure their shapes are precise. Each of the fabric letters should look clean and accurate, enhancing your project’s overall aesthetic.
Take time with each letter, double-checking your cuts to avoid jagged edges.
Step 3: Apply Applique Letters on Quilt
Now that you’ve cut out your applique letters, it’s time to start arranging them on your quilt background.
Arrange the letters on the quilt background
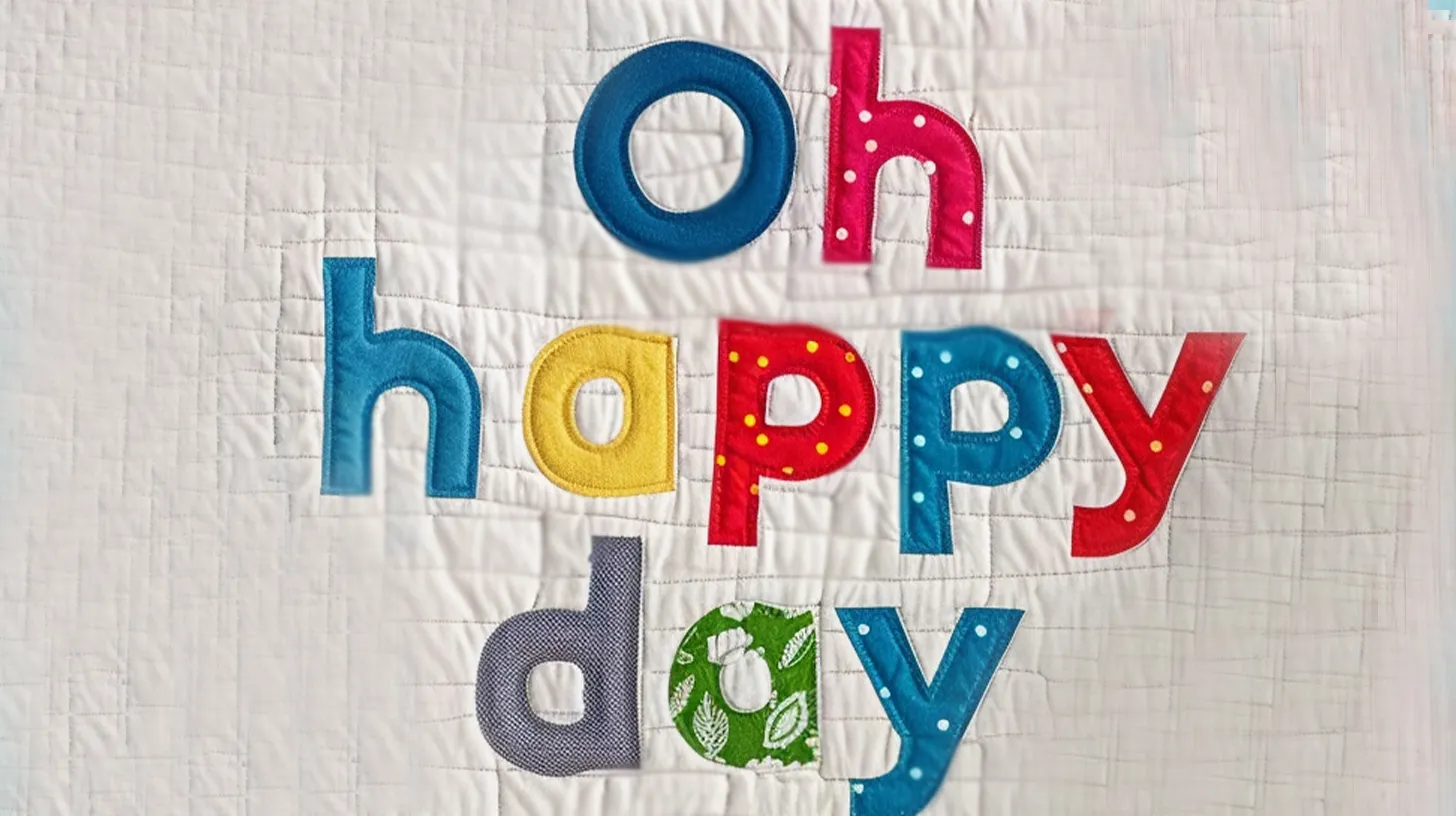
Before you sew, carefully arrange the fabric letters on your quilt background to visualize the final look. Lay out the letters to spell out your chosen names, words, or monograms. Make sure the spacing between each letter is even to maintain a tidy alignment.
Consider the size and style of each letter; they should complement the quilt’s theme without overwhelming it. It’s wise to experiment with different layouts, shifting the letters around until you’re satisfied with the arrangement. Once everything looks perfect, you can pin or lightly adhere them in place, ready for the next step.
Iron the letters onto the fabric
Once you’ve positioned them perfectly, cover the letters with a pressing cloth or parchment paper. This barrier protects the fabric from direct heat and helps prevent any scorching or sticking.
Now, press the iron down gently but firmly over the letters. Hold it there for a few seconds, evenly distributing the heat. This step is crucial as it allows the adhesive on the back of the letters to melt slightly and adhere firmly to the quilt fabric.
After ironing, let the letters cool completely. This helps the adhesive set and ensures they stay attached without shifting.
Step 4: Finishing Touches
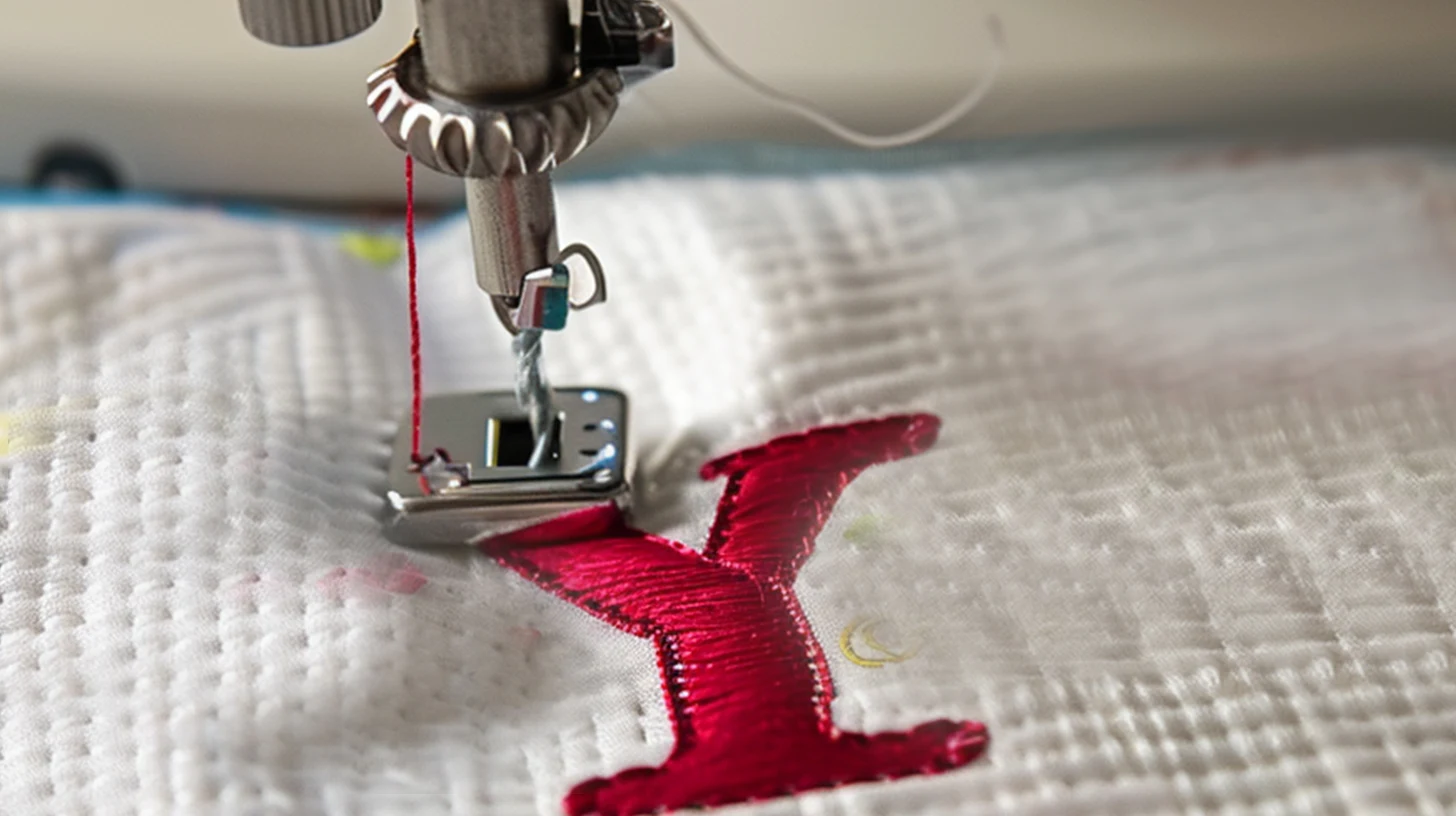
Once you’ve appliqued your letters, securing the edges with a satin stitch or decorative stitch adds durability and flair. Use a contrasting thread to make those letters pop against the quilt background.
Don’t shy away from embellishments. Adding small buttons, beads, or sequins can elevate the design, giving it a bespoke look uniquely yours. Ensure every piece is well-secured to handle frequent use and washing.
Care Instructions
To keep your quilt with appliqué letters in top condition, handle it with care during cleaning and storage.
Wash and dry the quilt with appliqué letters
Wash your quilt with appliqué letters in cold water to prevent the colors from bleeding and ensure the letters stay securely attached. Use a gentle detergent to safeguard the quilt’s fabric and the appliquéd letters. This careful approach helps maintain your fabric letters’ vibrant colors and structural integrity. Avoid harsh chemicals like bleach that could damage these elements.
Instead of tumbling dry, let your quilt air dry. Laying it flat while drying can also prevent any distortion of the letters. Follow these steps to keep your quilt looking great after each wash.
Store the quilt to protect the appliqué
How do you ensure your appliqué quilt remains in pristine condition during storage?
First, store the quilt in a clean, dry place away from direct sunlight to prevent the fabric letters from fading. To protect the appliqué and avoid creasing, consider rolling the quilt rather than folding it. Alternatively, a neat fold using acid-free tissue between layers can also safeguard your delicate appliqué.
Always use a breathable cotton or muslin cover to shield your quilt from dust and dirt. Avoid plastic bags or containers, as they can trap moisture, potentially leading to mold.
Lastly, periodically check for pests that might harm the appliqué, taking steps to keep your quilt safe and cherished.
Conclusion
You’ve now mastered the art of adding applique letters to your quilt, transforming it into a personalized masterpiece. Remember to choose your fabrics wisely, cut your letters carefully, and apply them with precision.
Don’t forget those finishing touches that make your design truly pop. Finally, take good care of your quilt by following gentle care instructions. This way, your quilt will remain a cherished item, showcasing your creativity and hard work for years to come.
Keep stitching and keep creating!
Explore more crafting projects at the Accessories-Wholesaler blog! Find your favorite iron-on patches at Accessories-Wholesaler!