
Embroidery applique is a versatile and creative technique that allows you to add dimension and texture to your embroidery projects. By layering fabric shapes on top of your base fabric and then stitching them down, you can create stunning designs that really pop.
Whether you’re a seasoned embroiderer looking to improve your skills or a beginner wanting something new, embroidery applique is a fun and easy way to add flair to your work. In this article, we’ll explore how to do embroidery applique using machine and hand. Let’s start today’s journey.
Key Takeaways
- Select and prepare fabric and stabilizer, then securely hoop them together.
- Stitch a placement line on the hooped fabric to guide applique positioning.
- Secure applique fabric with a tack-down stitch, then trim excess fabric.
- Choose a decorative stitch type and thread color to enhance the design.
How to Do Embroidery Applique by Machine
Learning to do machine embroidery applique can be both exciting and rewarding. Carefully follow the tutorial to add intricate designs and textures to your projects.
Necessary Materials and Tools
When starting embroidery applique by machine, you’ll need a few essential materials to ensure a smooth and successful process.
- Base fabric
- Fabric for your applique design
- Stabilizer to support the fabric during stitching
- Embroidery machine with an applique feature or a regular sewing machine with an embroidered foot
- Embroidery thread in various colors
- Fabric scissors for cutting out your applique shapes
- Iron and ironing board to press your fabric
- Optional: water-soluble or tear-away stabilizer for the back of your design
- Optional: embroidery hoop to help keep your fabric taut while stitching
With these materials ready, you can confidently start your embroidery applique project.
Step 1: Prepare the Base Fabric
Select a sturdy piece of fabric like felt or quilter’s cotton as the base fabric. If necessary, you can wash and iron it for a smooth surface.
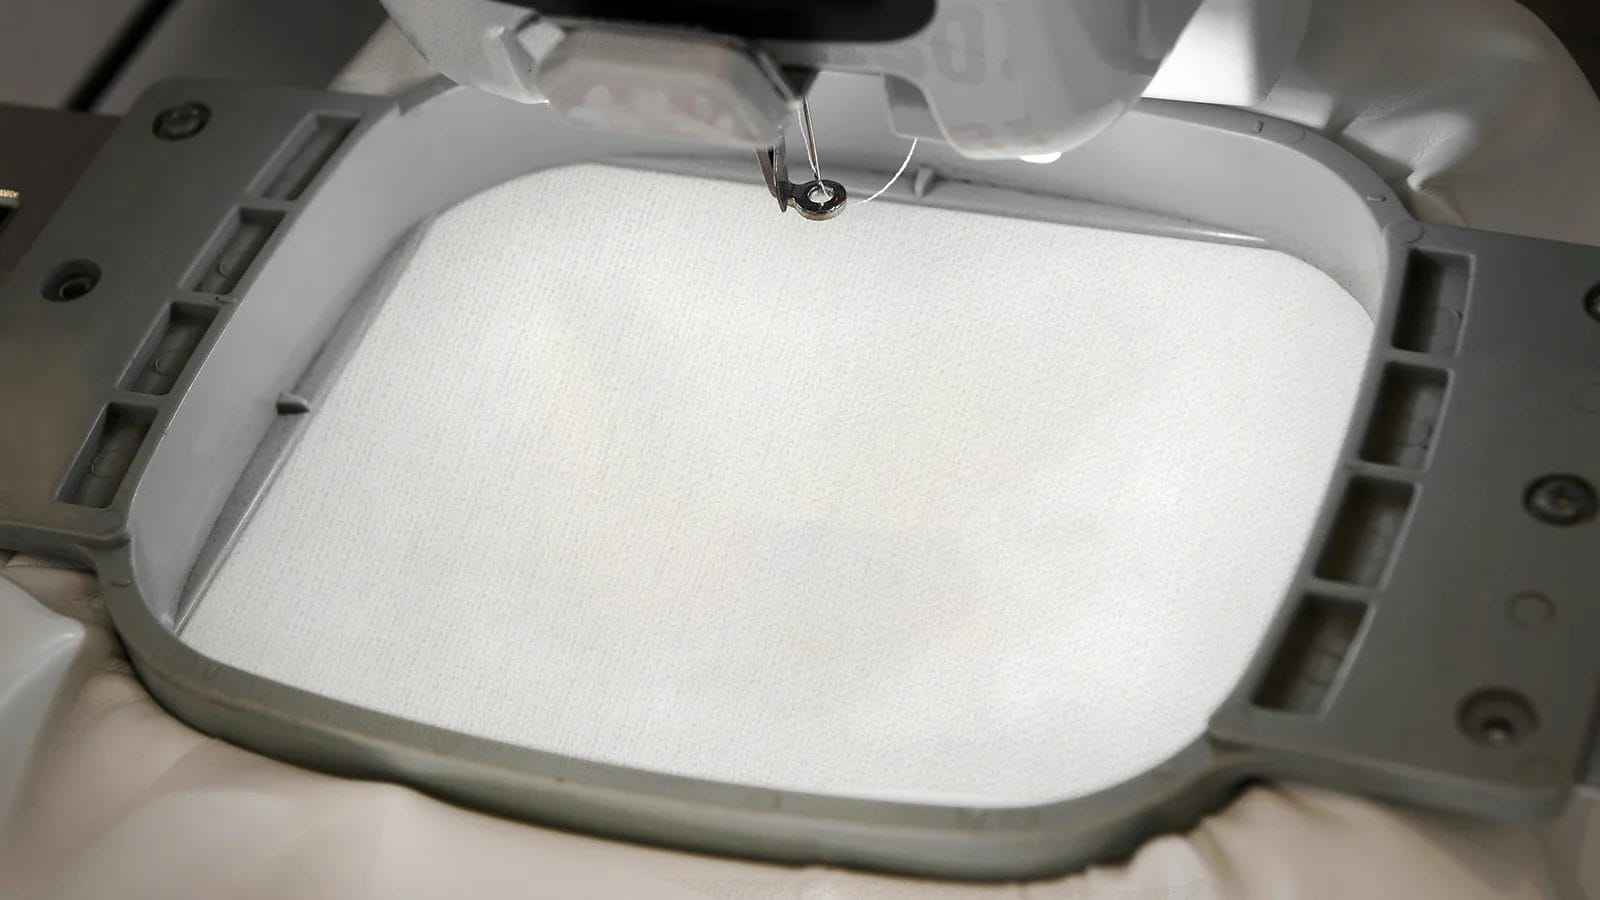
Next, hoop your base fabric with a medium-weight stabilizer to ensure stability during stitching.
This preparation sets you up for success, ensuring that each piece stays secure and aligned throughout the embroidery applique process.
Step 2: Create the Applique Design
Now that your base fabric is ready, let’s start creating the applique design using your embroidery machine.
Choose a design with clear outlines suitable for applique. Adjust the design size and placement on your machine to fit your project.
Step 3: Stitch the Placement Line

With your design ready, stitch the placement line on the base fabric. This placement stitch outlines where your applique fabric should go, ensuring precise fabric placement. It’s a simple outline that defines the area for your applique.
Step 4: Add the Applique and Do the Tack-Down Stitch
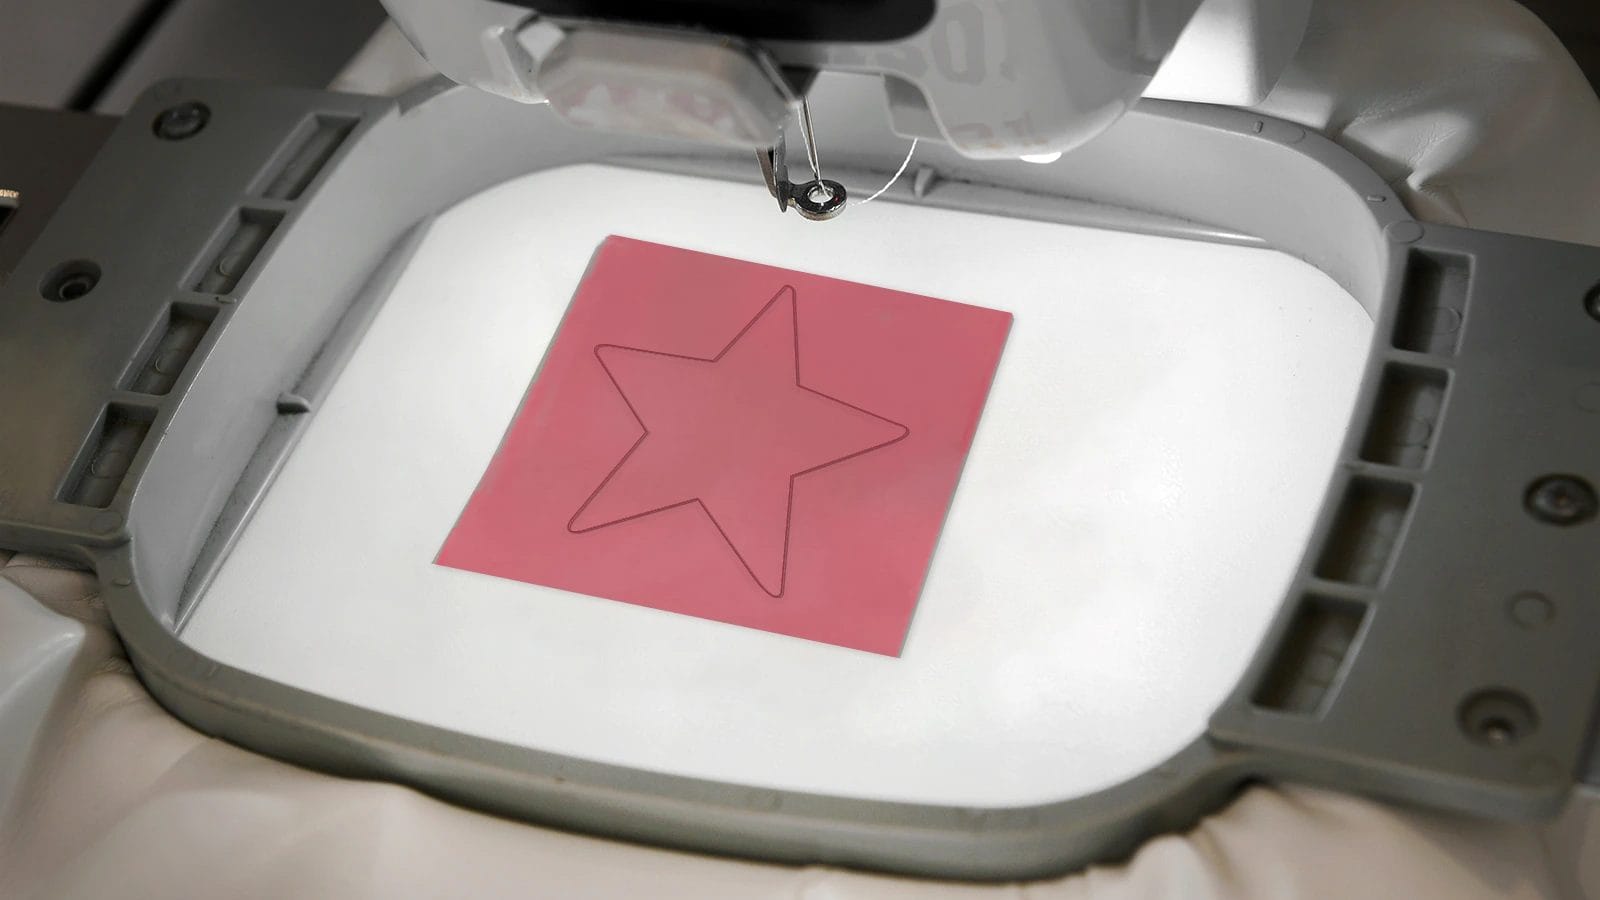
After stitching the placement line, position your applique fabric precisely within the outlined area. Ensure the fabric covers the entire placement stitch to prevent gaps in your applique. Smooth it out to avoid wrinkles or folds.
Once aligned, activate the tack-down stitch on your machine, which will stitch around the edges of your applique shape.
This step is crucial for achieving a clean, professional-looking result. Make sure the tack-down stitch is securely holding the fabric before moving on.
Step 5: Apply Decorative Stitching
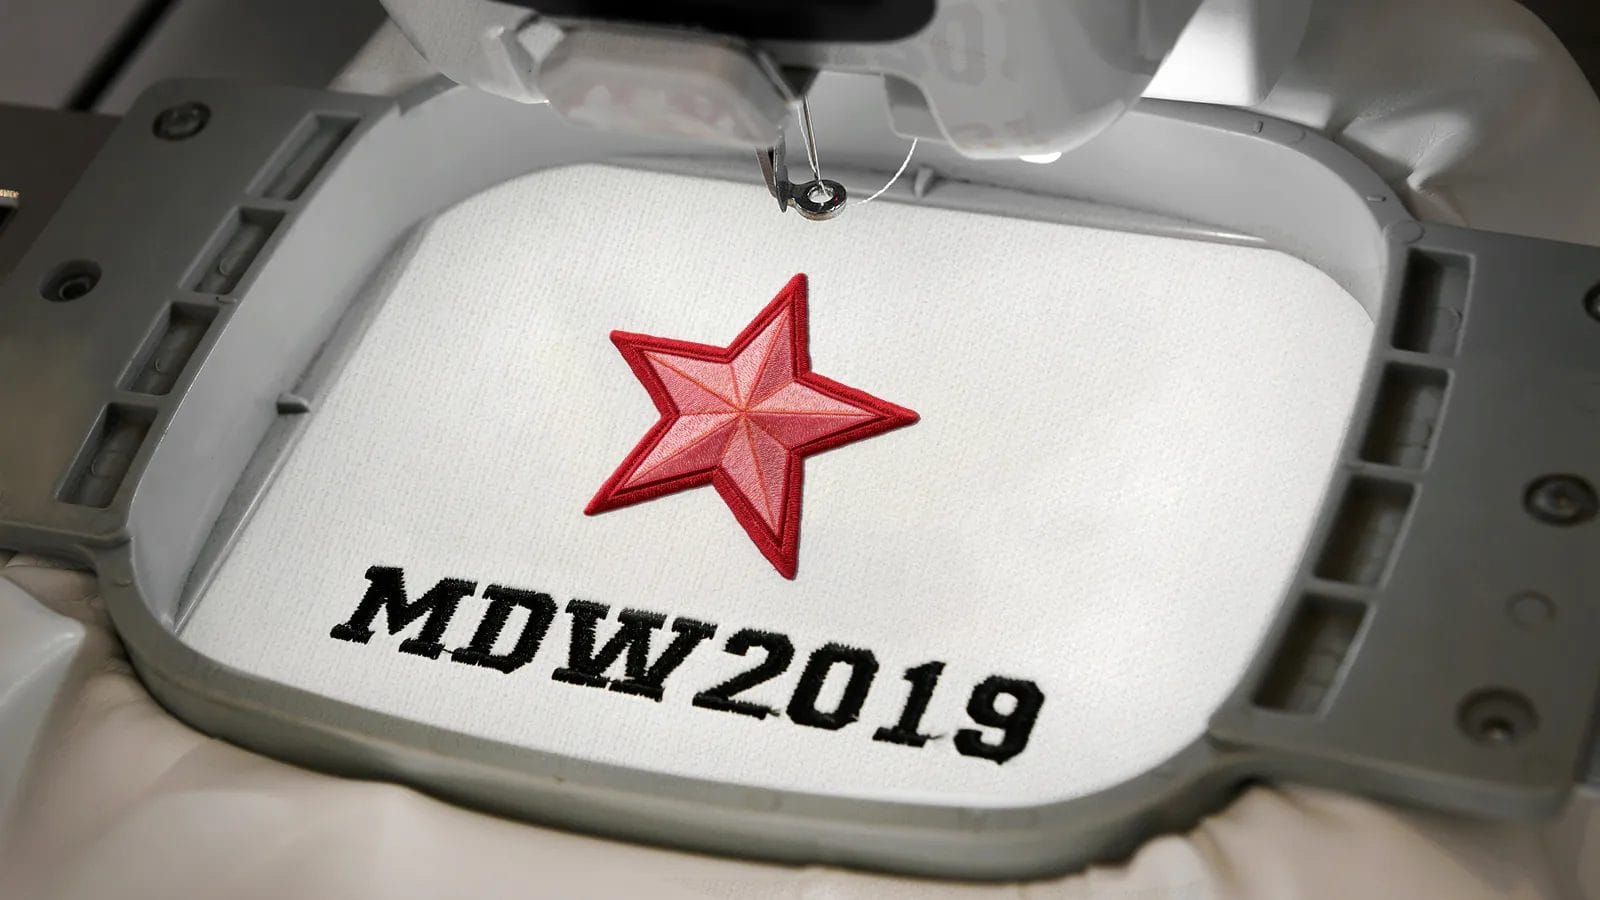
Begin applying decorative stitching by selecting a stitch type like satin, blanket, or zigzag that best complements your applique design. Satin stitches are ideal for creating smooth, polished edges around your applique shapes.
Choose a thread color that enhances your design and adds visual interest. Carefully guide the fabric to ensure even and consistent stitching.
Decorative stitching not only secures the applique pieces but also adds texture and dimension, elevating your project’s overall appearance.
Step 6: Finishing Touches
Remove any excess fabric around the applique to give your design clean, crisp edges. Afterward, gently iron the design area to smooth out any imperfections. Following these steps ensures your embroidery applique looks professional and polished.
How to Do Embroidery Applique by Hand
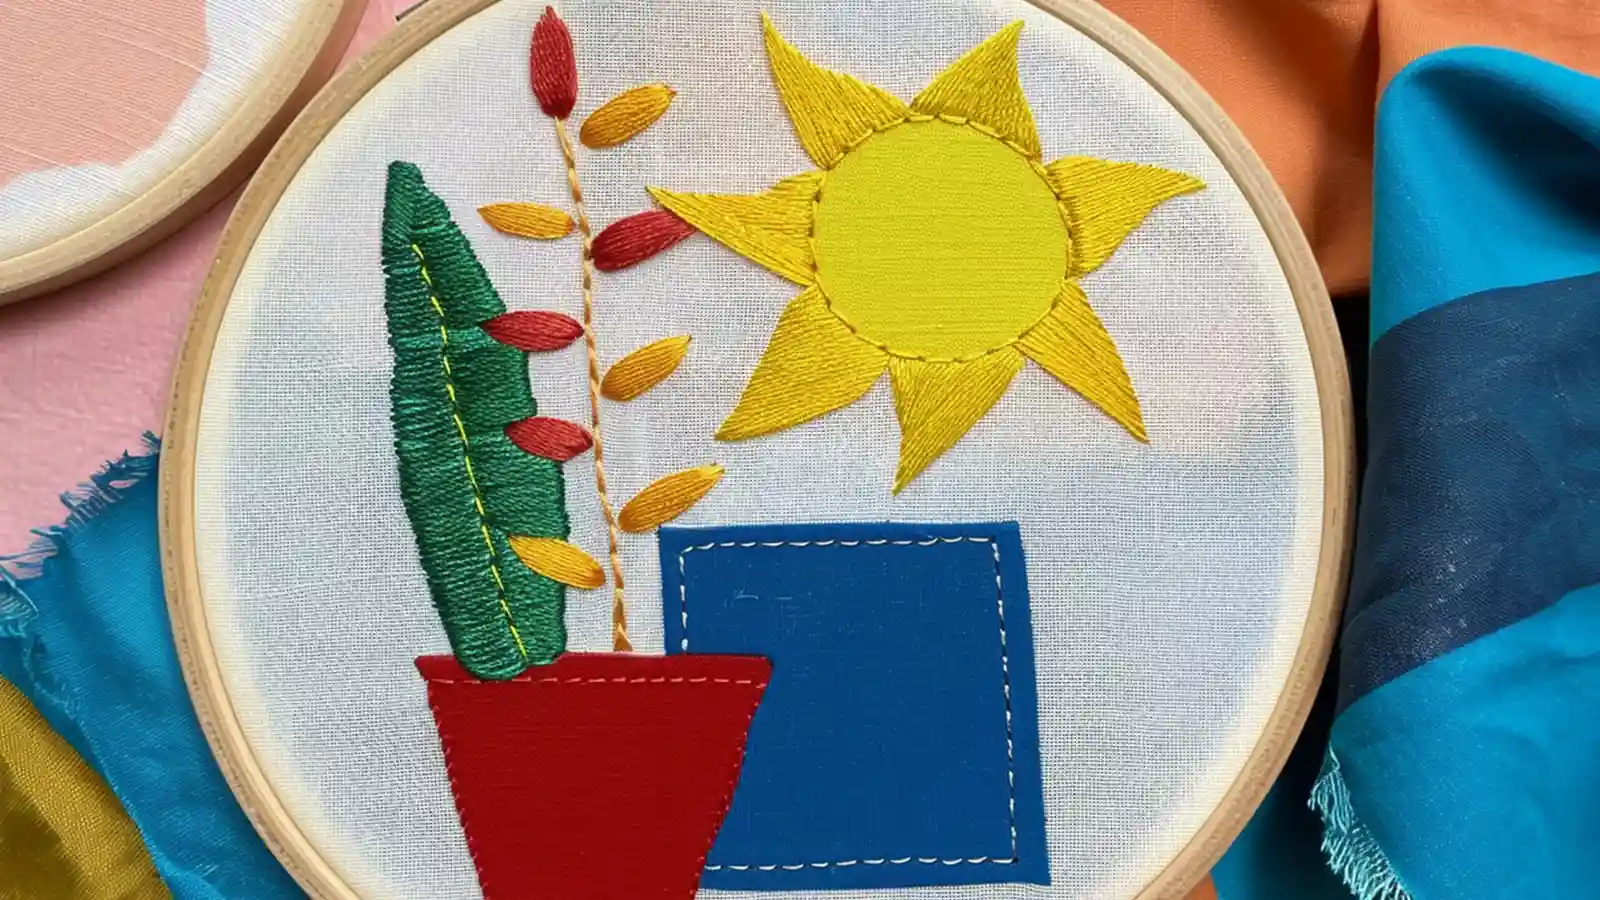
Now, let’s explore the art of hand embroidery applique and delve into the techniques that make it a truly special craft.
Materials Needed
For hand embroidery applique, gather some essential materials:
- Fabric for the applique
- Fabric for the background
- Embroidery hoop
- Embroidery floss
- Embroidery needles
- Scissors
- Fabric glue or fusible web
- Marking tool (such as a disappearing fabric marker)
- Design template or pattern
- Iron (if using fusible web)
Having these materials ready will make your embroidery applique project smoother and more enjoyable.
Step 1: Prepare the Fabric
Carefully cut the applique shapes from your fabric using sharp scissors to ensure clean, precise edges.
Take your time, and meticulously follow the designated lines on your applique fabric. Rushing can lead to uneven cuts and a less professional finish.
Step 2: Secure the Applique and Stitch
With your applique ready, use pins or fabric glue to secure it in place on the background fabric.
Then, select embroidery floss that matches the applique fabric. Thread the needle with a single strand of embroidery floss and knot the end.
Next, you can begin stitching around the edges of the applique using a basic stitch, such as a running stitch or blanket stitch. When stitching, ensure that you catch both layers of fabric with each stitch.
Work your way around the entire edge of the applique, keeping your stitches even and close together. When you reach the starting point, tie off the thread securely on the back of the fabric. If necessary, trim any excess fabric or thread.
Step 3: Add Other Embellishments (Optional)
After stitching the applique edge, you can also add extra embroidery stitches or beads to further decorate the applique if desired.
Once you’ve finished stitching, press your finished applique with an iron to set the stitches and flatten any wrinkles.
Conclusion
Embroidery applique, whether done by machine or hand, offers a creative way to add detailed designs to your projects. By following the steps we provide, you can achieve a polished and professional look.
With some practice, you’ll master this art and create stunning, personalized pieces. Enjoy the process, and happy stitching!
Explore more patch ideas at the Accessories-Wholesaler blog! Find your favorite iron-on patches at Accessories-Wholesaler!
FAQs
How to Appliqué With an Embroidery Machine for Beginners?
To appliqué using an embroidery machine as a beginner, start by selecting your design. Hoop the fabric with a stabilizer, stitch the outline, place the appliqué fabric, secure it with tack-down stitches, and finish with decorative stitching.
Can an Embroidery Machine Do Appliques?
Absolutely, your embroidery machine can do appliques. It stitches fabric onto a base fabric, creating layered designs. Many machines have built-in applique features, making it easy to add texture and dimension to your projects.
How to Do Applique Work Step by Step?
To do applique work, start by choosing your fabric and cutting out shapes. Stitch a placement line, secure the fabric with a tack-down stitch, and finish with a satin stitch. Follow the color change sheet for guidance.


