
Embroidered patches are a fantastic way to personalize clothing, bags, and accessories. Whether you want to add a touch of flair to your jacket or showcase your personality on your backpack, attaching embroidered patches is a simple and fun way to make a statement.
In this article, we’ll explore different methods for attaching embroidered patches to various materials, including sewing, ironing, and using adhesive. Learn how to securely attach your patches so they stay in place for years to come, adding a unique touch to your wardrobe.
Key Takeaways
- Clean and dry the garment to ensure effective adhesion of the patch.
- Use a heat-resistant surface and preheat the iron to low or medium for iron-on patches.
- Secure the patch with pins and sew using strong polyester thread for a durable attachment.
- Apply fabric glue thinly and press the patch firmly, allowing 24 hours to cure for a strong bond.
- For temporary attachment, use safety pins or double-sided tape, and regularly check for wear and stability.
How to Attach Embroidered Patches: 8 Practical Methods
When attaching embroidered patches, you have several options, including iron-on, sewing, adhesive backing, double-sided tape, and safety pins.
Let’s explore how you can effectively use each technique for the best results.
Iron-On
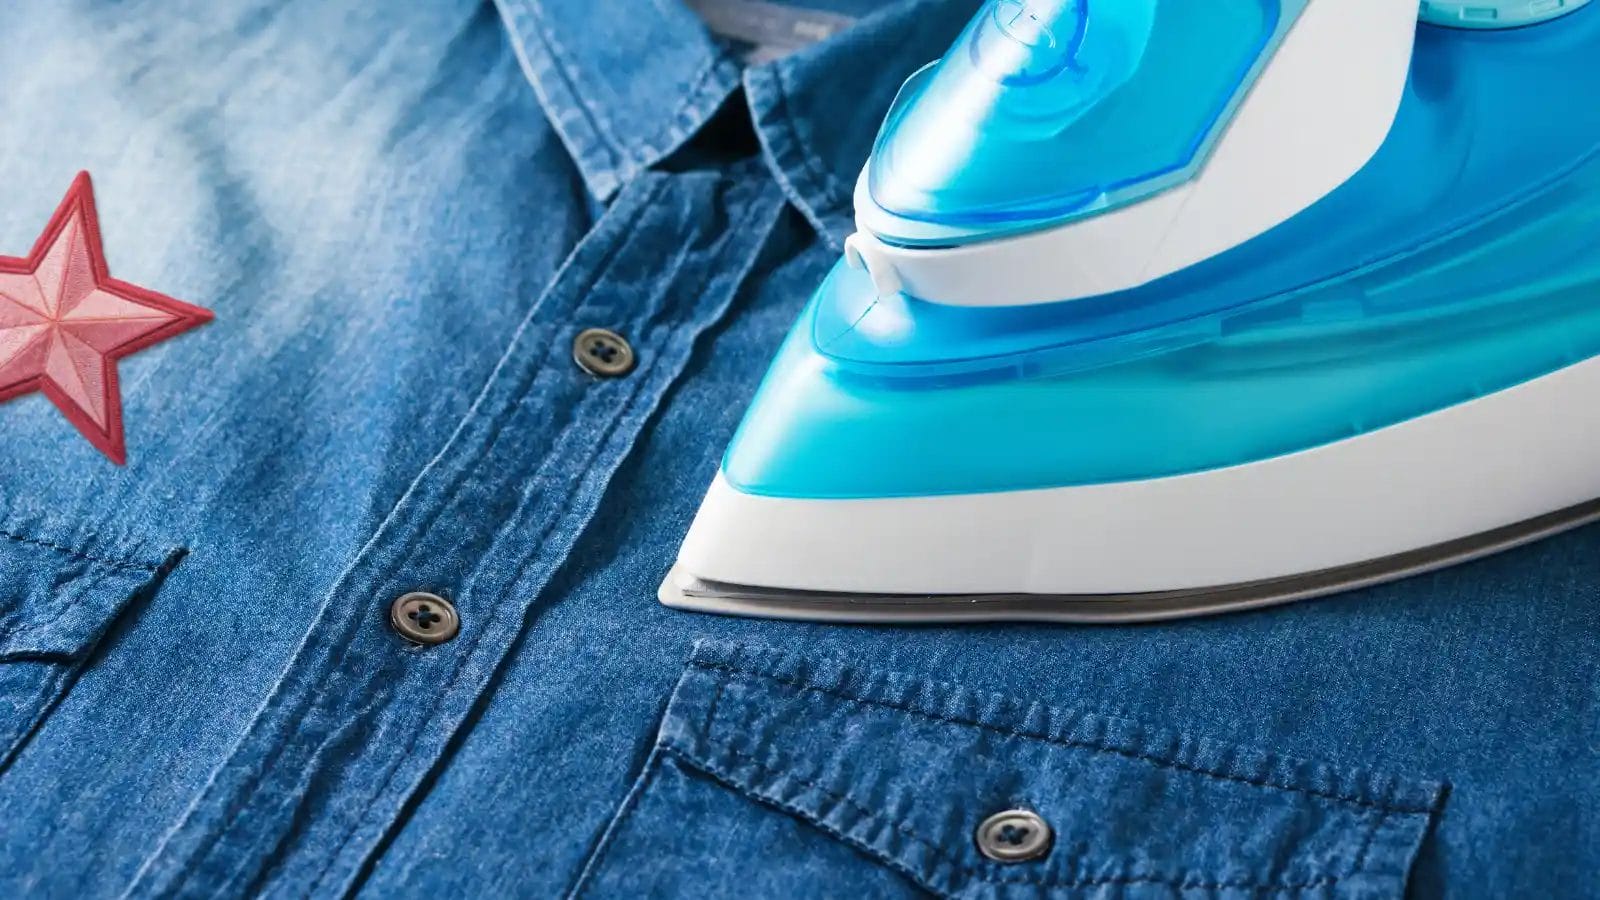
The iron-on method is a quick and easy way to attach embroidered patches. It ensures a secure bond with minimal effort.
- To start, make sure your garment is clean and dry.
- Then, place it on a heat-resistant surface like an ironing board.
- Position the iron on patches where you want them and cover them with a pressing cloth to protect the fabric.
- Preheat your iron to low or medium heat.
- Apply heat evenly over the patch for 10-15 seconds to activate the adhesive backing.
- Check that the edges are fully adhered; if not, repeat the process.
For the best results, follow care instructions to maintain the longevity of your embroidered patches.
Sewing
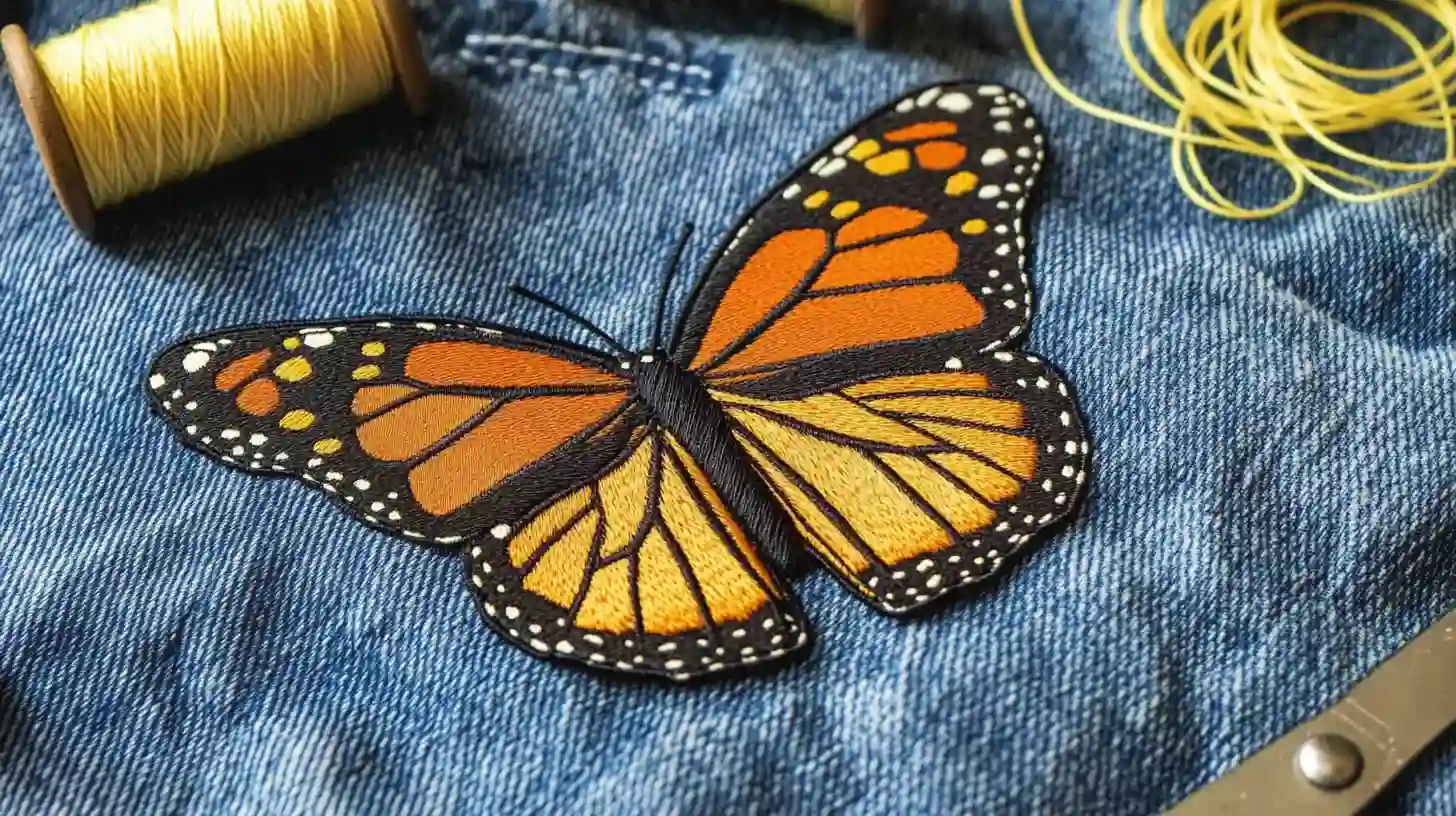
Sewing your embroidered patches is an excellent method if you prefer a more permanent and sturdy attachment.
- Start by determining the placement of your patch and pin the patch edges in place.
- Thread the needle with strong 100% polyester thread, double knotting the ends.
- Use a slip stitch for a discreet finish or a blanket stitch for a decorative edge.
- Pull the thread tight as you sew the patch to avoid slack.
- Complete the sewing by returning to your starting point and tying a double knot close to the fabric.
This method ensures your patches stay firmly attached and allows for future designs around the edges. You can either choose hand sewing or machine sewing.
Adhesive Backing
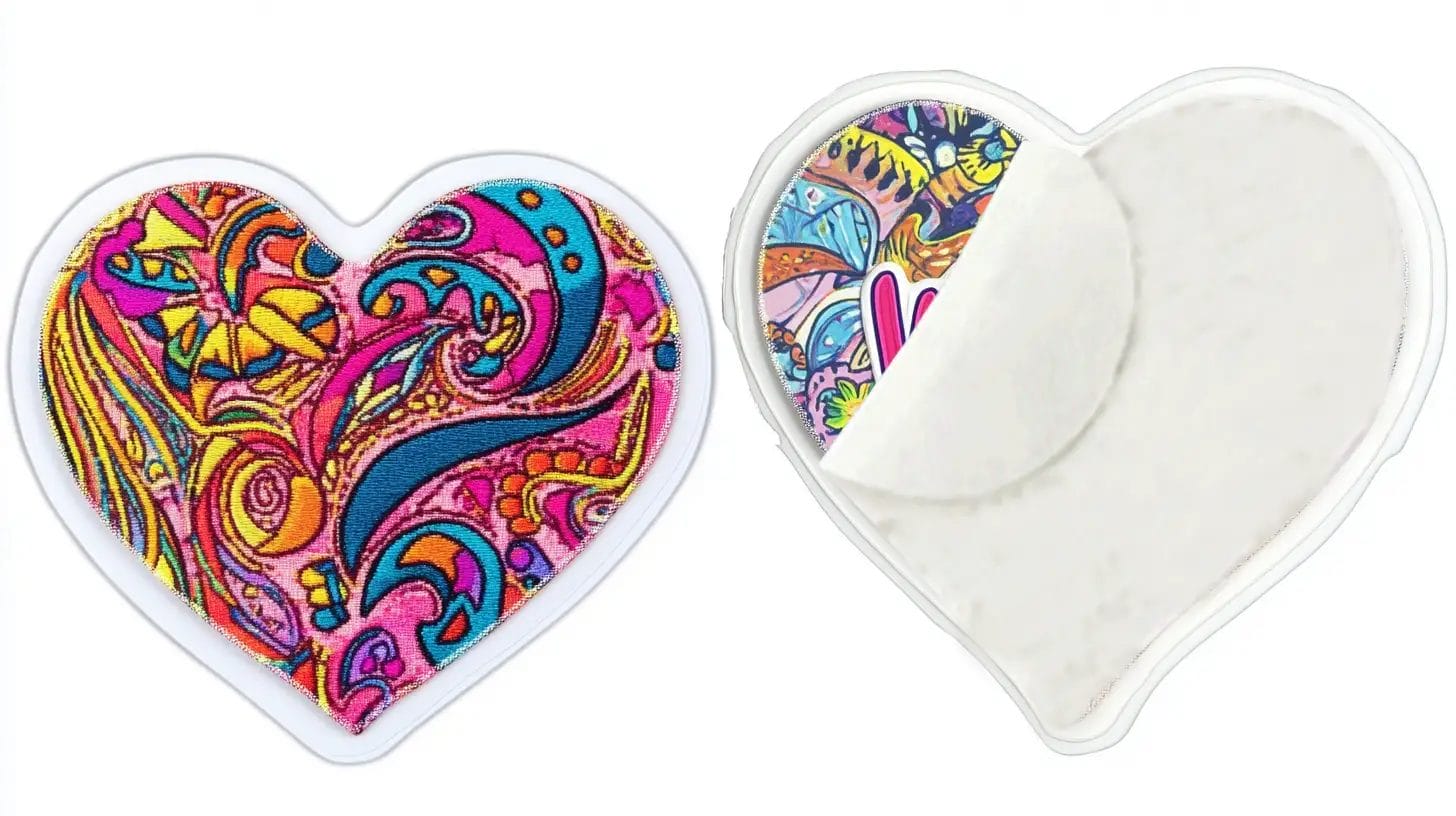
Attaching embroidered patches with adhesive backing is a straightforward process. Here’s how to do it:
- Decide where you want to place the patch onto your fabric item.
- Make sure the fabric surface is clean and dry. Remove any dust or debris.
- Carefully peel off the adhesive backing from the patch.
- Place the patch on the desired spot, pressing it firmly to ensure it adheres well.
Patches with adhesive backing are great for temporary applications. But they mightn’t hold up well under heavy washing as sewn patches.
Double-Sided Tape

Double-sided tape is another method for attaching embroidered patches. It provides a quick and temporary solution.
- Make sure both the patch and fabric surface are clean and dry.
- Cut the double-sided tape to fit the size of the patch, covering the entire adhesive side.
- Place the patch evenly on the fabric, pressing firmly to avoid air bubbles.
This method is perfect for light wear but may not withstand heavy washing or rough use. For a more durable attachment, consider reinforcing with sewing.
Safety Pins
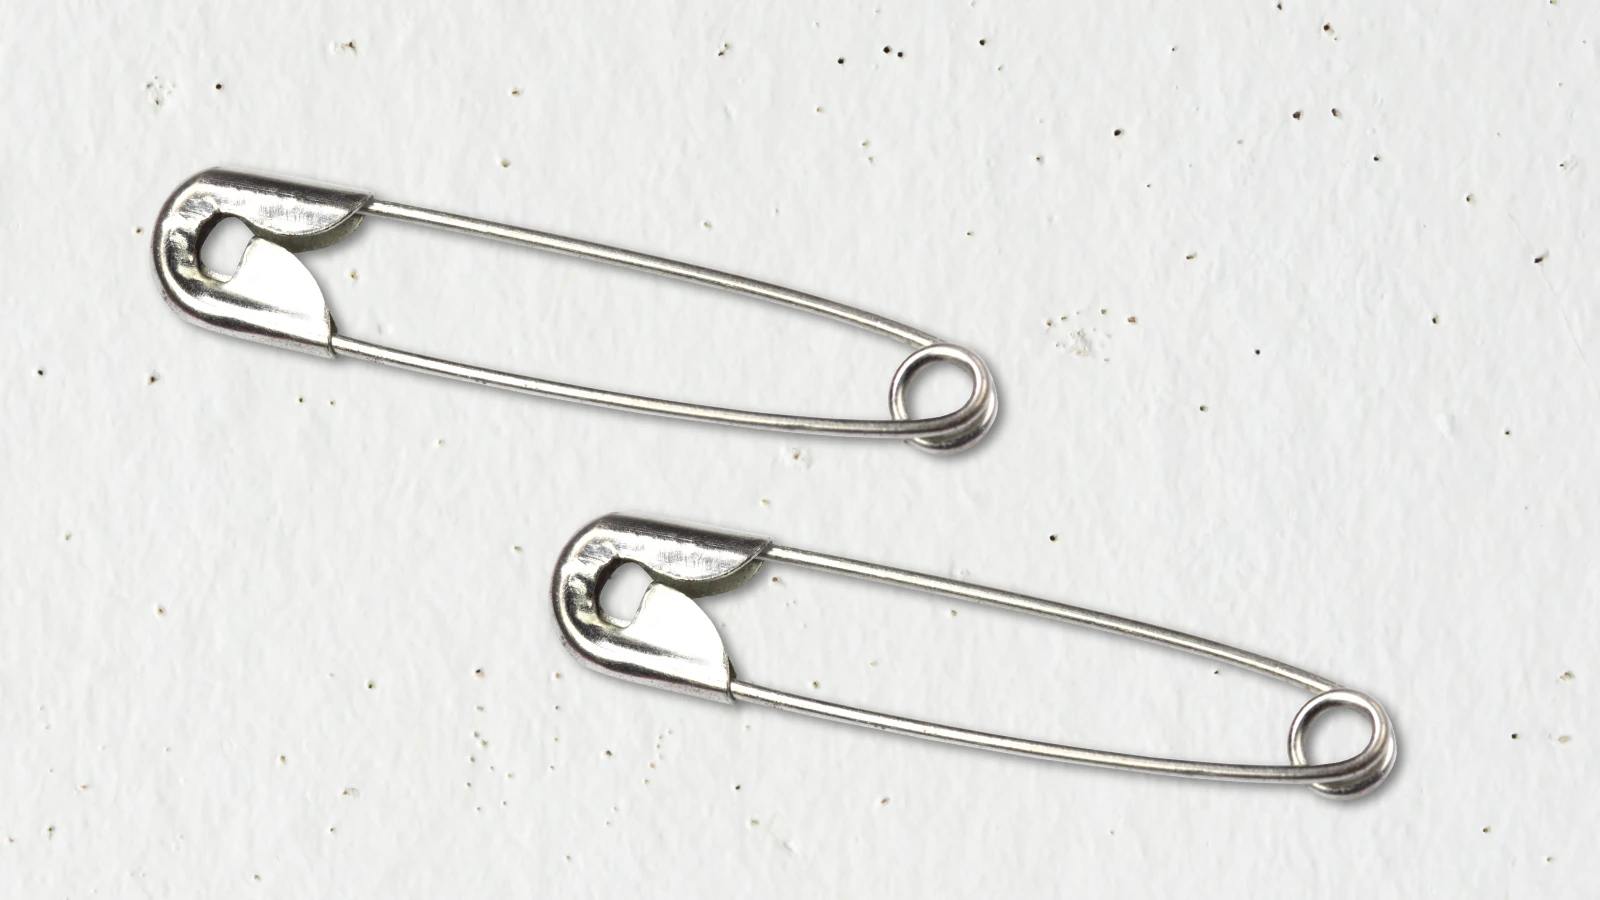
Safety pins offer a quick and temporary way of attaching your patches without permanently altering your garment.
To attach the patch, ensure you’re using safety pins that are large enough to hold it securely. Position the safety pins at strategic points around the edges of the patch to keep it in place.
This temporary solution allows for easy repositioning or removal whenever needed. Regularly check the safety pins for signs of wear or loosening, especially if you plan to wear or wash the garment frequently.
Fabric Glue

Fabric glue offers a hassle-free alternative to safety pins for attaching embroidered patches securely and permanently.
- To attach a patch using fabric adhesive, start by ensuring the garment’s surface is clean and dry.
- Next, apply a thin, even layer of fabric glue to the back of the patch, ensuring full coverage.
- Press the patch firmly onto your desired area of the fabric and hold it in place for a few moments to allow the adhesive to set correctly.
Follow the manufacturer’s instructions for curing time, typically 24 hours. This method ensures a strong, durable bond without the need for sewing.
Velcro
Attaching embroidered patches with Velcro allows for easy customization and frequent changes.
To start, sew or adhere the loop side of the Velcro to your fabric item. Ensure it’s positioned correctly so the hook side of the patch aligns perfectly.
This method is ideal for uniforms, bags, or items needing frequent updates or patches.
Hair Straightener
Using a hair straightener is an excellent option if you’re looking for a quick and convenient way to attach embroidered patches without sewing.
- Start by ensuring your garment is clean and dry. Position the patch where you want it.
- Set the hair straightener to a low heat setting to prevent damage.
- Place a thin cloth over the patch to protect it.
- Press the hair straightener onto the patch for 10-15 seconds, applying heat evenly to bond the adhesive.
- Once heated, let the garment cool and check the patch’s edges for secure attachment.
- If necessary, reapply heat for extra security.
This method is perfect for iron-on patches and effectively attaches patches to your garments.
What Is the Best Way to Attach Embroidered Patches?
If you are unsure whether to sew or iron the patch, the best approach is to do both. Once ironing on the patch, stitch along the edges for extra security. Combining these two methods offers durability and resistance to wear and washing.
Troubleshooting Common Issues
When attaching embroidery patches, you might encounter some common issues. Let’s tackle each problem to ensure your patches stay secure and look great.
Patches Coming Off
Facing patches coming off can be frustrating. However, understanding the common issues helps you secure them effectively.
First, review the attachment method you’ve used. Iron-on patches need enough heat and pressure to activate their adhesive bonds.
Excessive washing or heat exposure can weaken adhesive patches’ hold, so consider handwashing.
Also, check if the garment’s fabric matches your chosen method. Delicate fabrics may need gentler handling to avoid damage.
Frayed Edges
Preventing frayed edges starts with using proper attachment techniques and materials.
A sewing machine can provide a secure attachment when adding patches to your clothes. Use a tight stitch to minimize the risk of frayed edges. For extra security, apply a small amount of fabric glue along the patch edges before sewing. This will help keep them intact over time.
If fraying does occur, consider using a fray check solution to prevent further damage. Regularly inspecting your patches, especially after washing, will help you catch any issues early.
Patch Distortion After Washing
Patch distortion can happen if embroidered patches aren’t correctly attached. The high heat from washing machines and dryers can weaken the adhesive or stitching, causing the patches to curl or lift.
To avoid this, always follow the care instructions for both the patch and garment. Handwashing and air drying are the safest methods to maintain their shape. If machine washing is necessary, use cold water and a gentle cycle.
How to Care for Items with Attached Patches
Hand washing items with attached patches in cold water helps maintain their longevity and prevents adhesive weakening.
Always avoid bleach or harsh detergents to prevent color fading and fabric damage. Once washed, air drying is preferable; if you need a dryer, opt for a low-heat setting, as high temperatures can damage the patches.
Store items in a cool, dry place to prevent moisture accumulation and potential mildew.
Conclusion
Attaching embroidered patches can be easy and fun if you choose the right method.
Whether you use sewing, iron-on, fabric glue, or another technique, follow the steps carefully.
Don’t forget to regularly check and maintain your patches to keep them looking great.
With a bit of effort, your patches will stay secure and add a unique touch to your items.
Happy patching!
Explore more patch ideas at the Accessories-Wholesaler blog! Find your favorite iron-on patches at Accessories-Wholesaler!
FAQs
How to Attach an Embroidered Patch to Clothing?
First, choose your patch placement and secure it with pins. For iron-on patches, cover with a cloth and press with a hot iron. Alternatively, hand sew or use a sewing machine for a more permanent attachment.
Is It Better to Sew or Iron on a Patch?
You should decide based on durability and ease. Sewing offers a secure, long-lasting fix that is great for frequent washing. Iron-on patches are quick and easy but may weaken over time. Choose what best fits your needs.
How to Attach Patches Without Sewing?
You have a few options: use iron-on patches with heat, apply fabric glue, or opt for self-adhesive patches. These are all straightforward methods that don’t require any sewing skills. Just ensure the fabric is clean and dry.
How to Attach Embroidered Appliques?
Place the applique where you want it and secure it with pins. Use a sewing machine or hand stitch around the edges. Follow the manufacturer’s instructions for iron-on appliques, applying heat for a secure bond.


