Are you looking to add character to your leather vest by sewing patches? Maybe you’re a biker wanting to display club logos or just someone who loves the look of customized gear.
Sewing patches on leather can seem challenging. But with the right tools and techniques, it’s totally doable. A key fact to remember is that whether you’re hand sewing or using a sewing machine, a sharp needle designed for leather is essential.
This guide will list each step of sewing patches onto your leather vest. By following our instructions, you can give your vest a personal touch while ensuring that those patches stay put for good.
Ready? Let’s get started!
Key Takeaways
- Use a leather needle and 100% polyester or invisible nylon thread for the best results when sewing patches on a leather vest.
- Before sewing, position your patch carefully. Consider using liquid-base glue to keep it in place.
- Protect your fingers with a thimble, since leather needles are very sharp.
- For machine sewing, adjust the stitch length and tension settings appropriately to deal with thicker materials like leather.
- After adding patches to your vest, maintain its appearance by cleaning it gently with mild soap and storing it away from direct sunlight. Regular care keeps both the patches and vest looking great over time.
Necessary Tools and Materials
Getting ready to sew a patch onto your leather vest requires gathering the right tools and materials. This ensures your project goes smoothly from start to finish. Here’s what you need:
- Leather needle: These needles are a must-have for hand sewing. They are strong enough to pierce through leather without breaking.
- Nylon or polyester thread: Opt for 100% nylon or polyester thread for its strength and durability.
- Tape or spray adhesive: This helps hold the patch in place as you sew, making the task more accessible and precise.
- Scissors: Sharp scissors are essential for cutting thread and trimming excess material on your embroidered patch.
- Leather vest: This is the key piece of clothing to which you’ll add your patch.
- Embroidered patch: Choose the design that best suits your style or the message you want to convey on your vest.
- Sewing machine with a leather setting (for machine sewing): If opting to use a machine, ensure it can handle leather materials with a specific setting.
A Guide to Sewing Patches on a Leather Vest by Hand

Sew patches on leather by hand in a few simple steps. Prepare the leather vest, position the patch, and sew it onto the vest.
Step 1: Preparing Your Leather Vest
First, lay the leather vest flat on a clean surface to prepare it for sewing. Use masking tape or double-sided tape to temporarily secure any parts of the lining that might get in the way. This step prevents altering the fit of your vest and keeps everything smooth and manageable during sewing. If you plan to sew near pockets, apply a thin layer of liquid base glue on the back of your patch to keep pocket functionality intact.
Next, inspect your vest thoroughly for any creases or wrinkles that could interfere with patch placement. Smooth out these areas as best you can. Using scissors, carefully trim any loose threads around the area where your patch is placed.
Step 2: Positioning the Patch
Open the lining first to position the patch on your leather vest properly. This step ensures the patch’s fit will not be altered. Using a pen, lightly mark where each corner of the patch will go, making sure it’s straight and in your desired location.
Next, apply a light layer of liquid base glue to secure the patch before sewing. This technique prevents movement and keeps everything in place without damaging the internal pockets or features of your vest.
Ensure that every edge sticks down but isn’t soaked through. This will make threading your needle and stitching around much more accessible.
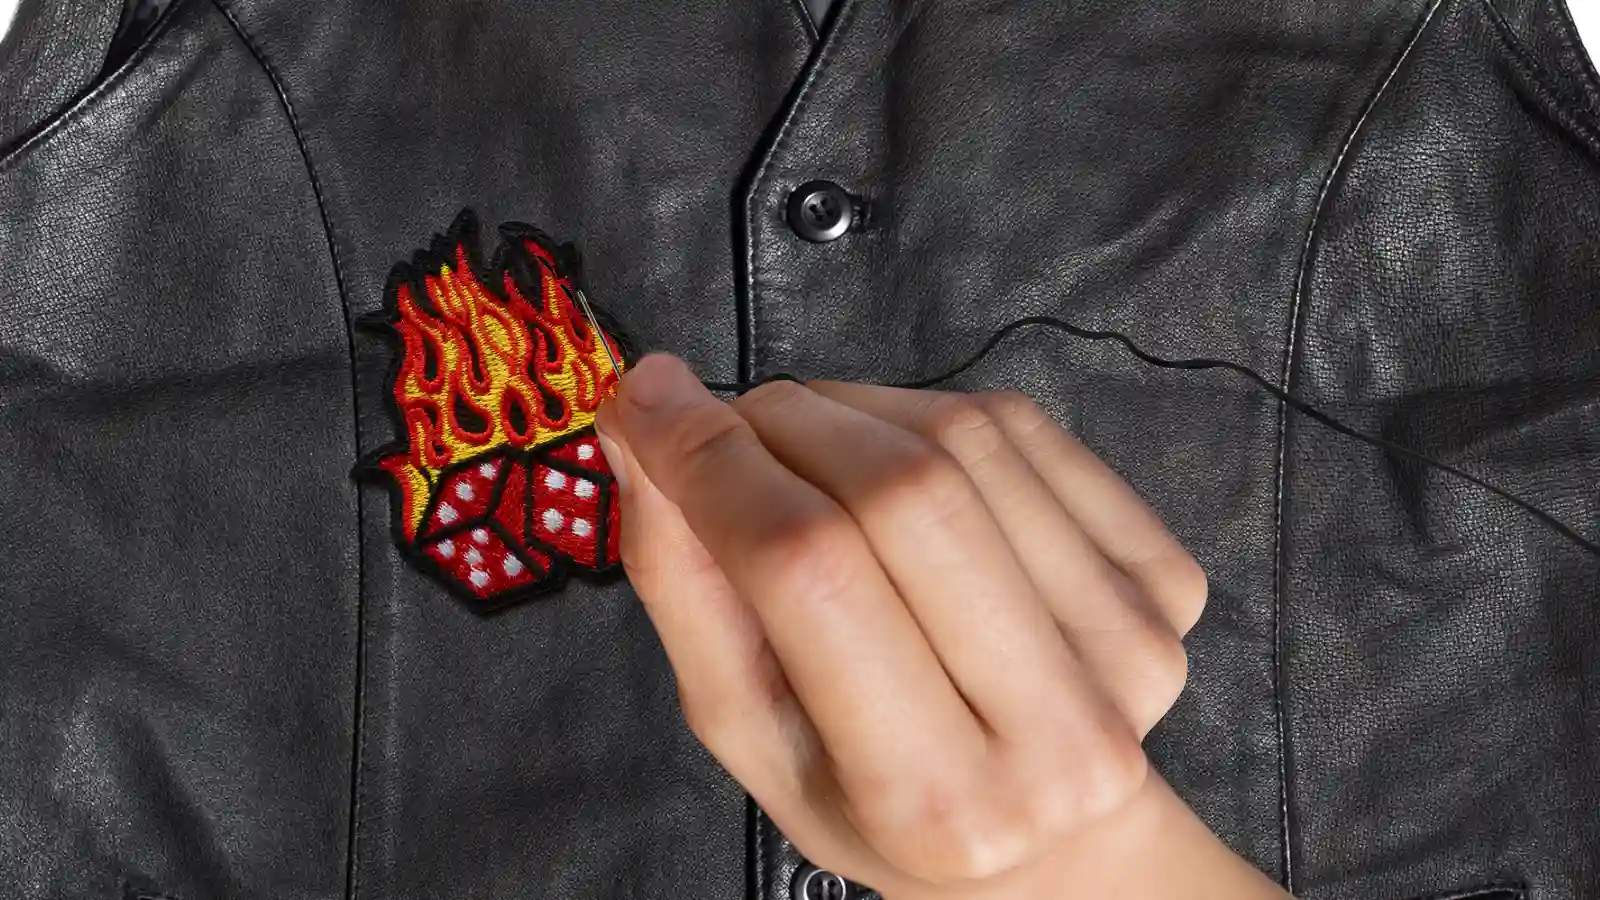
Step 3: Sewing the Patch by Hand
- For durability, thread your needle with 100% polyester thread. Knot the end of the thread securely.
- Start sewing from the inside of the vest to hide the knot. Push the needle through to the front.
- Sew around the edge of the patch closely and evenly. Keep your stitches small and tight for a neat finish.
- If the leather gets tough, use pliers to pull the needle through. Leather can be challenging to pierce, especially with thicker patches.
- Once you’ve sewn all around the patch, finish by making a strong knot on the inside of the vest.
Throughout this process, ensure that each stitch is consistent with the surrounding ones. This will help effectively secure the patch onto the item without causing any damage or unnecessary stress on its material composition. It will also help create an aesthetically pleasing look that speaks volumes about personal taste and the level of craftsmanship involved in the process.
A Guide to Sewing Patches on a Leather Vest with a Sewing Machine

Sewing patches on leather using a sewing machine can be done seamlessly with the right technique and equipment. Learn the proper method to use your sewing machine for this task. Read more to discover the expert tips and techniques!
Step 1: Setting the Sewing Machine
To prepare the sewing machine for sewing patches on leather, select a needle suitable for leather fabrics. Wind a bobbin with 100% polyester thread. This will provide the necessary strength to hold the patch securely in place.
Additionally, select a machine with a specific leather setting if available. You can also adjust the stitch length and tension settings manually to accommodate thicker materials like leather.
Step 2: Placing the Patch
Carefully position the patch on your leather vest. Use a ruler and pen to mark where you’d like it placed, ensuring it’s straight before securing it in place.
Using liquid-based glue can help keep the patch steady while you sew. Remember that using a free-motion foot allows more flexibility in sewing direction when working with thick leather. It provides greater control as you sew around the edges of the patch.
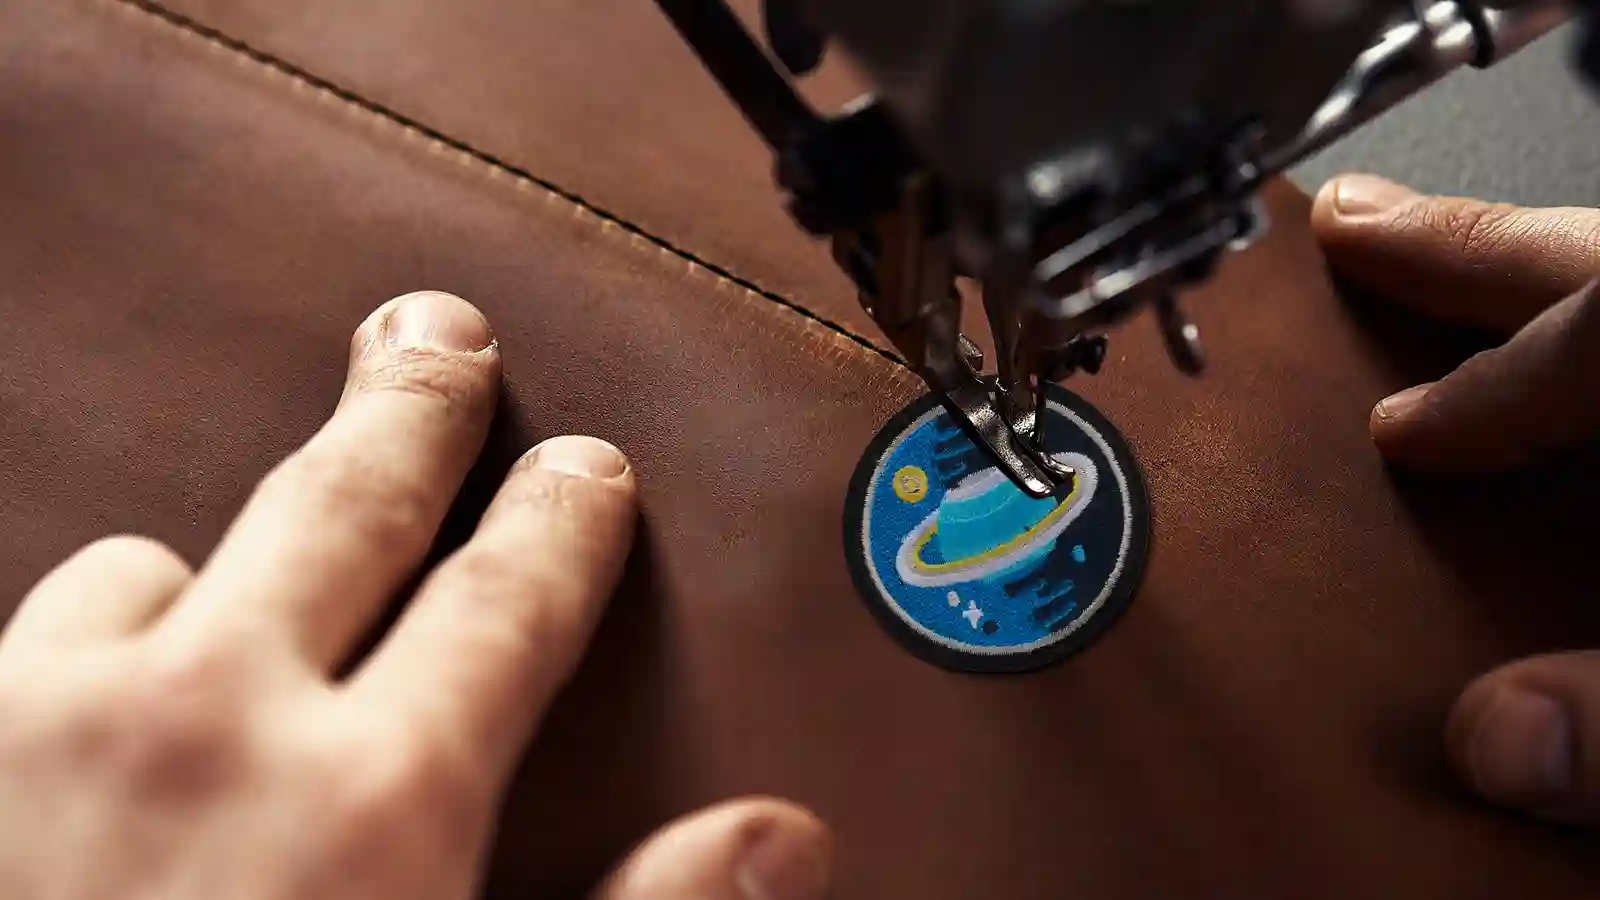
Step 3: Sewing the Patch by Machine
Begin sewing slowly around the outside edge of the patch, guiding it carefully to maintain an even border. Once complete, trim any excess threads and inspect for any loose areas that may require additional stitching.
Remember, take your time and work methodically to ensure a professional finish that will withstand wear and tear while enhancing your leather vest’s appearance.
How to Care for Your Patched Leather Vest
After sewing patches onto your leather vest, it’s important to take proper care of it to ensure longevity. Regularly clean your patched leather vest with a damp cloth and mild soap.
Avoid using any harsh chemicals or detergents that could damage the patches or the leather.
Store your patched leather vest in a cool, dry place away from direct sunlight to prevent fading or discoloration. If you notice any loose threads on the patches, promptly trim them to avoid unraveling.
Additionally, consider applying a quality leather conditioner to keep the material supple and prevent drying out.
Proper care will maintain the vibrant appearance of your patched leather vest for years to come!
Conclusion
It is simple to sew patches on a leather vest by hand or with a sewing machine. By carefully following the instructions and tips provided, you can confidently achieve professional results while preserving the integrity of the leather fabric. You now have all the essential knowledge to embark on your patch-sewing journey.
Now it’s time to dive in and transform your plain leather vest into a personalized work of art!
Related: Can You Iron Patches to Leather? 2 Perfect Alternatives Revealed
FAQs
1. Can I sew patches on a leather vest by myself if I’ve never sewn before?
Yes, you can easily learn how to sew patches onto leather vests, even if you have never sewn before. Using a needle and thread by hand would be the best option for beginners.
2. Is it possible to attach patches without sewing them on?
Yes! You can also use snaps or woven techniques that specialize in attaching without sewing. However, these methods may vary depending on the patch type and leather.
3. How do I choose where to place my patches on the vest?
Think about key moments or achievements you want to highlight with your patches, then organize them accordingly.
4. What are my options if I’m not confident in my ability to sew?
If sewing is not your strength or seems like too much of a one-time task, you can always pay someone specializing in embroidery or quilting clothes to do it for you. This would be your best option, as it ensures professional results.


