Have you ever been frustrated by your iron on patches not sticking? You’re not alone. It’s a common issue, especially with certain fabrics and older patches. This blog post is designed to help, offering tips on best practices for applying the patches, preventing them from peeling off, and what to do when they just won’t adhere properly.
Ready to transform those stubborn patches into stylish accessories? Keep reading!
Why are Iron on Patches Not Sticking?
Iron on patches may not stick properly for a few different reasons. One common issue is the presence of old glue residue on the fabric. If you’re trying to apply an iron on patch to fabric that still has remnants of old adhesive, it can interfere with the patch’s ability to adhere properly.
Another factor that could cause your patch to not stick is using too low an iron temperature. The adhesive on the back of the patch needs enough heat to activate and bond with the fabric surface. If your iron isn’t hot enough, the patch might not stick as securely as you’d like.
In some cases, certain fabrics may also pose challenges for iron on patches. For example, vinyl patches can be more difficult to adhere to because they tend to rip when pierced with a needle during hand sewing.
In these situations, it’s worth considering alternative methods, such as using fabric glue or sew-on options instead.
Prepare the Necessary Tools
To ensure your iron on patches adhere properly, several tools are necessary. You need:
- A standard home iron: This will provide the heat necessary to activate the adhesive on the back of the patch.
- Ironing board or flat surface: It gives a solid base to press the patch onto the fabric firmly and evenly.
- Pressing a cloth or thin handkerchief: They prevent direct contact between the hot iron and your patch, protecting it from scorching.
- Parchment paper or waxed paper: Use this to cover your work area and prevent glue from seeping onto other surfaces during application.
- A hair dryer or heat gun (optional): These can help re-activate the adhesive if a patch starts to peel after initial application.
- Rubbing alcohol (optional): Useful for cleaning areas with oil or grease residue before applying a patch to ensure better adhesion.
Tips for How to Iron on Patches Not Sticking
To ensure that your iron on patch adheres properly, it is important to learn some necessary tips.
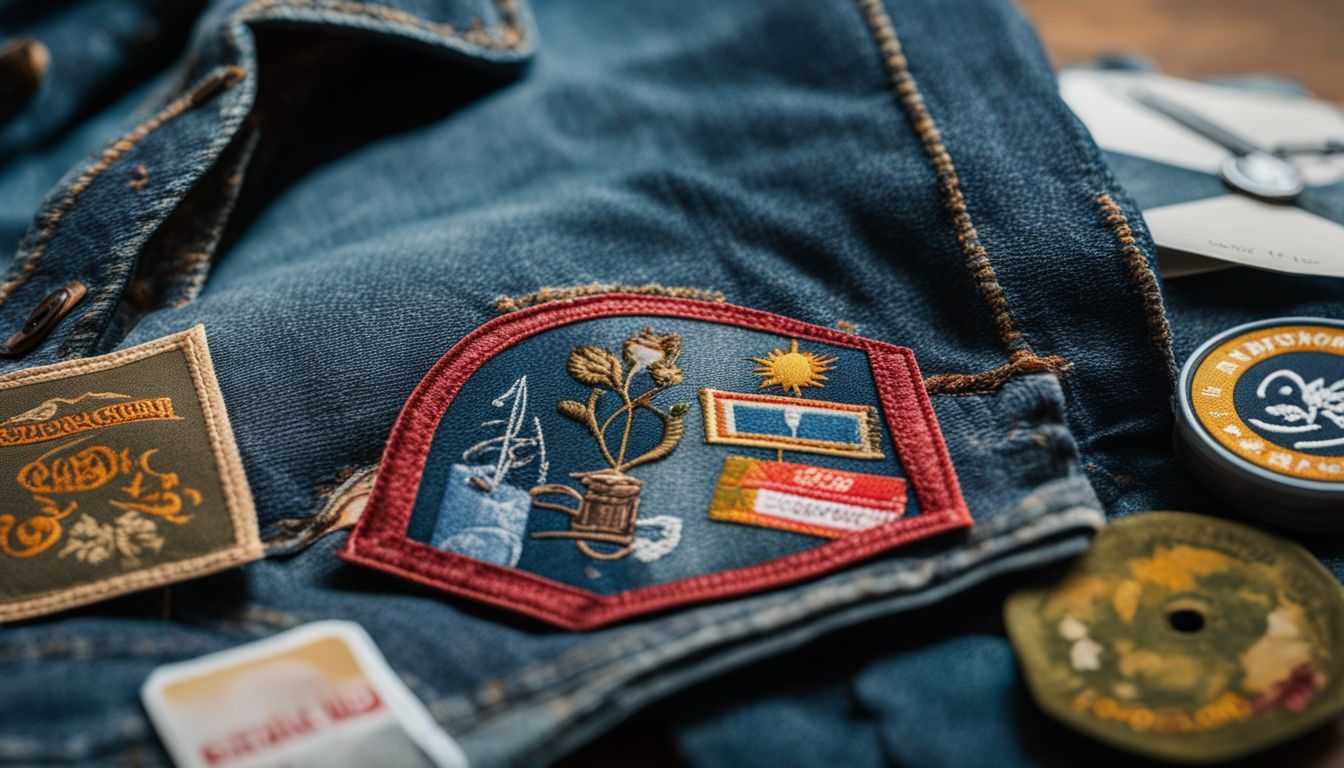
Determine Suitable Materials for Iron on Patches to Adhere to
Cotton sweatshirts, pants, and uniforms often serve as ideal platforms for ironing on patches. Not only are these fabrics strong and durable, but they also provide a smooth surface that allows the adhesive to bond effectively.
Alternatively, materials like polyester can prove troublesome due to their resistance to heat, undermining your DIY project’s success. Always test patches on small or hidden areas of fabric first before applying them fully.
Indiscriminate usage could lead to patches coming loose or unwanted damage, such as burnt or discolored spots on your attire. Similarly, take caution when dealing with garments that have old glue residue. This may hinder the adhesive from forming a firm grip on the fabric.
To remedy such situations, consider cleaning off any residues using trustworthy methods like rubbing alcohol on the patch prior to sticking it on.
Prepare the Surface for the Patch Before Starting
Ensure the surface is ready for your iron on patch. This step will set you up for success. Here’s how:

- Clean the surface thoroughly: Ash the garment gently by hand or machine, using a brush or sponge, and dry it thoroughly before adding the patch. Pre-wash the fabric in the washing machine if using fusible web to ensure it adheres properly, as the finish on unwashed fabric can prevent the web from melting into the fibers.
- Provide the best ironing surface as flat as possible: Make sure the patch area on the garment is wrinkle-free for a strong bond. Iron out creases on any flat surface, like a countertop, using a thick towel underneath for resistance.
Use of Re-adhesive
Re-adhesive offers a helping hand to secure iron on patches, acting as an extra layer of stickiness. It’s a simple tool you can use in your DIY projects when the patch isn’t sticking properly to the fabric.
Dab it on the back of your patch, and make sure all corners are rounded out with adhesive for a long-lasting bond after application. From cotton sweatshirts to backpacks, re-adhesive ensures patches adhere even under tough conditions like moisture or high-speed washes.
A well-made re-adhesive doesn’t ruin the patch but strengthens its hold. It provides a stress-free solution to keep those looney tune-themed patches intact! Plus, no sewing is required! How convenient is that?
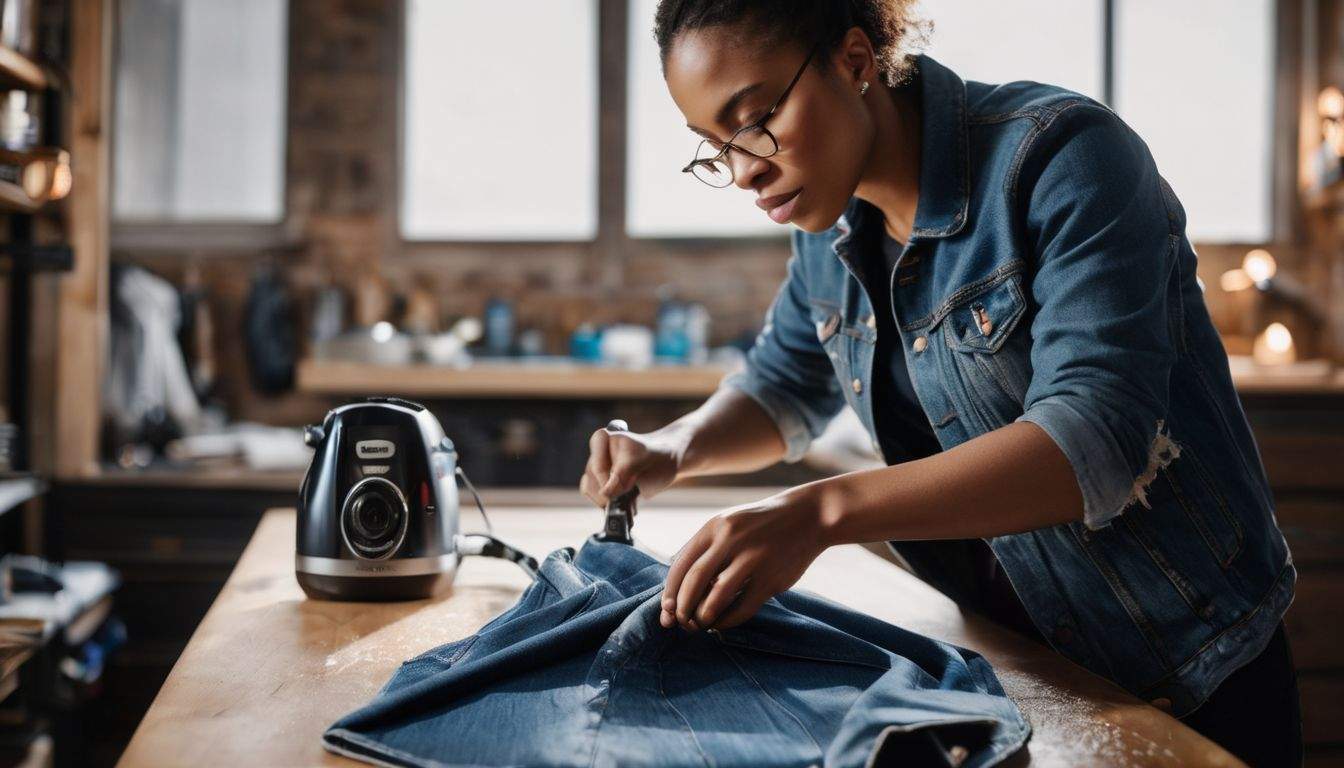
Proper Heating Techniques to Apply the Patch
To ensure that your iron on patch sticks securely, it is important to use proper heating techniques. Here are some tips to follow:

- Preheat the iron: Set your iron to the appropriate temperature for the fabric you are working with. This will help the adhesive on the patch activate and adhere effectively.
- Protect the patch: Place a pressing cloth or parchment paper over the patch before applying heat. This will prevent any direct contact between the iron and the patch, protecting it from scorching or melting. If you don’t have an iron, you can use a straightener.
- Apply firm pressure: Press down firmly on the iron as you move it over the patch. Applying consistent pressure ensures even heat distribution and helps activate the adhesive for a strong bond.
- Use an even heat source: Make sure that your iron is evenly heated throughout its surface area. This will provide uniform heat distribution when applying the patch, ensuring that all areas of the patch adhere properly.
- Follow the package instructions: Different patches may have specific instructions for application. Always read and follow these instructions carefully to achieve optimal results.
Solutions to Iron on Patches Not Sticking
If the patch is not sticking, try these solutions to improve adhesion:
- Clean the surface: Remove any dirt, oil, or residue from the fabric using rubbing alcohol.
- Increase heat and pressure: Apply more heat and press down firmly on the patch with a hot iron for a longer duration.
- Use fabric glue: Apply a thin layer of washable fabric glue on the back of the patch before ironing it onto the fabric.
- Sew it on: If all else fails, hand sew the edges of the patch onto the fabric using a sewing needle and thread.
Conclusion
Iron on patches not sticking can be frustrating, but there are solutions. By following best practices and using extra adhesives like washable fabric glue, you can improve patch adhesion.
Remember to round the corners of your patches and use the correct iron temperature for better results. If all else fails, hand sewing may be an alternative option for certain types of patches.
With a little creativity and problem-solving, you can make sure your iron on patches stay securely in place on your favorite garments or accessories.
Choose the Right and High Quality Patches on Accessories-Wholesaler
We are here to assist you in locating the ideal patches for your requirements! We, Accessories-Wholesaler, provide a large selection of personalized iron on patches. Regardless of the type of patch you’re searching for, we have what you need.
Our staff is committed to delivering quality control and guaranteeing the security of your online purchase. You may quickly browse through our assortment and discover the ideal accessories to complement your look or advance your brand with our user-friendly online store.
Allow us to help you locate the appropriate accessories and patches that satisfy all of your needs. Get in touch with us right now if you have any queries. We can assist you!