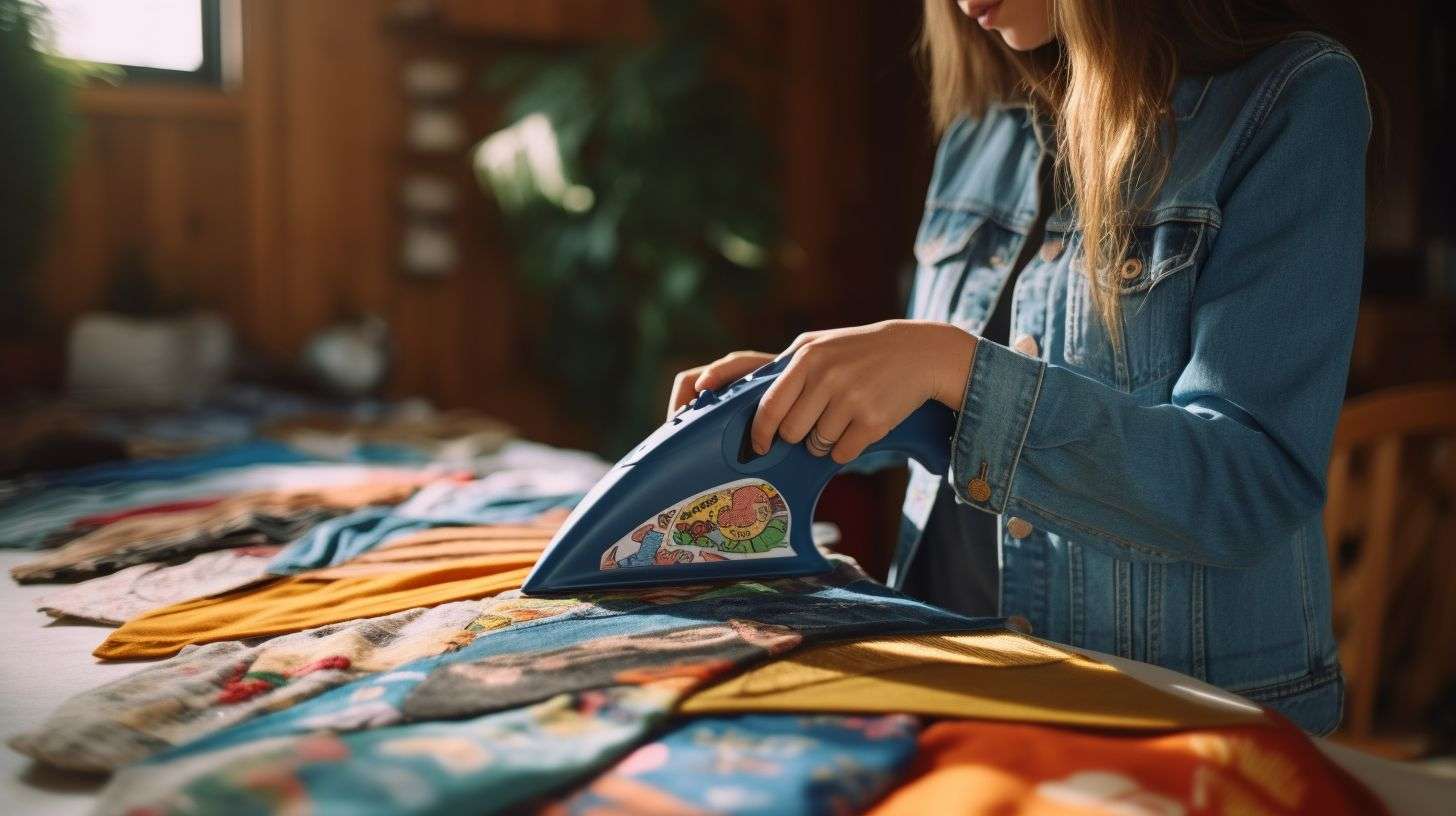
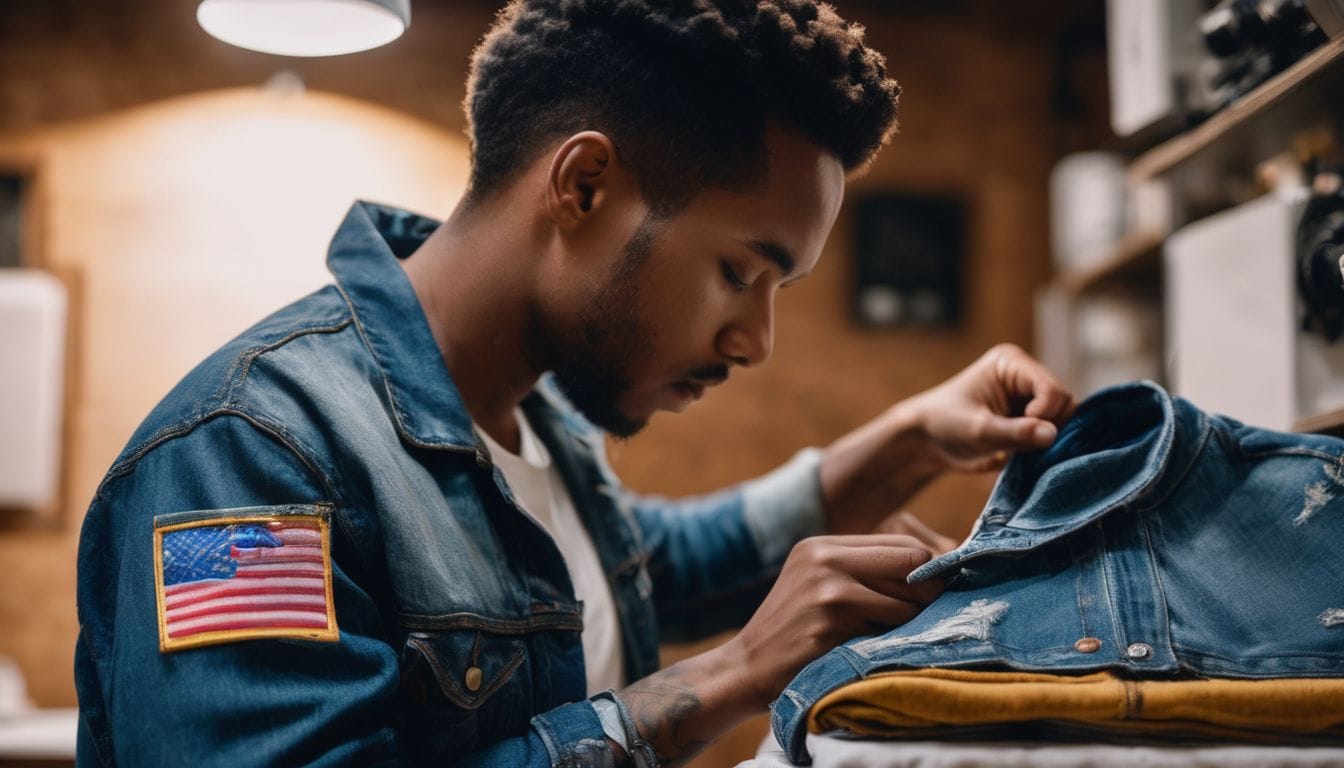
Has your favorite denim jacket lost its touch and needs a revival? Iron-on patches can be the perfect solution to jazz up your old or torn clothing. In this blog, we will provide you with a list of easy-to-follow iron-on patch instructions.
We promise, by the end of this post, you’ll transform into the ultimate DIY fashion designer! Dive right in, and let’s get that jacket looking brand new again.
What You’ll Need for Ironing on a Patch
Ready to transform your gear with iron-on patches? Let’s gather the essentials. You’ll need:
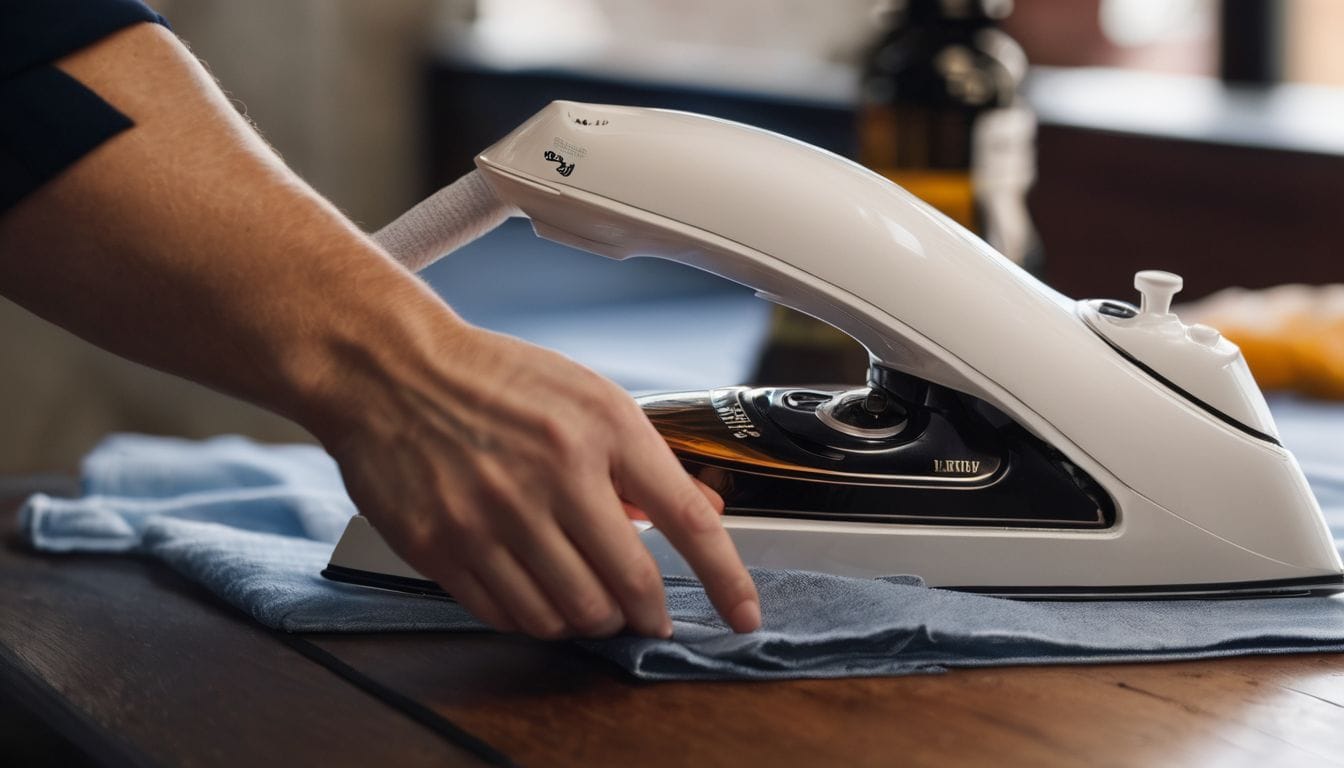
- Iron: Any model will do.Any model will do.Any hot iron , can melt the adhesive of the patch, though clothes irons are typically the most convenient to use.
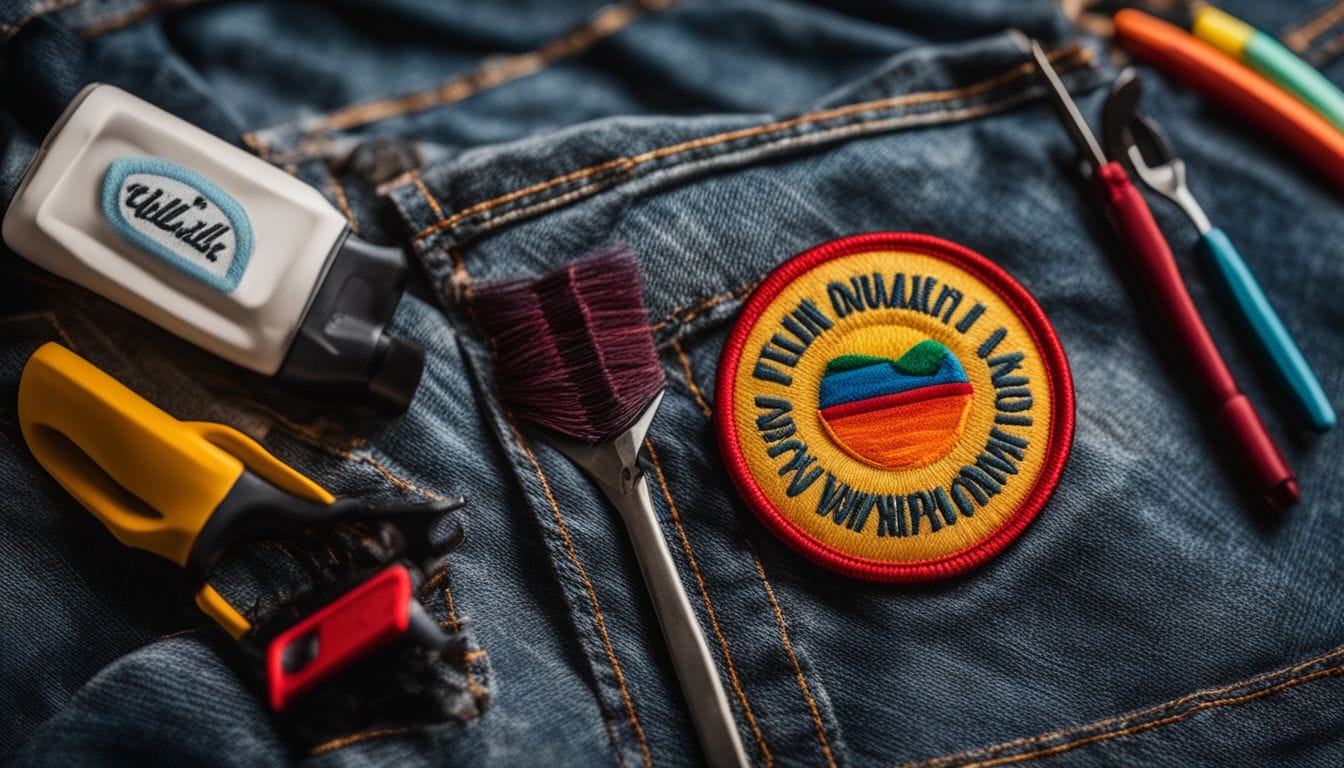
- Iron Patch: Choose from the wide variety of patterns and designs provided by Accessories-Wholesaler.
- The Garment: Ensure that it’s made of sturdy fabrics like cotton, denim, or canvas that can withstand heat. Avoid fabrics such as fleece blankets, velvet, or embroidered fabric.
- Parchment Paper or Thin Cloth: This item works perfectly to protect your patch and clothing during ironing.
- Tape Measure: For precise positioning of the patch on the garment.
- Ironing Board: To provide a flat surface for your ironing process.
6 Step-by-Step Iron-On Patch Instructions
Step 1: Check if your clothing or accessory can be ironed

To know if your clothing or accessory is suitable for iron-on patches, you have to discern its material type. Some fabrics, like cotton, velour, and wool, are perfect candidates due to their sturdy nature and high heat tolerance.
Ironing patches onto these textures should go without a hitch when following the correct procedures.
However, not every fabric can bear the heat of an iron. Waterproof rainwear, rayon, nylon, velvet, and polyester fiber blends require less heat or alternative methods entirely. Fabrics like minky, leather, and vinyl, along with any others displaying elastic tendencies, might sustain harm during the iron-on process due to their delicate construction and heat sensitivity.
Always observe the care tag for information on suitable temperatures prior to initiating patch bonding via ironing.
Step 2: Set the iron to the proper settings
Ensuring proper iron settings is crucial to the iron-on patch instructions. Start by preheating your iron to 350 degrees Fahrenheit, a temperature typically suitable for many fabric types.
However, be mindful that sensitive fabrics such as polyester fiber blends may need lower heat levels. On the other hand, sturdier materials like denim and cotton can accommodate higher temperatures without damage.
Always check your garment’s care tag before making any adjustments. It serves as a helpful guide in determining how much heat your clothing material can tolerate. Remember, this step cannot be overlooked, as it paves the way to an efficient and effective iron-on patch process. It helps promote durable style and personal aesthetics. In the meantime, it protects your expensive clothing from unintentional damage from exposure to excessive heat.
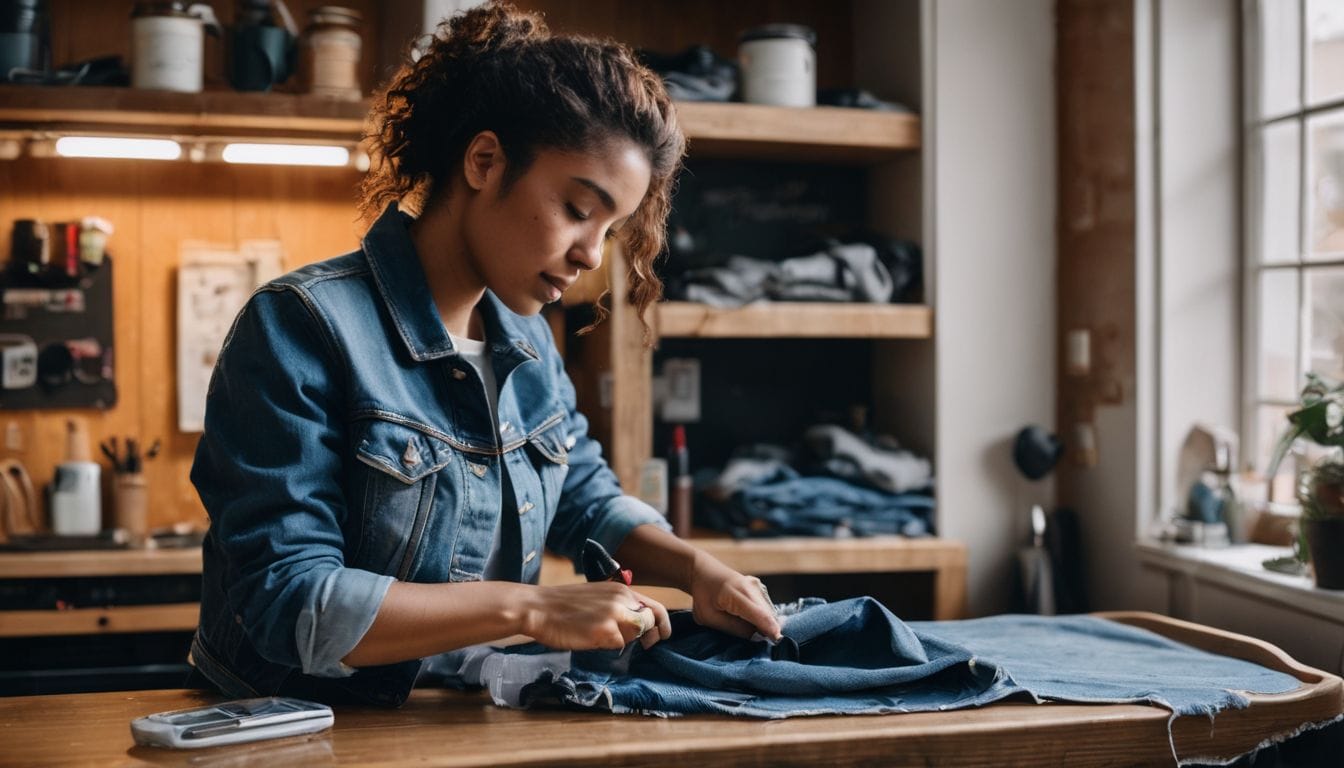
Step 3: Iron the area before placing the custom patch
Clear the ironing board and lay out your garment. Switch on the iron, carefully adjusting it to the heat setting that works best for the specific fabric you’re dealing with. Let’s kick steam mode to the curb. We don’t need it here.
Start by smoothing out any wrinkles on your chosen spot; this is where our patch will soon call home! Iron this area well before welcoming your custom patch onto it—a good 10–20 seconds should do.
This nifty trick gets you all warmed up and ready for an adhesive activation party! We want the bond between patch and garment to be as tight as possible, so don’t shy away from applying a bit of elbow grease to those slow circular motions.
Step 4: Place a towel over the garment and press the iron
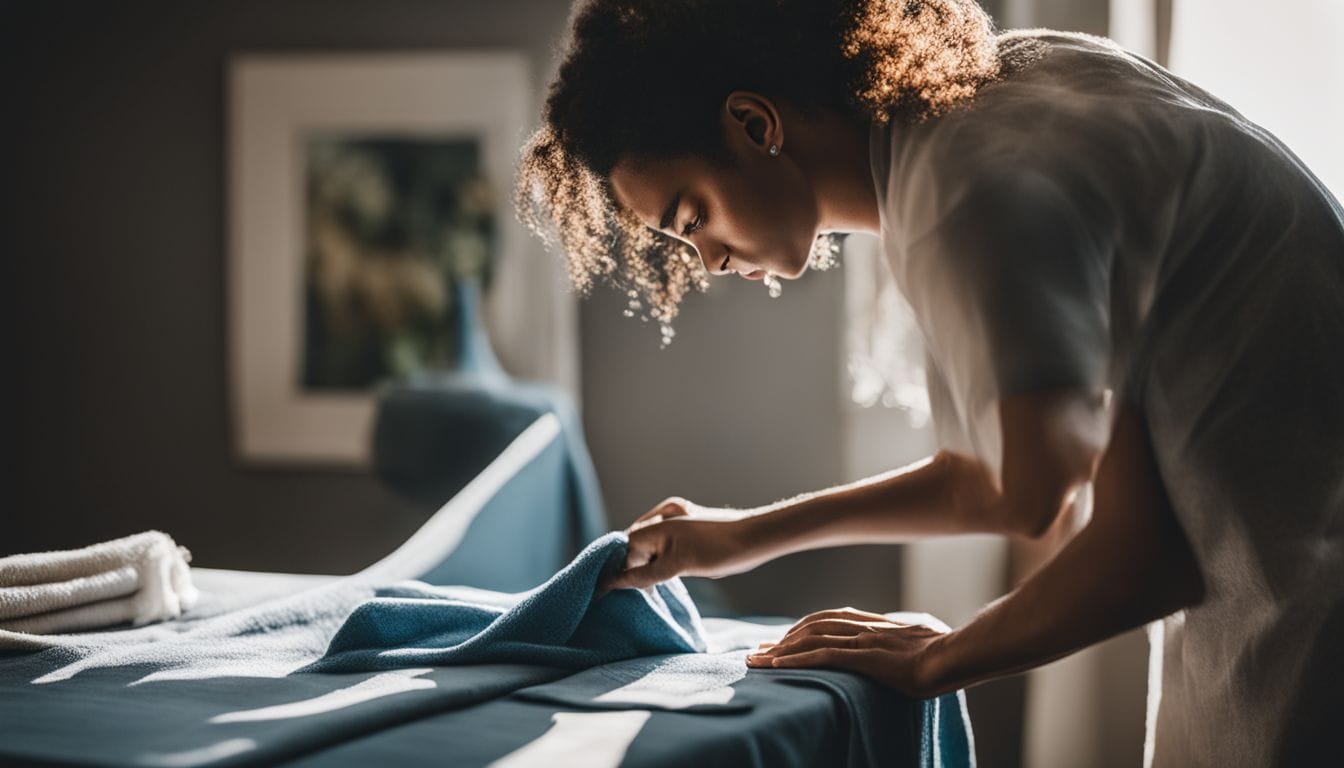
To protect your fabric and the patch from heat damage, place a towel over the garment before pressing the iron. This ensures that there is a barrier between the hot iron and your clothing. It helps prevent direct contact and potential burning.
By placing a towel over the garment, you can securely attach the patch to your clothing. You don’t need to worry about any adhesive residue sticking to the iron. It’s an essential step in iron-on patch instructions. And it helps you customize your garments with ease and precision.
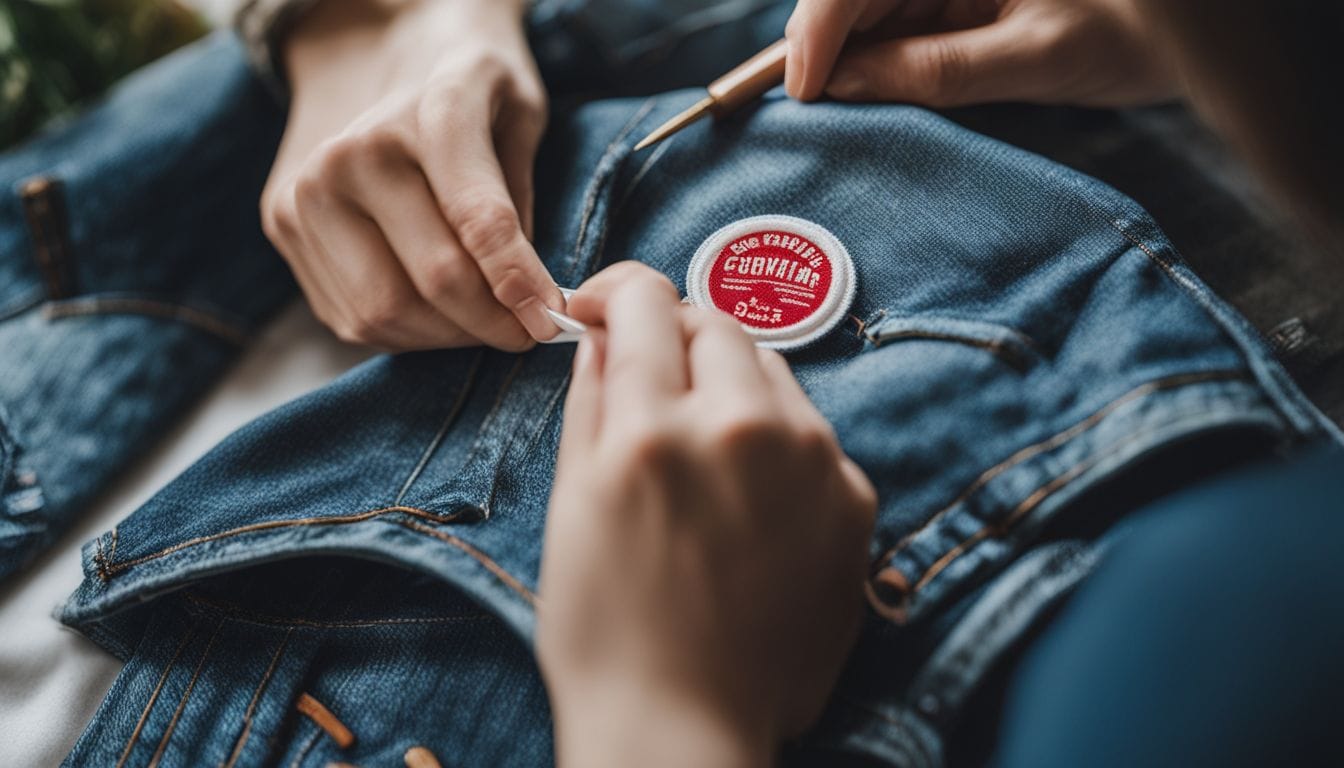
Step 5: Check to see that the patch is applied correctly
To ensure that the patch is applied correctly, take a moment to inspect it after ironing. Check for any edges or corners that may be peeling or not fully adhering to the fabric. Give it a gentle tug to make sure it’s secure.
If there are any loose areas, simply re-iron them using firm pressure for another 15 – 30 seconds. Afterward, turn your garment inside out and let it cool completely before wearing or washing.
This will help the adhesive bond properly, ensuring your custom patch stays in place without any issues.
Step 6: Let the clothing cool
Allow your clothing to cool completely before handling it. This will ensure that the iron-on patch has properly adhered to the fabric and won’t be at risk of peeling off. After allowing it to cool for a few moments, you will be prepared to confidently rock your new patch!
Enjoy!

Enjoy the stylish and personalized touch that iron-on patches bring to your clothing or accessories! Show off your creativity and unique style with confidence. You have successfully applied a custom patch using our step-by-step iron-on patch instructions.
Now you can rock your one-of-a-kind design, whether it’s on a denim jacket, canvas bag, or even a cozy fleece blanket. Embrace your fashion-forward side and showcase your personality with pride. Enjoy the endless possibilities of iron-on patches.
Additional Tips for Iron-on Patch Instructions
To ensure a successful iron-on patch application, here are some additional tips to keep in mind:
- Choose sturdy fabrics like cotton, cotton blends, velour, denim, or wool for the best results.
- Use the proper iron temperature based on the fabric type, and check the care tag for guidance.
- Take extra caution with delicate construction and avoid applying excessive pressure.
- Before ironing, make sure the fabric is free from lint, debris, or any loose threads that can interfere with patch adherence.
- If you’re worried about potential residue from the adhesive backing, place a thin cloth or parchment paper between the iron and the patch.
- For added security, consider sewing the edges of the patch after it has been ironed on.
- Always center your patch using a tape measure or fabric marker to achieve a neat and professional finish.
Care Instructions for Iron-On Patches
To keep your iron-on patch looking fresh and vibrant, follow these care instructions:
- Wash the garment inside out to protect the patch design.
- Avoid using hot water or heat drying, as this can cause the patch to peel or loosen.
- Use mild detergent and a gentle cycle when washing the garment.
- If necessary, iron the patch again after washing to ensure it is securely attached.
- For extra security, consider sewing the edges of the patch onto the fabric.
Repairing Tips for Iron-On Patches
Iron-on patches can sometimes come loose or get damaged over time. Here are some tips on how to repair them:
- Re-iron the patch: If your patch starts to peel off, you can re-apply it by following the ironing instructions again.
- Sew the patch: For extra security, you can sew around the edges of the patch using a needle and thread. This will ensure that it stays in place even with regular wear and tear.
- Patch any holes or tears: If your garment has small holes or tears near the patch, you can use a fabric marker to color them in, making them less noticeable. You can also cover them up with a small piece of fabric or fusible webbing before applying the patch.
- Use iron-on transfer paper: If the damage to your patch is irreparable, you can create a new one using iron-on transfer paper. Simply print out your design, cut it out, and follow the ironing instructions to apply it to your garment.
Conclusion
Now that you know how to iron on a patch, you can easily add some flair to your clothing and accessories. Whether you’re personalizing a denim jacket or covering up a small hole in your favorite shirt, iron-on patches are a fun and easy way to make your garments unique.
Remember to follow the iron-on patch instructions for proper adhesion and maintenance. Go and get creative with your patch placement!
FAQs
1. Can you iron on patches with a hair straightener?
Yes, you can use a hair straightener to iron on patches! It’s a convenient alternative if you don’t have an iron handy. However, be careful not to damage the fabric with excessive heat.
Make sure to adjust the hair straightener to a suitable temperature and use it with caution. Always test a small area of the garment first before applying the patch to prevent any mishaps.
So go ahead and get creative with your patches using your trusty hair straightener!
2. What fabric is best for iron-on patches?
Cotton is the best fabric for iron-on patches. Its natural fibers provide a smooth and sturdy surface for the patch to adhere to. Cotton blends are also suitable options, as they offer a balance of durability and flexibility.
Fabrics like velvet, denim, and wool can also work well, as they have enough texture for the adhesive to bond effectively. However, it’s important to avoid leather and heat-sensitive synthetics, as these materials may not withstand the high temperatures required for ironing on patches.
Stick with cotton or cotton blends for optimal results!
3. Do we have to care about fabric finishes while applying these iron-on patches?
Absolutely! Care and maintenance are crucial when it comes to different fabric finishes. Because the maximum temperature allowance varies across fabrics. Also, certain materials could be affected by the heat-seal backing of embroidered patches.
4. What kind of clothing items can work well with this method?
This method works great on various personalizable clothing items like work backpacks for women, sweaters, fall jackets, denim jackets, or even Disney Loungefly Bags!
5. Are there alternative methods available if I don’t want to use the iron-on patch instructions?
Yes indeed! If you’re not comfortable using the iron-on patch instructions, then hand sewing might be another way to affix your custom product design to your garments.