
Are you tired of struggling with a broken zipper on your favorite jacket? Don’t worry; replacing a jacket zipper is easier than you think!
In this article, we’ll guide you through the process step by step so you can bring new life to your old jacket in no time. With just a few tools and a little patience, you’ll have a functional zipper that will have you looking stylish and feeling confident once again.
So say goodbye to frustration and hello to a DIY project that will leave you feeling accomplished and ready to take on the day!
Key Takeaways
- Remove the old zipper by cutting through the spiral and tape, separating and trimming the box part, and cleaning the area.
- Prepare the new zipper by selecting a matching one, cutting fabric strips, and ensuring the correct length and type.
- Pin the new zipper in place, ensuring proper alignment and securing firmly with pins, and set a long stitch length.
- Sew the new zipper to the fabric strip using a zipper foot, starting at the reinforced bottom and backstitching for durability.
- Test the zipper by zipping and unzipping multiple times, checking for snagging or misalignment, and making necessary adjustments.
Prepare the Essential Tools
To replace a jacket zipper, you’ll need a few essential tools:
- Replacement Zipper: Make sure to get the correct length and type (metal, plastic, separating, non-separating).
- Seam Ripper: This is for removing the old zipper.
- Thread: Matching color to the jacket fabric.
- Needle: For hand sewing or a sewing machine if available.
- Pins or Clips: To hold the zipper in place while sewing.
- Scissors: These are used for cutting threads and trimming fabric if needed.
- Measuring Tape: To ensure the replacement zipper is the correct length.
- Iron and Ironing Board: To press the fabric and seams.
With these tools, you’ll be well-equipped to tackle the task of replacing your jacket zipper.
How to Replace a Jacket Zipper: A Step-by-Step Tutorial
Now it’s time to get hands-on and replace that old zipper! Follow these five steps carefully to ensure a perfect replacement.
Step 1: Remove the Old Zipper
To remove the old zipper from your jacket, start by laying the jacket flat on a table. Using a sharp seam ripper, carefully unpick the stitches holding the zipper in place. It’s easier to unpick the stitches in the middle, as reinforcement stitches are at the top or bottom.
Take your time to avoid tearing the fabric. Once the stitches are removed, gently pull the zipper out. If there are any remaining threads, use tweezers to clean them up.
Before installing a new zipper, ensure the area is smooth and free of any leftover material. This preparation will help the new zipper fit neatly and function properly.
Step 2: Prepare a New Zipper

To ensure a seamless replacement, select a new zipper that matches your jacket’s original zipper in terms of length, type, and color.
Match the fabric strips to the jacket fabric and cut them slightly longer than the zipper. Carefully cut the zipper tape to the desired length, leaving a little extra for securing the ends. Aligning the fabric strips with the zipper tape is crucial when cutting the fabric strips. You’ll use these strips to attach the new zipper to the jacket.
Now you’re ready to move on to the next step, where you’ll pin the new zipper in place before sewing.
Step 3: Pin the New Zipper in Place
Pin the new zipper to the fabric strip along the edge, ensuring proper alignment with the marked spot, and secure it firmly with pins to prevent shifting during sewing.
Double-check that the box part of the zipper aligns correctly with the marked spot on the fabric strip.
With the zipper pinned in place, you’re ready to move on to the next step.
Step 4: Sew the New Zipper
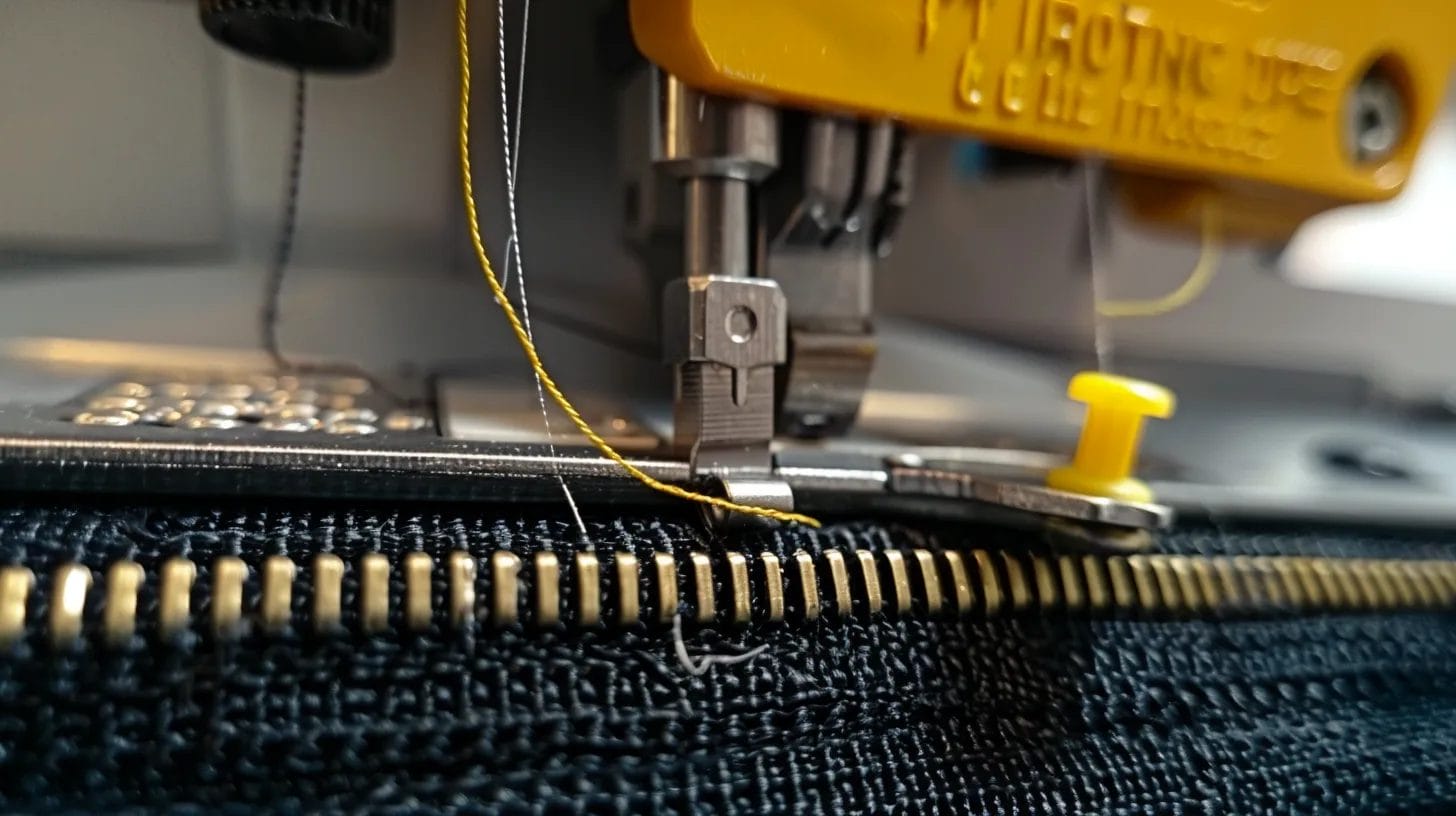
With your new zipper pinned securely in place, start sewing it to the fabric strip using a zipper foot on your sewing machine, set to a long stitch length for a strong and durable seam.
Begin sewing at the reinforced bottom of the zipper, backstitching securely to ensure durability. Sew the new zipper along the teeth in a straight line, stopping 6-8 inches from the top to open the zipper.
After opening, continue sewing, backstitching at the top for reinforcement. Make sure to sew the new zipper in a straight line, following the zipper teeth, to ensure a professional finish.
Once complete, your new zipper should be securely and neatly sewn to the fabric strips.
Step 5: Test the Zipper
Testing the zipper’s functionality is crucial to ensuring it operates smoothly and efficiently. Therefore, zip and unzip it multiple times to identify any potential issues.
As you test the zipper, check for any snagging, misalignment, or resistance while operating it. Ensure the zipper moves smoothly along the teeth without any obstructions.
Try it both when the jacket is empty and when it’s worn to get a realistic assessment. If you notice any problems, make the necessary adjustments or corrections to the zipper installation.
By testing the zipper thoroughly, you’ll catch any potential issues early on and avoid future frustrations.
Conclusion
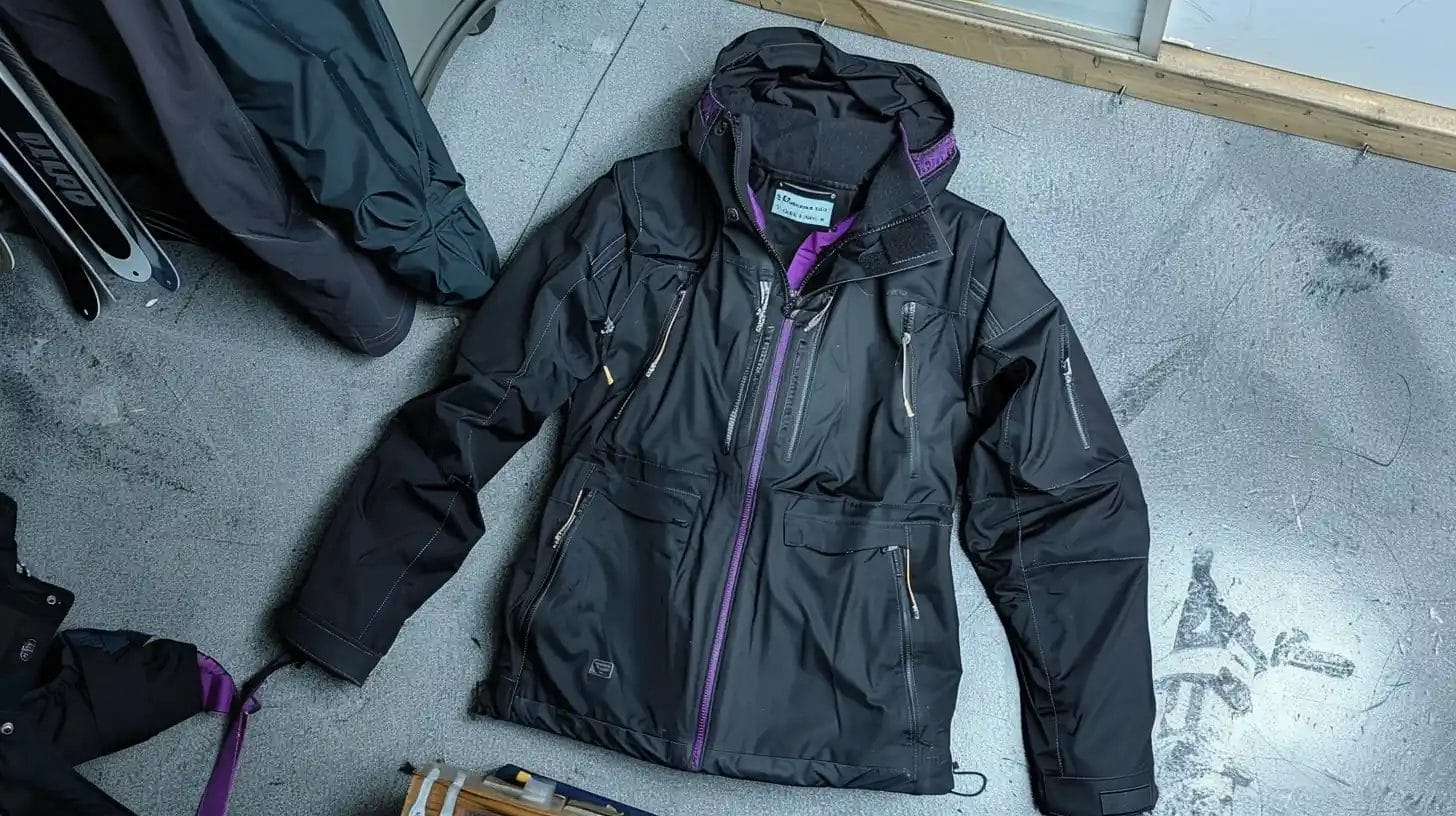
You’ve successfully replaced your jacket zipper! Remove any remaining pins, and your jacket is ready to wear.
Double-check the zipper’s smooth operation by zipping and unzipping it a few more times. If needed, make minor adjustments to ensure a seamless glide.
With your new zipper in place, your jacket is now as good as new.
Explore more crafting projects at the Accessories-Wholesaler blog! Find your favorite iron-on patches at Accessories-Wholesaler!
FAQs
How Hard Is It to Replace a Zipper?
Honestly, it depends on the fabric type, lining, and zipper length, but with some patience and sewing skills, you can tackle it with ease.
How Do I Fix a Zipper Pull That Fell off a Jacket?
You can use pliers to reattach the pull tab to the slider, ensure it’s securely in place, and test the zipper for smooth functionality.
Is It Worth Replacing a Zipper?
Absolutely. It’s a cost-effective way to give your jacket a new lease on life, improving its functionality and aesthetics while reducing waste and saving you money in the long run.


