
Just noticed a tear in your cozy down jacket? Bummer! Down jackets are infamous for catching on zippers and branches, leading to pesky little leaks. But fear not; this blog post will guide you through how to fix a tear in a down jacket that’ll make your puffer pop again.
Keep reading—we’ve got the fix!
Key Takeaways for Fixing a Tear in a Down Jacket
Alright, you’ve got this!
First, gently push the downy feathers back into the jacket.
Clean the area around the tear carefully and trim any loose threads or fibers.
Remember to select appropriate self-adhesive patches. They should fit the color and size.
Before applying patches, spread the torn area flat.
Now, you can place the patch over the tear.
Don’t forget to check the adhesion.
After all the steps, wear it proud—you’re a repair wizard now! Your jacket won’t just keep you warm. It’ll tell a story of triumph over rips!
Preparations Before You Start
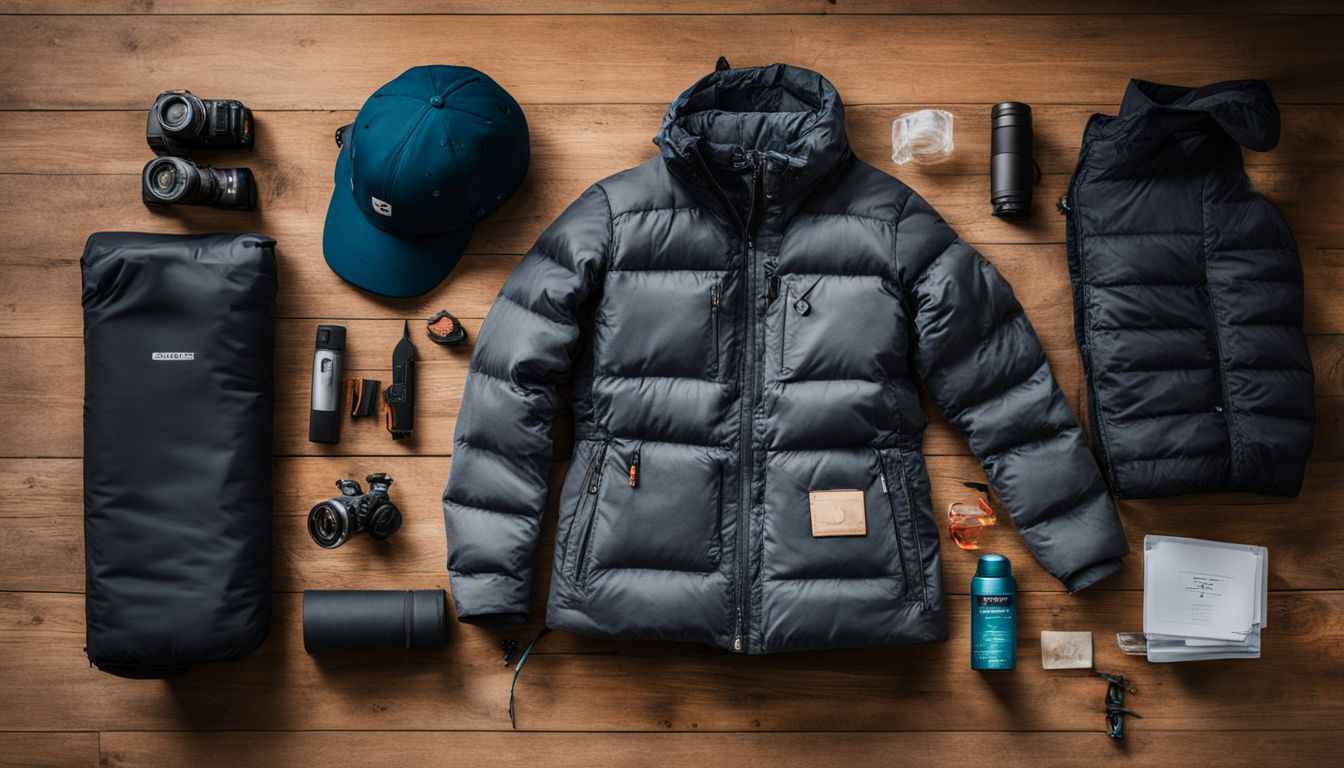
Before you start, you need to gather the necessary tools and prepare suitable patches.

Gather the necessary tools
Fixing a tear in your down jacket is like saving a feathered friend. You need the right tools to do the job well. Here’s what you’ll need to patch that puffy coat back to perfection:
-
Self-adhesive gear patch: Pick a patch that sticks on its own. These are often made for nylon repair and work well on your jacket.
-
Scissors: You’ll use these to trim around the tear neatly. Sharp ones will make this easier.
-
Alcohol wipes: Clean the area with these before you start. They help get rid of dirt and body oils.
-
Tweezers: Handy for picking up stray feathers or smoothing out tiny bits of down.
-
Permanent marker (optional): Use one that matches your jacket’s color to outline where you’ll apply the patch if needed.
Patches suitable for repair
You have a few choices for patching up your down jacket. Self-adhesive patches work well because they are easy to stick on and come in different colors and shapes. Look for ones that match your jacket’s color so it looks good after you fix it.
Fabric patches can also be used, but they require sewing, which takes more skill and time.
Some brands offer their own patches made just for their jackets. These may fit better with the style of your jacket and will keep it looking nice. Make sure the patch is not too stiff. Otherwise, it might make the jacket feel weird when you move.
Choose a patch that is flexible so your repaired jacket still feels comfortable to wear.
How to Fix a Tear in a Down Jacket with Patches
Poke those downy feathers back in and clean and trim the area around the rip before selecting the most appropriate self-adhesive patches. Then, peel off the backing from the repair patch. Spread the torn area flat. Place the patch over the tear. Add final touches and care tips, and show off your newly repaired jacket!
Step 1: Poke downy feathers back in
Gently push the downy feathers back into the jacket. Use your fingers to carefully tuck them in, making sure they’re evenly distributed. This step helps restore the warmth and insulation of your down jacket, ensuring it performs at its best.
Afterward, be sure to give it a light fluff to ensure that everything appears smooth and puffy.
Step 2: Clean and trim the area around the tear
First, use a gentle detergent and a damp cloth to clean the area around the tear. This will remove any dirt or oils that could affect the patch’s adhesion. Then, carefully trim any loose threads or fibers around the tear using sharp scissors. Ensure that the edges are smooth and even to create a good surface for applying the patch. After cleaning and trimming, you’ll be ready to proceed with repairing the tear in your down jacket.
Step 3: Select appropriate self-adhesive patches
When choosing self-adhesive patches for your down jacket, consider the size and location of the tear. Opt for a patch that is slightly larger than the rip to ensure full coverage. Look for durable and waterproof options to withstand various outdoor conditions, ensuring long-term functionality.
Additionally, select a patch that matches the color and material of your jacket for an aesthetically pleasing repair. Ensure that the adhesive is strong enough to securely bond with the jacket’s fabric without peeling off easily.
Gorilla tape or specialized down jacket repair patches are effective choices for providing a smooth, baffle-like finish while maintaining the functionality of your garment.
Step 4: Spread the tear area flat
Gently spread the torn area flat. Use your fingers to make sure that the tear is laid out as smoothly as possible. Smooth it slowly and carefully so that there are no creases or bubbles on the surface.
Once you have spread the torn area flat, ensure that the surface is clean and dry before proceeding to place the patch over the tear. This will help ensure a secure and neat fix for your down jacket.
Step 5: Place the patch
After spreading the tear area flat, you are ready to place the patch over the tear. Here’s how to do it:
-
Peel off the backing from the repair patch carefully to avoid any folds or curls in the adhesive.
-
Align the patch directly over the tear. Ensure it covers the damaged area completely.
-
Press down firmly on the patch. Smooth out any air bubbles or wrinkles to ensure a secure bond between the patch and the jacket.
-
Work your way around the edges of the patch. Press firmly to ensure all parts of it are securely attached to the jacket.
-
Give it a final once-over to ensure everything is smooth and adhered to properly before moving on to any additional steps.
Step 6: Final check and care tips
Now that you have successfully placed the patch over the tear in your down jacket, it’s time to ensure that it stays put and looks good for a long time. Gently press along the edges of the patch to secure it firmly to the fabric.
Smooth out any wrinkles or bubbles to ensure a seamless finish. Once done, take some time to admire your handy work before moving on to caring for your newly repaired jacket.
To keep your down jacket in top condition, avoid machine washing if possible. Instead, opt for hand washing with a gentle detergent and air-dry thoroughly. Brush off any dirt or debris before storing it away. Consider using a breathable garment bag for added protection during storage.
Repair a Down Jacket: Sewing Techniques for Larger Tears or Rips
Sewing techniques:
-
Use a sturdy needle and a strong thread.But the needles and threads required for down jackets are special.
-
Use finer circular needles for better results. Our needles at home create thick holes, leading to leaks in the stitching. If there are no thin needles available, it’s best to have a skilled craftsman select the same material for repairs.
-
Begin by knotting the end of the thread.
-
Start sewing from inside the jacket, pushing the needle through to the outside of the tear.
-
Make small, tight stitches along one side of the tear.
-
Once you reach the end, knot the thread securely inside the jacket.
Common Issues with Fixing a Tear in a Down Jacket
Fixing a tear in a down jacket can be tricky, but some common issues may arise during the repair process. Here are some things to look out for:
-
Feathers poking out despite the patch: Gently poke downy feathers back in and smooth out the jacket to ensure a neat appearance.
-
Difficulty in finding the right patch: Look for versatile self-adhesive patches that work well on down jackets to ensure a secure repair.
-
The torn area not spreading flat: Carefully spread the torn area flat before placing the patch to avoid any ripples or bumps.
-
Adhesive not holding properly: Ensure that the area around the rip is clean and free from any debris before applying the patch for better adhesion.
-
Uncertain about sewing techniques for larger tears: Consider seeking a specialist repair service or following a step-by-step guide for sewing larger tears on your down jacket.
-
Concerns about aesthetics after repair: Once the tear is fixed, gently clean and trim the area to maintain the whole appearance of your jacket.
Conclusion
In conclusion, mending a tear in your down jacket is an easy and rewarding task. With just a few simple tools and the right patches, you can make your jacket as good as new. Whether it’s a small tear or a larger rip, following these steps will have you back outside enjoying your favorite activities in no time.
So go ahead and show off your newly repaired jacket with pride!
FAQs
1. What do I need to fix a tear in my down jacket?
You’ll need a patch that works well with the material of your down jacket, and sometimes a special type of sticker made for fabric repair.
2. How do I put on the patch to repair my down jacket?
First, carefully remove any loose feathers from where the tear is. Then, place the sticker or patch over it and press down firmly.
3. Can using a sticker really fix my torn-down jacket?
Yes! A good-quality repair sticker can stick to your jacket and cover up holes or tears quite well.
4. Will fixing my own down jacket save me money?
Definitely! Patching a down jacket can be cheaper than buying a new one or paying someone else to fix it for you.