As you prepare for a new semester or school year, you’re probably thinking about how to make your backpack stand out from the crowd. You’re not alone! Many students want a backpack that reflects their unique personality and style.
The good news is that you don’t have to settle for a plain, ordinary backpack. With a little creativity and simple materials, you can spice up a boring backpack and transform it into a unique masterpiece that showcases your individuality. But where do you start? That’s what we’re about to explore.
1. Fabric Paint and Markers
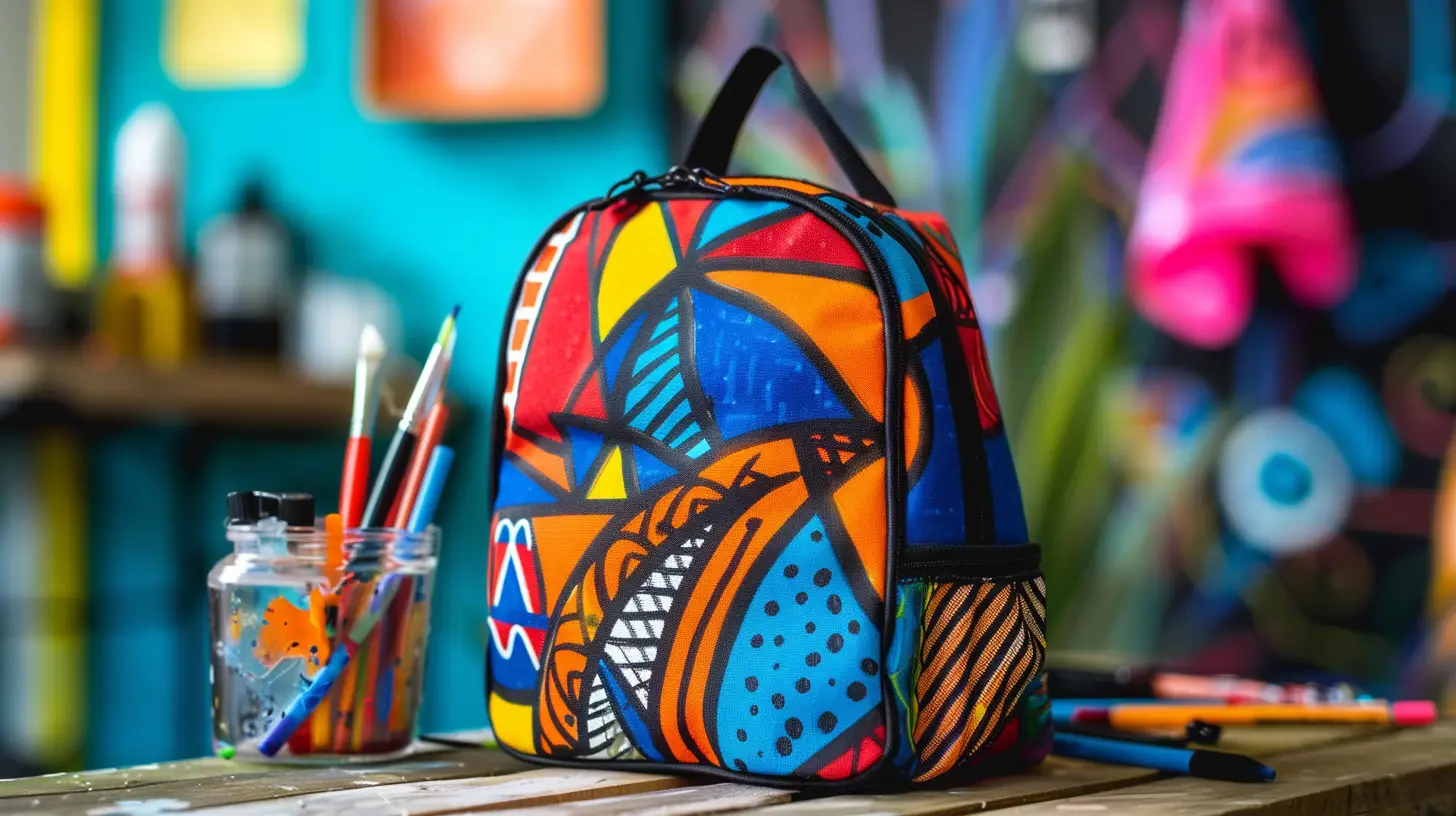
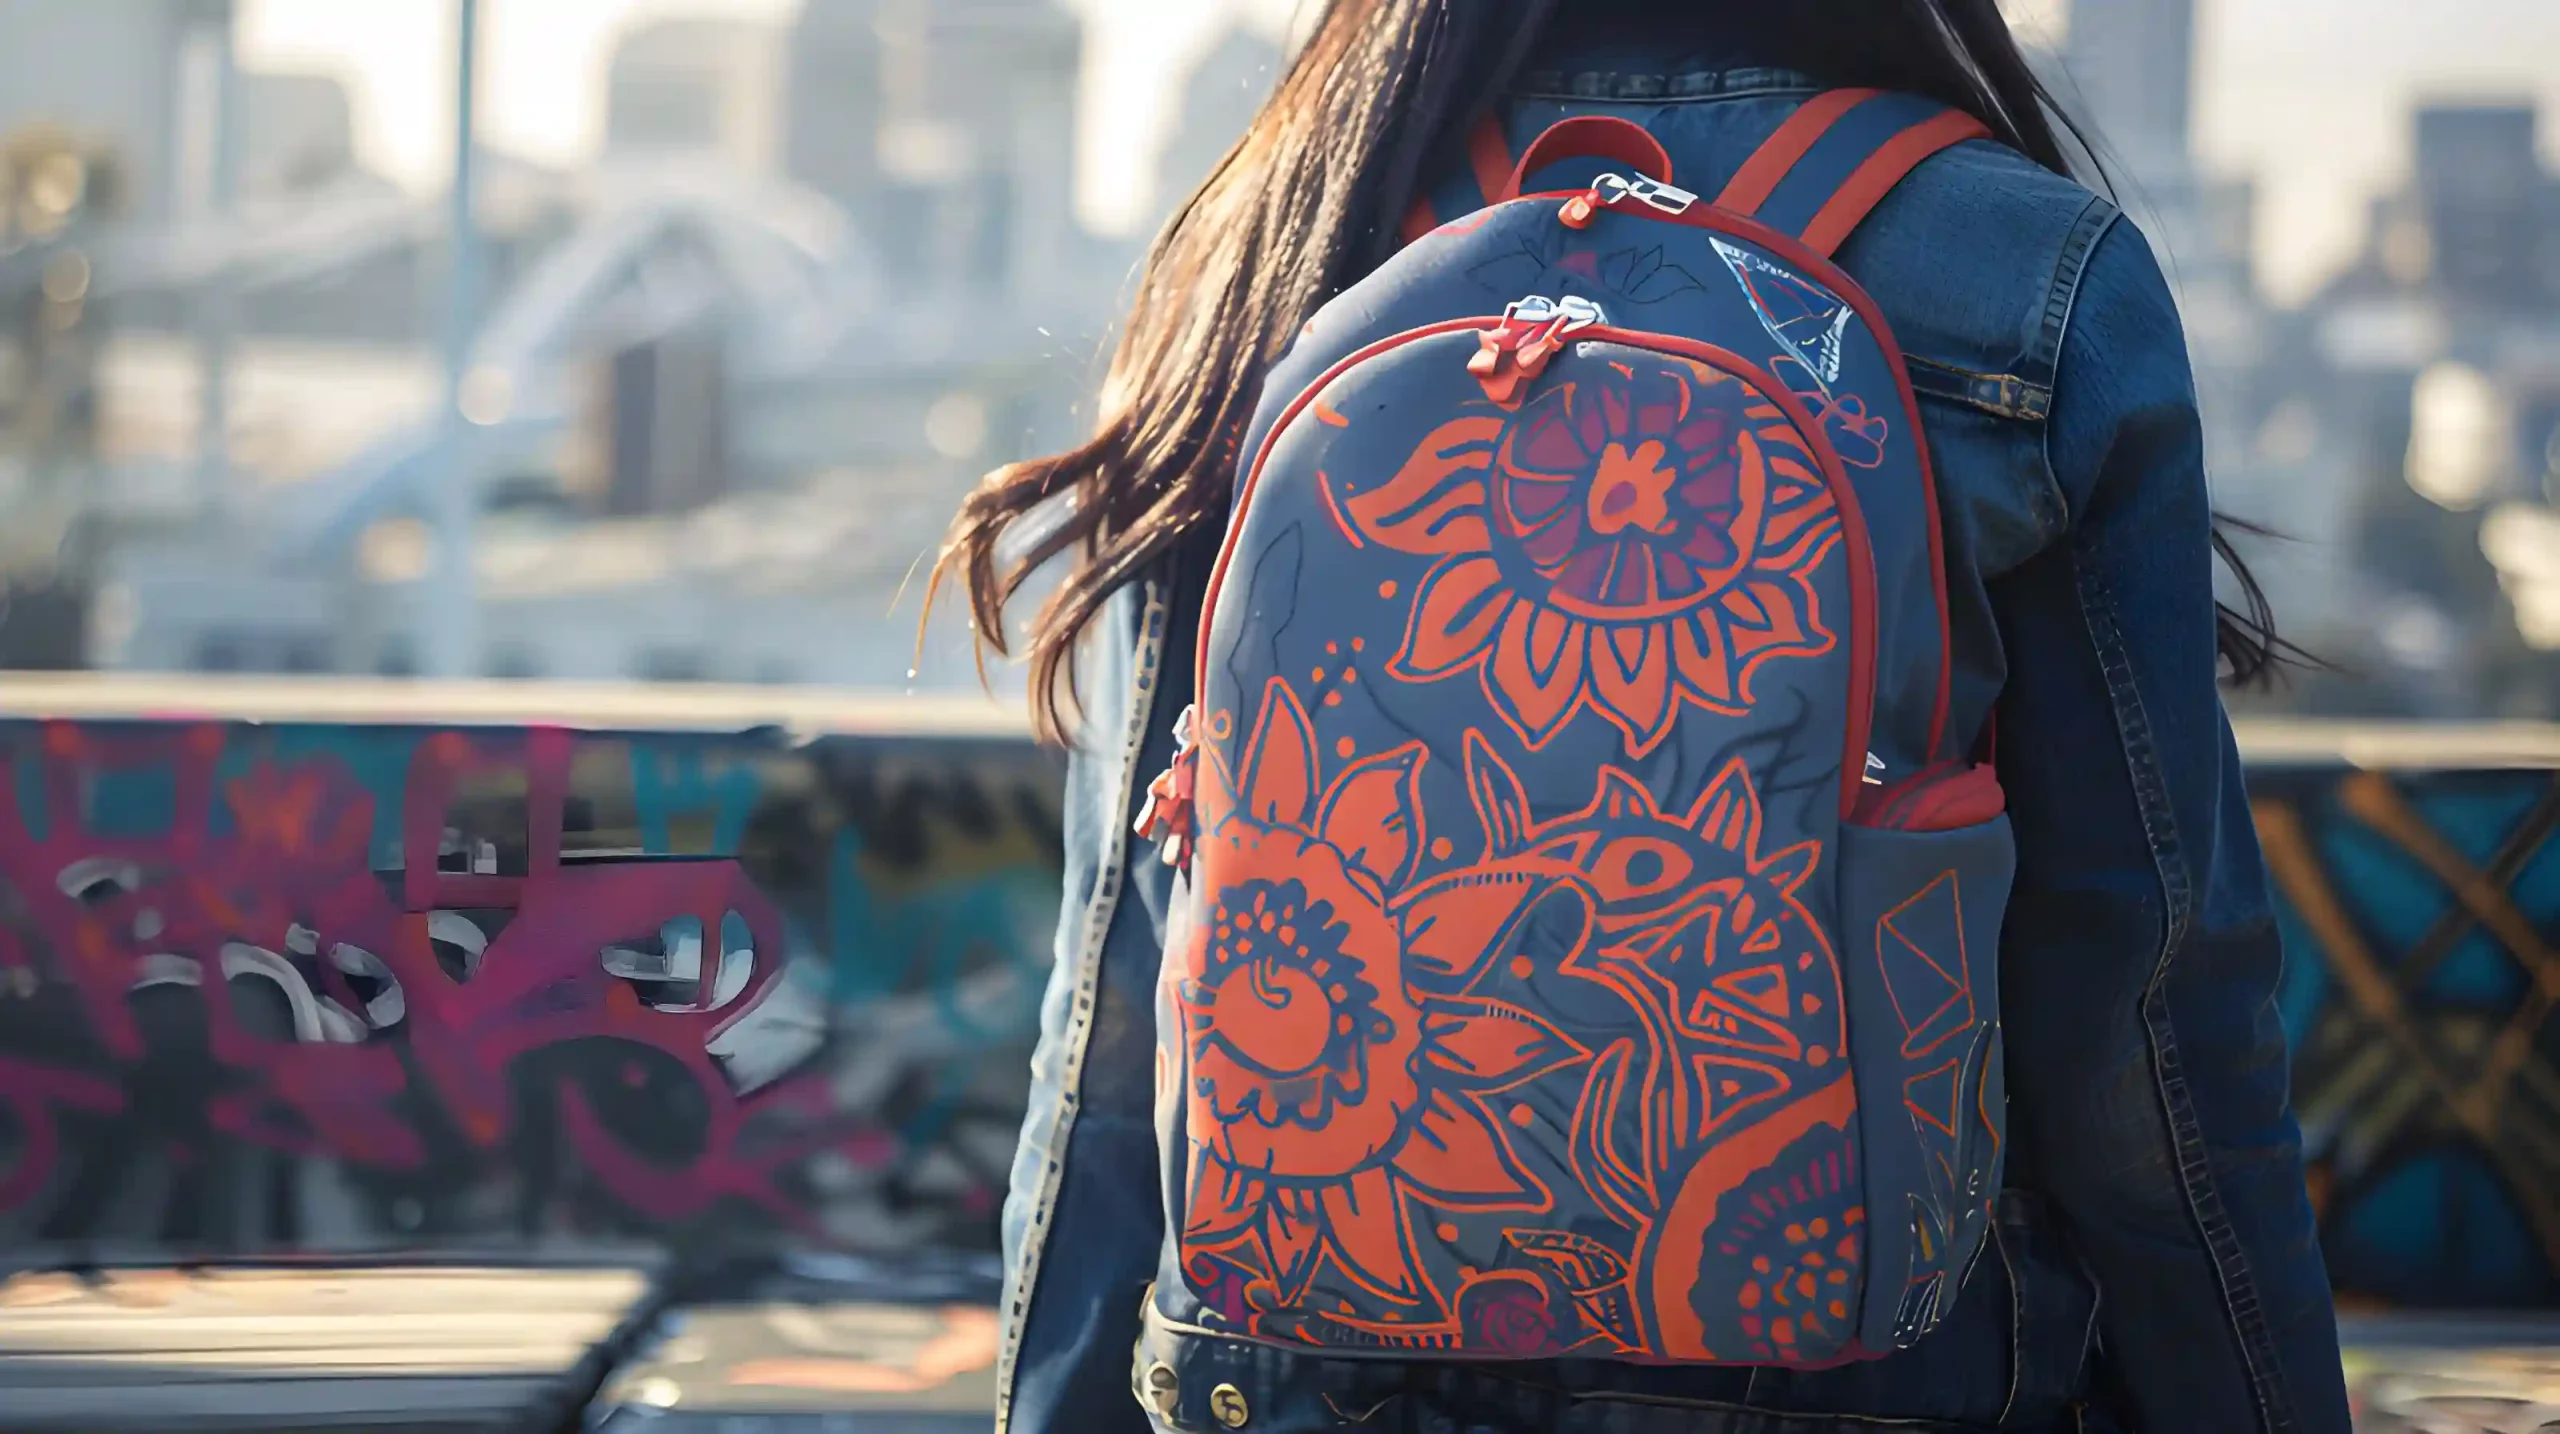
Transform your backpack into a unique masterpiece that reflects your personality with fabric paint or fabric markers.
Use fabric markers for detailed artwork, taking advantage of their precision and control. Alternatively, apply fabric paint with brushes or stencils to create patterns, images, or text on your backpack.
With a wide range of colors available, you can choose the perfect shades to match your style.
Tips: When using spray paint wear gloves and goggles. Last thing you want is spray paint in your eyes. Use your time carefully and you might want to sketch it out first. Make sure it suits you, because after everything dries there’s no going back.
Things You’ll Need:
- Fabric Paints
- Fabric Markers and Stickers
- Brushes and Stencils
2. Iron on Patches
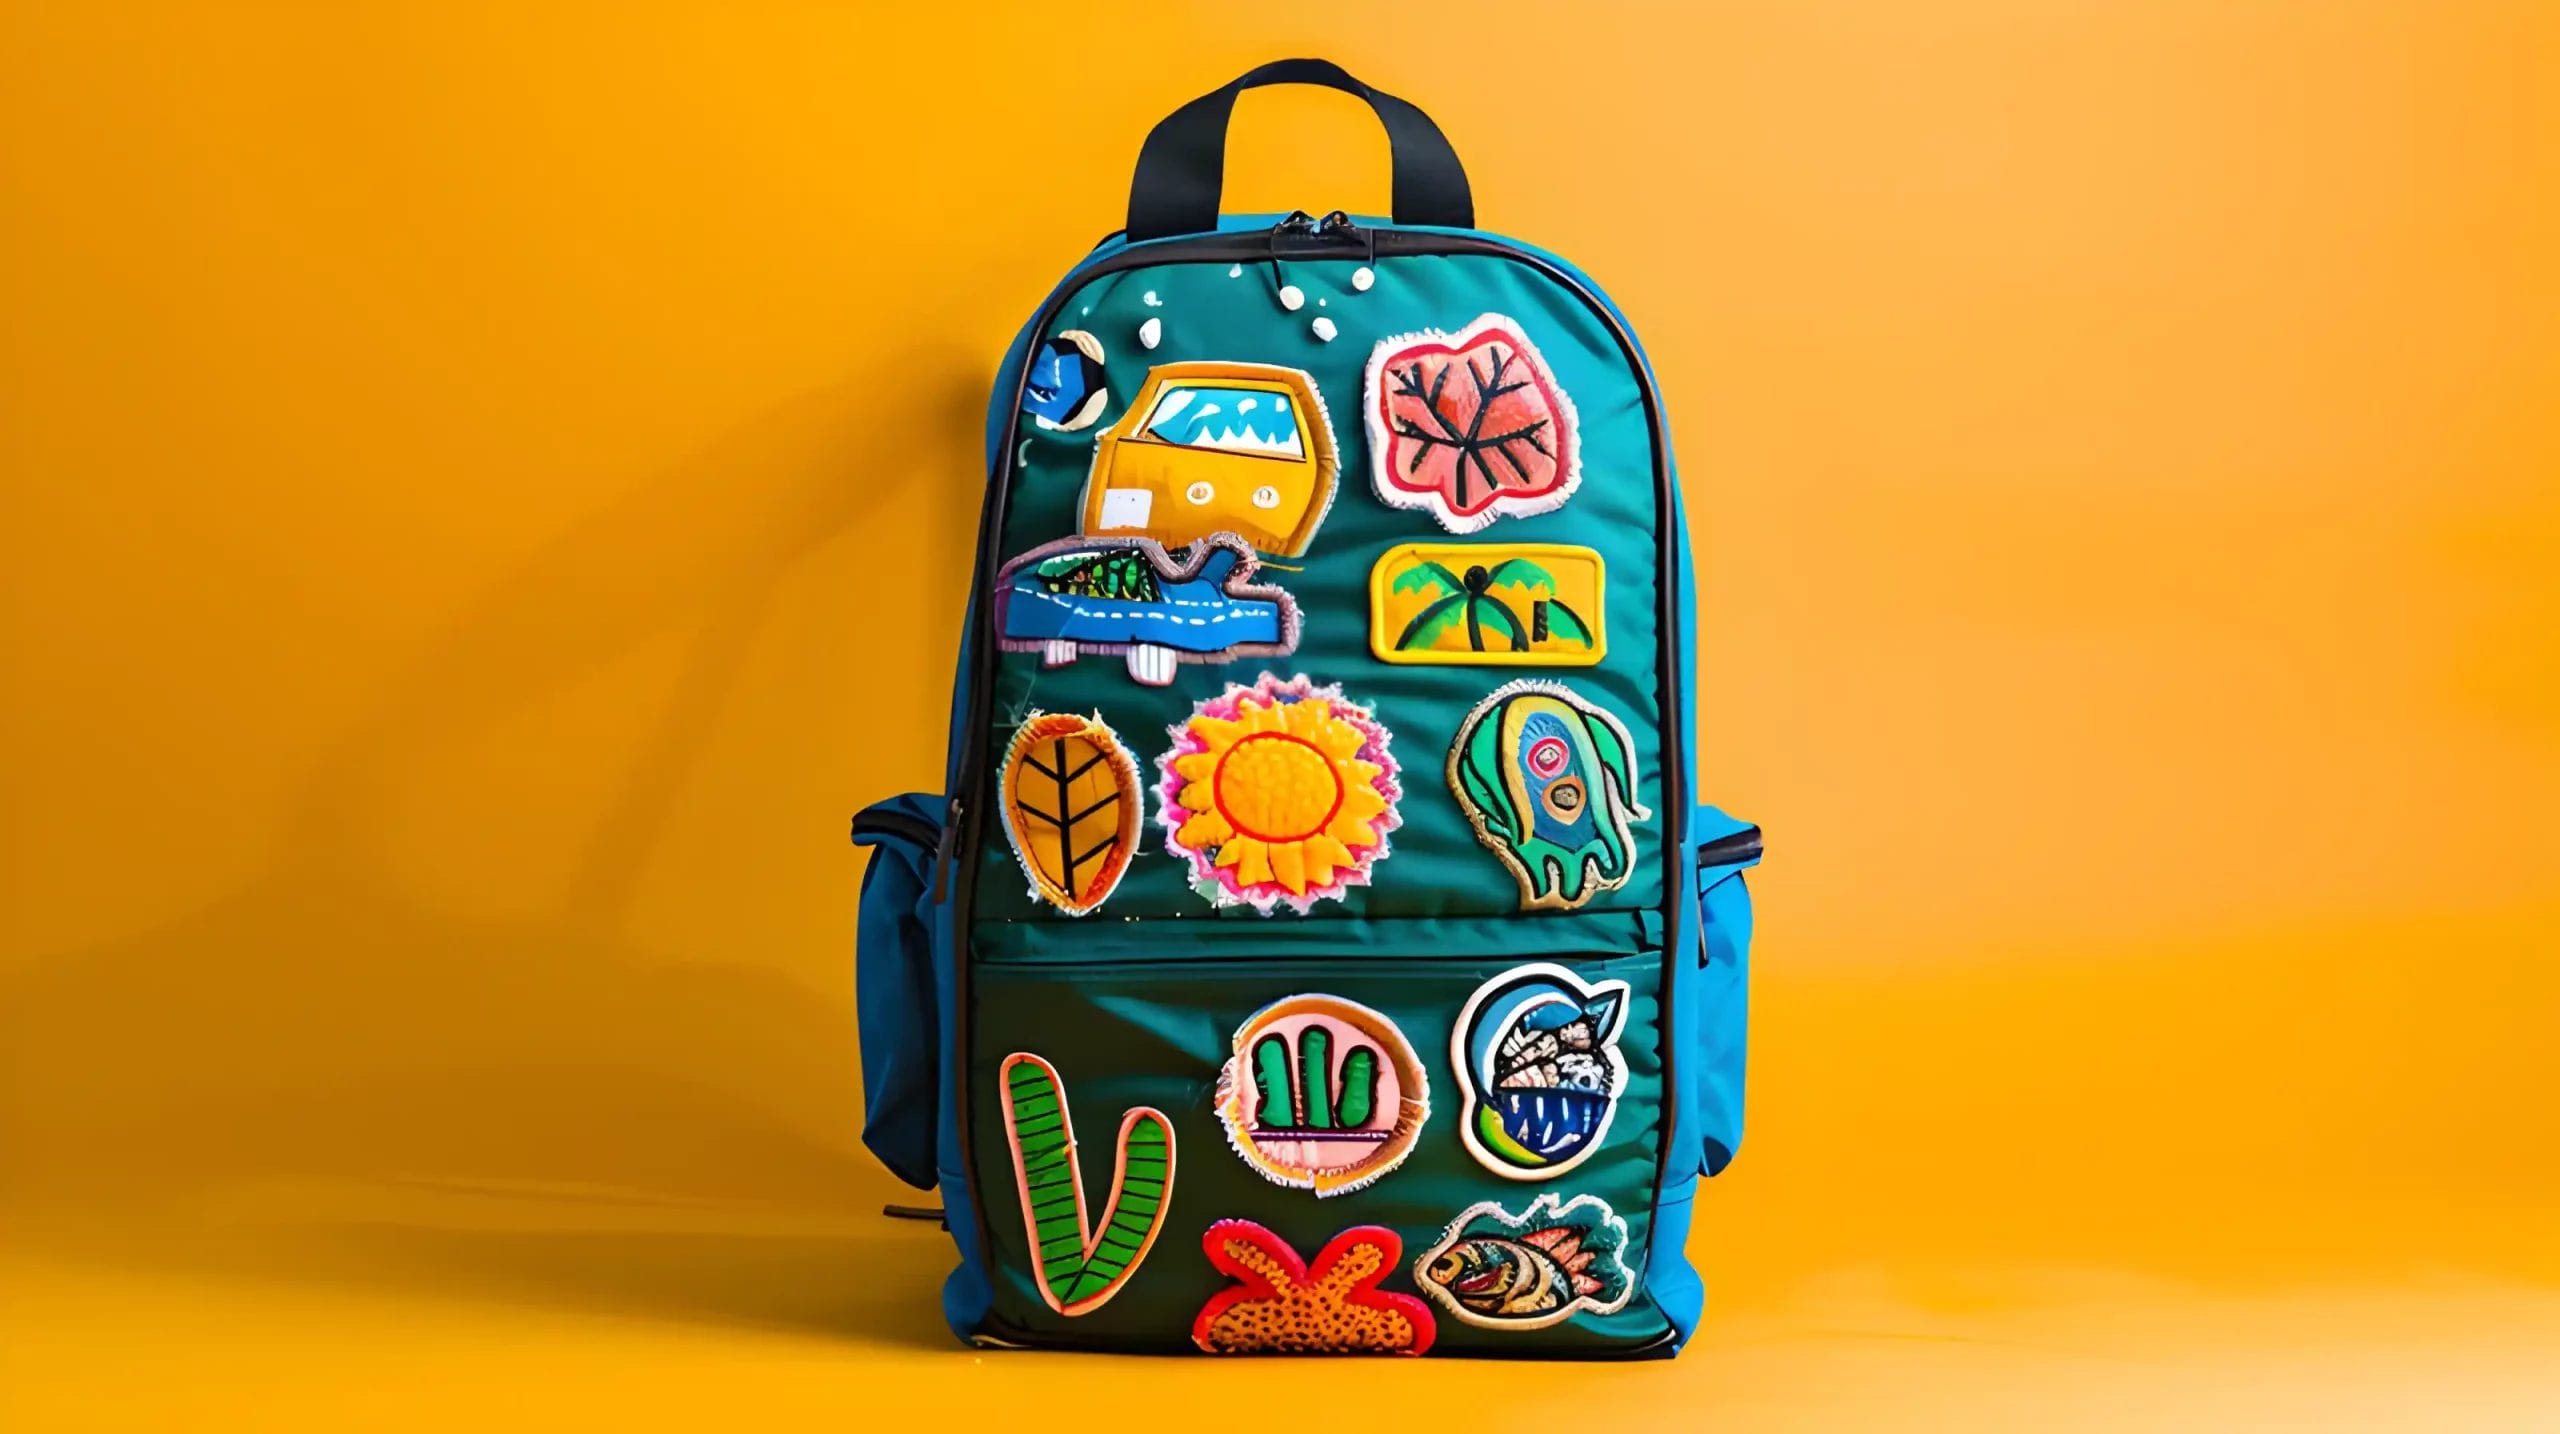
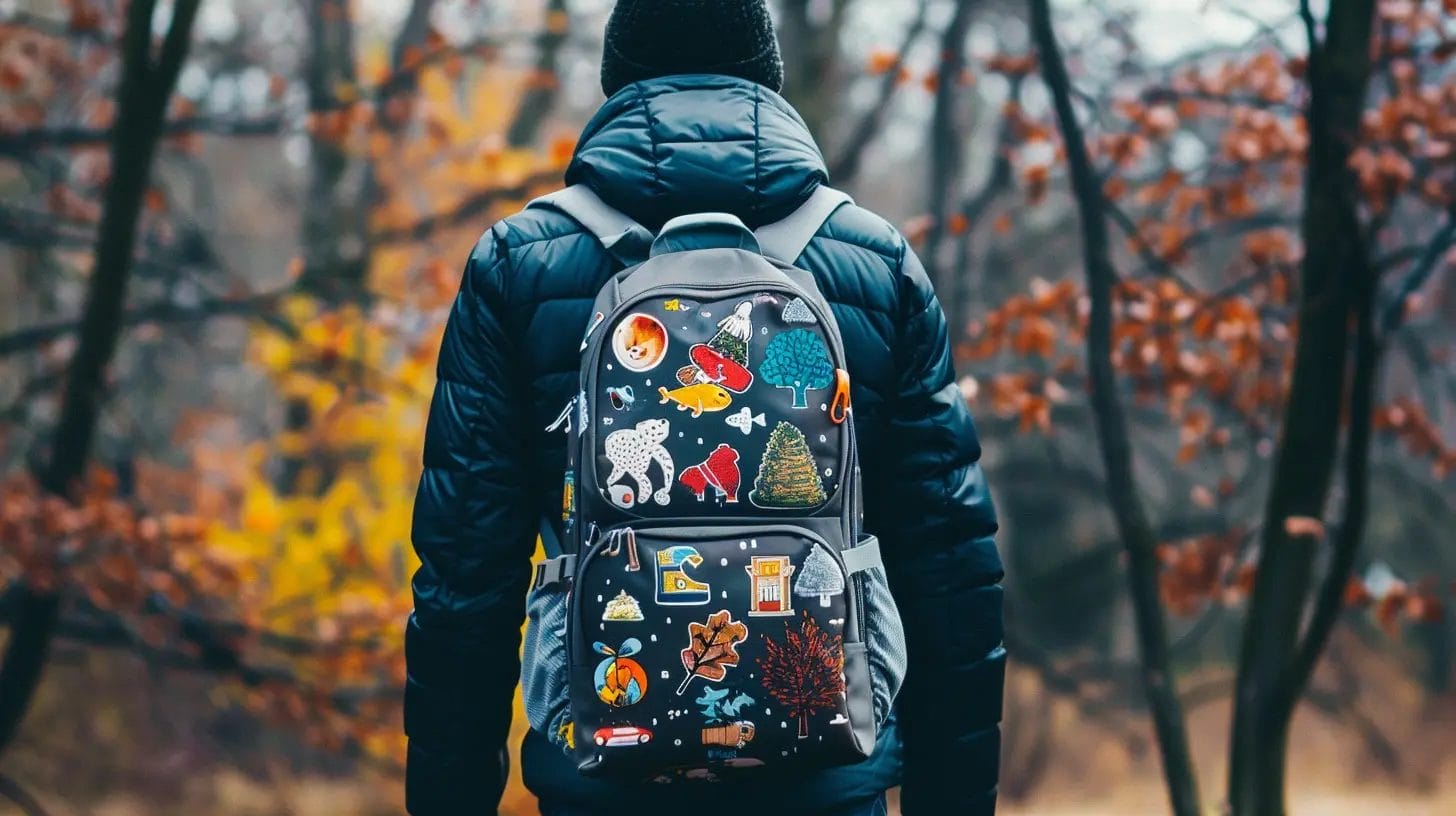
You can easily add a personal touch to your backpack with iron-on patches. They offer a vast array of designs to match your unique style and personality.
Made of embroidered fabric with a heat-activated adhesive backing, they’re easy to apply using a household iron or heat press machine. With designs ranging from cartoon characters to inspirational quotes, you’re sure to find the perfect iron-on patch to reflect your individuality.
Tips: For sew on patches, use a needle and thread to stitch the patch to the backpack’s fabric. For iron on patches, place the patch on the desired location, cover it with a cloth, and press a hot iron over it for 20-30 seconds.
3. Stickers and Decals
Customizing your backpack with stickers and decals is an easy way to add a personal touch that reflects your style and personality.
Choose stickers from a variety of styles to make your DIY backpack unique. The best part is that you can remove and reposition them as you like, allowing you to personalize your backpack to your heart’s content.
Decals are especially durable and can withstand wear and tear, making them perfect for long-term use.
Mixing and matching different stickers and decals allows you to create a design that showcases your individuality.
Tips: Stickers may leave residue or cause damage when removed, so be cautious when taking them off.
Things You’ll Need:
- Stickers and Decals
- Adhesive Remover
4. Embroidery
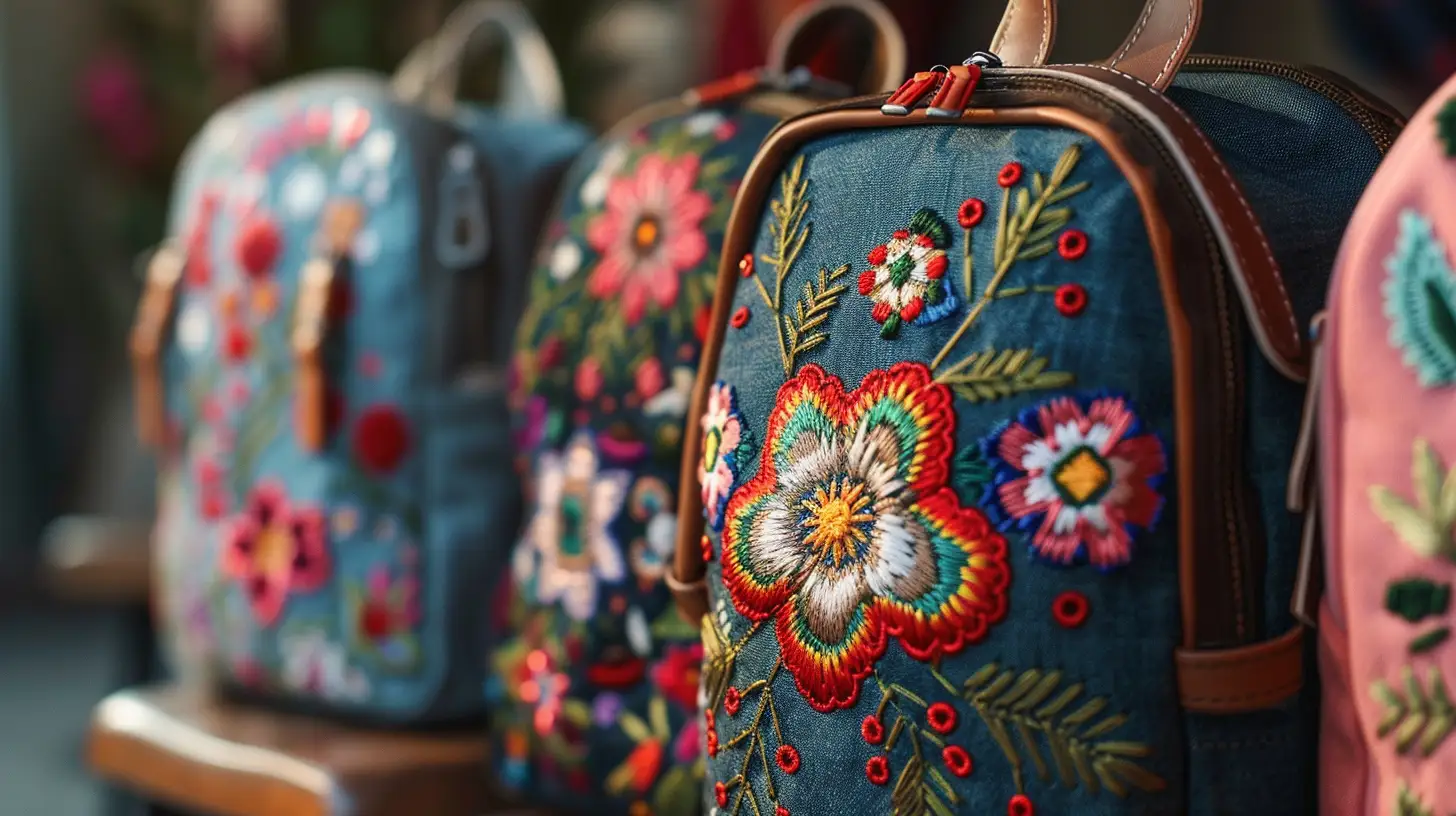
Embroidery allows you to add intricate patterns, textures, and colors to your backpack, creating a unique and personalized look.
You can choose from various designs, such as floral motifs, geometric patterns, or even personalized initials or names. The best part? Embroidery is a durable decoration option that withstands daily wear and tear on your backpack.
Whether you prefer subtle or bold designs, embroidery lets you express yourself creatively and make a statement.
Tips: For this method, you need use a fabric pen, you’ll sketch out your design. When working on your backpack, hold it taut to keep everything stable. Typically, you start from the center of the design because you can adjust as you go, and once you’re done, you simply tie off your design and clip the loose ends with scissors.
Things You’ll Need:
- Fabric Pen
- Needle
- Embroidery Thread
- Scissors
5. Lace or Ribbons
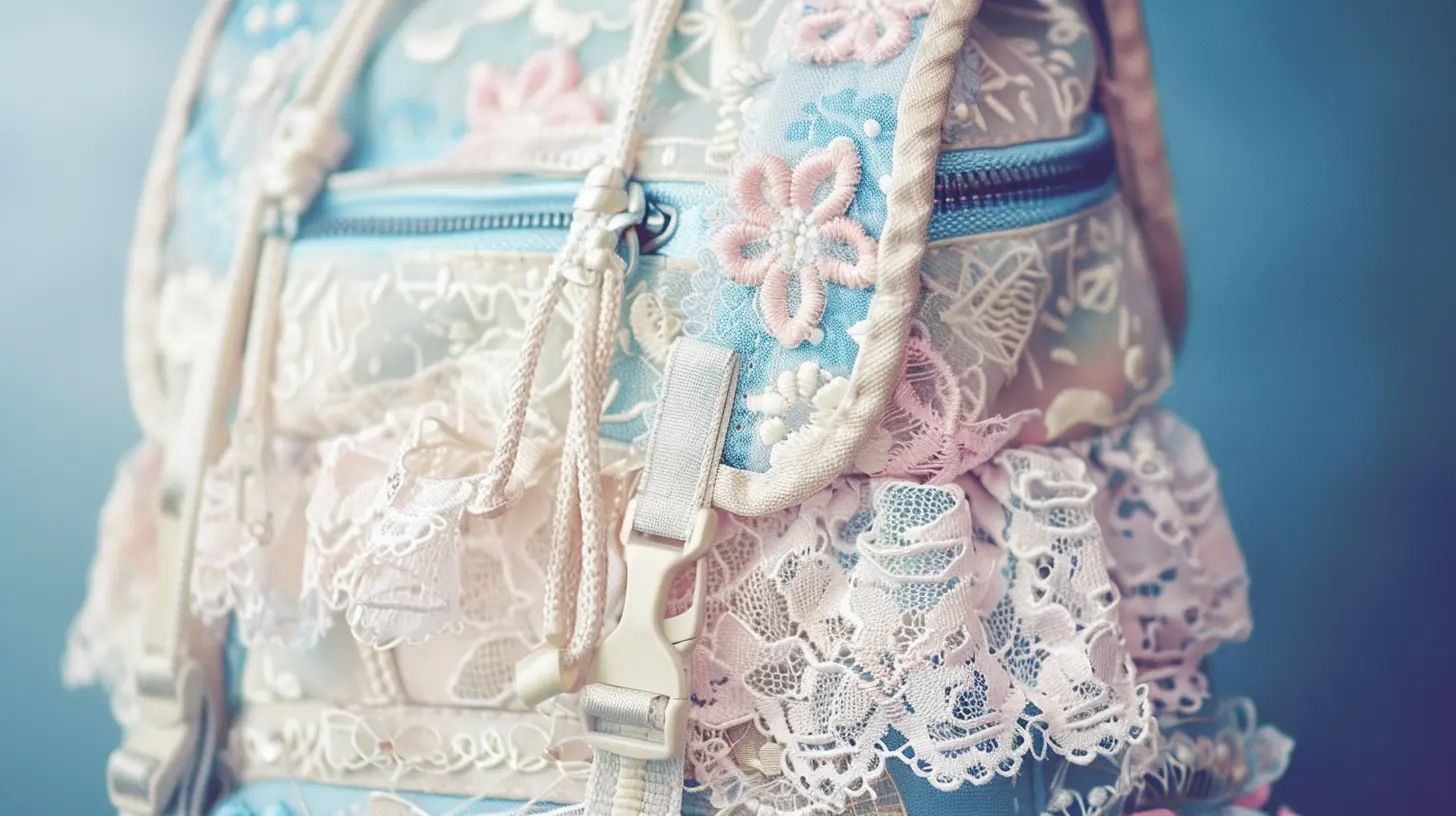
With a few strategically placed strips of lace or ribbon, your backpack can instantly take on a delicate, feminine charm that’s all your own.
You can attach lace or ribbons to your backpack using fabric glue or by sewing them on for a secure hold. With various colors, patterns, and widths, you can customize the look to fit your style.
Consider layering or braiding different lace or ribbons together to create a unique design. Strategically place them on the straps, zippers, or pockets to create a cohesive look.
Tips: If you don’t want to glue or sew, consider using clips or pins to attach ribbons or lace temporarily. This way, you can change the look whenever you want.
Things You’ll Need:
- Lace Trims or Ribbons
- Fabric Glue or A Hot Glue Gun
- Scissors
- Needle and Thread (optional for sewing)
- Decorative Items (like buttons, beads, or charms)
6. Beads and Sequins
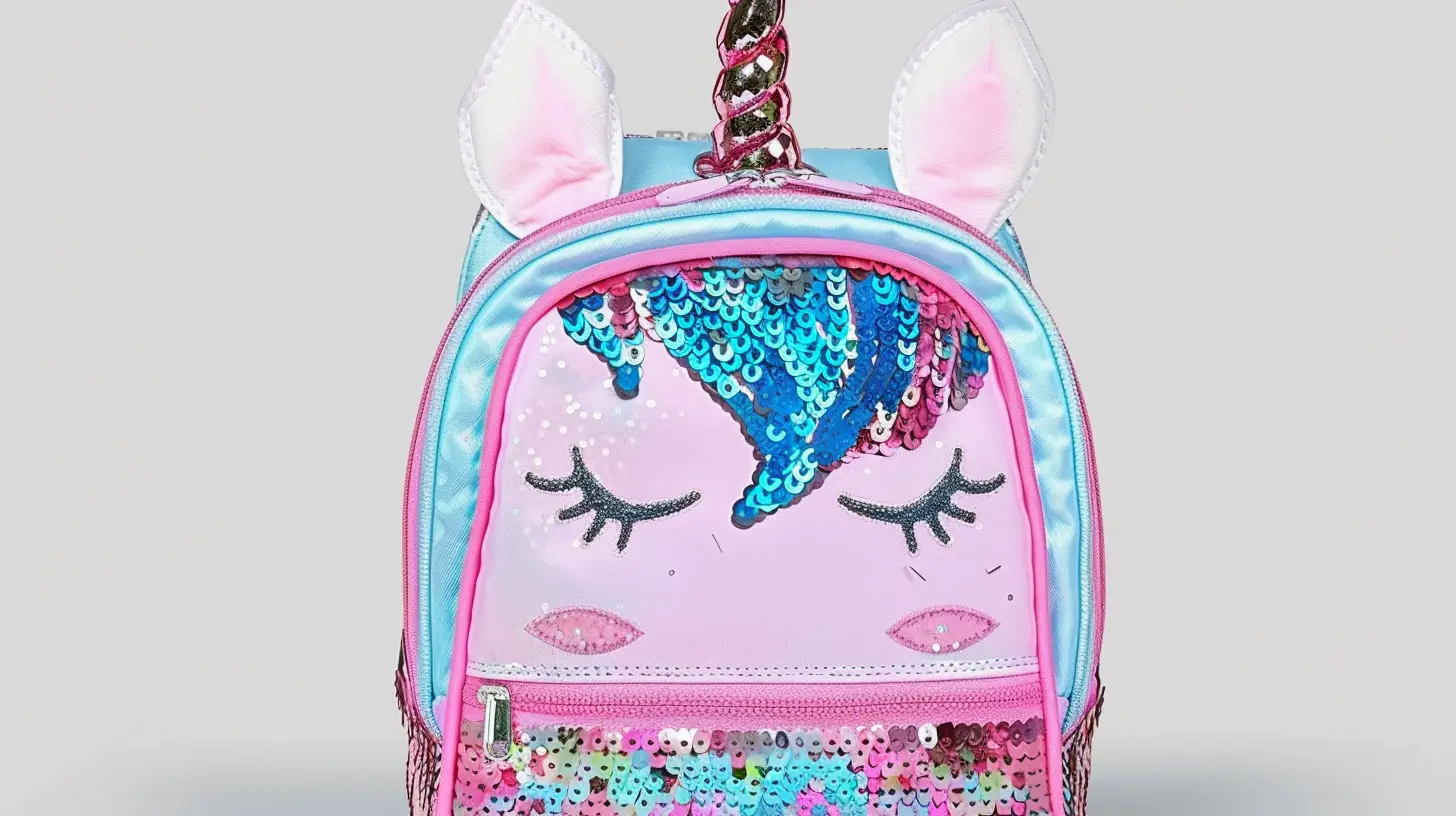
You can transform your backpack into a dazzling work of art by incorporating beads and sequins. These embellishments come in various shapes, sizes, and colors, allowing you to add sparkle and texture to your backpack.
You can sew or glue beads onto your backpack to create intricate designs and patterns. Sequins can be arranged in geometric shapes, letters, or images to personalize your backpack. Mixing beads and sequins can result in a unique and eye-catching decoration.
Tips: Plan Your Design: Sketch a design or layout on paper before you start. Decide where you want to place the beads and sequins for a balanced look. Begin with a small section of your bag. This will help you get used to the process without overwhelming the design.
Things You’ll Need:
- Beads
- Sequins
- Needle and Thread
- Fabric Glue (for non-sewing options)
- Scissors
- Tweezers (optional, for handling small items)
7. Crochet
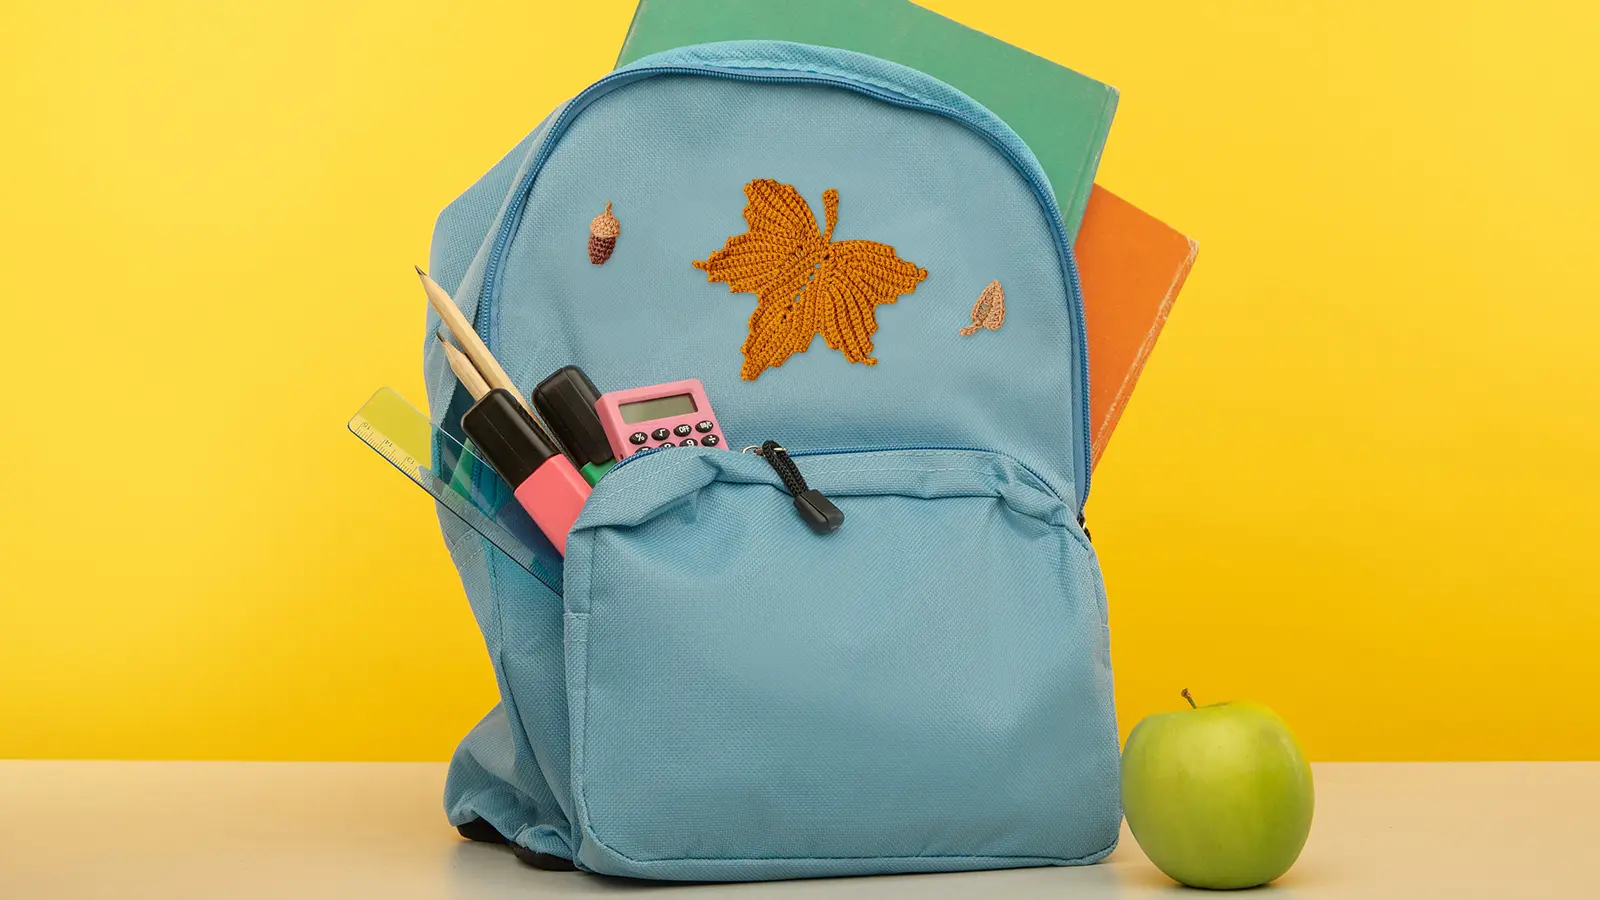
You can infuse your backpack with a touch of personality and whimsy by crocheting unique charms and keychains.
Handmade crocheted animal keychains, for instance, are a popular choice for adding charm to backpacks. You can customize your crocheted charms to match your personal preferences, from colors to designs. You can also crochet patterns directly onto the bag to make your backpack truly stand out.
Tips: Select a color scheme that complements your schoolbag. You can use one color for a uniform look or multiple colors for a vibrant design. Crochet small appliqués (decorative pieces) that you can sew or glue onto your bag. These can be flowers, animals, or other shapes that reflect your personality.
Things You’ll Need:
- Crochet Yarn
- Crochet Hook
- Scissors
- Needle and Thread
- Fabric Glue (optional, for extra hold)
- Stitch Markers (optional, for keeping track of stitches)
8. Pom-Poms and Tassels
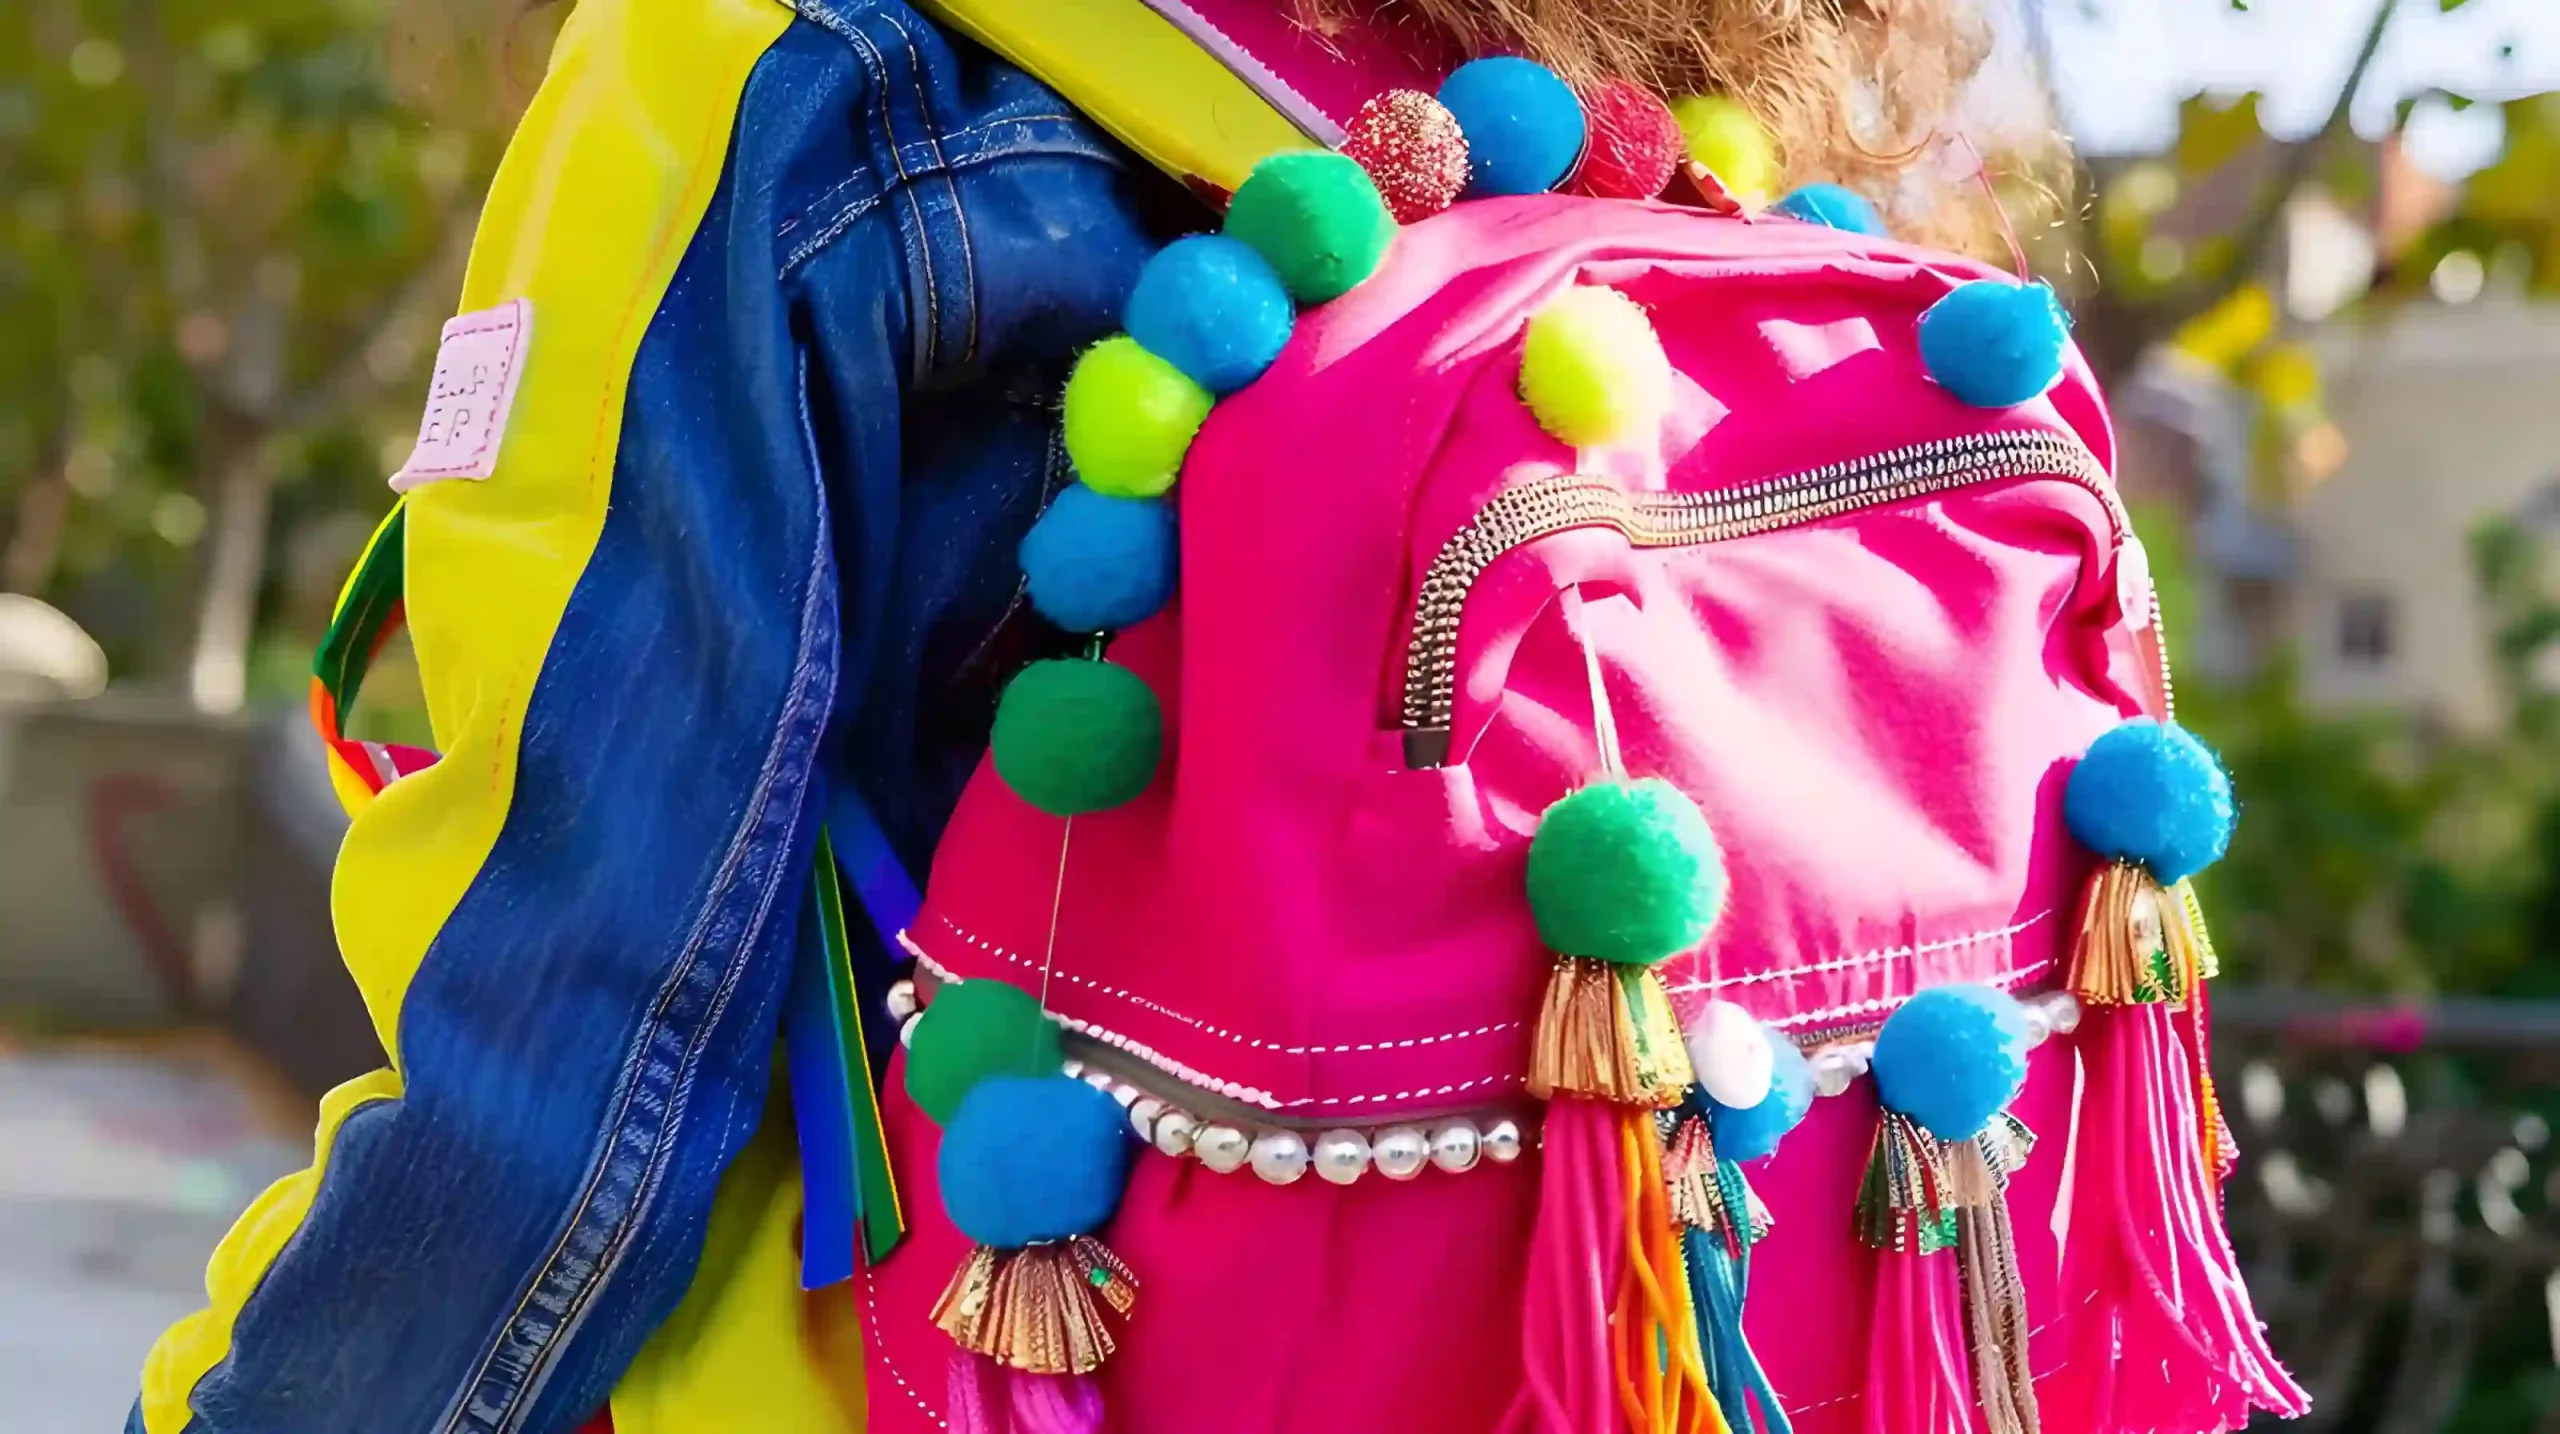
Adding a dash of whimsy to your backpack has never been easier. Pom-poms and tassels bring a playful pop of color and texture to your everyday carry.
Pom-poms come in various sizes and materials, such as yarn or faux fur, allowing you to mix and match different textures and styles. Tassels, made from thread or fabric, add a bohemian or chic flair to your backpack. Combining pom-poms and tassels allows you to create a unique and eye-catching design that reflects your personality.
Tips: Instead of using just one pom-pom or tassel, create clusters by attaching several together. This can make a bold statement on the bag.
Things You’ll Need:
- Yarn
- Scissors
- Cardboard or Pom-Pom Maker
- Needle and Thread
- Fabric Glue (optional)
- Ribbons or String
9. Felt Accents
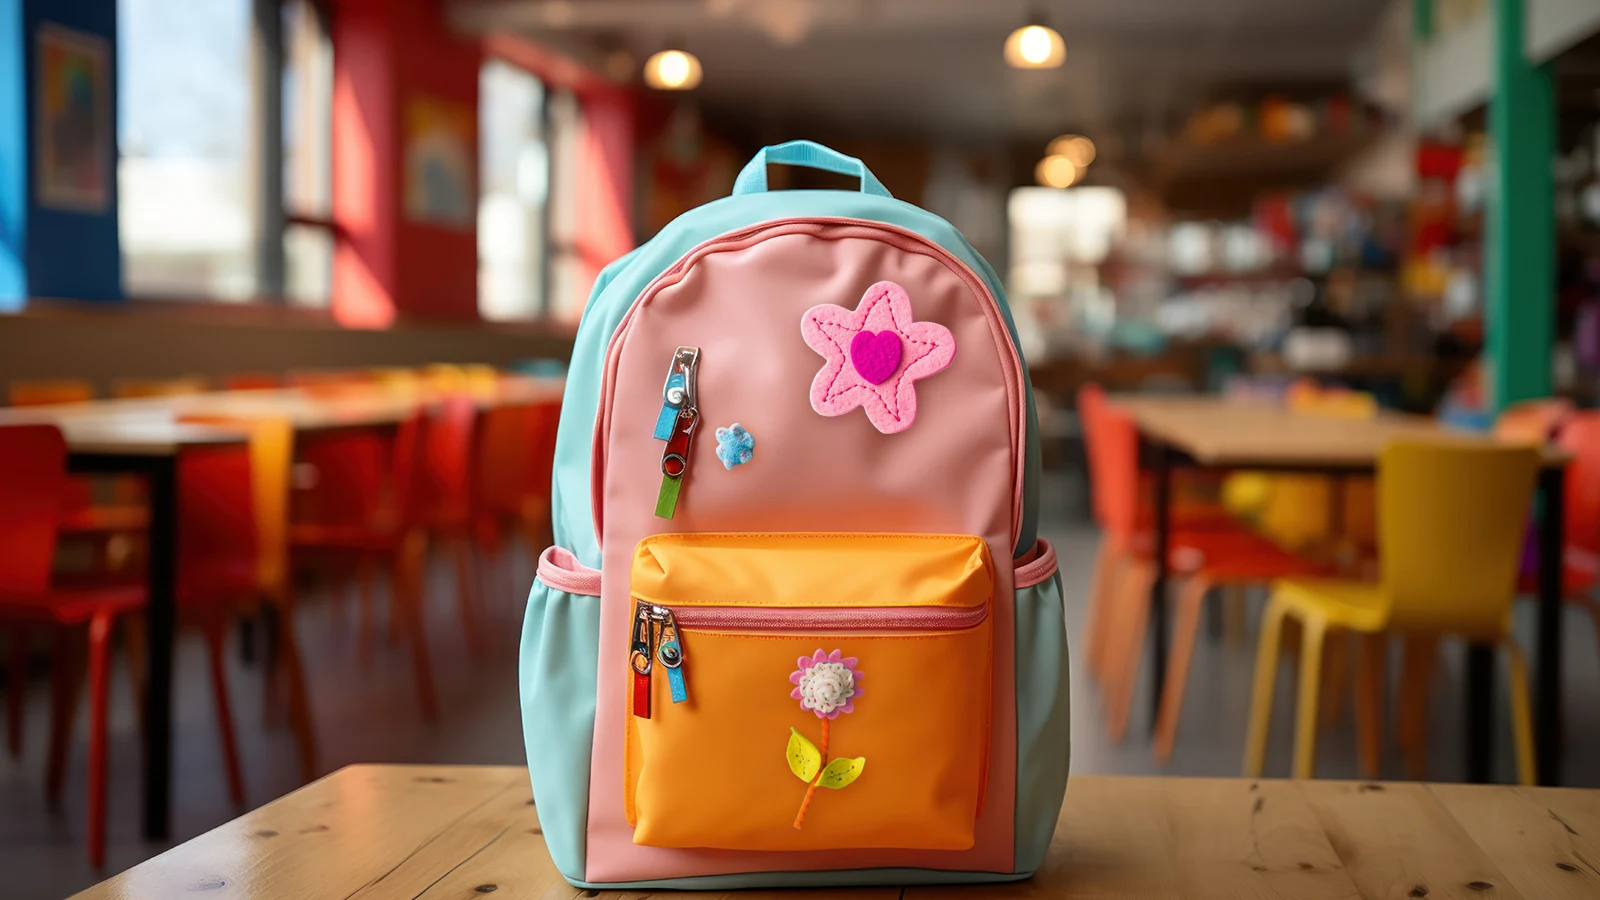
Felt accents offer a wide range of creative possibilities with their various shapes, sizes, and colors. These lightweight and easy-to-attach decorations can be sewn, glued, or attached with adhesive backing, giving you flexibility in design.
Combine felt accents with other materials like fabric, pins, or ribbons to craft unique backpack accessories.
Felt accents are durable and can withstand daily wear and tear, making them an excellent choice for long-lasting decorations.
Tips: Add details like buttons, beads, or embroidery to your felt shapes to enhance their visual appeal. Attach to Zippers: Use small felt shapes as decorative zipper pulls. This can make opening and closing your bag more enjoyable.
Things You’ll Need:
- Felt Sheets
- Scissors
- Fabric Glue or A Hot Glue Gun
- Needle and Thread
- Pencil or Fabric Marker
- Stencils (optional, for shapes)
10. Fabric Dyes
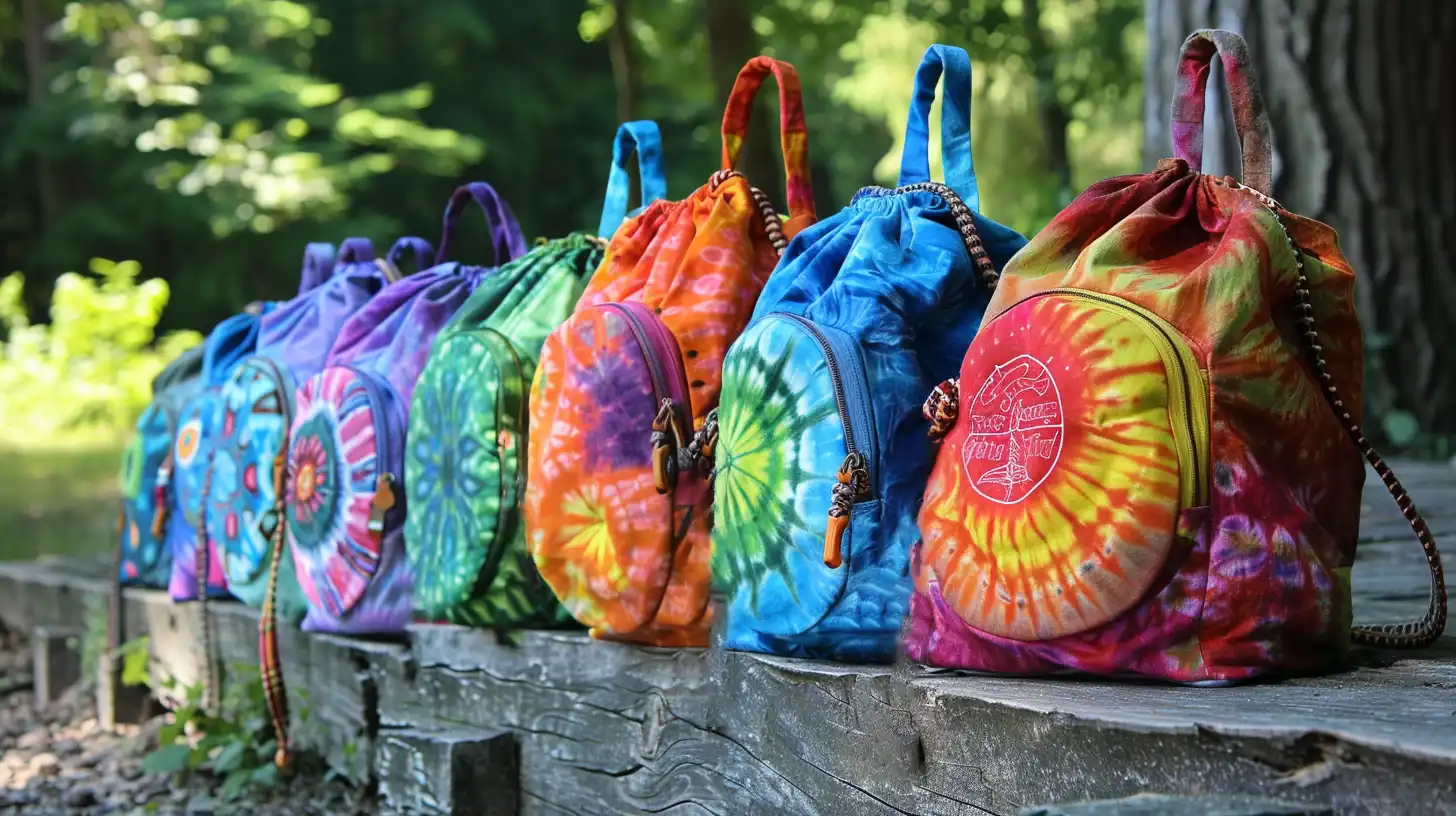
When you opt for backpack dyeing, you can choose from various fabric dyes to create vibrant, long-lasting colors. Different dyeing techniques, such as tie-dye or dip-dye, can create interesting patterns and effects.
Always follow the instructions on the dye packaging for best results and to ensure colorfastness. With creativity and patience, you can achieve a fantastic look that reflects your style.
Tips: If you are planning on drawing or tie-dying your bag, you want a lighter background(eg. white, cream, or light blue). Add colors will not show up on a dark background.
Things You’ll Need:
- Tie-dye Kit
- Rubber Bands or String
- Plastic Gloves and Plastic Table Cover
11. Fabric Scraps
When you’re ready to move beyond dyeing, fabric scraps offer a fantastic way to inject texture and personality into your backpack decoration.
You can sew or glue them onto your backpack to create a unique look that’s all yours. Mix and match different patterns, textures, and colors to create a visually exciting design.
Fabric scraps are a great way to add a DIY touch to your backpack without breaking the bank. Just be mindful of the fabric’s weight and durability to ensure it can withstand daily use.
Tips: Decide if you want to sew the fabric onto your bag or use fabric glue for a quicker option. Sewing will give a more durable finish, while glue is easier for beginners. If you want a more uniform look, use stencils to cut out shapes from your fabric scraps. This can help create a cohesive design.
Things You’ll Need:
- Fabric Scraps
- Fabric Glue
- Scissors
- Needle and Thread
- Stencils (optional, for shapes)
12. Stencil Art
With stencil art, you can create intricate designs on your backpack using pre-cut templates, fabric markers, or spray paint for a personalized touch.
Stencils come in various shapes and sizes, providing endless opportunities for customization. You can combine stencil art with other decoration techniques to express your individuality through your backpack decoration.
Tips: Lay down newspaper or a drop cloth to protect your workspace. This will catch any drips or spills. Once you’ve applied the paint, carefully lift the stencil straight up to avoid smudging. Allow the paint to dry partially before touching it.
Things You’ll Need:
- Pre-made Stencils
- Cardstock or Plastic Sheets.( make your own)
- Fabric Paint or Spray Paint
- Newspaper or A Drop Cloth
- Sponge Brush or Spray Paint
13. Use a Cricut
With a Cricut machine, you can create personalized designs that reflect your unique style and personality. Precision cutting ensures clean, professional-looking designs that elevate your backpack decoration game.
The software program that comes with the machine allows you to design and cut out custom shapes, patterns, and letters. This opens up endless possibilities for creativity and personalization, allowing you to express yourself through your backpack decoration.
Tips: Consider adding additional designs, such as patches or embellishments, to enhance your decoration further.
Things You’ll Need:
- Cricut Machine
- Vinyl
- Transfer Tape
- Cutting Mat
- Iron or Heat Press
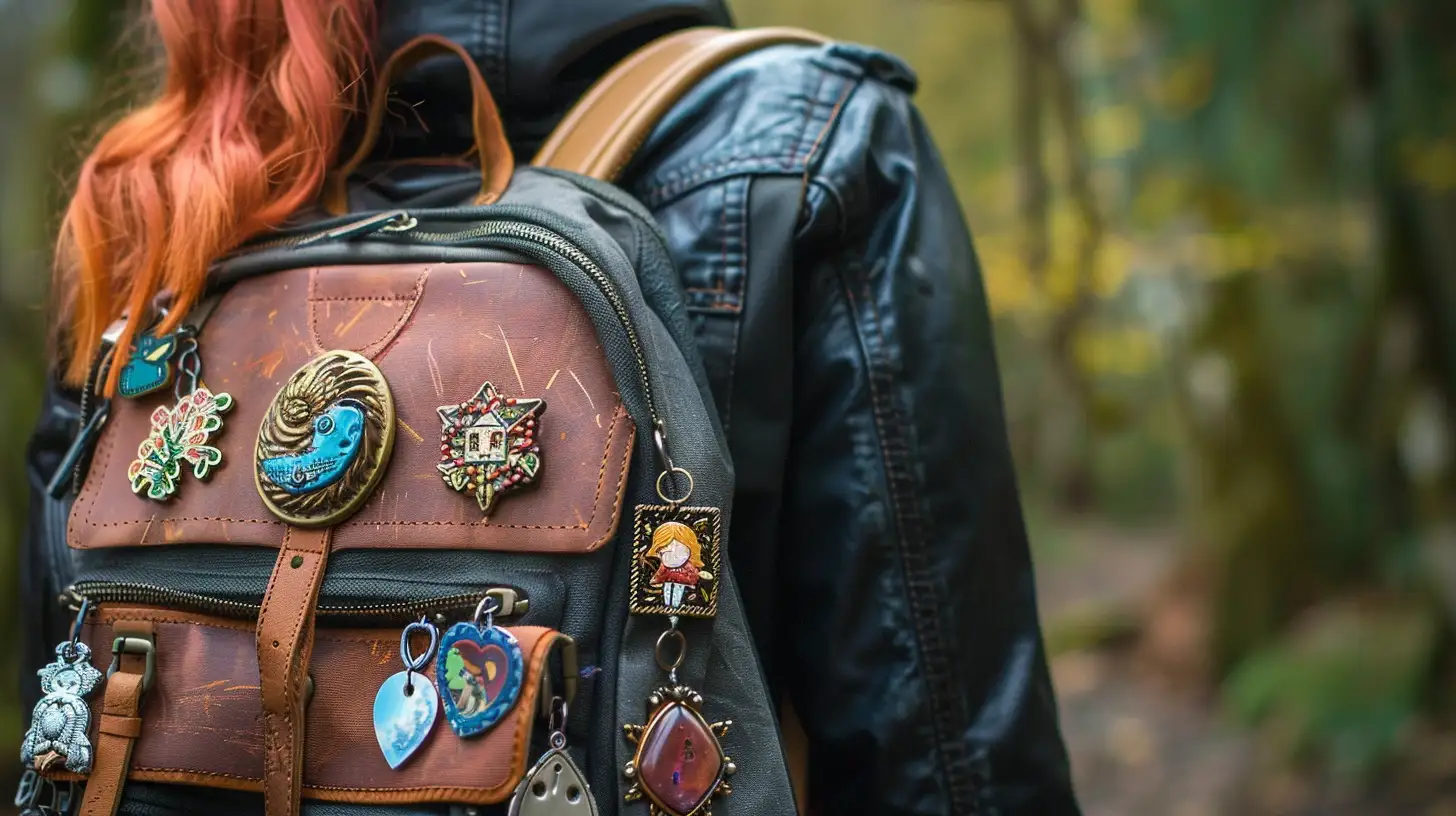
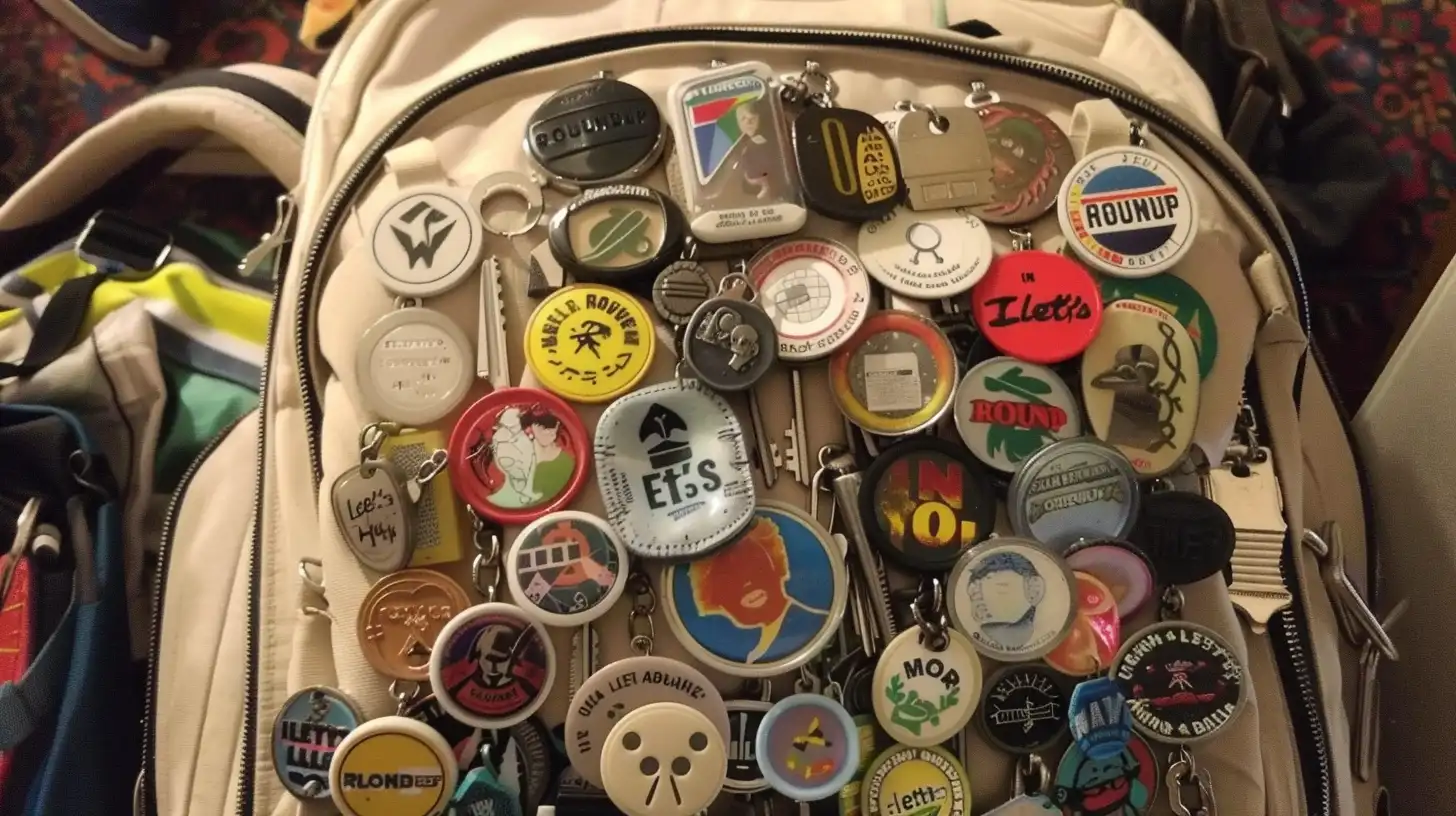
14. Badges, Brooches, or Key Chains
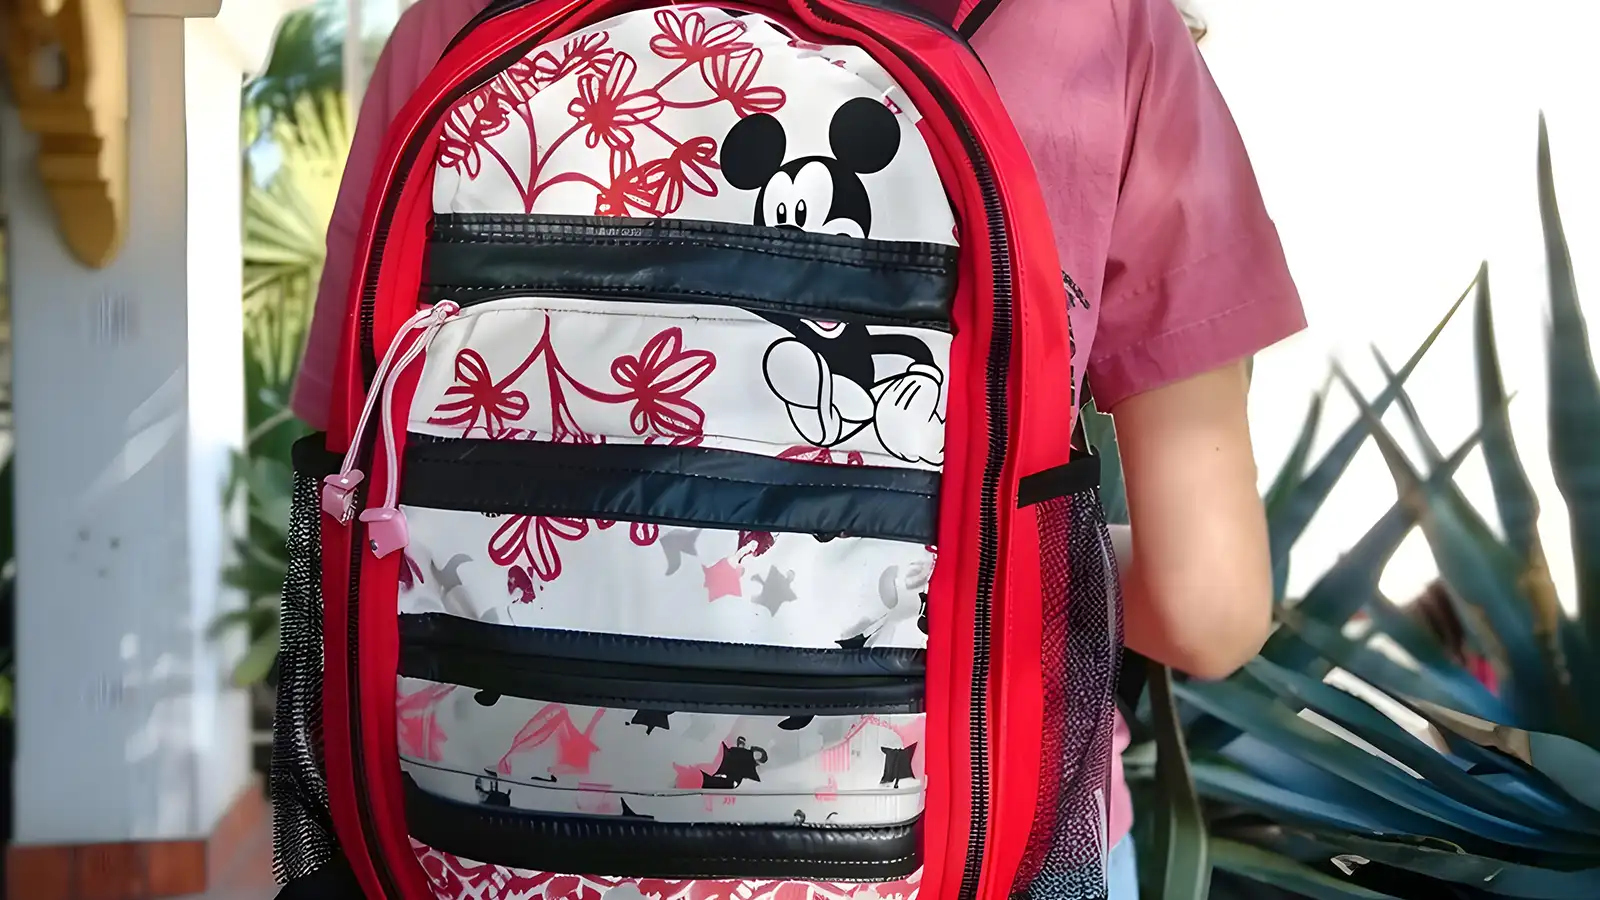
Adding a touch of personality to your backpack is as simple as attaching badges, brooches, or key chains. You can choose various designs, shapes, and sizes to match your personality. Keychains can feature your initials, favorite characters, or symbols, while badges and brooches can represent your interests or affiliations.
This is a simple yet effective way to personalize your backpack and express yourself creatively.
Tips: Badges, Brooches can be easily attached by pushing the pin through the fabric and securing it with the backing. Be sure to place them on thicker areas of the backpack to prevent tearing.
Things You’ll Need:
- Various Badges
- Brooches
- Keychains
- Clips or Hooks for Easy Attachment
- Jump Rings (if you want to attach multiple keychains)
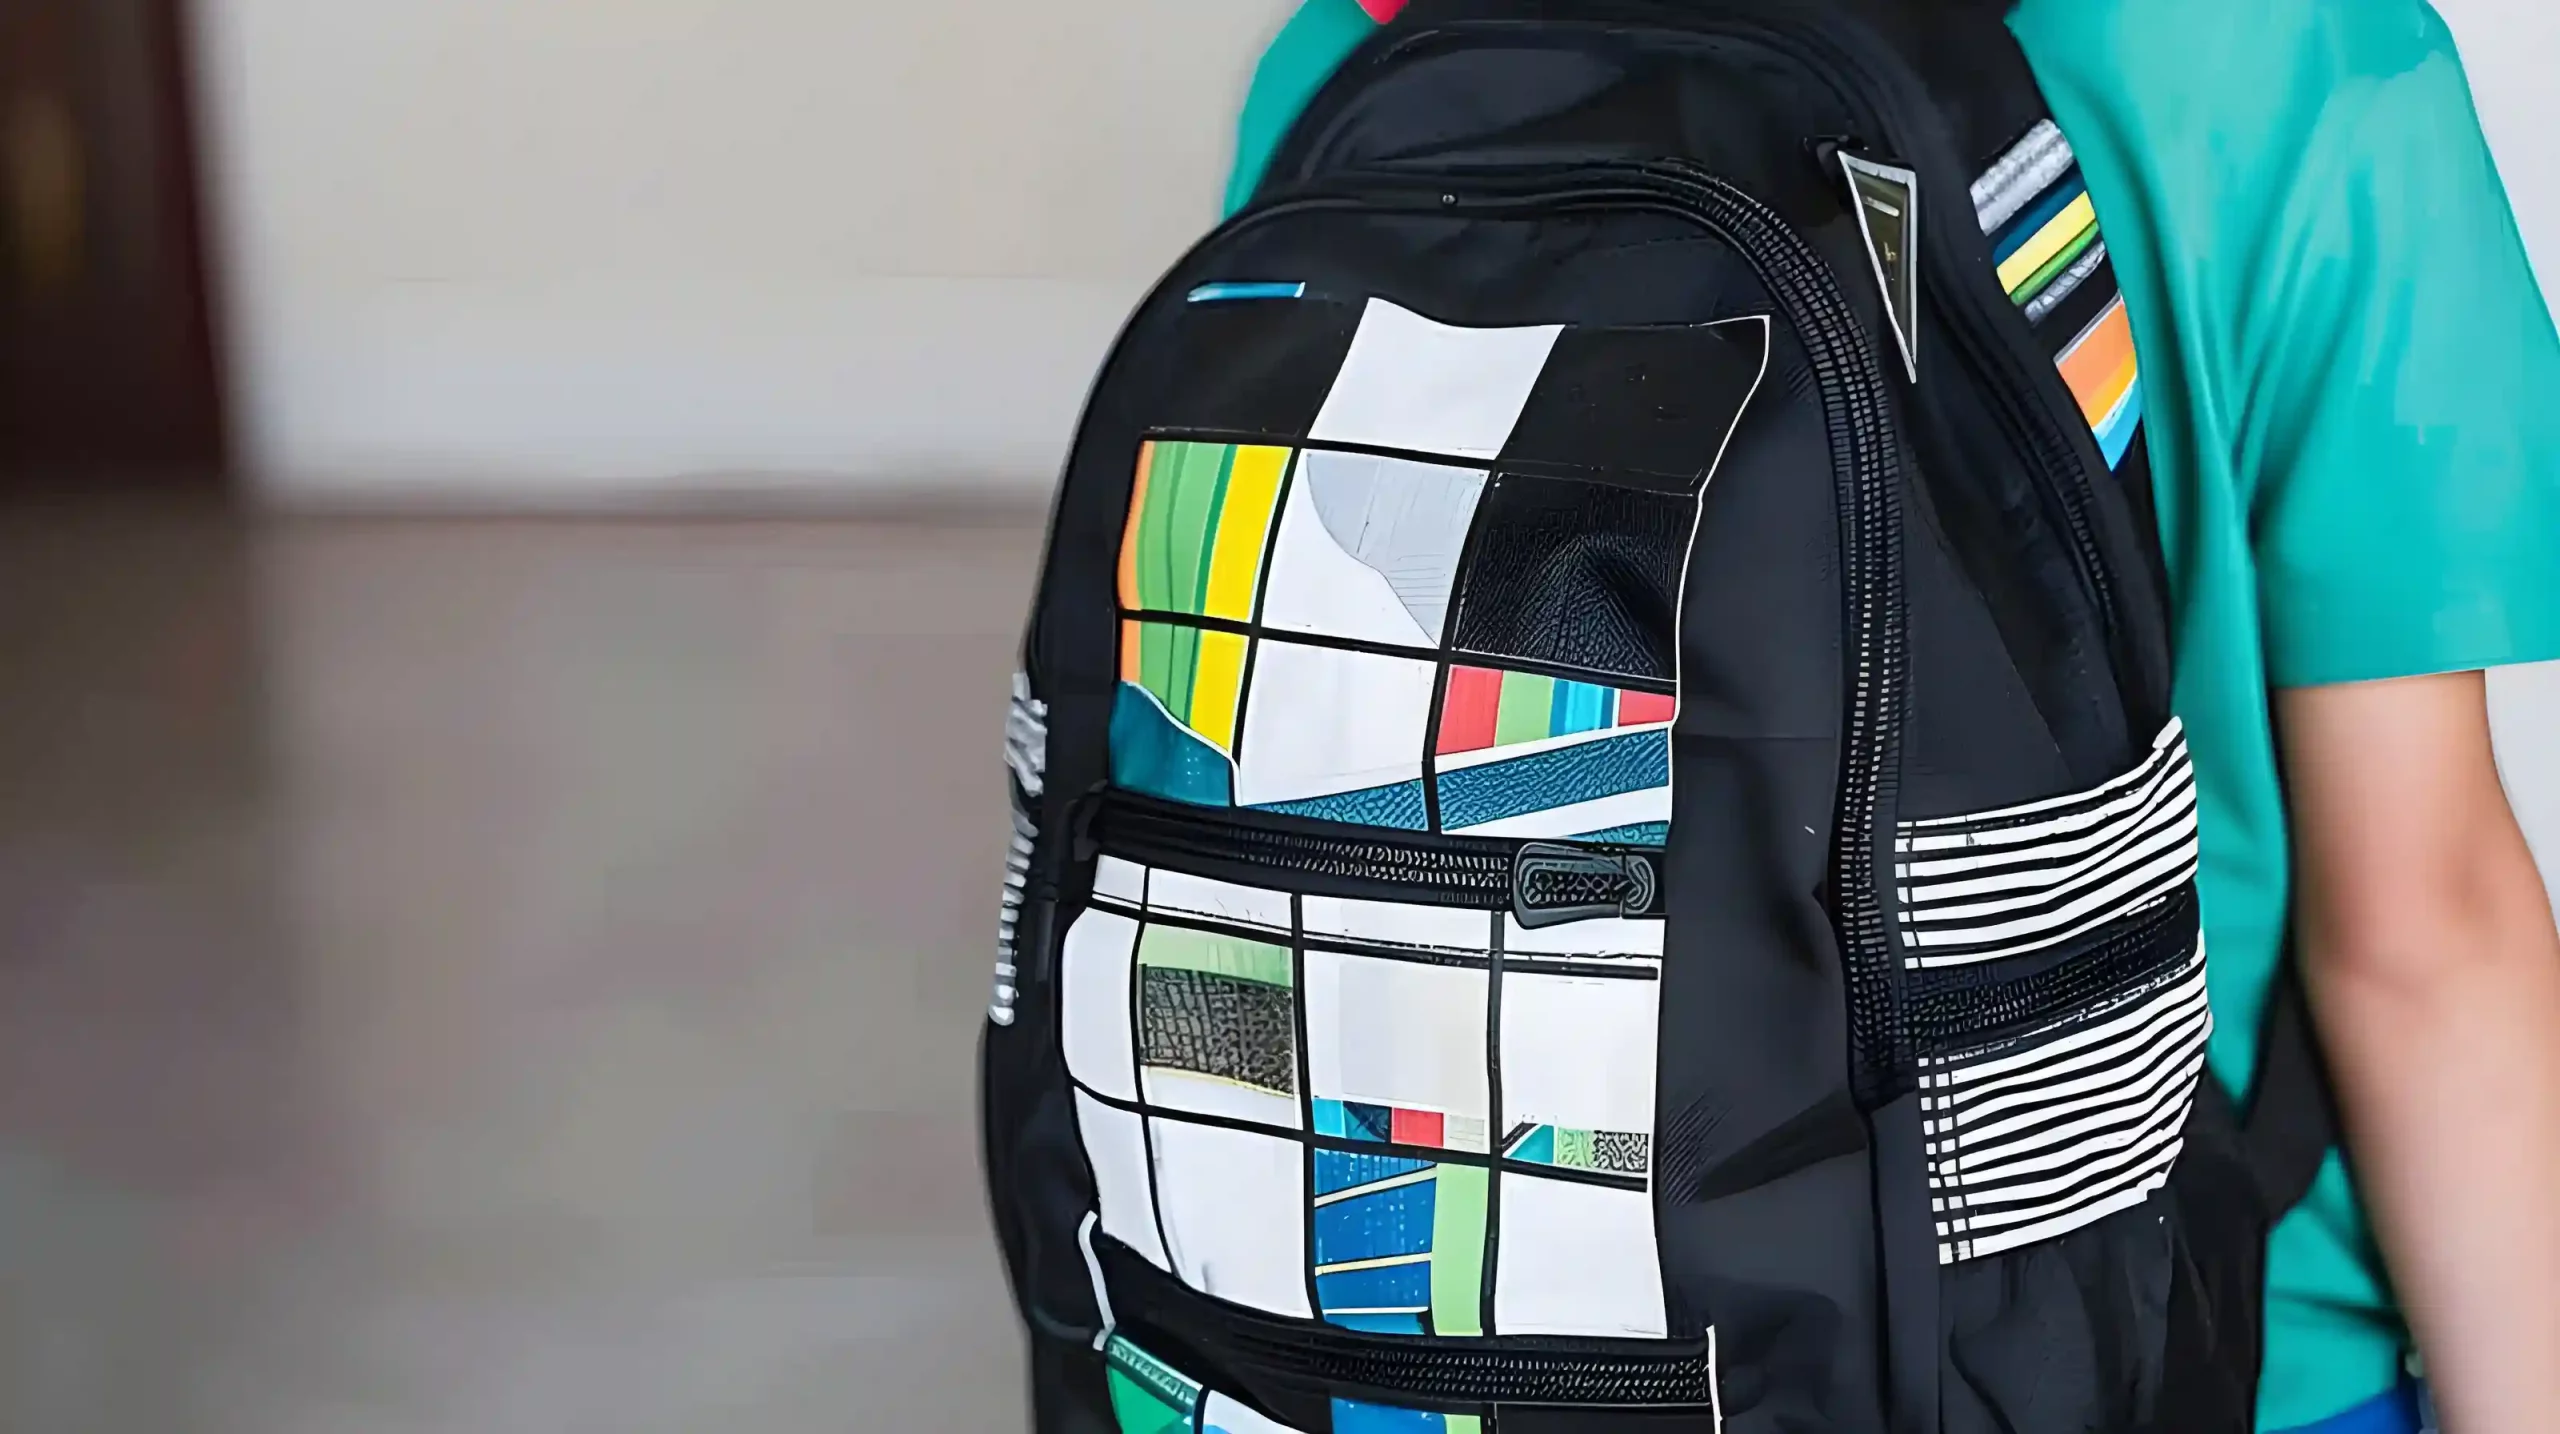
15. Decorative Duct Tape
Decorative duct tape lets you personalize your backpack with colorful patterns and designs that reflect your unique style. This durable material is available in a wide range of colors, prints, and styles. Use it to create unique shapes, borders, or accents that make your backpack stand out.
Decorative duct tape is also practical, withstanding daily wear and tear, and is conveniently available in craft stores. Adding decorative duct tape to your backpack allows you to express yourself and showcase your individuality.
Tips: Decorative Shapes: Cut the duct tape into shapes (like stars, hearts, or initials) and stick them on the bag for a custom touch. If you’re concerned about wear, apply a clear sealant over the duct tape once you’re done decorating. This can help protect it from scratches and peeling.
Things You’ll Need:
- Duct Tape
- Scissors
- Pencil or Marking Tool (Optional)
16. Buttons
Small buttons can instantly transform your backpack into a reflection of your personality. Simply attach it to the fabric using a pin or clip. You can mix and match different buttons to create a unique display.
Look for buttons that reflect your interests, hobbies, or favorite characters to make your backpack stand out. Consider enamel buttons for a durable and eye-catching decoration gift or backpack charm.
With buttons, you can easily switch them out to update your backpack’s look.
Tips: Use Paint or Marker: Enhance the area around the buttons with fabric paint or markers to create a cohesive design. Stencils can help you create neat patterns.
Things You’ll Need:
- Buttons
- Hot Glue Gun
- Needle and Thread (optional)
- Scissors
- Fabric Paint or Markers (optional)
- Stencils (optional)
- Ruler
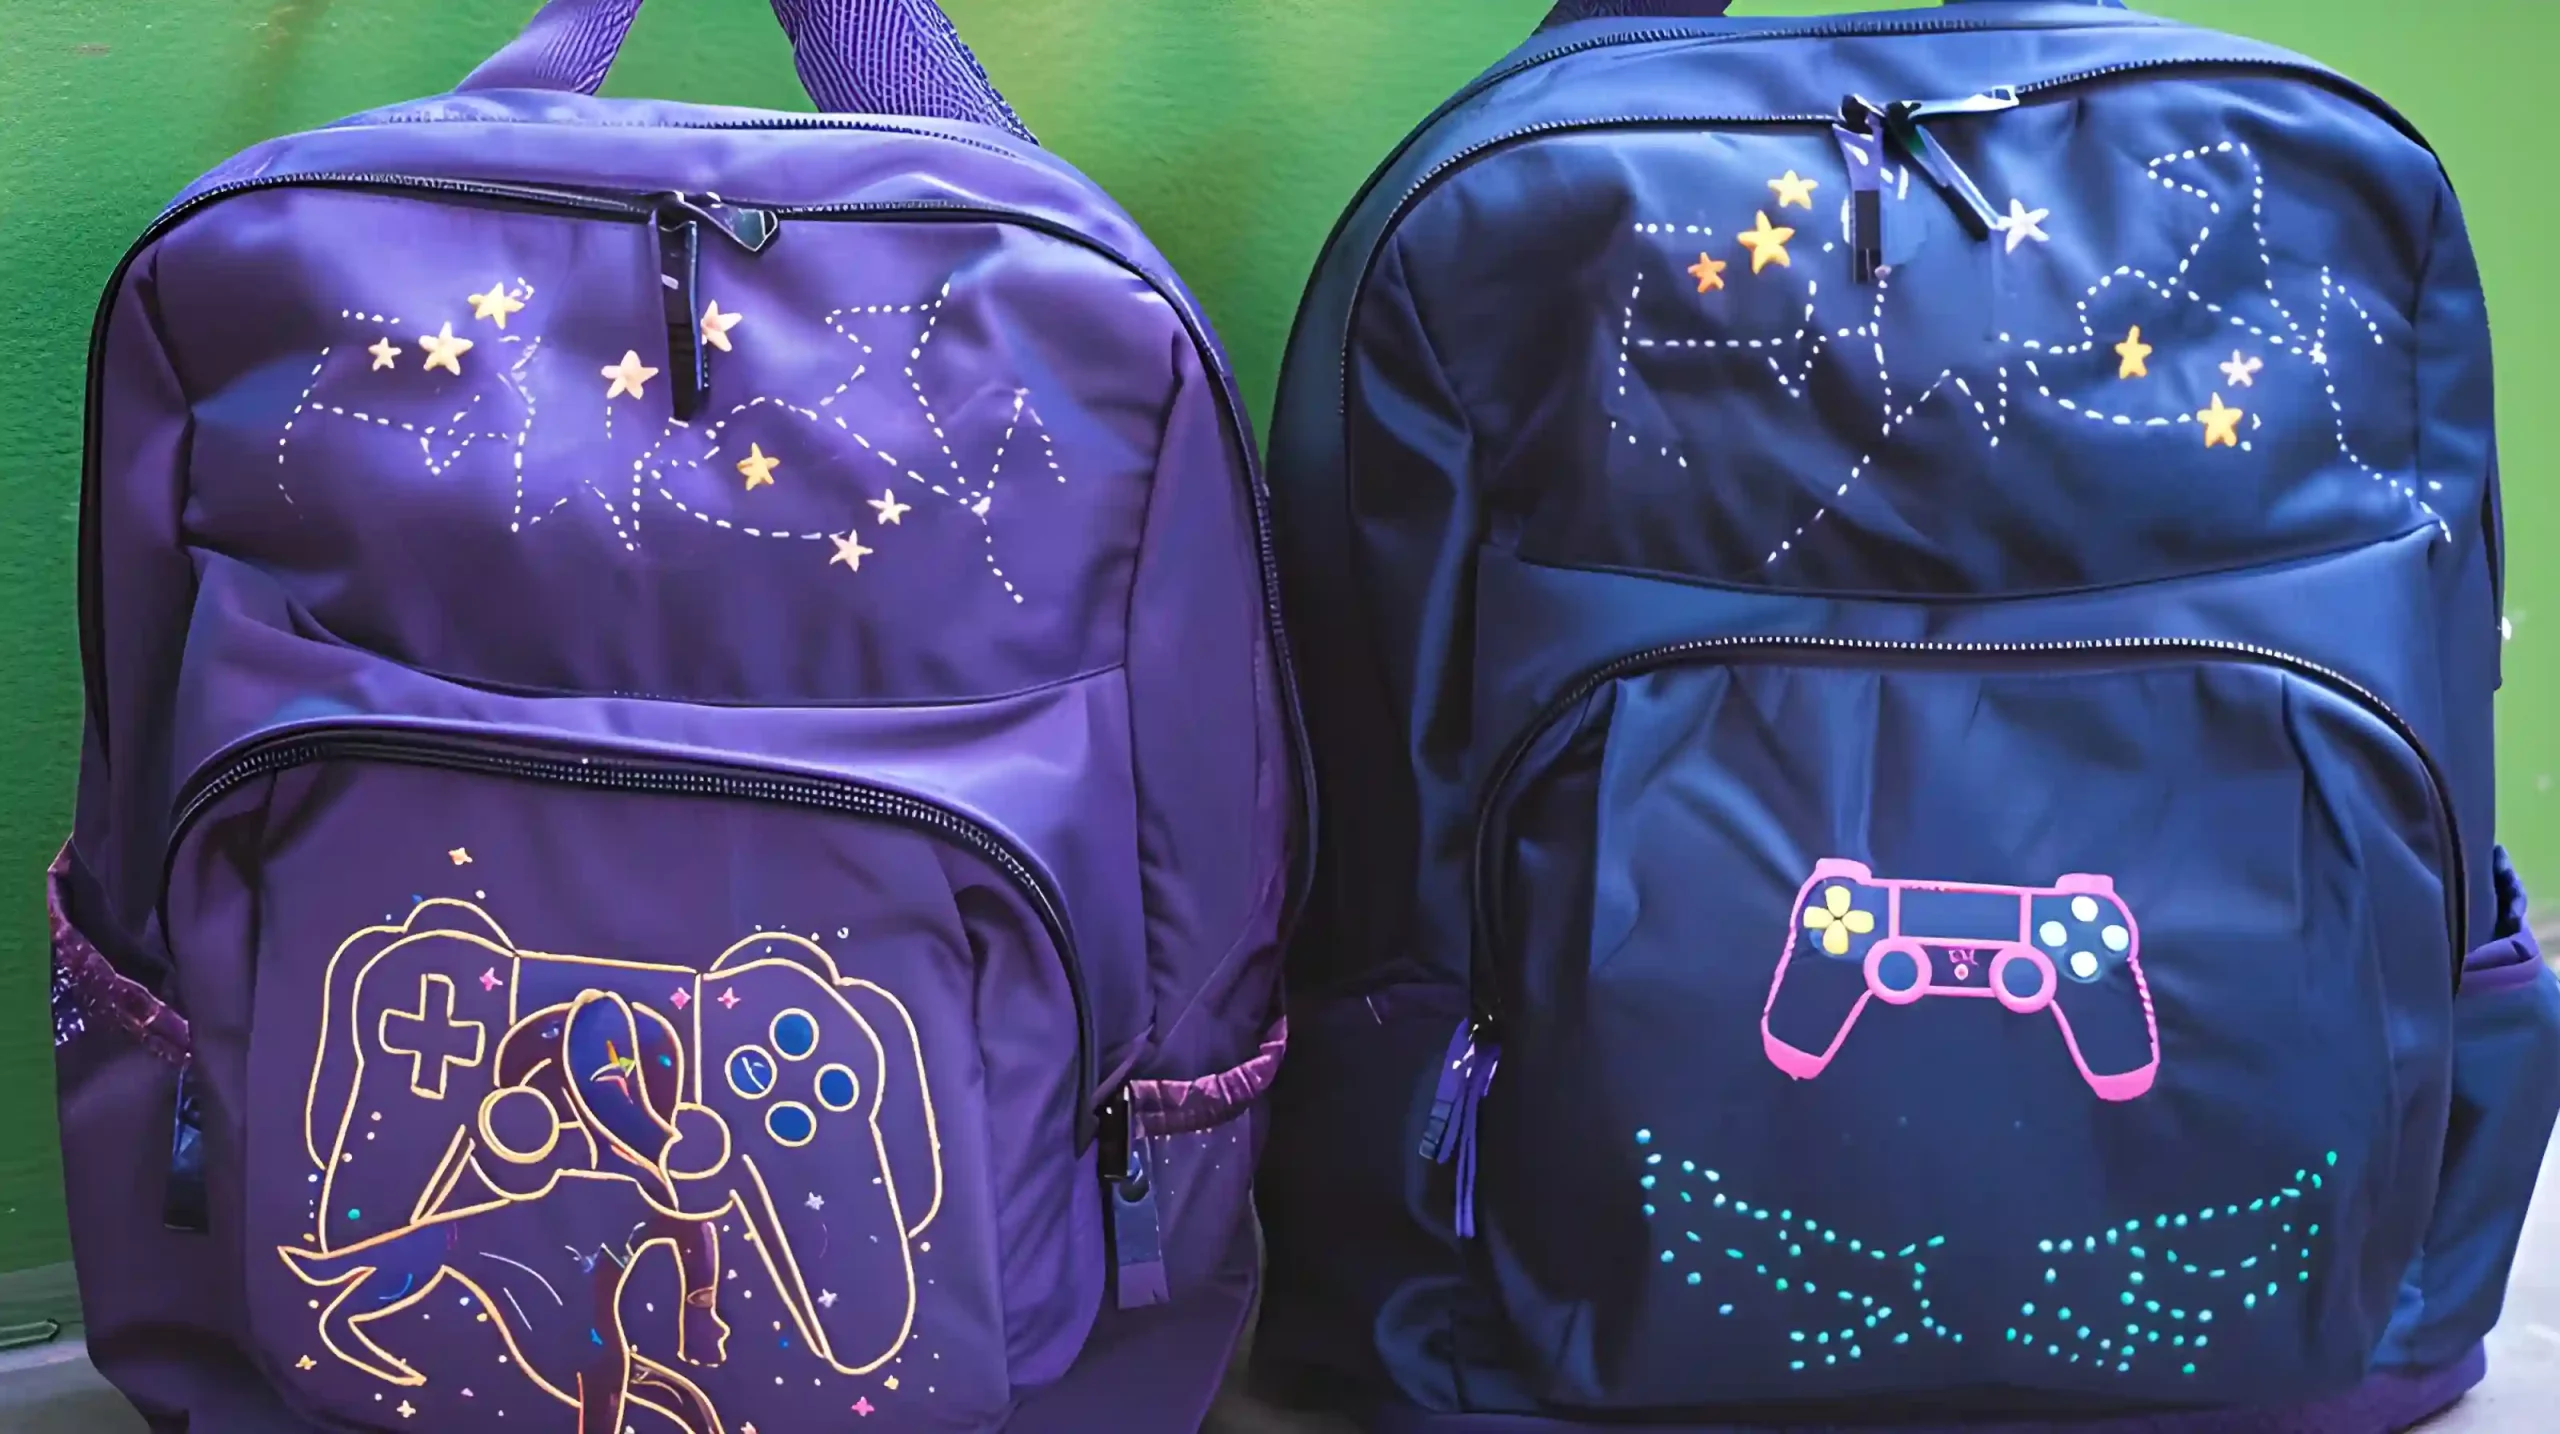
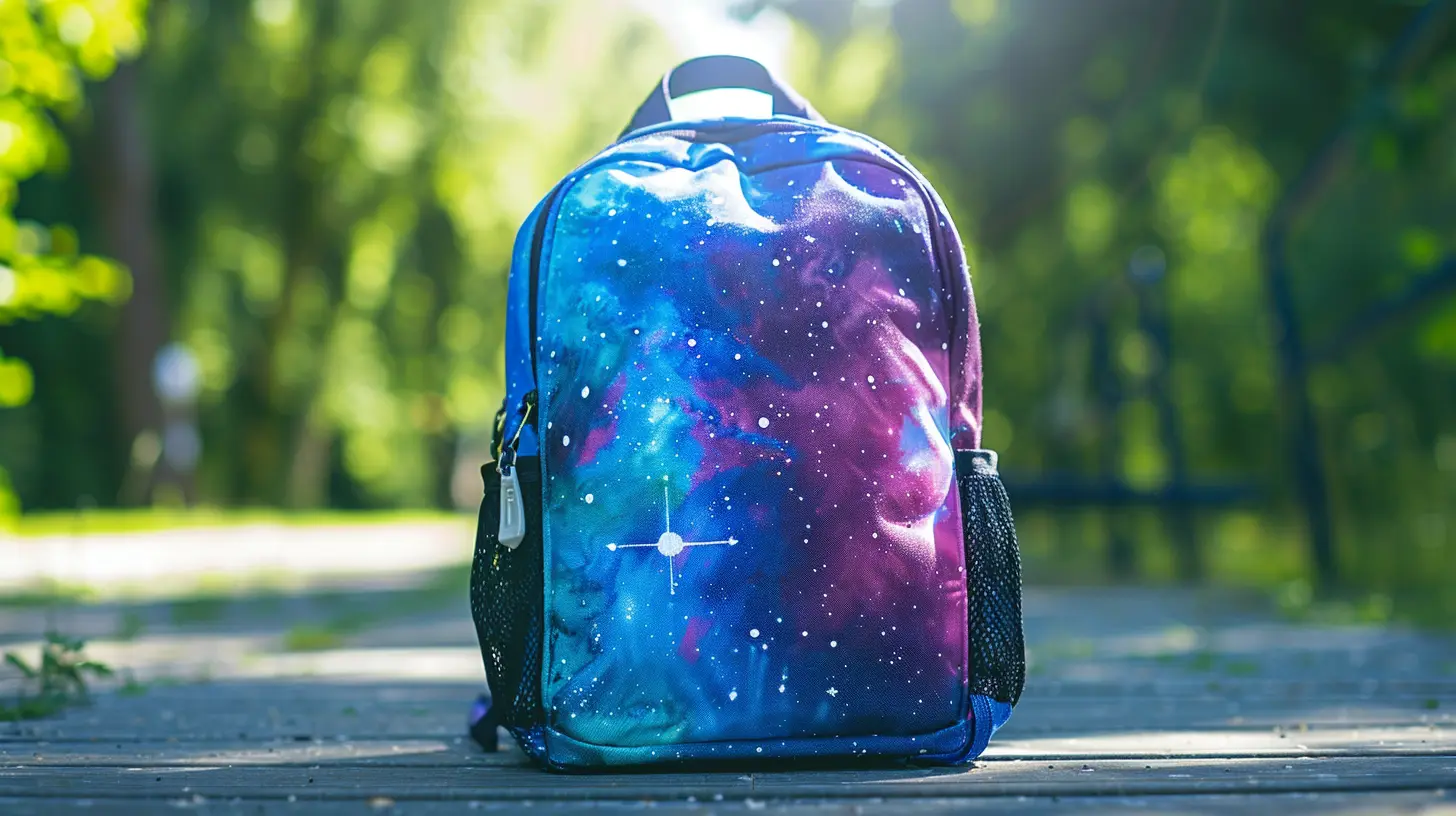
17. DIY Galaxy Backpack
Transform your ordinary backpack into a cosmic masterpiece by creating a DIY galaxy backpack that showcases your creativity and love for space. As you head back to school, make a statement with an out-of-this-world design.
- To decorate your backpack, use fabric markers or spray paint to create a galaxy background.
- Add stars and nebulae with white or metallic markers for a galactic effect.
- For a more detailed design, incorporate stencils to create planets or moons.
- Finish off your DIY galaxy backpack with glitter or glow-in-the-dark paint for an extra celestial touch.
- Add a space-themed patch or charm as an accessory to complete your cosmic look.
This DIY project is the perfect way to decorate your backpack and make it a conversation starter.
Tips: While the paint is still wet, sprinkle glitter over the painted areas to add sparkle and dimension to your galaxy. After the main design is complete, you can add small details like shooting stars, planets, or constellations using fabric paint or markers.
Things You’ll Need:
- Fabric Paint or Spray Paint
Paintbrushes or Sponges - Stencils (optional)
- Old Toothbrush: For splattering paint to create star effects.
- Glitter (optional): For adding sparkle to your galaxy design.
- Newspaper or cardboard(protect your work surface.)
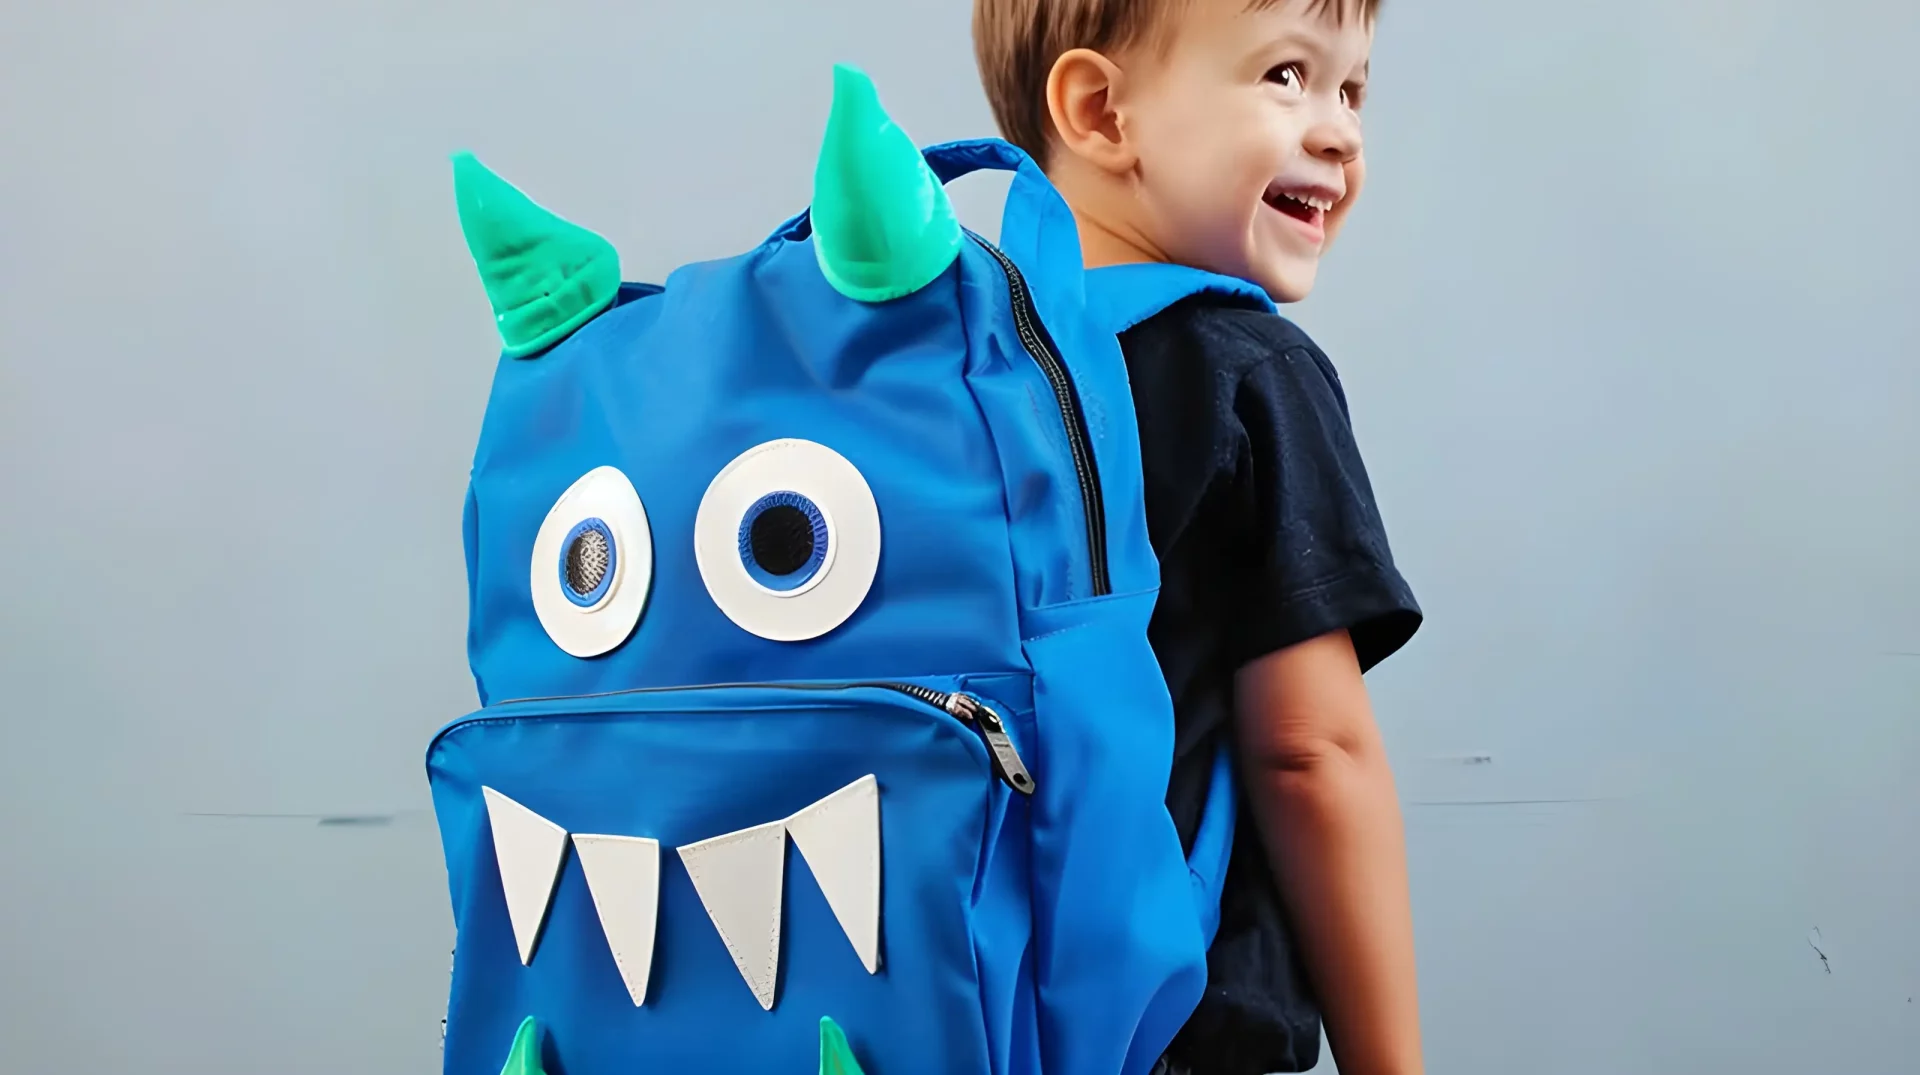
18. DIY Monster Backpack
Unleash your creativity and bring a monster to life on your backpack, using bright and bold colors to create a playful design that will turn heads.
With a DIY monster backpack, you can add a fun and quirky touch to your backpack decoration. Incorporate googly eyes, felt teeth, and fuzzy fabric to give your monster a tactile texture that’s irresistible to touch.
Experiment with different shapes and sizes for the monster’s features to make it unique and eye-catching. Add arms or tentacles with fabric or pipe cleaners to enhance the monster theme.
Tips: Think about adding other decorations like patches, ribbons, or even fabric scraps to enhance your monster theme.
Things You’ll Need:
- Felt Fabric
- Fabric Glue or Hot Glue Gun
- Scissors
- Googly Eyes
- Pom Poms
- Markers or Fabric Paint
- Sewing Kit (optional)
- Masking Tape (optional)
- Old Newspaper
Choose the Right Decorations
Here are some tips to find the perfect decorations for your backpack:
- Choose a Theme: Decide on a theme that reflects your personality or interests, such as nature, travel, or a favorite movie. Choose decorations that reflect your interests and personality.
- Consider the backpack’s material: When selecting decorations, consider the material of the backpack. Some decorations might not adhere well to certain fabrics.
- Choose Age-Appropriate Decorations: Children may prefer cute, colorful decorations, while adults may favor unique decorations that express their individuality.
Care Instructions for Your Backpack Decorations
Regular Cleaning
- Spot Clean: Use a damp cloth and mild soap to clean any stains. Avoid harsh chemicals that can damage the fabric or decorations.
- Machine Wash: If the care label allows, you can machine wash the backpack on a gentle cycle. Remove any detachable parts first.
Conclusion: Exploring Creative Backpack Decoration Ideas Now!
You’ve got a backpack that’s uniquely yours! With these backpack decor ideas, you can transform a plain bag into a reflection of your personality.
From fabric paint to DIY galaxy designs, you’ve made it unique.
Now, sling it over your shoulder and show it off; you’ve earned the right to strut your stuff with your new, personalized backpack!
FAQ
- Can I wash my decorated backpack in a washing machine?
- Most decorations, like pins, badges, keychains, and charms, can be easily removed without causing damage. However, patches, stickers may leave residue or cause damage when removcfvvned, so be cautious when taking them off.
- Gather Tools: You may need scissors, a seam ripper, or adhesive remover.
- Work Slowly: If the decorations are stitched on, use a seam ripper to carefully cut the threads without cutting the fabric of the backpack. For adhesive decorations, gently peel them off. If they don’t come off easily, use an adhesive remover.
- Clean Up: After removing the decorations, clean any residue left from adhesives with a damp cloth or appropriate cleaner for the material of your backpack.
2. Can I remove decorations from my backpack without damaging it?
- If you’ve any doubts about the decorations’ durability, hand-washing might be a safer option. Washing a decorated backpack in a washing machine depends on a few factors:
- Material: Check the care label for washing instructions. If it’s made of durable materials like nylon or polyester, it might be okay to machine wash.
- Decorations: Consider the type of decorations. If they’re sewn on, the backpack can typically handle a wash. However, if they’re glued or made of delicate materials, machine washing might damage them.
- Preparation: If you decide to wash it, empty all pockets, remove any detachable parts, and close zippers. You can also place the backpack in a mesh laundry bag to protect it.
- Cycle Settings: Use a gentle cycle with cold water and a mild detergent to minimize wear and tear.
- Air Dry: Avoid putting the backpack in the dryer. Instead, let it air dry completely before using it again.
- Tips for Securing Pins, Badges, Keychains, and Charms
- Use Locking Pin Backs: This helps ensure that pins and badges stay in place and are less likely to fall off.
- Check Clip Security: For keychains and charms, make sure the clips are tightly fastened to avoid losing them.

