
Removing patches from a uniform can be a tricky task, especially if you want to preserve the fabric’s integrity. Whether you’re updating your uniform to reflect a new rank, removing an outdated logo, or simply trying to freshen up your look, knowing the proper techniques can make all the difference.
In this guide, we’ll walk you through several methods on how to remove patches from uniforms. From understanding the type of patch and adhesive used to employing the proper tools and techniques, you’ll be well-equipped to tackle this task confidently. Let’s get started!
Key Takeaways
- Use a hot iron and protective cloth to loosen the iron-on patch adhesive.
- Apply a fabric-safe adhesive remover and let it sit before peeling.
- Carefully cut stitches with a seam ripper for sew-on patches.
- Remove leftover residue with adhesive remover or rubbing alcohol.
- Wash and air dry the uniform to ensure no stickiness remains.
How to Remove Patches from Uniform: Iron On Patches
To get started with removing iron-on patches from your uniform, you’ll want to try the hot iron method by covering the patch with a cloth and applying heat.
If the patch is stubborn, an adhesive remover can help take care of any leftover residue.
Method 1: Using a Hot Iron
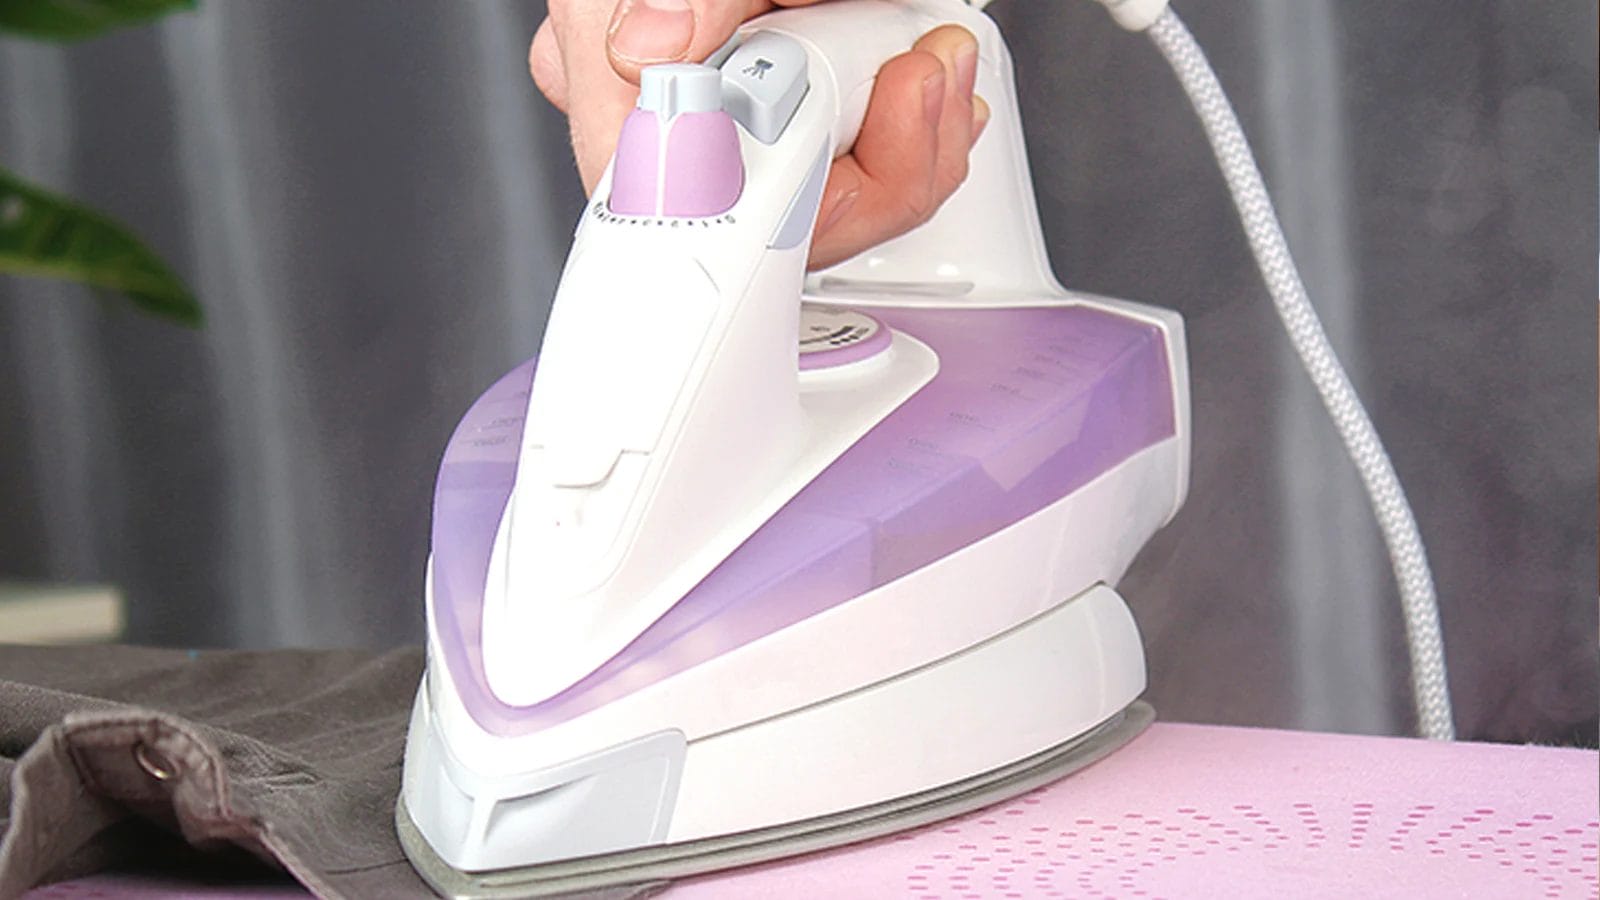 To remove iron-on patches from a uniform, you can use a hot iron or a hair dryer.
- Start by placing a protective layer of cloth or wax paper over the patch.
- Heat your iron to a medium setting suitable for your fabric. Carefully press the hot iron onto the covered patch for about 15-20 seconds to loosen the adhesive.
- Once the adhesive softens, gently peel off the patch starting from one corner.
- If it resists, reapply the iron to soften it further. Be cautious not to scorch the fabric.
This hot iron method effectively softens the glue, making it easier to remove the patch without leaving any residue. Always test the heat on a hidden area first to avoid damaging your uniform.
Method 2: Using Adhesive Remover
An adhesive remover can make it much easier and safer to remove iron-on patches from your uniform without damaging the fabric.
But before proceeding with the steps, test your adhesive remover on a small, inconspicuous area of fabric. If the fabric appears fine after contact with the remover, then you can follow these steps:
- Turn your uniform inside out to expose the fabric behind the patch.
- Pour or spray the adhesive remover over the fabric behind the patch.
- Rub the liquid into the fabric with your fingers or a rag.
- After about a minute, check to see if the patch will peel off completely or partially. If part of the patch lifts away, trim it off with scissors.
- Reapply more remover and continue to work on the remaining adhesive.
- Repeat these steps and lift off the remaining patch.
This method ensures your uniform remains intact and undamaged.
Tips for Removing Iron On Patch Residue
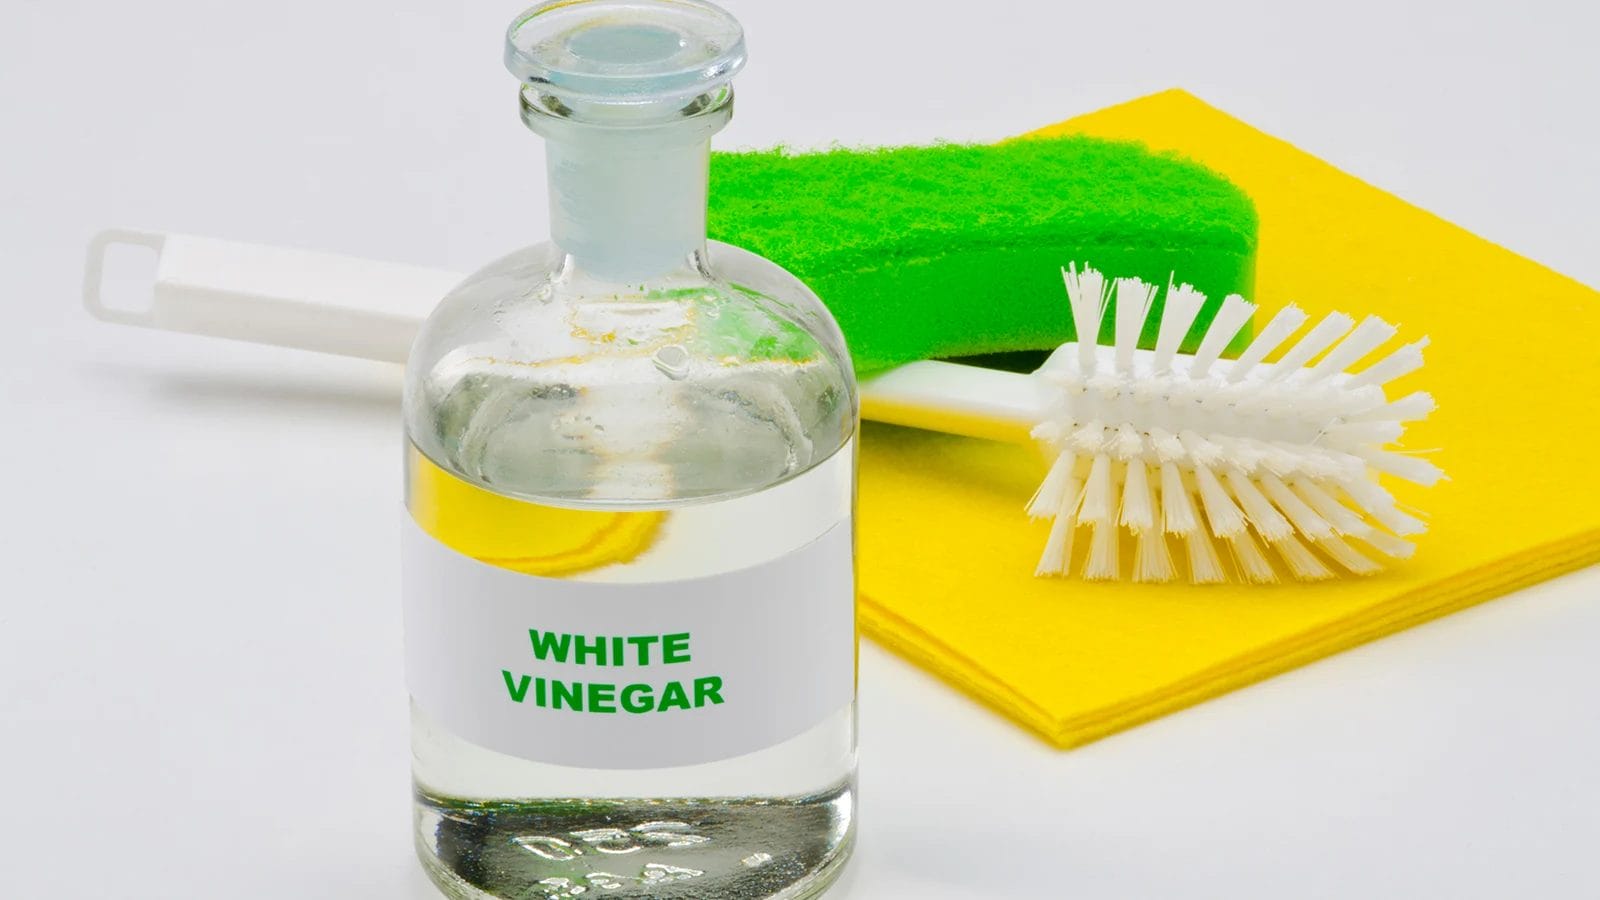
Start by dabbing adhesive remover on the residue and working it in with your fingers or a rag for about a minute.
If the iron-on patch residue is stubborn, scrub the area with an old toothbrush.
For extra tough spots, pretreat with liquid laundry detergent before washing.
Once washed, check for any remaining glue. If there’s still residue, lift it with more adhesive remover.
You can also use white vinegar to tackle any lingering stains.
After you’ve done this, air dry your uniform to ensure no tackiness remains.
Repeat the process if necessary to completely remove all traces of adhesive.
These steps will help you effectively remove iron-on patch residue from your uniform.
How to Remove Patches from Uniform: Sewn On Patches
To remove sewn on patches from your uniform, carefully follow these steps.
Step 1: Prepare the Uniform
Gather your seam ripper, tweezers, and small scissors to begin the patch removal process. Lay your uniform on a flat surface, making sure it’s smooth and wrinkle-free.
This careful preparation will make the patch removal process easier and prevent damage to your uniform.
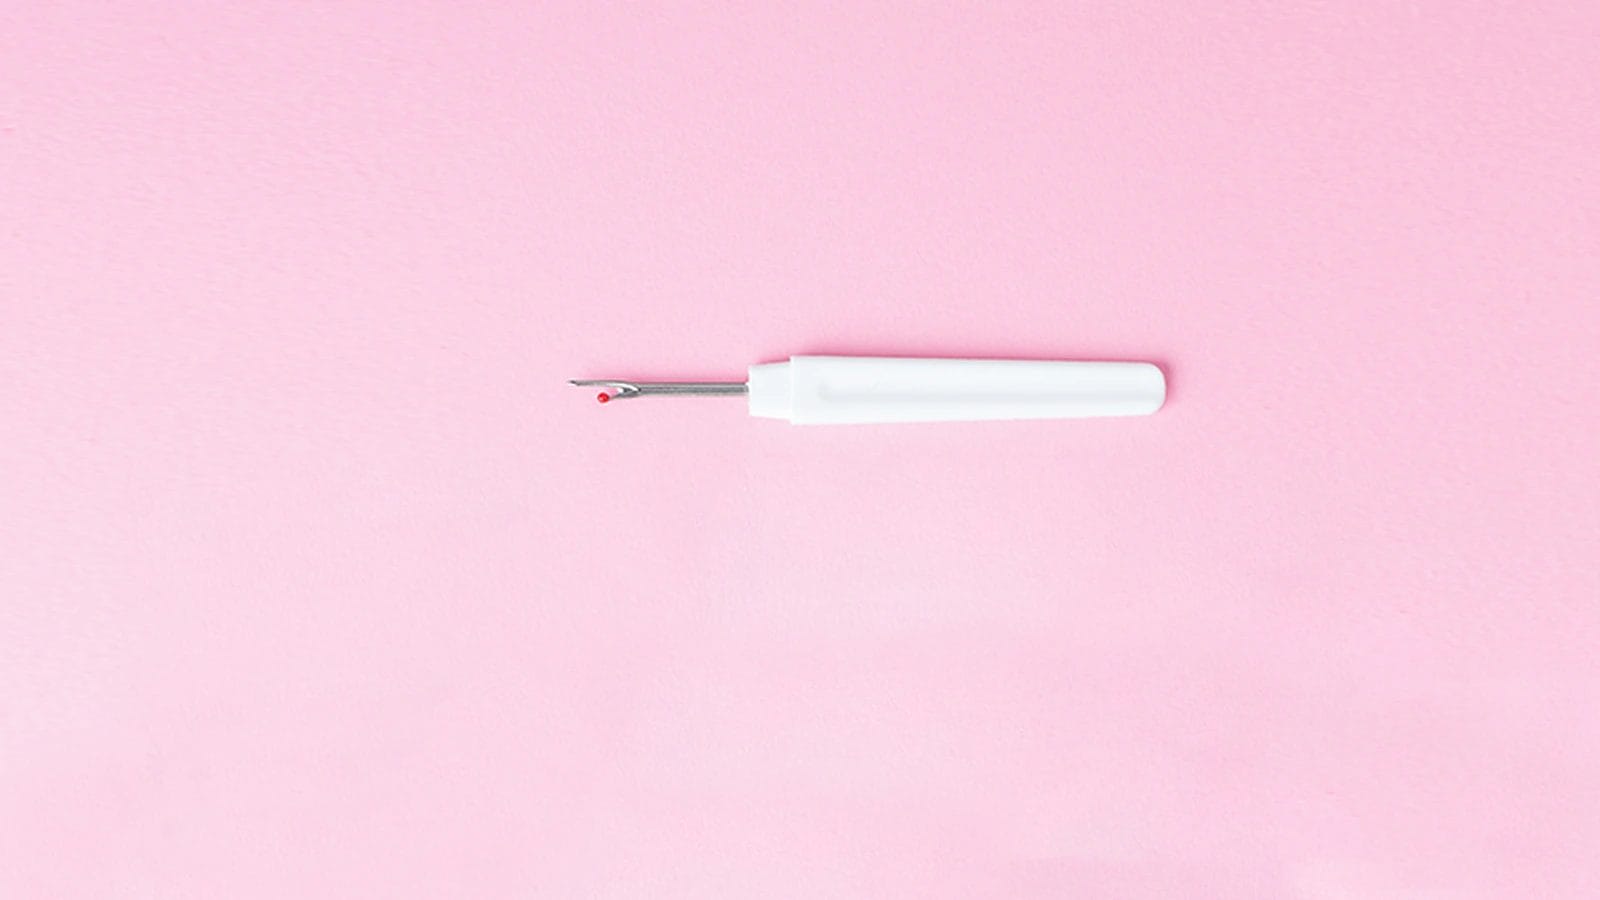
Step 2: Use a Seam Ripper
When removing a sewn-on patch, insert the seam ripper’s blade under a stitch and gently cut through it.
Carefully work your way around the patch, cutting each stitch. The seam ripper’s sharp blade is designed to make this task easier without damaging your uniform.
As you progress, you’ll notice the patch loosening. Continue until the patch is fully detached. Be patient and methodical, as rushing could harm your uniform.
Step 3: Remove Loose Threads
After removing the sewn-on patch, use tweezers to gently pull out any loose threads left behind. It’s important to remove these threads carefully to prevent them from reattaching or causing snags on your uniform.
Step 4: Clean Any Residue
If any adhesive residue remains on the uniform, you can use a small amount of adhesive remover. Be sure to test it on an inconspicuous area first to ensure it doesn’t damage or discolor the fabric.
Step 5: Wash and Iron
Now that you’ve removed the patches and cleaned any residue, it’s time to wash the uniform according to its care instructions. Use a mild detergent and cold water to gently wash the fabric, ensuring you don’t damage it.
Once the uniform is clean, iron it on the appropriate setting to smooth out any wrinkles and restore its professional look.
Make sure the uniform is completely dry before storing or wearing it, as this prevents any potential damage or discoloration.
Conclusion
Removing patches from your uniform doesn’t have to be a hassle. Whether you’re dealing with iron-on or sewn-on patches, patience and the proper technique can make the process smooth.
Always test the heat and adhesive remover on a hidden area first to avoid damaging your fabric. After removing the patches, a good wash and air drying will leave your uniform looking fresh and residue-free.
Follow these steps, and you’ll have a clean, patch-free uniform in no time!
Explore more patch ideas at the Accessories-Wholesaler blog! Find your favorite iron-on patches at Accessories-Wholesaler!
FAQs
How Do I Get Patches off Uniforms?
To remove patches, test the iron method on a hidden area first. If safe, cover the patch with a cloth and iron it. Peel it off carefully, use adhesive remover if needed, and wash the uniform afterward.
Can I Take off the Sewn-On Patches?
Yes, you can take off sewn-on patches. Use a seam ripper to carefully cut and unravel each stitch. Gently pull out any remaining threads with tweezers. This meticulous process ensures a clean finish.
How Do I Remove an Embroidered Patch?
To remove an embroidered patch, carefully use a seam ripper to cut the stitches. Gently pull out the threads with tweezers, avoiding fabric damage. Inspect for residue, and apply adhesive remover if necessary.


