
Creating a custom patch involves a series of thoughtful steps, starting with determining its purpose and selecting the right type, whether it be woven, printed, or chenille. Once you have a clear vision, the next move is to design your patch using graphic software, keeping in mind the size and shape requirements. Don't overlook the importance of choosing high-quality materials and backings, like iron-on or sew-on, to ensure durability. When your design is ready, it's time to request a quote from a reputable manufacturer. But before you place your order, there's a crucial step you shouldn't miss.
Key Takeaways
- Choose the type of custom patch that suits your design needs, such as woven, sequin, printed, or chenille.
- Design your patch using graphic software. Ensure the file is in a compatible format for digitization.
- Select high-quality materials and appropriate backing options like iron-on or sew-on for durability.
- Request a quote with detailed design specifications, including size, shape, and quantity, for accurate pricing.
- Review and approve a digital proof to ensure the design matches your expectations before production begins.
Step 1: Determine the Purpose of the Patch
Understanding the purpose of your custom patch is crucial. It sets the foundation for all subsequent design and material choices.
Determine why you're creating the patch—whether for team identity, promotional items, or commemorative events. The intended use will help you decide on the design, materials, and size.
Step 2: Choose the Type of Patch
Now that you know the purpose of your patch, it's time to choose the type that best suits your needs.
You can choose from our four top options: woven, sequin, printed, or chenille patches. Each type offers unique textures and visual appeal.
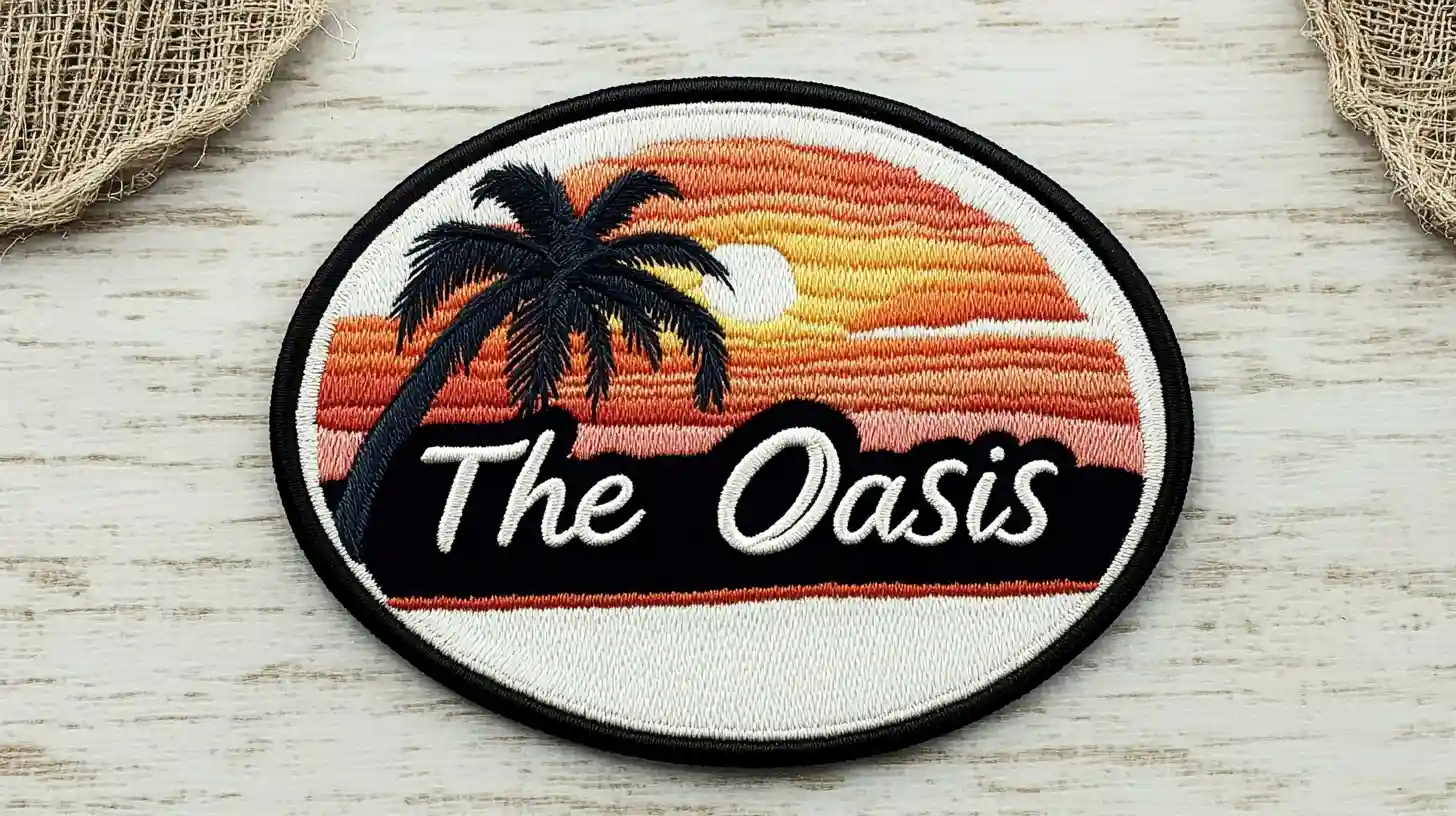
Woven Patches

Woven patches offer a refined and detailed design. They're perfect for intricate logos and fine text.
These patches are great for high-volume orders due to their cost-effectiveness and ability to produce intricate designs.
With their high thread count, woven patches ensure durability and a smooth finish.
They're ideal for items needing longevity, like uniforms or branded clothing.
Sequin Patches

Now, let's turn our attention to the vibrant allure of sequin patches. These custom patches allow you to create unique designs with various shapes, sizes, and sequin arrangements.
Using high-quality materials ensures durability and maintains the sparkle over time.
You can sew or iron them on, adding a glamorous touch to any garment or accessory.
Printed Patches
When choosing the type of printed patch, consider the specific techniques like inkjet transfer and sublimation that will best capture your design's details and colors.
Printed patches allow you to customize intricate, detailed designs and complex logos. They often come with adhesive backing, making application easy.
These patches are ideal for vibrant, precise designs, offering flexibility in size and shape.
Chenille Patches
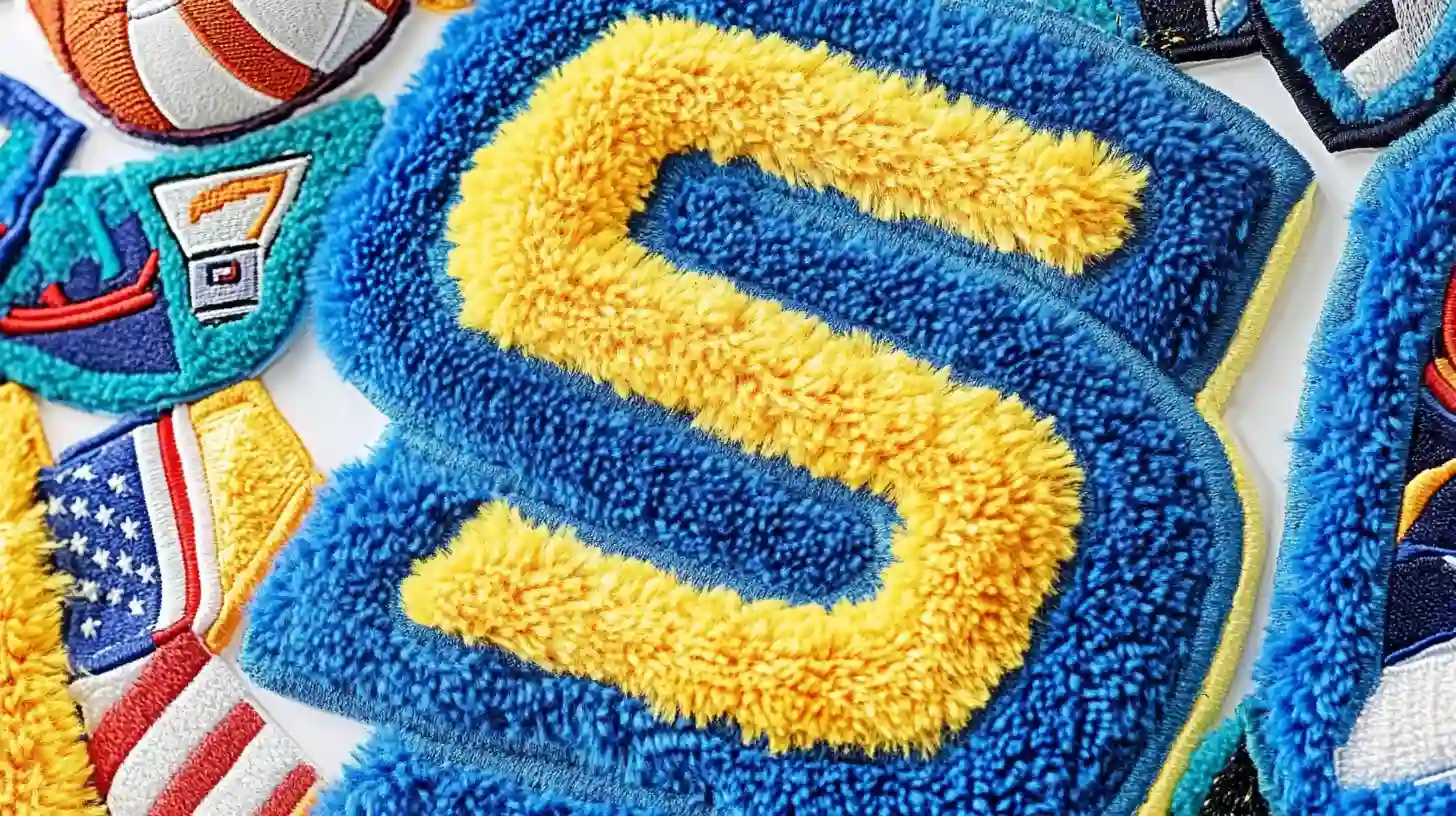
Known for their soft, fuzzy texture, chenille patches are perfect for adding a tactile and visually appealing element to varsity jackets and team uniforms.
These custom patches use specialized embroidery techniques with a multi-needle sewing machine to achieve their plush effect.
Choose vibrant thread colors and durable backing materials to ensure your chenille patches stand out and last over time.
Step 3: Design Your Patch
To create patches, choose a design concept that reflects your personal style or brand identity. Using graphic software, create or edit your draft design. Incorporate elements like logos and experiment with colors to customize your embroidered patch.
Ensure your design is saved in a compatible format for easy digitization, and you're ready to move on.
Step 4: Select the Size and Shape
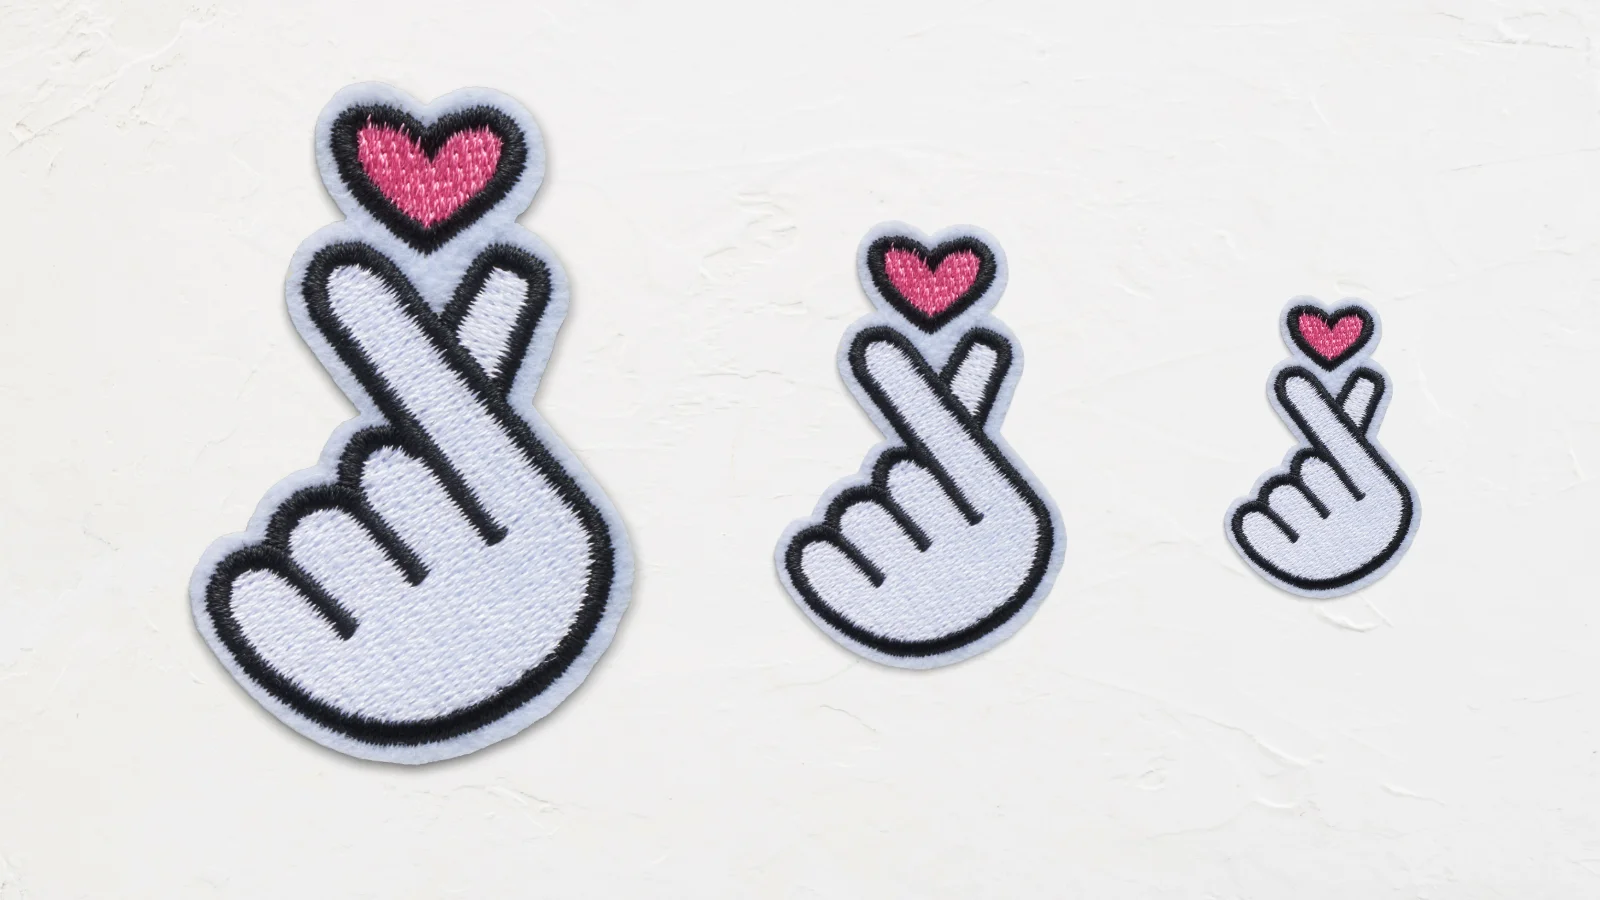
Now that you have your design, it's crucial to pick the right size and shape for your custom patch.
Common Patch Sizes and Shapes
Common patch sizes range from 2 to 12 inches in diameter, with 3 to 4 inches being the most popular for versatility.
You can tailor patches to custom shapes, from simple circles and squares to unique forms.
Larger patches suit jackets, while smaller patches are perfect for hats and bags.
Factors to Consider
Selecting the right size and shape involves considering its intended placement and the clarity of your design elements.
Choose a size that fits your garment or accessory well, typically ranging from 2 to 12 inches.
Opt for shapes that complement your design elements, like circles or custom shapes.
Also, think about the application method. Larger patches may need additional sewing or adhesive.
Step 5: Find a Reputable Manufacturer
Now that you've designed your patch, it's crucial to find a reputable manufacturer to make it a reality.
Look for companies with extensive experience, positive customer reviews, and a satisfaction guarantee to ensure quality.
Accessories-Wholesaler is a recommended option, offering a variety of customization choices and responsive customer support.
Step 6: Request a Quote
When requesting a quote for your patches, provide detailed information about your design, including size, shape, and specific customization options.
Mention the quantity needed, as bulk orders might get discounts.
Upload any design files to help with accuracy.
Expect prompt customer support to discuss details and clarify any questions about your order.
Step 7: Review Proofs and Make Adjustments
Reviewing the digital proof of your custom patch design ensures every detail meets your expectations before production begins.
Carefully review proofs for accuracy in design elements, colors, and text. If needed, request adjustments to the size, shape, or details.
Timely feedback ensures a quicker turnaround. Once you approve the proof, production starts, leading to your patches with a satisfaction guarantee.
Step 8: Place Your Order
After approving the final proof, you're ready to place your order. Confirm the quantity and provide the necessary design files in the required formats.
Submit your payment details and ensure you receive a confirmation of your order.
This final step guarantees that your custom patches will be produced accurately.
Step 9: Receive and Inspect Your Patches
You've placed your order, and now it's time to receive and inspect your custom patches.
Check each patch for quality, ensuring the embroidery, colors, and design match the approved proof.
Verify that the size and shape align with your specifications.
Look for defects like loose threads or frayed edges.
If anything's amiss, contact customer support to ensure your satisfaction.
Why Choose Accessories-Wholesaler to Make Custom Patches?
When you choose Accessories-Wholesaler for your custom patches, you get extensive options in six aspects:
- Embroidery Coverage: Add just the right amount of embroidery to give your design a pop of texture.
- Patch Material: Accessories-Wholesaler offers top-quality options to ensure your custom patches stand out. We use high-quality materials like embroidered fabrics and chenille, making your patches durable and visually appealing.
- Patch Backing: Choose from 5 types of patch backing options, including iron-on backing, velcro hook backing, adhesive backing, pin backing, or no backing.
- Thread Options: Choose to add up to 9 thread colors to one design or mix it up with metallic thread.
- Patch Border & Edges: Choose from an embroidered border, a merrowed border, frayed edges, or no border.
- Patch Shape: You can explore beyond basic circle or square shapes. Consider opting for highly precise custom shapes crafted with a laser-cut, hand-cut, or hot-cut edge.
With Accessories-Wholesaler, you can make custom embroidered patches easily and quickly.
Conclusion: How to Make a Custom Patch
Congratulations! You've now got a clear roadmap for creating your custom patch.
By following this tutorial and partnering with Accessories-Wholesaler, you can bring your unique design to life.
Ready to get started? Dive into your project with confidence, and watch your creativity transform into a tangible, high-quality patch.
Happy designing!
Explore more patch ideas at the Accessories-Wholesaler blog! Find your favorite iron-on patches at Accessories-Wholesaler!
FAQs
How Do I Make My Own Patches?
To make your own patches, start by capturing your design with a high-quality camera. Print it on inkjet transfer paper and use a hot iron to transfer it onto fabric. Secure the patch by sewing or using a fabric fuse.
Can I Turn Fabric Into a Patch?
Yes, you can turn fabric into a patch. Cut your fabric to shape, apply adhesive backing, or sew it onto your apparel. To ensure durability, reinforce the edges with fray check or zigzag stitching.
What Machine Do I Use to Make Patches?
You can use either a single-needle or multi-needle embroidery machine to make patches. Multi-needle machines are faster and handle complex designs better. For DIY projects, a standard home sewing machine works well too.
Can I Make a Logo Into a Patch?
Yes, you can turn a logo into a patch. Just submit your logo design in a suitable format, like a vector file, to a custom patch provider. They'll digitize it, create a proof, and produce your patch.