Are you ready to elevate your style while showcasing your creativity? DIY hat projects are the perfect way to add a personal touch to your wardrobe. Whether you’re looking to craft a trendy sun hat, a cozy beanie, or a whimsical cap, the possibilities are endless.
Not only will you save money, but you’ll also gain a sense of accomplishment as you wear something uniquely yours. Join us as we explore a variety of fun and easy DIY hat ideas that will inspire your next crafting adventure!
Key Takeaways
- Use basic materials like paper plates and fabric for simple and fun DIY hat crafting projects.
- Customize hats with painting techniques, such as tie-dye, sponging, or watercolor, for vibrant designs.
- Create unique hats using upcycled materials like old clothing or fabric scraps for eco-friendly projects.
- Add personal flair to hats with embroidery, patches, or bedazzling techniques for extra style.
- Engage in group crafting activities for thematic events, enhancing creativity and teamwork.
Types of Hats to Create
Creating hats can be a fun and creative endeavor. Here are some popular types of hats you might make:
- Baseball Cap: Casual and adjustable, perfect for everyday wear.
- Beanie: A warm, knitted hat ideal for cold weather.
- Fedora: A classic hat with a pinched crown and a wide brim.
- Bucket Hat: Casual and great for sun protection, made from soft materials.
- Beret: A round, flat-crowned hat, typically made from wool or felt.
- Sun Hat: Wide-brimmed to provide shade, often made from straw or lightweight fabric.
- Panama Hat: A straw hat with a wide brim, originating from Ecuador.
- Cowboy Hat: Recognizable with a wide brim and high crown, often made of felt or leather.
- Cloche Hat: A close-fitting, bell-shaped hat popular in the 1920s.
- Newsboy Cap: Round and flat, with a short, stiff brim in front.
- Trilby: Similar to a fedora but with a narrower brim and a slightly shorter crown.
- Pillbox Hat: Small and round, typically worn by women, without a brim.
- Top Hat: Tall and cylindrical, often associated with formal wear.
- Visor: A cap with a visor and no crown, good for sports activities.
DIY Hat Ideas: Creative Craft Ideas
With the basic supplies ready, let’s delve into various techniques to elevate your DIY hat-making experience.
1. Painting and Dying Techniques
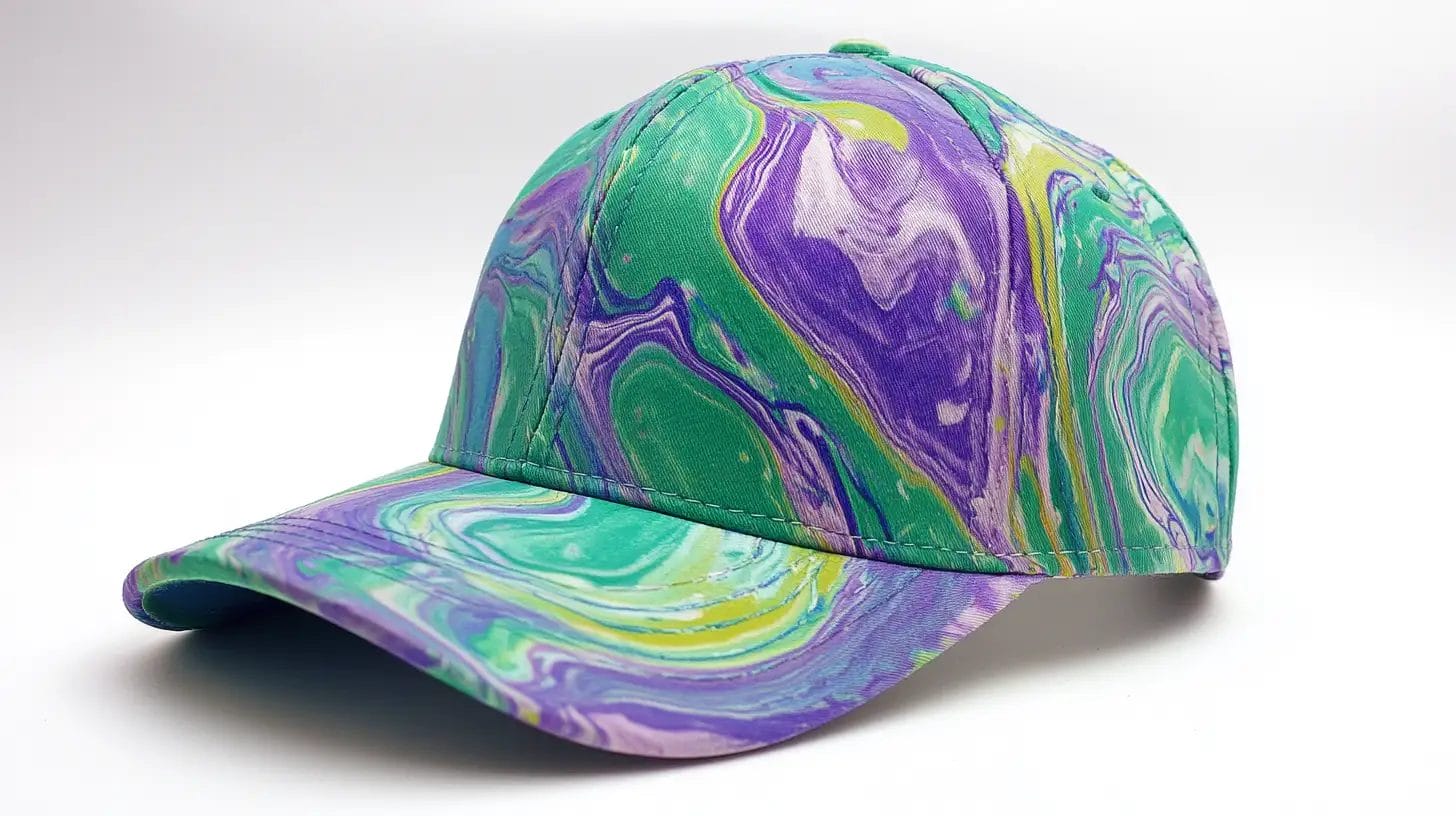
To create vibrant, long-lasting colors, you can customize your hat using water-based acrylic paints, such as sponging or stippling.
Want something unique? Try a tie-dye approach with fabric dye on a white hat to create playful patterns. For a softer touch, mix food coloring with water to achieve a watercolor effect, which allows you to blend colors seamlessly.
2. Embroidery Patterns
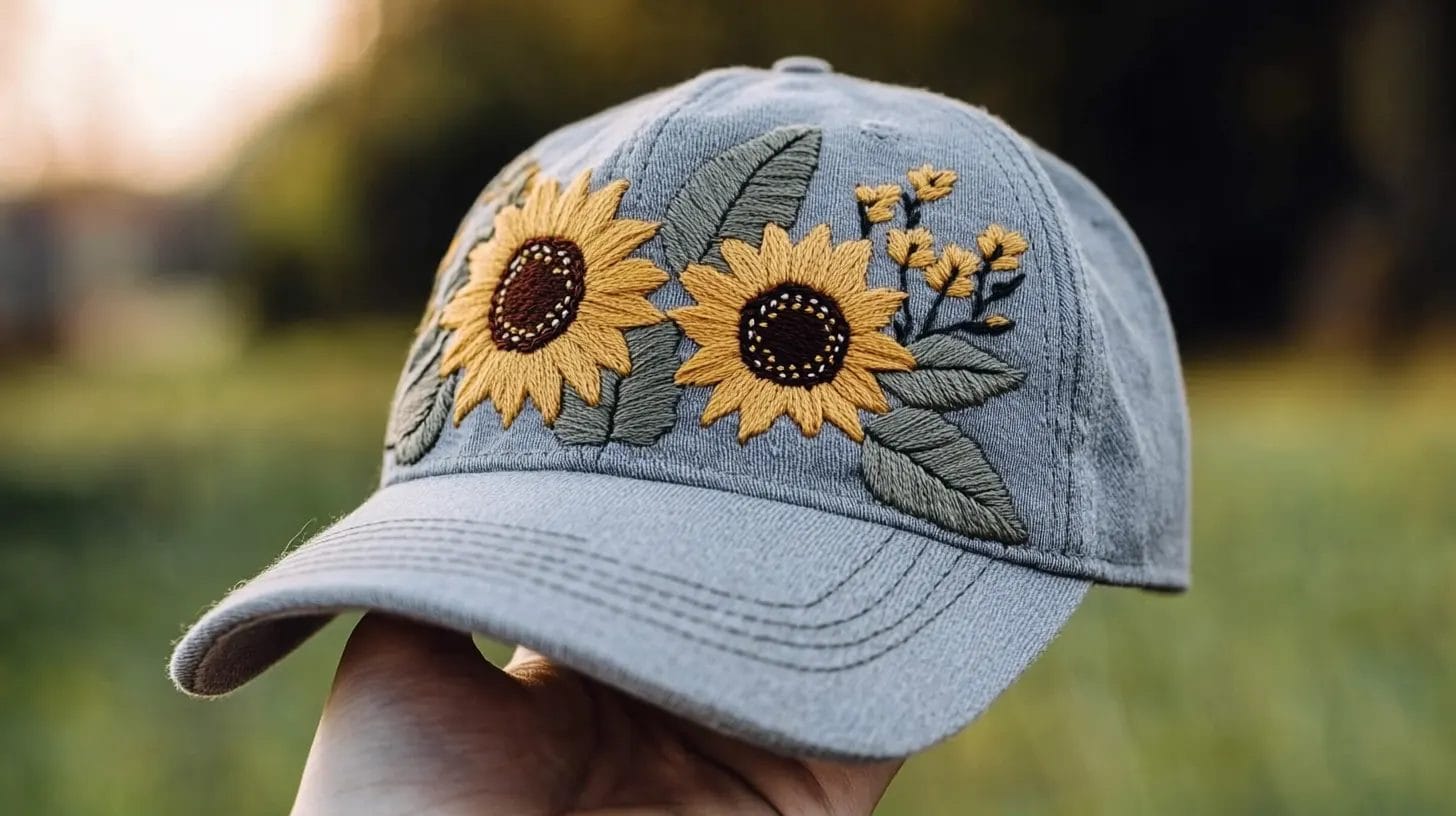
Although embroidery patterns might initially seem intricate, they offer endless possibilities for customizing DIY hats. You can easily add a touch of elegance or whimsy by choosing from floral motifs, geometric shapes, or even personalized initials.
Embroidery techniques like backstitch, satin stitch, and French knots create depth and texture. They transform simple hats into unique, customizable pieces. Use contrasting thread colors to make your patterns pop, or opt for subtle tones for a more understated look.
3. Patches and Appliqué
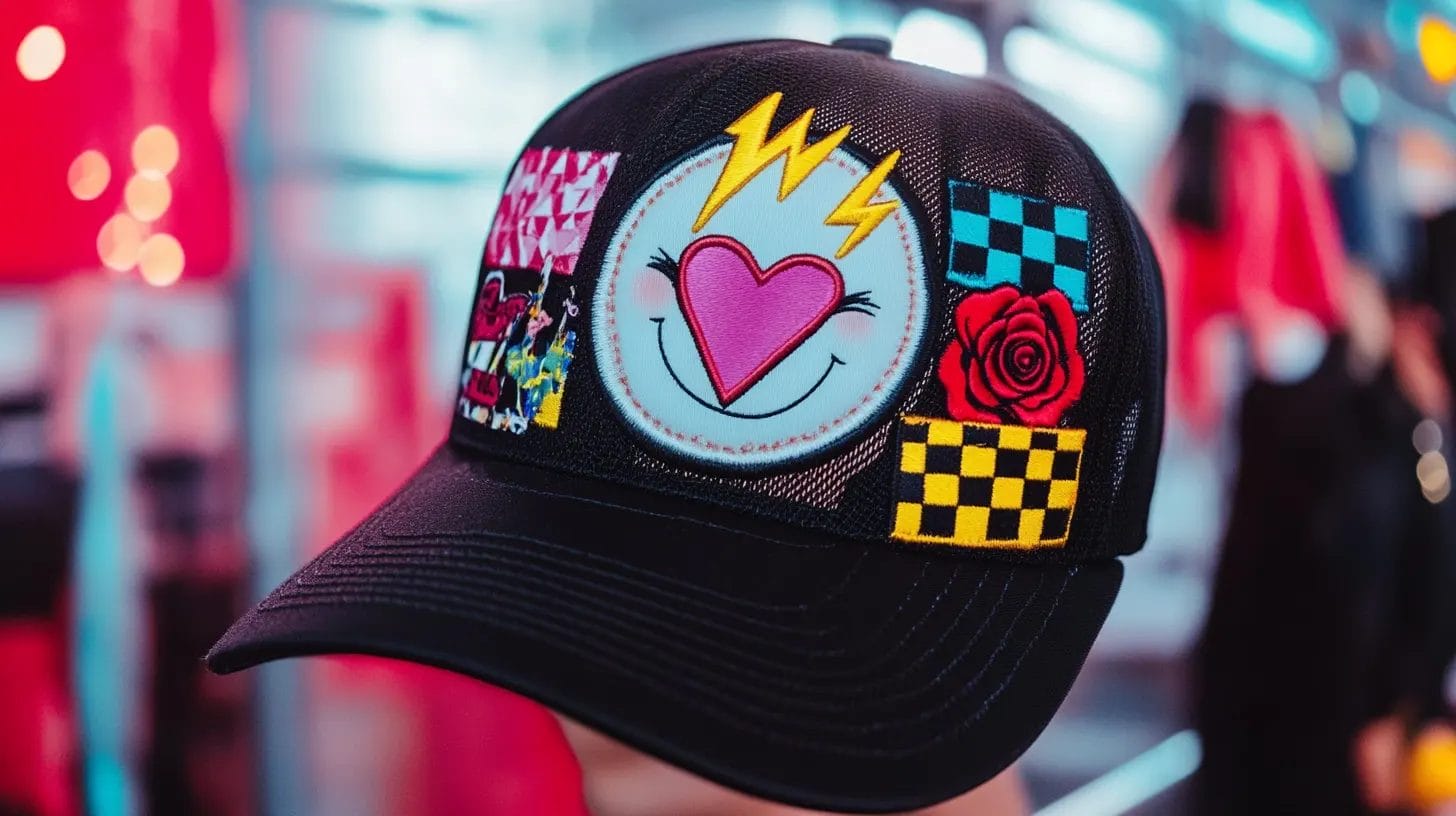
Patches and applique add texture and visual interest, transforming simple hats into unique designs that reflect your personal style. To create an applique, cut the fabric into shapes and sew or glue them onto your hat.
Iron-on patches are perfect for quick customization. They apply with heat and don’t require sewing, yet they still offer a professional look. Using contrasting fabrics or colors can make your hat pop, showcasing your artistic flair.
4. Gems
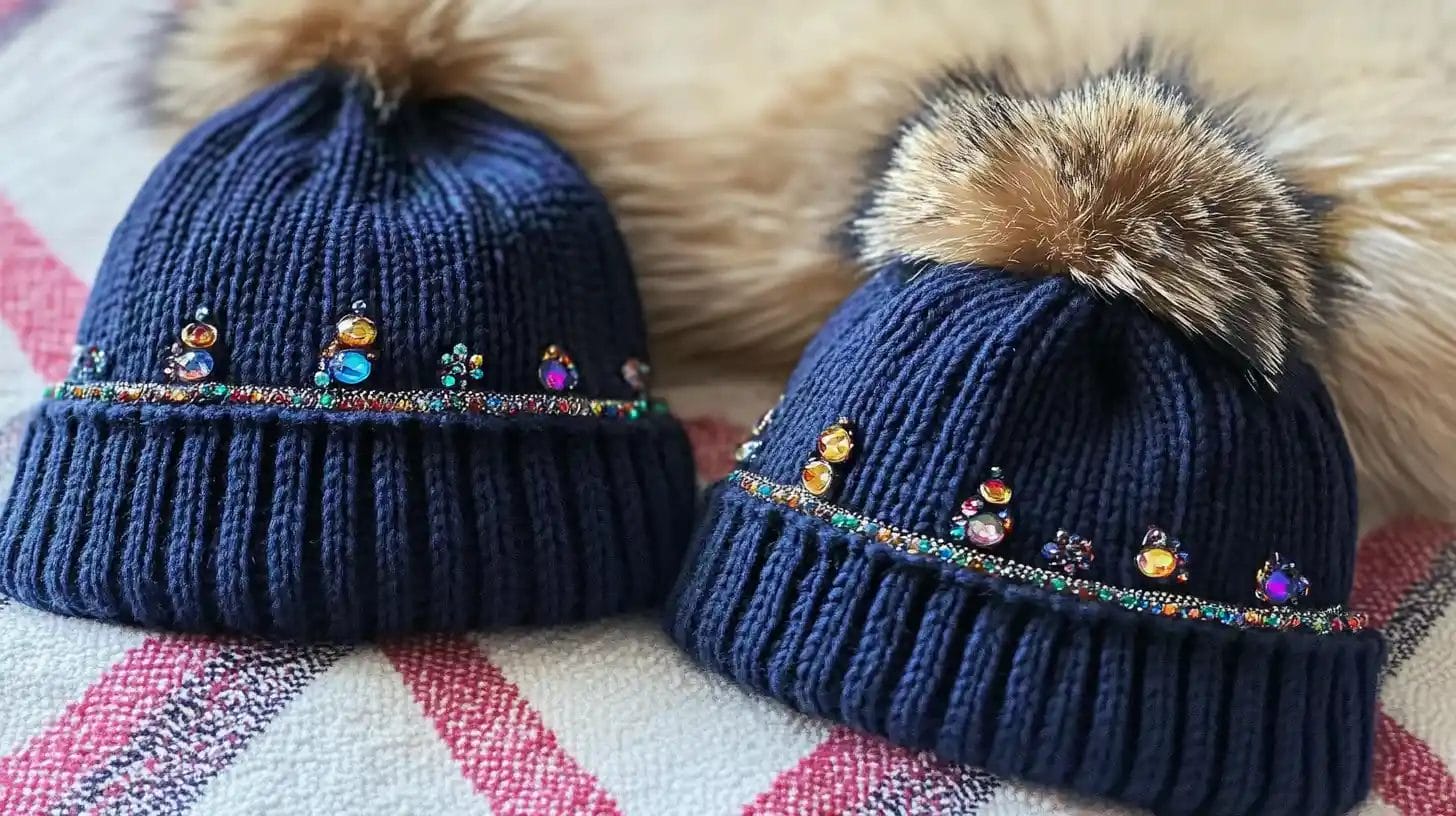
Jazz up your headwear by bedazzling a hat with gems, creating a dazzling accessory that truly stands out. Here’s a simple tutorial:
Start your hat project by selecting adhesive gems in various sizes and colors that match your personal style. Before you begin, ensure the hat’s surface is clean and dry for peak adhesion.
Use a glue gun to apply a small dot of glue to each gem, pressing them firmly onto the hat for a secure fit. Once all the gems are attached, let the hat dry completely to ensure they stay in place.
5. Tassels
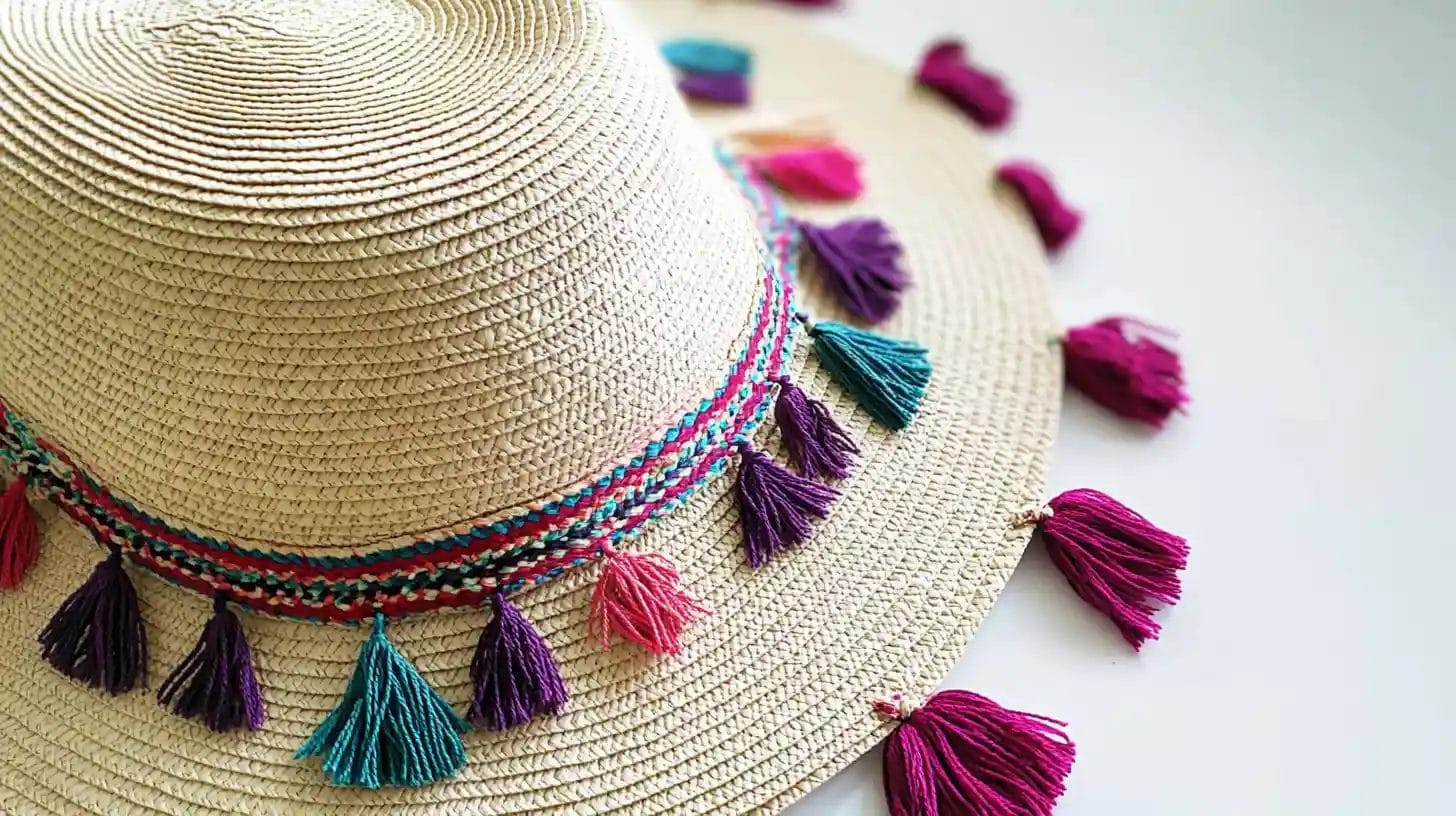
Decorating a hat with tassels is both fun and straightforward. Create colorful tassels using embroidery thread or yarn, ensuring they’re uniform in length.
To attach them, use hot glue or sew them onto the brim or crown of the hat. For a balanced design, space the tassels evenly.
For extra flair, incorporate additional embellishments like beads or fabric flowers. Don’t hesitate to use contrasting colors to make your tassels pop.
6. Pearls

Elegance takes center stage when you wrap a hat with a band of pearls, transforming ordinary headwear into a chic accessory.
Choose a strip of paper or fabric as the band, long enough to wrap securely around your hat. Decorate with faux pearls using glue. Add embellishments like ribbons or sequins for extra flair. Opt for colored or patterned materials to contrast with the pearls, giving your design a personalized touch.
7. Chains and Buttons
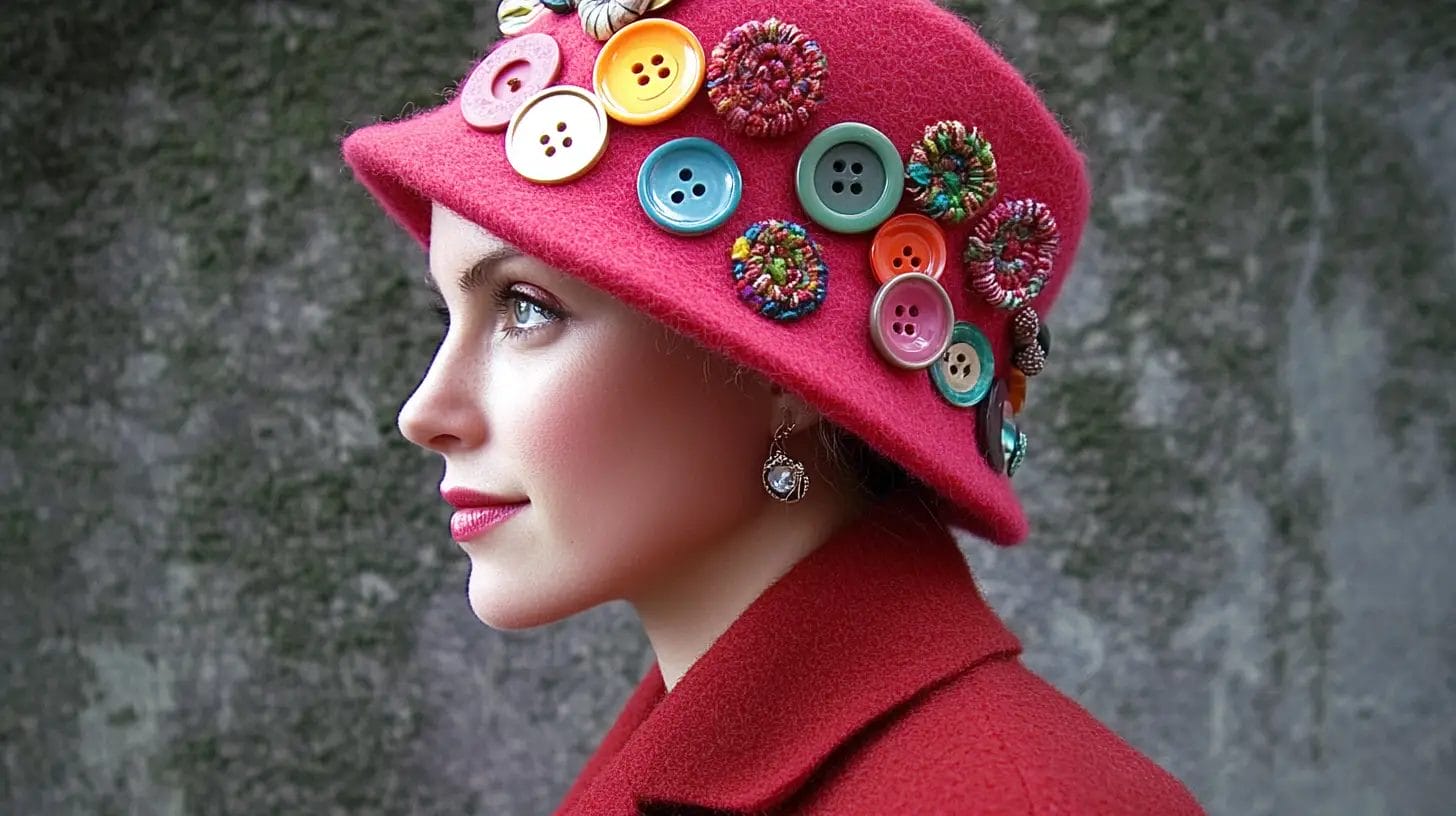
How can you make your DIY hat truly unique? Customize your design with chains and buttons. Chains add a unique texture and metallic shine, perfect for catching the light and enhancing your hat’s visual appeal. You can experiment with different chain lengths for a cascading or asymmetrical look.
Buttons, available in countless sizes, shapes, and colors, offer endless possibilities. Sew or glue them in patterns or motifs to personalize your creation.
8. Additional Fabric
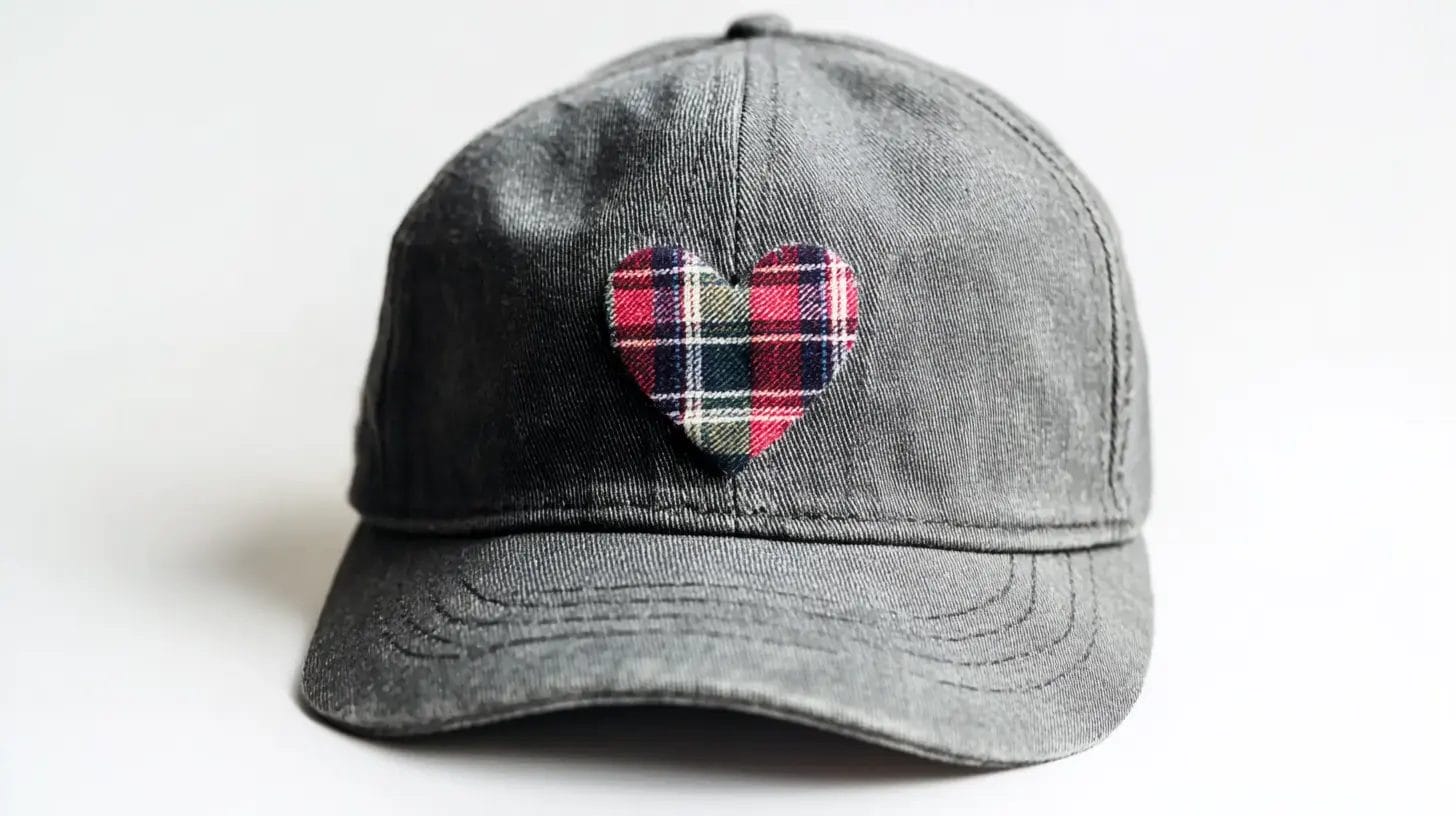
Adding extra fabric to your DIY hat projects can considerably elevate their aesthetic appeal and provide a textural upgrade.
Experiment with materials like felt, cotton, or patterned fabric to enhance a simple hat. You can attach fabric securely using fabric glue or staples. Cut the fabric to fit your design so it complements rather than overwhelms the base structure.
9. Upcycling and Repurposing
Transforming discarded items into stylish hats not only sparks creativity but also promotes sustainability.
Repurpose cardboard boxes for a sturdy base, allowing you to customize the shape and size of your creation. Incorporate embellishments like buttons, beads, or ribbons from old accessories to add a personal touch and reflect your style.
Embrace eco-friendly practices by using natural materials such as leaves or flowers, connecting your hat to the changing seasons. Even recycling paper bags or newspapers can result in a fun, educational crafting experience.
Conclusion
Now that you’ve explored DIY hat ideas, it’s time to use your creativity. Whether wrapping a hat with pearls, adding chains and buttons, or upcycling old materials, each project offers a chance to express your unique style.
Don’t be afraid to experiment and make each piece your own. Embrace the joy of crafting and let your imagination guide you. With every hat you create, you’ll showcase individuality and flair. So, grab those materials and start crafting!
Explore more patch ideas at the Accessories-Wholesaler blog! Find your favorite iron-on patches at Accessories-Wholesaler!
FAQs
How to Make a Hat With Paper Plates?
Start by folding a paper plate in half, cut a hole for your head, and then decorate it with crayons, felt, or pipe cleaners. Add folds or staples for stability, and paint for extra flair. Get creative!
How Do You Make a Hat Out of a Piece of Paper?
Fold the paper into a cone or cylinder shape, securing it with tape or glue. Trim the bottom for fit. Decorate with markers, stickers, or cut shapes. Add a chin strap with string for stability.
What Do I Need to Make a Hat?
To make a hat, you’ll need a template, fabric (such as felt or cotton), lining, interfacing, thread, and a hatband. Essential tools include a sewing machine, needles, scissors, and pins.
How to Make a Sun Hat With Paper?
Fold a paper plate in half, cut a center hole for fit, and trim for a wide brim. Decorate with markers or colored paper. Secure with a ribbon under the chin. Enjoy your handmade sun hat!


