
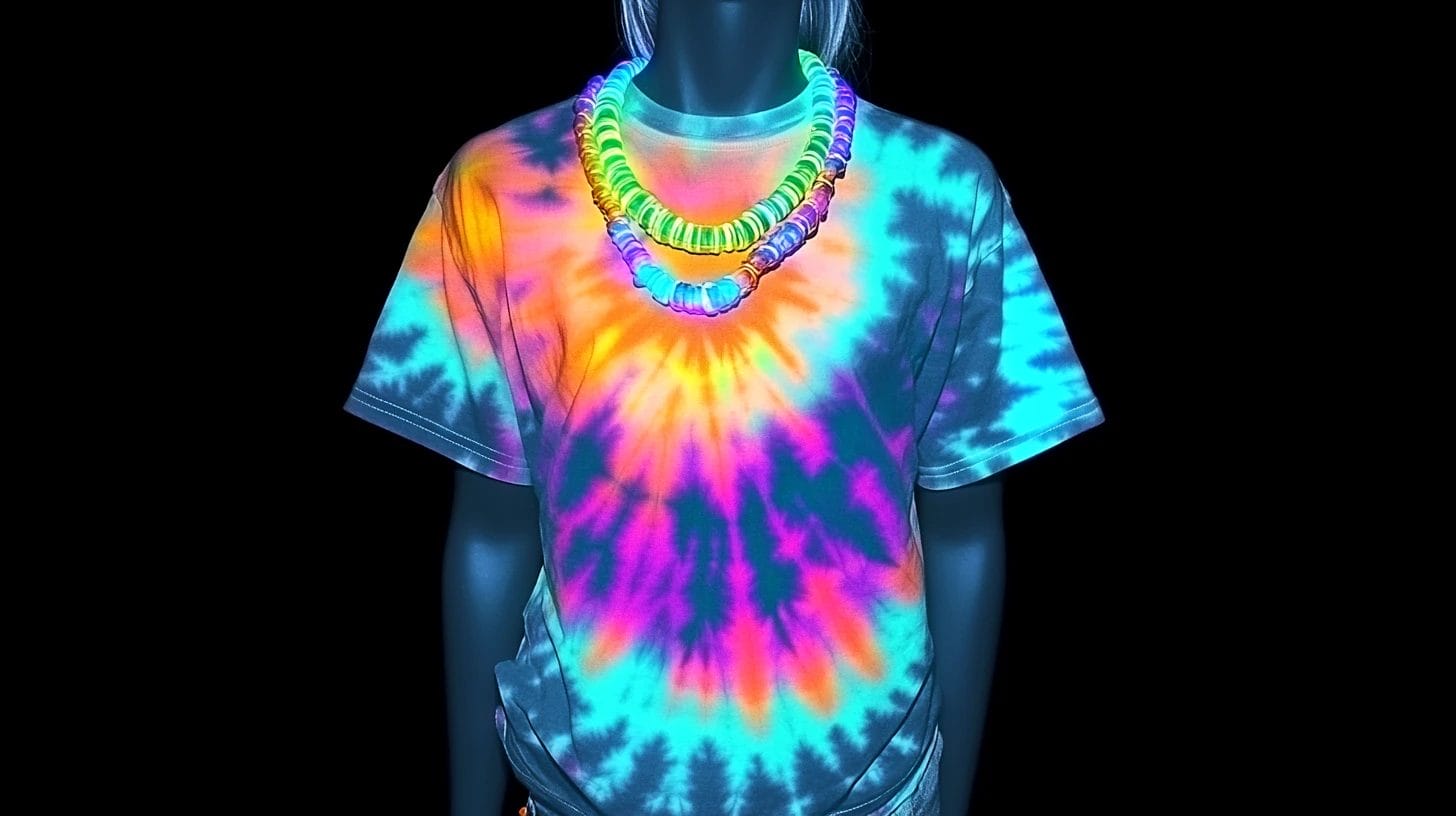
Imagine wearing a shirt that lights up the night with your own creative design. Making a glow-in-the-dark shirt is easier than you think and so much fun! You can create bold patterns, glowing stars, or even spooky Halloween graphics.
Whether it’s for a party, a costume, or just to stand out, this project lets you express yourself in the coolest way. With some simple materials and a little imagination, you’ll unlock endless DIY glow in the dark shirt ideas to try at home.
Key Takeaways
- Cotton shirts work best for absorbing paint and holding designs. White shirts make colors pop, while black shirts enhance the glow.
- Use glow-in-the-dark fabric paint or vinyl for your designs. Apply multiple layers for a brighter glow.
- Prepare your shirt correctly. Wash and dry it before starting. Use cardboard inside to prevent paint from bleeding through.
- Before wearing your shirt, expose it to sunlight or UV light for 15-20 minutes. The longer you charge it, the brighter it will shine.
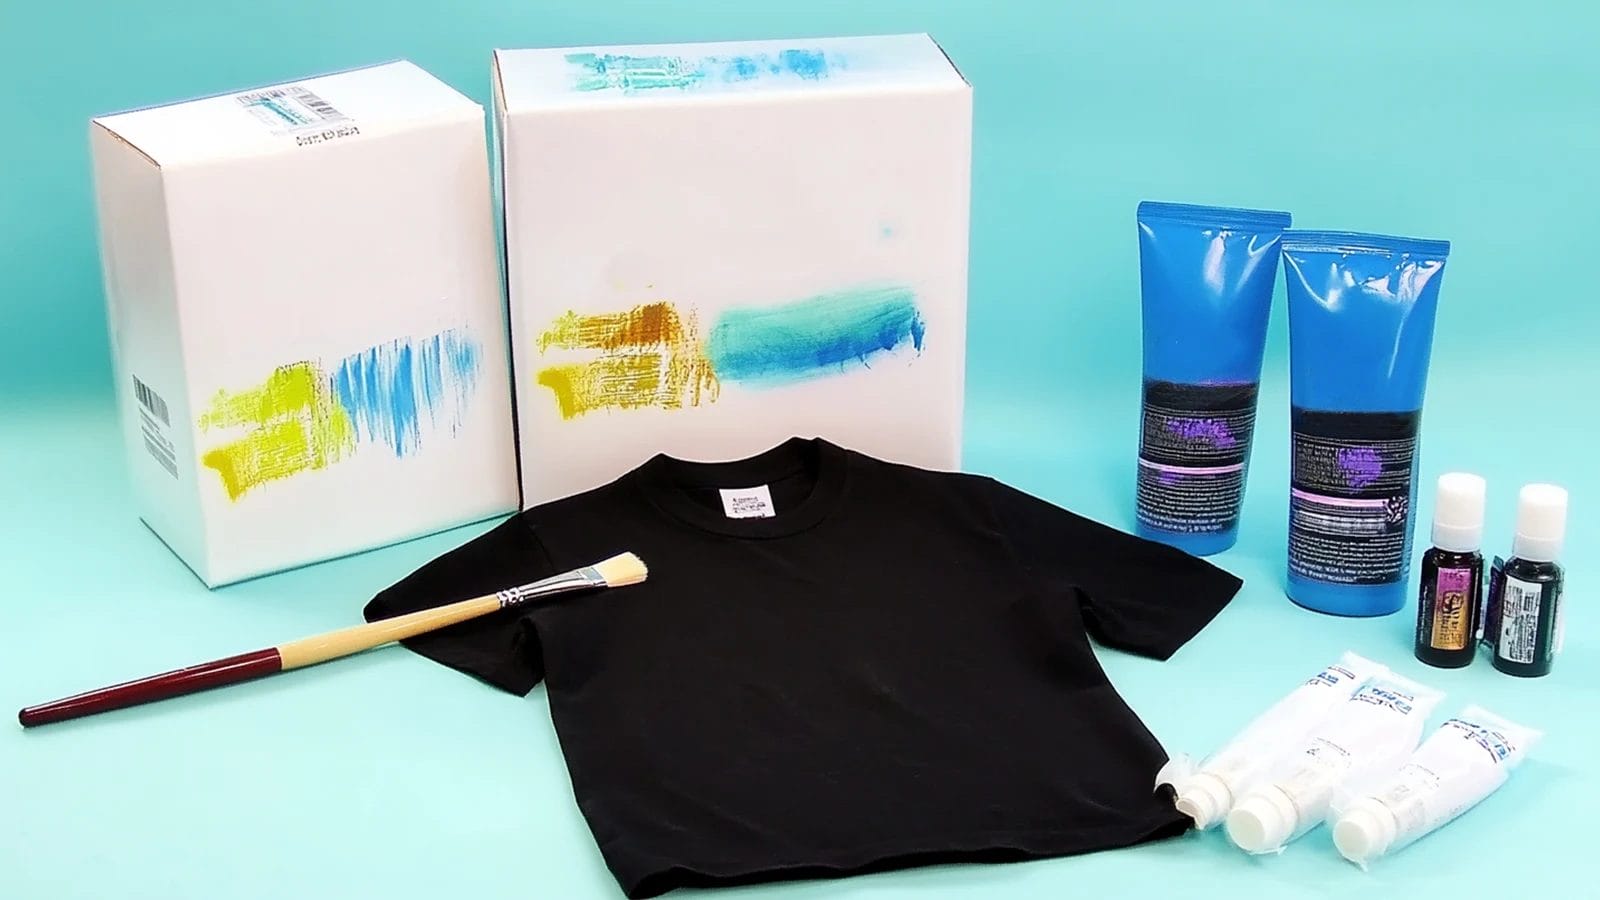
Materials for Glow-in-the-Dark Shirts
You’ll need the right materials before you dive into creating your glow-in-the-dark masterpiece.
Types of Shirts Suitable for DIY Projects
Start with a shirt that works well for this kind of project. Cotton shirts are your best bet because they absorb paint easily and hold designs well. A plain white or black T-shirt is perfect for the look you want. White shirts make colors stand out during the day, while black shirts give a dramatic glow at night.
If you’re feeling adventurous, experiment with other fabrics, such as polyester blends. Just make sure the material is smooth and not too textured.
Glow-in-the-Dark Materials
Now, let’s talk about the fun part—your glowing supplies!
- Glow-in-the-Dark Fabric Paint: This paint is specially formulated to absorb light and glow in the dark. Look for non-toxic options that are safe for fabric.
- Plain Shirt
- Paintbrushes or Sponges
- Stencils: Stencils can be very helpful if you want to create specific patterns or designs.
- Fabric Markers: These can be used for additional detailing or outlining of your design.
- Tape: Use tape to secure stencils in place or to create straight lines.
- Cardboard or Plastic Insert: Place a piece of cardboard or plastic inside the shirt to prevent the paint from bleeding through to the other side.
- Protective Gear
- UV Light (Optional): You can use a UV light to charge the glow-in-the-dark effect quickly.
How to Make a Shirt Glow: Step-by-Step Guide
Ready to craft your glowing masterpiece? Follow these steps to bring your glow-in-the-dark T-shirts to life.
Step 1: Prepare the Shirt
Start by prepping your shirt. Lay it flat on a clean surface and smooth out any wrinkles. For best results, wash and dry the shirt beforehand. Place a piece of cardboard inside the shirt to prevent paint or vinyl from bleeding through to the back.
If you’re using stencils, secure them with tape to keep them in place. This step ensures your design stays neat and doesn’t smudge.
Step 2: Apply Glow-in-the-Dark Paint
Glow-in-the-dark paint is perfect for creating custom designs. Use a brush to apply the paint directly onto the fabric. You can freehand your design or use stencils for clean, sharp shapes. Want a brighter glow? Apply multiple layers of paint, letting each layer dry before adding the next.
If you’re aiming for a specific look, try combining different colors of glow-in-the-dark paint. For example, mix neon green and pink for a vibrant, eye-catching effect.
Once you’ve finished painting, let the shirt dry completely. Then, expose it to sunlight or a UV light to charge the glow. Your design will shine brightly in the dark!
Step 3: Use Glow-in-the-Dark Vinyl
Iron-on vinyl is another great option for a polished, professional look.
- First, cut your design out of glow-in-the-dark vinyl using a cutting machine or scissors.
- Weed out the excess vinyl, leaving only your design on the carrier sheet.
- Next, position the vinyl on your shirt with the design facing down.
- Use a heat press or iron to transfer the design onto the fabric.
- Apply firm, even pressure for about 10-15 seconds.
- Once the vinyl has adhered, peel off the carrier sheet carefully. Your glow-in-the-dark shirt is now ready to light up the night!
Step 4: Finishing Touches
You’ve applied your design, and now it’s time to add those final touches to make your glow-in-the-dark shirt truly shine.
Seal the Design (Optional)
If you used glow-in-the-dark paint, consider sealing your design with a fabric sealant. This step helps protect the paint and keeps it vibrant after multiple washes. Spray a thin, even layer of sealant over the painted areas. Let it dry completely before handling the shirt.
Charge the Glow
To get the brightest glow, you’ll need to charge your shirt. Place it under direct sunlight or a UV light for at least 15-20 minutes. The longer you charge it, the brighter it will glow in the dark.
Show It Off!
Your glow-in-the-dark shirt is ready to steal the spotlight! Wear it to a party, a concert, or even a Halloween event. Watch as your design lights up the night and grabs everyone’s attention.
Tips for the Best Results
To make your glow-in-the-dark shirt stand out, here are some essential tips to guide you.
Combine Different Colors
Mixing colors can take your glow-in-the-dark shirts to the next level. You can create unique effects by blending glowing fabric paint in complementary shades. For instance, combine neon green with bright blue for a cool, otherworldly vibe.
When layering colors, start with lighter shades first. Let each layer dry before adding the next. This technique prevents smudging and keeps the colors vibrant.
Care Instructions
Taking care of your glow-in-the-dark shirts ensures they last longer. Always wash them gently to protect the glowing fabric paint or vinyl. Use cold water and a mild detergent. Hand washing is ideal, but select a delicate cycle if you use a machine. Turn the shirt inside out to minimize wear on the design.
Avoid using bleach or harsh chemicals. Air drying is the best option. If you must use a dryer, choose a low-heat setting. Store your shirt flat or hang it up to prevent creases in the design.
DIY Glow in the Dark Shirt Ideas
Looking for inspiration to make your DIY glow-in-the-dark T-shirts stand out? Here are some fun and creative ideas to get you started.
- Stencil Designs: Use stencils to create outlined patterns or shapes. Popular choices include stars, moons, or geometric shapes.
- Splatter Effect: Dip a brush in glow paint and flick it onto the shirt for a splatter effect. This creates a fun, random pattern.
- Stamping: Create stamps from foam or potatoes and use them with glow paint to apply repetitive designs like dots, hearts, or leaves.
- Gradient Glow: Blend different shades of glow paint to achieve a gradient effect. This works well for sunset or ocean-themed designs.
- Patterned Tape: Use patterned tape to create negative space designs. Apply tape in the desired pattern, paint over, and then remove the tape.
- Silhouette Designs: Paint the background in glow paint and leave silhouettes of objects or figures unpainted for contrast.
- Mixed Media: Combine glow-in-the-dark paint with reflective materials like sequins or beads for added texture and shine.
- Nature-Inspired Motifs: Create designs based on natural elements such as leaves, mountains, or waves using glow paint for an organic look.
- Symmetrical Patterns: Use a mirror image technique to create symmetrical designs that look balanced and appealing.
- Theme-Based Designs: Choose a theme like space, underwater, or urban and create a cohesive design that aligns with it using glow paint.
Conclusion
Making your own glow-in-the-dark shirt is not just fun—it’s incredibly rewarding. You can unleash your creativity and design something that reflects your style.
Whether it’s for a party, a costume, or just because, this project is perfect for anyone who loves to get crafty. So, grab your supplies and start creating. You’ll love the satisfaction of wearing your custom glow-in-the-dark creation!
Explore more patch ideas at the Accessories-Wholesaler blog! Find your favorite iron-on patches at Accessories-Wholesaler!
FAQs
How long does the glow last on the shirt?
The glow typically lasts 4-6 hours after charging under sunlight or UV light. For the best effect, recharge it before wearing it.
Can I use any fabric for this project?
Cotton works best because it absorbs paint and vinyl well. Smooth fabrics like polyester blends also work, but avoid textured materials for clean designs.
What’s the best way to charge the glow?
Place your shirt under direct sunlight or a UV light for 15-20 minutes. The longer you charge it, the brighter it will glow in the dark.


